How to Replace a Motorcycle Exhaust Heat Shield
Check the shield first: if it is loose only, tighten the fasteners; if the tabs are bent or cracked, repair or replace them; if the shield is warped, missing hardware, or rubbing the pipe, replace it. A bad shield can cause rattles, heat damage to nearby parts, and burns. This guide shows how to diagnose the fault, remove the old shield, fit a new one, and torque the hardware correctly.
Heat shield basics

- Fits 20mm-70mm exhaust pipes
- Includes two stainless steel clamps
- Quick install with just a spanner
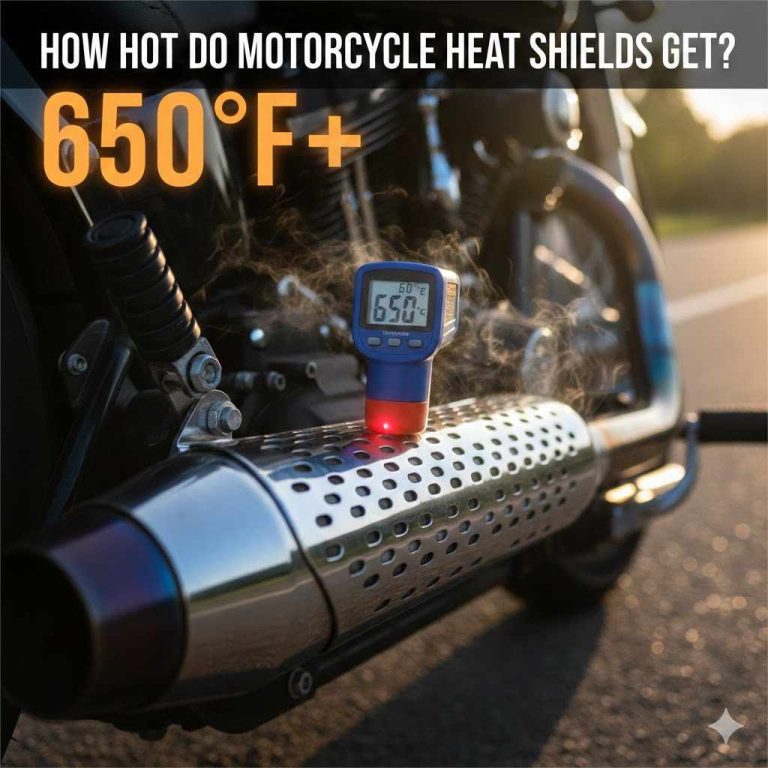
A motorcycle exhaust heat shield protects riders and nearby parts from extreme exhaust heat. It also cuts rattling when it is mounted correctly. On many bikes, the shield is only part of the system; brackets, clamps, spacers, and rubber isolators do the holding.
That matters because a loose shield often points to a hardware problem, not a dead shield. Cruiser pipes often use long clamp-on covers. Sportbike and underbody exhausts may use shorter shields with hidden fasteners and tighter access. Aftermarket exhausts can change the tab layout, hole spacing, and clearance.
Signs the shield is loose, damaged, or unsafe to reuse
If the shield moves by hand, buzzes over bumps, or clicks with engine pulses, start with the mounting points. Heat discoloration near the fasteners can point to a missing spacer, a loose clamp, or a shield that has shifted closer to the pipe. A shield that is warped, cracked, or rubbing the exhaust is often beyond a simple tighten-up.
What you’ll need
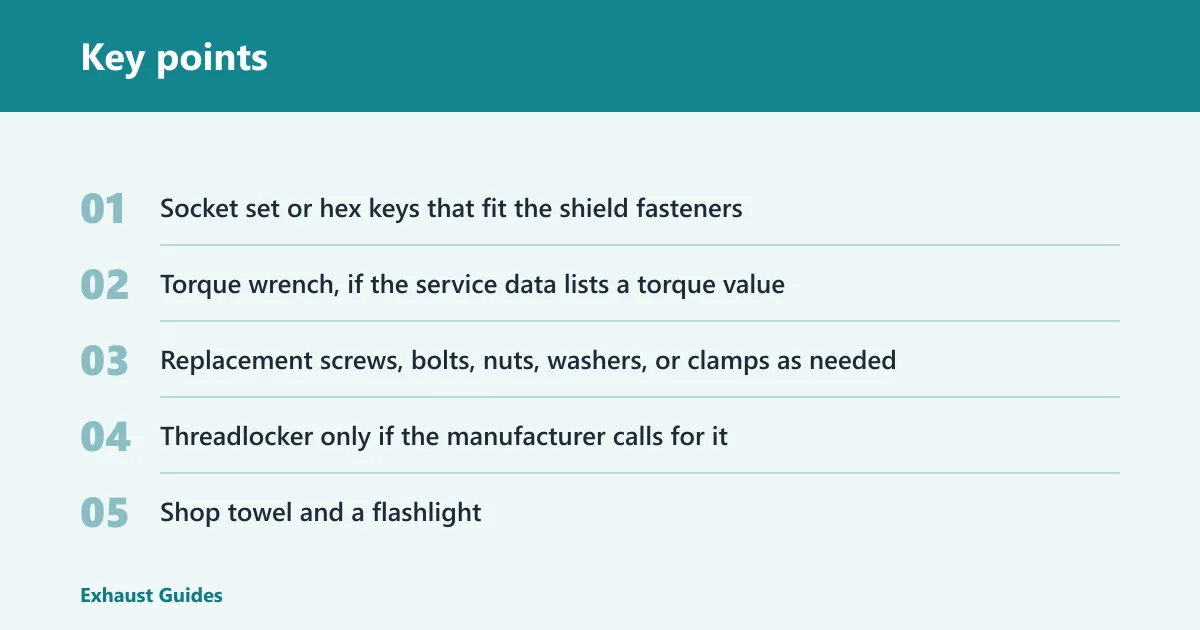
- Socket set or hex keys that fit the shield fasteners
- Torque wrench, if the service data lists a torque value
- Replacement screws, bolts, nuts, washers, or clamps as needed
- Threadlocker only if the manufacturer calls for it
- Shop towel and a flashlight
- Gloves for handling hot or sharp parts
- Penetrating oil for corroded hardware, if needed
- OEM heat shield or matching aftermarket heat shield
- Replacement spacers or rubber isolators, if the old ones are crushed or split
Replacement hardware and parts to have on hand
Have the full hardware set before you remove anything. A missing fastener, bent tab, or cracked clamp usually means the shield will not go back on safely with reused parts. OEM heat shields are usually made with the best material. Aftermarket heat shields can be a cheaper source of the same basic fit, but hole spacing and bracket shape still need to match the pipe or canister.
When a torque wrench matters
Use a torque wrench when the service manual or parts fiche gives a value. Small shield bolts can strip easily, especially in threaded inserts on aluminum or thin brackets. If no torque value is listed, snug the fastener to secure the shield, then stop as soon as the shield sits flat and does not shift.
Heat shield decision table
| Symptom | Likely cause | Safe action | Parts needed | Reuse existing shield? |
|---|---|---|---|---|
| Rattling over bumps | Loose fastener, worn spacer, or clamp that lost tension | Tighten and inspect the mount | Correct fastener, washer, spacer | Usually yes, if the shield is intact |
| Warped shield | Heat distortion or impact damage | Replace the shield | OEM or matching aftermarket shield | No |
| Missing fastener | Backed-out screw or lost clip | Fit the correct hardware and retighten | Replacement bolt, nut, or clip | Yes, if the mounting hole is sound |
| Cracked bracket | Vibration fatigue or overtightening | Repair bracket only if the metal is sound; otherwise replace | Bracket repair part or full shield | Only if the crack is limited and repairable |
| Bent mounting tab | Impact or poor prior fit | Straighten only if the tab still lines up cleanly | None, or replacement tab hardware | Sometimes |
| Loose clamp hardware | Clamp tension loss or corroded band | Replace the clamp if it will not hold torque | New clamp and fastener | Yes, if the shield itself is straight |
| Missing shield | Removed part or lost hardware | Fit a proper shield before riding long distances | Shield plus full hardware set | No |
| Heat discoloration only | Heat exposure without structural damage | Inspect closely, then retighten and monitor | Possibly new fasteners or isolators | Usually yes |
How do you remove it safely?
Support the exhaust before loosening anything, especially on systems that hang from a muffler strap or collector mount. Remove the shield in the order the hardware comes free, and keep track of spacers and washers. That prevents bending the shield and scarring the canister or header.
- Let the exhaust cool fully.
- Place the bike on stable ground and support the exhaust if the mount is under load.
- Spray corroded fasteners with penetrating oil and wait if they are stuck.
- Loosen the shield fasteners evenly, one turn at a time.
- Lift the shield away without twisting the mounting tabs.
- Bag the hardware in order so spacers and washers go back in the same place.
Inspect the pipe, canister, and nearby plastic after removal. Look for burn marks, cracked brackets, ovalized holes, and crushed isolators. Say your cruiser shield has been buzzing for weeks and the front spacer is flattened. The shield may be fine, but the spacer is no longer keeping the panel off the pipe.
How do you fit a replacement?
Match the shield to the pipe or canister before you tighten anything. The holes must line up without force, and the shield should sit clear of the exhaust surface. If the fit depends on a clamp band, bracket, or spacer stack, install those parts in the same order they came off unless the service data says otherwise.
- Hold the new shield in place and confirm hole alignment.
- Install spacers, isolators, brackets, and fasteners in the correct order.
- Start every fastener by hand to avoid cross-threading.
- Tighten the hardware evenly so the shield sits flat.
- Check that the shield does not touch the pipe, bodywork, or rider contact points.
- Recheck tightness after a short heat cycle if the service data calls for it.
If that did not work, stop and inspect the bracket stack again. A shield that still rocks after tightening usually has the wrong spacer thickness, a bent tab, or a clamp that does not match the exhaust shape. Picture a sportbike with an aftermarket canister: the shield may fit the pipe diameter, yet still sit crooked because the bracket offset is wrong.
Should you repair or replace?
Tightening is enough when the shield is straight, the fastener is present, and the noise comes from loose hardware. Repair makes sense when the bracket is bent but not cracked, or when a spacer or clip is the only failed part. Replace the shield when the panel is warped, holed, cracked, or rubbing the exhaust.
When OEM or aftermarket parts are the better call
Choose an OEM heat shield when the original part is worn, broken, or already matched to a specific pipe shape. Choose an aftermarket heat shield when you need a lower-cost replacement and the fit details line up. Motorcycle shields are relatively inexpensive, with a quoted replacement range of $50 to $150, but the right shape matters more than the price tag.
Heat shield materials and wrap
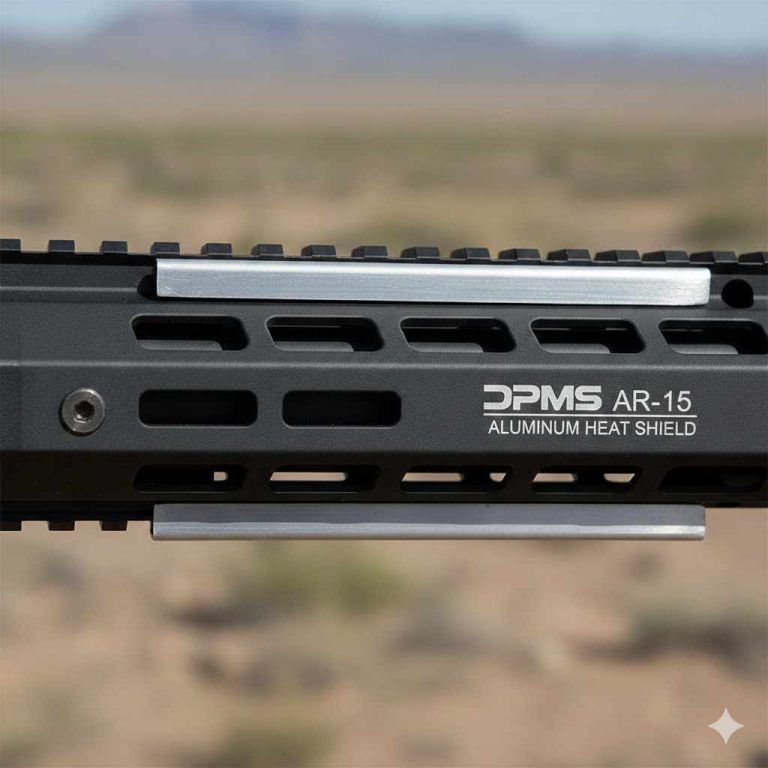
High-strength aluminum is a common OEM heat shield material, and it is made to tolerate very high exhaust heat. Titanium is a premium replacement material because of its high melting point, but it costs more than stainless steel. Stainless steel is another practical replacement material and is often the simpler value choice.
OEM heat shield versus aftermarket heat shield
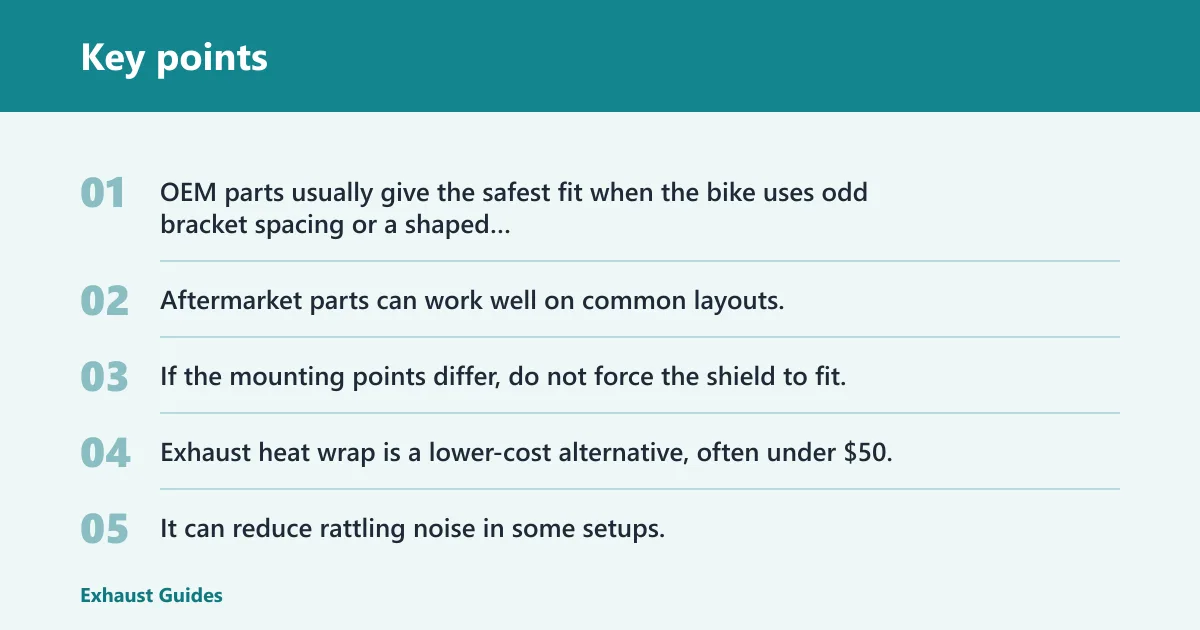
OEM parts usually give the safest fit when the bike uses odd bracket spacing or a shaped canister. Aftermarket parts can work well on common layouts, especially when the seller lists the exact model and exhaust type. If the mounting points differ, do not force the shield to fit; that invites vibration and cracked tabs.
Why exhaust wrap is different from a shield
Exhaust heat wrap is a lower-cost alternative, often under $50, and it should be made from durable material such as fiberglass or similar heat-resistant material. It can reduce rattling noise in some setups, but it wears out quicker than a metal shield and does not fit every bike the same way. It is an alternative, not a direct substitute.
Thin household aluminum foil is too thin for exhaust heat shield use. It tears, shifts, and cannot hold the same shape under heat and vibration. If the goal is to cover a missing shield, foil is not a safe substitute.
Common mistakes
Overtightening fasteners can distort the shield or strip the mount. Reusing damaged hardware can leave the shield loose again within a short ride. Ignoring a cracked bracket usually turns a simple repair into a broken mount. Treating wrap like a direct shield replacement can leave nearby parts exposed to heat.
A common first-timer mistake is fitting the shield first and then trying to line up the clamp. The better order is bracket, spacer, then fastener, with the shield held in its final position the whole time. That keeps the tabs straight and cuts the chance of a crooked mount.
Prevention: after a new shield is installed, check the hardware again after the first heat cycle and before the next long ride.
Frequently asked questions
How do I replace a motorcycle exhaust heat shield?
Remove the old shield, inspect the bracket stack, and fit the new part in the same mounting order. Start all fasteners by hand, then tighten evenly. If the service data gives a torque value, use a torque wrench. Recheck clearance so the shield does not touch the pipe, bodywork, or passenger contact areas.
How do I remove a broken exhaust heat shield?
Let the exhaust cool, support the system, and back out the fasteners slowly so the broken pieces do not twist the mount. If a tab has snapped, remove the remaining hardware first and lift the shield away without prying against the canister. Inspect for sharp edges before fitting anything new.
Can I ride with a missing heat shield?
Short trips may happen, but it is not recommended because the shield helps prevent extreme exhaust heat from reaching nearby parts and helps reduce rattling. If the missing part exposes a mount or a hot surface near your leg or luggage, fix it before riding far. A missing shield needs attention, not delay.
What tools do I need to fit an exhaust heat shield?
Use the fastener tool that fits your bike, such as a socket, hex key, or Torx bit. Add a torque wrench if the manual lists a value, plus replacement hardware, washers, spacers, and threadlocker only where specified. A flashlight and shop towel help with alignment and inspection.
How do I stop a heat shield from rattling?
Start with the fasteners and mounting points. Tighten loose hardware, replace missing clips or spacers, and check for worn isolators. If the shield still rattles after the mount is secure, look for a cracked tab or a warped panel. Loose shields create noise over bumps, so the fix starts with the mount, not the exhaust itself.
Should I replace the heat shield or use exhaust wrap instead?
Use a replacement shield when the original part is warped, cracked, or missing hardware. Use wrap only when the design supports it and you want a heat-management option rather than a metal cover. Wrap is cheaper, but it wears out faster and does not solve every mounting issue.