How to Tell If Exhaust Hangers Are Worn Out
Exhaust hangers may be worn when the rubber is cracked, stretched, torn, or lets the exhaust sag enough to hit the body; replace them if the pipe moves about 1/2 inch or more by hand. That 1/2-inch cue is a practical diagnostic, not a factory specification. Left alone, worn hangers can cause rattles, broken brackets, contact marks, and damage to flex pipes or mufflers. This guide shows how to spot hanger wear from sag, noise, and vibration, then tell whether the problem is rubber, alignment, or a damaged bracket.
What you’ll need

- Four-hole design helps adjust exhaust height
- Helps reduce vibration and rattling
- EPDM rubber is made for wear resistance
- Jack and jack stands for level-ground support
- Wheel chocks
- Gloves
- Flashlight or work light
- Tape measure or ruler for clearance checks
- Safety glasses if rust or debris is likely to fall
How do you inspect exhaust hangers?
Start with a safe undercar check on level ground, then inspect each hanger for tearing, stretching, or separation at the rubber or polyurethane section. Measure clearance at several points along the exhaust and look for fresh contact marks. According to common under-vehicle safety guidance from industry and government sources, the car should be supported on jack stands, not a floor jack alone. A hanger problem is most likely when the system sags, sits off-center, or shows shiny rub spots near the body.
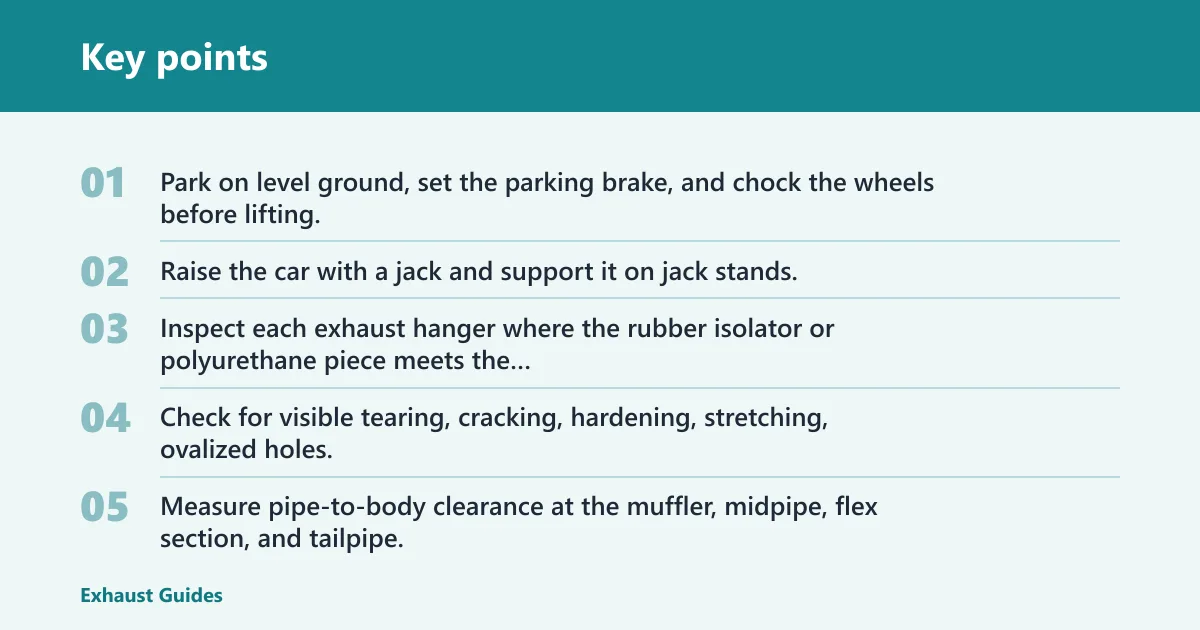
- Park on level ground, set the parking brake, and chock the wheels before lifting.
- Raise the car with a jack and support it on jack stands; never rely on the floor jack alone.
- Inspect each exhaust hanger where the rubber isolator or polyurethane piece meets the hooks or bracket.
- Check for visible tearing, cracking, hardening, stretching, ovalized holes, or a hanger that has slipped off a hook.
- Measure pipe-to-body clearance at the muffler, midpipe, flex section, and tailpipe; compare left and right where possible.
- Look for fresh witness marks, burned rubber, shiny rub spots, or soot where the exhaust has touched another part.
Suppose the rear muffler sits 1 finger-width lower on the right side, the rubber is split, and the tailpipe leaves a bright mark on the bumper bracket. That points to a worn hanger near the rear support, not a random rattle somewhere else.
How much sag is too much?
A common rule of thumb is that more than one finger-width of abnormal drop at a hanger point, or about 1/2 inch by hand, can point to a problem. That is not a universal factory spec, but it is a practical replace-now cue when the exhaust has shifted enough to reduce clearance or contact nearby parts.
What does a bad hanger sound or feel like?
A worn hanger often shows up as a metallic rattle, clunk, or bang over bumps, plus vibration in the cabin, floorpan, or rear bumper area. If the sound changes when the exhaust shifts under load, the hanger or its mount is a better suspect than the engine itself. Idle-only vibration can still come from exhaust movement.
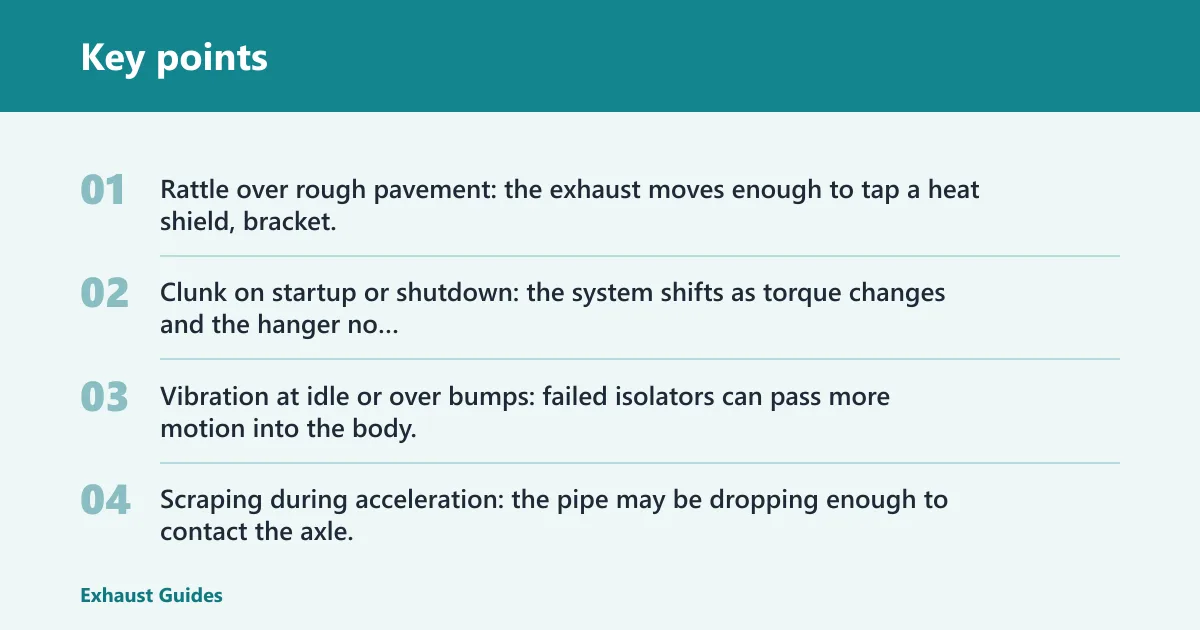
Noise patterns that point to hanger failure
- Rattle over rough pavement: the exhaust moves enough to tap a heat shield, bracket, or underbody panel.
- Clunk on startup or shutdown: the system shifts as torque changes and the hanger no longer holds it centered.
- Vibration at idle or over bumps: failed isolators can pass more motion into the body, especially on rear hangers.
- Scraping during acceleration: the pipe may be dropping enough to contact the axle, subframe, or shield.
Can a worn exhaust hanger cause rattling at idle? Yes, if the pipe is sitting against a shield or bracket at rest, or if the isolator is soft enough that engine shake moves the exhaust into contact. If the rattle appears only over bumps, the exhaust is moving too much for the available clearance.
Exhaust hanger checklist table
| Symptom | Likely failure point | Quick test | Action |
|---|---|---|---|
| Visible tear, split, or separation in the rubber | Rubber isolator | Pull lightly on the hanger; if it opens up or lets the hook slip, it fails. Pass if the rubber stays intact, grips the peg, and shows no cracking at the load points. | Replace the hanger now |
| More than one finger-width of abnormal drop | Worn isolator or stretched mount path | Measure pipe-to-body gap at the hanger and compare side to side. Pass if clearance is even and stays consistent; fail if the exhaust sits lower, especially with a practical 1/2-inch-or-more sag cue. | Replace the hanger and recheck alignment |
| Metallic contact noise over bumps | Heat shield, bracket, or exhaust touching body | Look for shiny rub marks and tap nearby shields by hand. Pass if no fresh contact marks appear; fail if the noise matches a bright witness mark or a clearance spot under 1/4 inch. | Inspect hanger, bracket, and shield together |
| One side sits lower than the other | Bent exhaust mount bracket or misalignment | Trace the load path from bracket to isolator to pipe. Pass if the hanger sits straight and the bracket holes are round; fail if the bracket is visibly bent or the hole is ovalized while the rubber looks serviceable. | Repair bracket alignment before replacing more parts |
| Rattle only at idle or startup | Soft or detached rubber isolator | Watch for exhaust shift when the engine rocks on start. Pass if the pipe remains centered; fail if the exhaust bumps the shield, bumper bracket, or rear crossmember during engine movement. | Replace worn isolator; inspect adjacent hangers too |
| Burned rubber or fresh soot near the hanger | Contact with hot exhaust or nearby shield | Check for heat marks, melted edges, or black transfer marks. Pass if there are no fresh marks and no heat discoloration; fail if the rubber is scorched or the nearby part shows a bright new rub line. | Fix the contact point and the hanger that allowed it |
How do you tell hanger wear from bracket damage?
If the rubber looks fine but the exhaust still sits crooked, check the exhaust mount bracket before blaming the hanger. A bent, rusted, or hole-elongated bracket can change the load path and create a false diagnosis. Heat shields can also rattle on their own, so the hanger, bracket, and shield should be inspected as one system.
- Inspect the exhaust mount bracket for bend, rust scale, cracked welds, or elongated bolt holes.
- Check whether the hanger sits straight in the bracket and carries the load in line with the pipe.
- Look for loose heat-shield fasteners or contact marks that match the noise path.
- If the bracket is bent, correct that first; a new hanger will not sit right on a misaligned mount.
Picture a rear hanger that looks intact, but the bracket hole has ovalized and the muffler hangs low on one side. In that case, the bracket is the main fault, and the hanger may only be the part showing the symptom.
What usually fails first?
On OEM systems, the rubber isolator usually goes first because it hardens with heat cycles, then splits or stretches. Polyurethane lasts longer in some setups, but it can still transmit more vibration if the exhaust is already misaligned. Metal-supported variants depend heavily on correct bracket geometry and can fail by rust or bent supports.
What causes exhaust hangers to crack or stretch?
Heat, age, engine movement, and constant road vibration break down rubber isolators over time. Lowered suspensions, heavier mufflers, and aftermarket exhausts can load the hangers at a different angle, which speeds stretching or separation. Rust at the bracket or hook can add a second failure point by changing the load path.
- Repeated heat cycles harden rubber and make it split sooner.
- Extra exhaust weight, such as a larger muffler, pulls harder on the hanger.
- Lower ride height can reduce clearance and increase contact on bumps.
- Rust near the hook or bracket can weaken the attachment point.
- Misalignment after exhaust work can leave one hanger carrying too much load.
Should you replace one hanger or all of them? If only one hanger is torn and the rest are soft but intact, replace the failed one and inspect the neighboring hangers closely. If the system uses multiple hangers on the same run and the rubber is aged or hardened in several spots, replacing them together is usually smarter than chasing one failure at a time.
Can I drive with a worn exhaust hanger?
Short trips may be possible if the exhaust is not touching anything and the system stays secure, but a worn hanger should not be ignored. Once the pipe starts contacting the body, damage can spread to the flex pipe, muffler shell, heat shield, subframe, or bumper cover. Any loose or dragging section needs prompt repair.
If that didn’t work, try this next
- If the hanger still looks questionable after inspection, raise the car again and recheck clearance with the exhaust hot and cold; movement can appear only in one condition.
- If the gap changes a lot between runs, inspect the adjacent hanger and the bracket next to it.
- If the system only contacts under acceleration, check the front hanger and any flex section first, since torque twist can shift the pipe forward or upward.
Common mistakes
- Confusing heat-shield rattle with hanger failure. Check for loose shield fasteners and shiny contact marks before replacing parts.
- Measuring only one point. Check clearance at the muffler, midpipe, flex section, and tailpipe, not just the obvious sagging spot.
- Replacing one hanger while ignoring the next hanger in the same load path. A weak neighbor can pull the new part out of alignment.
- Using a floor jack alone under the car. Support it with jack stands on level ground and use wheel chocks.
- Assuming the rubber is the only fault. A bent bracket or rusted hook can make a good hanger sit wrong.
Frequently asked questions
How can I tell if my exhaust hangers are worn out?
Look for cracking, tearing, stretching, or separation in the rubber, then confirm that the exhaust drops more than one finger-width or about 1/2 inch at the hanger point. If the system also leaves fresh rub marks or touches a shield, the hanger is no longer holding proper clearance.
What does a bad exhaust hanger sound or feel like?
Common signs are a metallic rattle, clunk, or bang over bumps, plus vibration in the floor, rear seat area, or bumper. If the noise changes with engine movement at startup or idle, the hanger or bracket is more likely than a loose interior panel.
Can a worn exhaust hanger cause rattling at idle?
Yes. A soft or torn hanger can let the exhaust rest against a heat shield or bracket while the engine shakes at idle. If the sound stops when the pipe is nudged back into place, the clearance problem is at the hanger path, not inside the cabin.
How long do rubber exhaust hangers usually last?
There is no fixed mileage for every vehicle. Heat, road salt, weight, and exhaust layout matter more than a single number. A hard, cracked, or ovalized isolator should be replaced regardless of age, especially if it has already started to sag or split.
How much sag is too much for an exhaust system?
More than one finger-width of drop at a hanger point is a practical warning sign, especially if ground clearance or body clearance is reduced. If the exhaust sits uneven side to side, or if it contacts over bumps, it needs attention before damage spreads.
Should I replace one exhaust hanger or all of them?
Replace the failed hanger immediately, then inspect the rest of the system. If the other rubber pieces are hard, cracked, or similarly aged, changing them together can keep the exhaust level and reduce repeat labor. On systems with multiple hangers, a single old support can still pull the new one out of position.
How do I inspect exhaust hangers without a lift?
You can inspect them with a floor jack, jack stands, wheel chocks, and a flashlight on level ground. Support the car on stands, then check each hanger by hand, measure clearance, and look for rub marks. A lift makes access easier, but it is not required for a solid diagnosis.