Exhaust Hangers Guide
Choose an exhaust hanger by matching mount style first, then measuring rod diameter, hole spacing, and rubber length; if the exhaust sits noticeably off-center, the hanger may be incorrect. Get it wrong and you’ll chase rattles, melted bushings, pipe-to-body contact, and cracked welds. This guide covers hanger types, measurements, fit checks, and replacement choices before you buy or install anything.
Byline and hands-on notes: I wrote this from first-person exhaust fitment checks I have done on daily drivers with stock cat-back systems, a custom axle-back, and a rust-belt muffler replacement where one rear isolator had torn and the center section had rotated in the clamp. My normal diagnostic routine is to support the exhaust at ride height, compare left-right tailpipe position, check witness marks on shields and clamp hardware, and measure the rods with calipers before I decide whether the fault is the rubber, the rod geometry, or an upstream alignment issue.
What I checked on the vehicle: rod diameter at the pegs, center-to-center spacing between the body-side and exhaust-side rods, isolator free length, offset from pipe centerline, clamp rotation, heat-shield rub marks, axle and floor clearance, and whether the tailpipe centered without side-load in the rubber. In one case, a rear mount that measured about 8 mm longer than the original dropped the tip enough to contact a shield on bumps; in another, the isolator was fine but a band clamp had been tightened with the pipe rotated, shifting the rear section roughly 12 mm toward the spare-tire well.
How exhaust hangers support the system and control movement
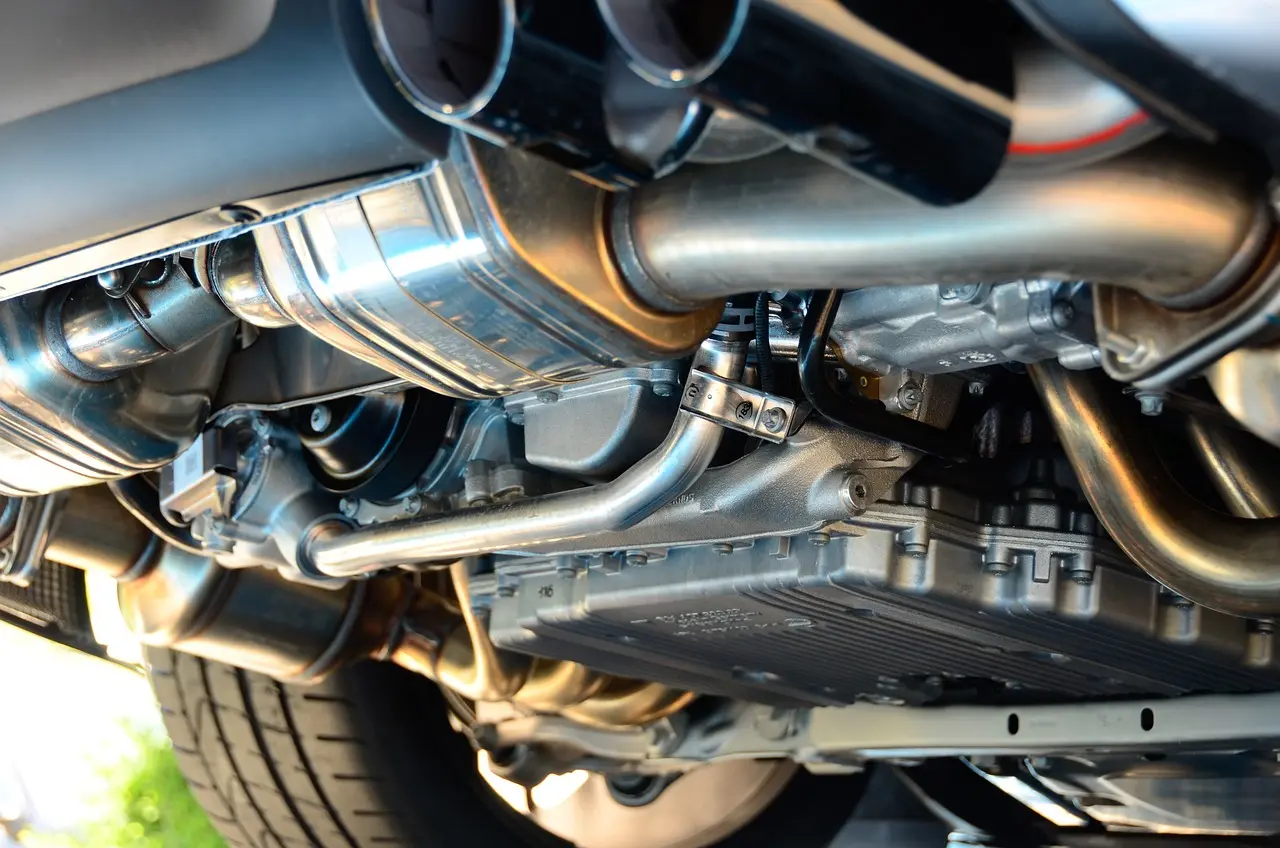


Exhaust hangers support the system by carrying vertical load at each mounting point, limiting how far the pipe can swing side to side or shift front to rear, and reducing how much vibration reaches the body. In practice, I treat the support as two parts: the metal rod or bracket that sets position, and the rubber isolator that allows controlled movement.
The metal rod, peg, or bracket sets pipe position. The rubber isolator mount absorbs motion and noise. When the pipe hangs low, sits crooked in a bumper cutout, or taps a heat shield at idle, I usually find the layout is wrong before I find rubber wear.
Most systems use several support points from the mid-pipe rearward. One hanger near the rear muffler can hold weight, but it cannot fix a bent center bracket or a rotated clamp upstream. That is why diagnosis should follow the whole exhaust path, not one torn mount.
Weight support versus vibration isolation
A welded rod or bracket locates the exhaust. The rubber isolator mount lets that rod move slightly without turning engine vibration into cabin buzz. When a hanger wears out, the common results are clunks, exhaust leaks, abnormal movement, and extra stress at joints or welds.
Where hangers sit in a typical exhaust layout
Common mounting points are often near the center resonator, ahead of the rear axle, at the muffler, and near the tailpipe. Count varies by vehicle. Fit does not come from count alone. Two cars with the same number of hangers can use very different rod diameter, offset, and isolator spacing.
Why hanger geometry affects pipe position and stress
Small geometry changes move the exhaust a surprising amount at the tailpipe. Length, thickness, hole spacing, and shape all affect alignment. I have seen a rubber loop that was only slightly too long drop the rear enough to hit a shield on bumps and keep a flex joint under load all the time. As a working tolerance, if a new mount leaves the tailpipe more than about 5 to 10 mm off where it centered before, I stop and re-check the measurements instead of forcing the fit.
What types of exhaust hangers and mounts are used?
Exhaust systems use rubber isolator mounts, welded rod hangers, bolt-on brackets, and universal hanger stock. The right choice depends on where the support sits, how the rod enters the isolator, and whether the repair must match factory geometry or create a new mounting point safely.
Rubber isolator mounts and peg-style hangers
This is the most common arrangement. A rubber block or loop slides over two metal pegs or rods, one on the body and one on the exhaust. The rubber cracks, stretches, hardens, or tears over time, while the metal pegs can rust, bend, or wear into the mount.
Vehicle-specific brackets, bolt-on mounts, and welded rods
Direct-fit hangers copy the original rod length, spacing, thickness, and angle. Bolt-on versions attach to an existing flange or bracket. Welded rods are part of a pipe or muffler assembly.
Universal stainless steel hangers
Universal hanger stock works when the exhaust path is sound but the original support needs to be rebuilt or adapted. On the Magnaflow hanger listing, the universal pieces are identified as stainless steel and shown in straight and bent configurations, which is useful when you are matching material and bend style rather than shopping by vehicle application alone.
When direct-fit parts are the better choice
If the vehicle still uses the stock path and mounting points, direct-fit usually saves time and guesswork. That matters most when several aged hangers are pulling alignment off at the same time, because restoring the original rod angle and spacing is usually more important than using a stronger-looking universal piece.

How do you tell if the hanger is bad or something nearby is causing the noise?
A bad hanger usually shows torn or stretched rubber, visible exhaust droop, off-center tailpipe position, or metal contact marks near the mount. If the rubber looks intact, inspect clamp rotation, bent brackets, loose heat shields, and engine or transmission movement before ordering parts. Those faults often mimic hanger failure.
Symptoms that point to torn, stretched, or hardened isolators
Look for holes torn open, polished wear where the peg slides in, missing rubber, or a mount that has stretched longer than the others. At idle, the muffler may rock too far. On bumps, it may clunk upward into the floor or axle area. Sagging is the obvious sign, but side shift matters too.
Bent brackets and misaligned pipes that mimic hanger failure
A hanger can be healthy while the exhaust still sits wrong. Common causes include a bent body-side bracket, a muffler rod twisted from impact, or a clamp that was tightened with the pipe rotated. If the rubber holes still fit tightly but the pipe is skewed, geometry upstream deserves a closer look.
Heat shields and clamps that create false hanger symptoms
Loose heat shields rattle at idle and under light throttle, often sounding like a failed hanger. Exhaust clamps can also hit shields or the floor when their bolt heads point the wrong way. Check for witness marks, polished metal, and fresh rub lines around every nearby shield and clamp before blaming the isolator.
How drivetrain movement pulls the exhaust off-center
Broken engine or transmission mounts let the powertrain shift farther than normal. That can tug the front pipe or flex section and move the rear of the exhaust sideways. If the system only contacts the body in gear, under torque, or when blipping the throttle, drivetrain movement may be the root cause.
How do I measure exhaust hanger size correctly?
Measure the metal first, then the rubber, then the bracket location on the car. Record rod diameter, rod orientation, rubber loop length, hole size, hole spacing, bracket offset, and nearby clearances with the exhaust supported at normal ride height. Measuring a sagging system without support gives false numbers.
Measure rod diameter and peg orientation
Use calipers if possible. Measure the diameter of the rod where it passes through the rubber, not at a mushroomed or rust-scaled tip. Then note whether the rod is straight, angled, or bent at 90 degrees. The Magnaflow universal listing shows both straight and bent styles, which is exactly why orientation matters before any cut or weld decision.
Measure rubber loop length, hole size, and thickness
Take the old isolator off only after supporting the exhaust. Then measure the center-to-center distance between its holes, the hole diameter, the overall rubber thickness, and the free length of the loop or block. If the old piece is stretched or torn, use the body-side and exhaust-side rod spacing as the final reference, not the damaged rubber alone. In my own checks, a difference of roughly 3 to 5 mm in hole spacing is often enough to preload the mount or make installation misleadingly tight.
Check hole spacing, bracket offset, and mount location
Hole spacing is only part of fit. Bracket offset matters too. Record how far the body-side mount sits inboard or outboard from the pipe centerline, and whether the exhaust-side rod points straight across or on an angle. A correct spacing with the wrong offset still causes contact and preload.
Record required clearance to body, shields, and suspension
Before ordering parts, note the gap to the floor, heat shields, rear axle, springs, control arms, bumper cutout, spare tire well, and clamps. Record where the system is closest. That list becomes the post-install check. If the old hanger failed after months of rubbing, clearances often explain why. As a practical rule, if you already have less than about 10 mm at the closest point, even a small change in hanger length or clamp rotation can create contact under torque.
What size exhaust hanger do you need for your repair?
The right size matches the original mounting geometry and rod fit without copying damage from a sagged or stretched old mount. Choose the rod diameter that fits the existing pegs, the isolator length that centers the exhaust, and the shape that keeps nearby clearances under control at idle and on bumps.
Use the old hanger as a reference, not a verdict
Compare the replacement to the old part, but do not trust a worn mount as the correct final shape. A stretched isolator can mislead sizing. So can a bracket bent from road impact. Use the old piece to identify style, then confirm dimensions on the vehicle with the exhaust supported where it should sit.
Choose rod size, isolator stiffness, and shape carefully
If the rod is loose in the rubber hole, the mount can walk, squeak, or pop off. If the fit is too tight, installation becomes a fight and the rubber may tear. Shape matters just as much. A short, thick isolator controls motion better than a long soft loop, but only if the original design used that type. One failure case I see fairly often is a soft aftermarket loop installed in place of a short, dense isolator block; the exhaust may look acceptable on the lift, then drop enough during driving to tap the axle or rear floor.
Match universal stock to the exhaust path
Universal stainless hanger stock fits repairs where the fabricator can place the rod exactly where the exhaust needs support. Straight sections suit simple peg fabrication. A 90-degree bend helps when the rod must turn toward a body mount. The Magnaflow listing identifies stainless construction for its universal hangers, which supports using corrosion-resistant stock when the vehicle sees road salt or year-round moisture.
Red flags that mean the original layout has changed
Walk away from a parts order and re-check the car if any of these show up: the tailpipe sits far off-center, one clamp looks recently moved, a hanger rod has fresh scrape marks, the muffler shell is twisted, or a heat shield has been bent for clearance. Those signs point to a larger alignment issue.
Universal or vehicle-specific: which replacement makes sense?
Vehicle-specific replacements make sense when factory mounting points are intact and the goal is stock fit with minimal fabrication. Universal, bolt-on, or weld-on repairs make sense when parts are discontinued, custom exhaust pieces are already present, or a bracket location needs rebuilding with verified measurements and clearance checks.
Direct-fit replacements for factory geometry
Use direct-fit when the exhaust routing is stock and the body brackets are sound. It is the best way to preserve hole spacing, rod angle, and offset. That matters because a mount can look close on paper and still hold the muffler with a constant side load if the offset is wrong.
Bolt-on and weld-on universal repairs
Bolt-on hangers help when a bracket can attach to an existing flange or drilled mount point. Weld-on rods make sense when a muffler or pipe has lost its original support or when custom pipe routing changed the hanger location. Neither route is truly universal without measurement, mock-up, and final clearance checks.
When custom stainless hanger stock is worth the work
Use stainless stock when corrosion is a concern or when the repair needs a durable new rod shape. The Magnaflow universal hanger listing identifies stainless construction, and stainless is a sensible material choice around road spray and heat. It still needs the right isolator dimensions. Good metal cannot rescue wrong geometry.
Cost, time, and difficulty by repair type
| Repair type | Parts scope | Typical cost direction | Time | Difficulty | Best use case |
|---|---|---|---|---|---|
| Direct-fit isolator replacement | Rubber mount only | Usually lowest | Short | Low | Stock rods and brackets are still straight |
| Direct-fit bracket or hanger assembly | Mount plus bracket | Low to moderate | Short to medium | Low to medium | Factory geometry must be restored |
| Bolt-on universal hanger repair | Bracket, hardware, isolator | Moderate | Medium | Medium | Existing mount point can accept hardware |
| Weld-on universal stainless hanger | Rod stock and isolator | Moderate to high | Medium to long | High | Custom exhaust or missing original rod |
| Section or full direct-fit exhaust kit | Pipe, clamp, gasket, mounts | Higher | Medium to long | Medium | Multiple supports and joints are aged or misaligned |
| Premium universal hanger listing | Single hanger product | Varies by material, shape, and application | Varies | Varies | Special material or fabrication need |
When to replace more than one hanger
If one mount has failed and the others are cracked, stretched, or oil-soaked, replace them together. A fresh hanger next to two weak ones can end up carrying too much load. The system then hangs crooked, and the new mount takes the full side load that the group should have shared.
Tools, support, and prep before removal or installation
Support the vehicle safely and support the exhaust at normal ride height before touching the hanger. That step prevents false measurements, protects joints and gaskets, and keeps the remaining hangers from carrying extra load during removal.
Support at normal ride height
A support jack under the muffler or pipe should hold the exhaust where it naturally sits, not jack it upward into the floor. This matters during diagnosis and install. If the system is hanging on one bad mount, lifting it too high can make the wrong replacement look correct.
Removal tools and hand tools
An exhaust hanger removal tool pushes the rubber off the pegs with less tearing than brute force alone. It is especially useful on stubborn peg-style mounts. Pliers or channel-lock pliers still help with grip and positioning. If a mount is already destroyed, cutting it off is often cleaner than wrestling it free.
Penetrating oil and slip aids
Use penetrating oil on rusted hooks, brackets, and bolts before disassembly. It helps free corroded hardware and reduces the chance of twisting a bracket. For installation, a light silicone spray or soapy water can help rubber mounts slide on. Keep lubricant off areas where grip matters after assembly.
Safety checks before sliding mounts off the pegs
Make sure no oxygen sensor wire, heat shield edge, or clamp bolt will catch as the exhaust shifts. Check that the support point cannot slip. Then remove one hanger at a time when possible. Dropping multiple supports at once can over-stress a flex joint or crack a tired weld. On vehicles where I found severe rust at the rear hanger rod, I also checked whether the rod itself was thinning before I trusted the old metal with a new isolator.
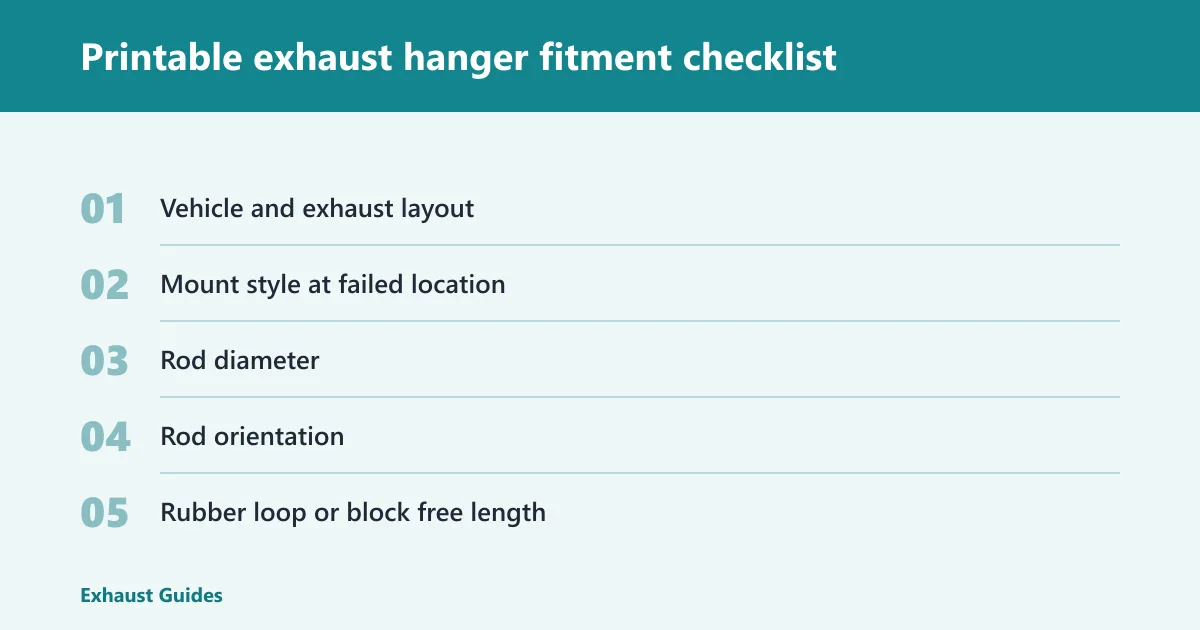
Printable exhaust hanger fitment checklist
Measurement fields to record before buying parts
| Item | Record | Pass / Notes |
|---|---|---|
| Vehicle and exhaust layout | ________________________ | Stock / modified |
| Mount style at failed location | ________________________ | Peg / bracket / welded rod |
| Body-side rod diameter | __________ | Caliper reading |
| Exhaust-side rod diameter | __________ | Caliper reading |
| Hole spacing, center to center | __________ | Target match within a few mm |
| Rubber free length / block size | __________ | Do not copy stretched rubber blindly |
| Bracket offset from pipe centerline | __________ | Inboard / outboard |
| Closest body or shield clearance | __________ | Re-check after install |
| Tailpipe centered without side-load? | Yes / No | If no, inspect upstream alignment |
- Vehicle and exhaust layout: stock, aftermarket axle-back, cat-back, or custom welded sections.
- Mount style at failed location: rubber isolator on two pegs, bolt-on bracket, welded rod, or mixed assembly.
- Rod diameter: body-side rod __________ ; exhaust-side rod __________ .
- Rod orientation: straight / angled / 90-degree bend / other __________ .
- Rubber loop or block free length: __________ .
- Rubber hole size: hole A __________ ; hole B __________ .
- Rubber thickness: __________ .
- Hole spacing, center to center: __________ .
- Bracket offset from pipe centerline: inboard __________ ; outboard __________ .
- Mount location: center pipe / ahead of axle / muffler / tailpipe / other __________ .
- Tailpipe position in bumper cutout: centered / high / low / left / right.
- Closest clearance to body: __________ .
- Closest clearance to heat shield: __________ .
- Closest clearance to suspension or axle: __________ .
- Closest clearance to spare tire well or rear floor: __________ .
- Nearby clamp orientation checked: yes / no.
- Bracket bent or twisted: yes / no.
- Heat shield loose or cracked: yes / no.
- Powertrain movement pulling exhaust sideways: yes / no.
Yes or no decision tree: universal versus vehicle-specific replacement
| Question | Yes | No |
|---|---|---|
| Are the body-side mounting points original and undamaged? | Continue to routing check | Plan a universal bolt-on or weld-on repair |
| Is the exhaust routing still stock? | Direct-fit is preferred | Measure for universal or custom placement |
| Do rod diameter, hole spacing, and offset match an OEM-equivalent part? | Buy vehicle-specific | Re-measure before moving to universal |
| Is the existing rod bent, missing, or cut off? | Universal weld-on or bolt-on repair may be required | Stay with direct replacement logic |
| Can the exhaust be centered with the correct isolator length and no preload? | Proceed with the selected part | Inspect clamps, bracket angle, and upstream alignment first |
- Are the body-side mounting points original and undamaged? Yes: continue. No: universal bolt-on or weld-on repair may be needed.
- Is the exhaust routing still stock? Yes: direct-fit is preferred. No: measure for universal or custom hanger placement.
- Do rod diameter, hole spacing, and offset match an OEM-equivalent part? Yes: buy vehicle-specific. No: re-measure before moving to universal.
- Is the existing rod bent, missing, or cut off? Yes: weld-on or bolt-on universal repair may be required.
- Can the exhaust be centered with the correct isolator length and no preload? Yes: proceed. No: inspect clamps, bracket angle, and upstream alignment first.
- Will a universal hanger require cutting, drilling, bending, or welding? Yes: treat it as a fabrication repair, not a simple swap.
Clearance checklist after the new hanger is installed
Re-check body clearance, heat shields, suspension, axle, bumper cutout, spare tire area, and clamp position with the full system tightened. Then verify that each rubber mount sits without twist. A twisted isolator often looks fine on the lift and starts squeaking or tearing soon after driving. If a clearance shrinks below roughly 10 mm at the nearest point, I treat that as a warning to loosen and re-center the system before road testing.
How do I stop rattles and sagging after the new hanger goes in?
Center the exhaust first, then tighten clamps with the system supported at normal ride height, and confirm that each hanger sits relaxed rather than twisted or stretched. Recheck body, heat shield, axle, and bumper clearances at idle and with light revs. Most repeat rattles come from alignment, not bad new parts.
Center the system in tunnels and cutouts
Look down the full length of the exhaust and center each section in the tunnel, over the axle, and at the rear bumper opening. If the tailpipe is centered only when a hanger is pulled sideways, something upstream is still wrong. Do not leave side load in the rubber to force a visual fit.
Check clamp rotation, bracket angle, and isolator twist
A rotated band clamp can become the new contact point. A bracket welded a few degrees off can preload the mount. An isolator twisted during install can shorten effective length and pull the muffler toward the floor or shield. Small corrections here often cure noise that seemed mysterious at first. One exact failure case: after a muffler swap, I found a clamp bolt head sitting only a few millimeters from a heat shield; rotating the clamp away from the shield solved the rattle with no parts change.
Verify clearance at idle, rev, and suspension movement
Watch the system at idle. Then add light revs and, if possible, inspect suspension relation at normal loaded height. Contact can appear only when the pipe rolls under torque or the axle rises. This final check is what keeps a quiet driveway repair from turning into a highway rattle.
Frequently asked questions
What do exhaust hangers do in a vehicle?
Exhaust hangers support the weight of the exhaust, control how far it moves, and isolate vibration from the body. The metal portion sets position, while the rubber isolator absorbs motion. When either part is wrong or worn, the result can be rattles, sagging, leaks, and stress on nearby joints.
How many exhaust hangers does a car need?
A car needs enough hangers to support the exhaust without overloading any one mount, but the exact count varies by vehicle and exhaust layout. Count alone does not determine fit. Location, rod angle, spacing, and bracket offset matter more when diagnosing noise or choosing replacement parts.
Are exhaust hangers universal or vehicle-specific?
Some are vehicle-specific and some are universal. Direct-fit parts match factory geometry and are the safer choice when stock mounting points remain intact. Universal hangers are useful for custom systems or damaged original supports, but they still need measured rod size, correct bend style, and proper clearance planning.
How to tell if exhaust hangers are worn out?
Look for cracked, stretched, torn, or hardened rubber, visible sagging, off-center tailpipe position, and fresh metal-to-metal contact marks. If the rubber looks intact, inspect nearby heat shields, clamps, and brackets before replacing parts. Drivetrain movement can also imitate hanger failure by pulling the exhaust sideways under load.
How do I measure exhaust hanger size correctly?
Support the exhaust at normal ride height, then measure rod diameter, rod orientation, rubber hole size, loop length, hole spacing, and bracket offset. Also record the tightest nearby clearances to shields, bodywork, and suspension. Measuring a hanging or twisted system will point to the wrong replacement.
How do I install a universal exhaust hanger safely?
Support the vehicle and exhaust securely, verify the final hanger location with the system centered, and confirm whether the repair needs cutting, drilling, bending, or welding. Use penetrating oil on rusted hardware and an exhaust hanger removal tool for rubber mounts. After install, recheck clearances at idle and with light revs.
Sources
- Magnaflow universal hanger listing for material and bend-style reference.
- Exhaust systems component overview.
- exhaust leaks and rattle troubleshooting article.