How to Treat Rusted Exhaust Clamps Before They Fail
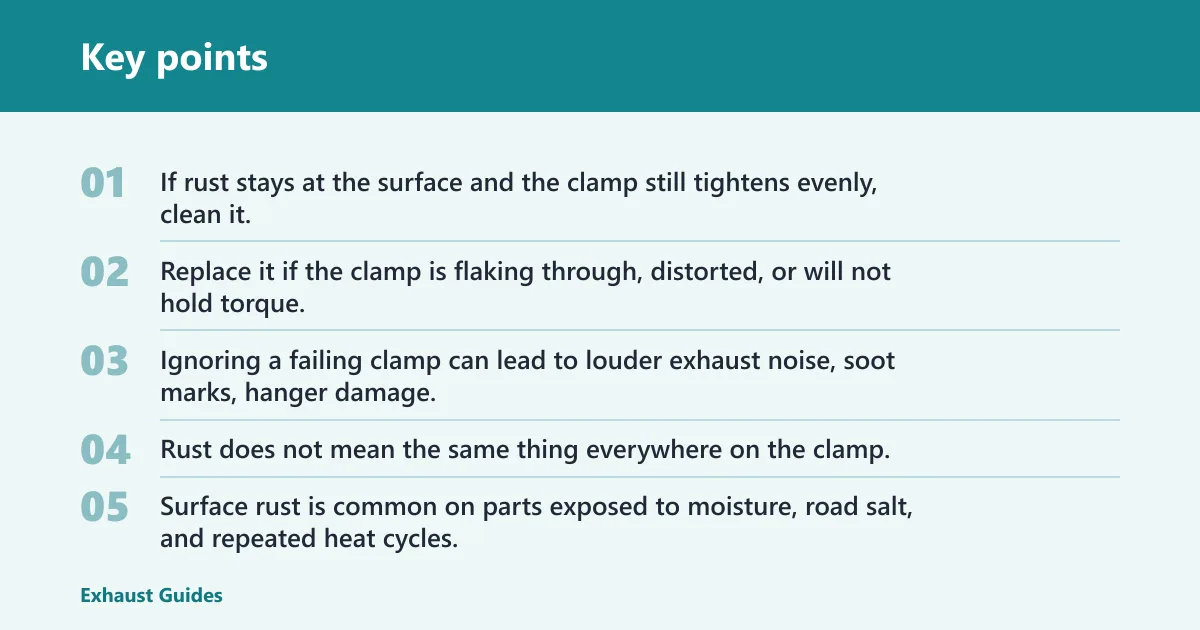
If rust stays at the surface and the clamp still tightens evenly, clean it, use exhaust-safe sealant only if the joint leaks, and retorque. Replace it if the clamp is flaking through, distorted, or will not hold torque. Ignoring a failing clamp can lead to louder exhaust noise, soot marks, hanger damage, and seized hardware.
Rust does not mean the same thing everywhere on the clamp. Surface rust is common on parts exposed to moisture, road salt, and repeated heat cycles, but rust that has eaten into the metal, thinned the band, or bent the clamp can signal a more serious problem. That is where triage matters. For broader exhaust leak symptoms, a ticking or hissing noise, soot at the seam, and exhaust odor are common clues.
What rust means on an exhaust clamp


Surface rust versus flaking rust
Surface rust is a thin layer that still leaves the clamp’s shape intact. Flaking rust means the metal is breaking away in layers, which can hide loss of thickness at the band, bolt head, or saddle. If the clamp still pulls evenly and the joint stays aligned, cleaning may be enough. If not, replace it.
Pitting, thinning, and deformation
Pitting is a deeper warning than discoloration. Once rust leaves small craters or thins the clamp body, the metal has less clamp load to give the joint. Deformation matters too. A clamp that has opened up, ovaled, or twisted is less likely to seal the pipe evenly, even if the fastener still turns.
Why road salt speeds failure
Road salt is a corrosion accelerator. In salt-belt states, moisture plus de-icer exposure keeps the clamp damp long after a drive, so rust grows faster and bolts seize sooner. That is why the same clamp may last much longer in dry use than in regions with repeated winter road treatment. Corrosion from de-icing salt is also a well-known underbody problem on road vehicles. Corrosion can shorten the life of exhaust hardware and related components.
How do you tell if the clamp is the problem?
A clamp is only one possible leak source. Look for ticking, hissing, soot, or a puffing sound that changes with engine speed, then inspect the pipe ends, alignment, and hangers before blaming the clamp. A cracked pipe, uneven joint, or sagging support can create the same symptoms. If the joint is still sound, a clamp issue is often fixable with cleanup, proper alignment, and retorque.
Leak signs: ticking, hissing, soot, odor
A small exhaust leak often sounds like ticking or hissing near the joint. Black or grey soot around the seam is a stronger sign that gas is escaping there. Odor can follow, especially at idle or under load. A loose clamp may rattle, but a leak usually leaves a cleaner trail at the source.
Check for pipe cracks and bad alignment
Before replacing the clamp, inspect the pipe outside diameter and the joint structure, not just the nominal size. Uneven clamping can come from pipe ovality, crushed ends, corrosion scaling, or bad prep at the seam. A clamp cannot seal a cracked or badly shaped joint for long, even with high-temp sealant. For alignment and tightening limits, follow the vehicle or clamp maker’s torque guidance rather than guessing.
Look at hangers and joint movement
Exhaust hanger wear can mimic clamp failure. A sagging rubber isolator, bent rod, or loose bracket lets the pipe move, which changes clamp load and reopens leaks. If the exhaust hangs low or shifts when shaken, fix the support problem or the new clamp may fail the same way.
Clamp triage table
| Visible condition | Likely risk | Safe action | Tools needed | Replace-now triggers |
|---|---|---|---|---|
| Surface rust | Low if metal is still sound | Wire-brush loose rust, clean the joint, then reassess for leaks | Wire brush, jack stands, gloves | Clamp still leaks after cleaning; torque will not hold |
| Flaking rust | Moderate; thickness may be falling away | Tighten only if the metal remains sound and the joint is aligned | Penetrating oil, torque wrench, brush | Metal crumbles, band is thin, or hardware bends |
| Pitting | High; clamp load can drop fast | Replace rather than rely on sealant or a retorque | Replacement clamp, socket set | Deep pits, thinning, or visible crack lines |
| Deformation | High; sealing and alignment are unreliable | Replace and correct the joint fit before reassembly | Replacement clamp, alignment tools | Clamp is bent, ovaled, or twisted out of shape |
| Seized bolts | Removal risk is high | Soak, then escalate to heat or cutting if needed | Penetrating oil, heat source, cut-off tool | Threads strip, head rounds, or hardware snaps |
| Active leakage | Immediate service needed | Repair the joint or replace the clamp and failed hardware | Torque wrench, sealant, replacement parts | Soot, ticking, hissing, or visible gas trail persists |
Which clamp type are you working on?
Clamp type changes the repair path. A lap joint clamp grips overlapping pipes. A butt joint clamp is intended for same-diameter pipe ends. A V-band clamp uses matching flanges and is common where frequent disassembly is needed. A U-bolt clamp is often less forgiving of fit and pipe shape.
Lap joint and butt joint basics
A lap joint clamp is built for overlapping pipes, so the overlap length and pipe roundness matter. A butt joint clamp is for same-diameter ends meeting at a seam, which makes alignment and outside diameter match more important. If the joint is mis-sized, no amount of tightening will make the fit right.
V-band clamp warning signs
V-band clamps rely on matching flanges. If the flanges are damaged, warped, or unevenly seated, the clamp can leak even when tightened. That style is useful where frequent removal is expected, but it still needs clean mating surfaces and correct alignment to stay sealed.
U-bolt clamp limits and fit issues
U-bolt clamps can work on simple joints, but they are sensitive to pipe ovality and poor clearance. They also tend to load the pipe unevenly if the joint is rusty or distorted. If the pipe end is thin or misshapen, a U-bolt can worsen the problem instead of fixing it.
What can you clean and reuse?
Cleaning is reasonable when rust is only on the surface and the clamp still has full shape and holding power. Remove loose rust, carbon, old sealant, and burrs before tightening. Use rust converter only on light surface rust, and use exhaust sealant only for small leaks on clean mating surfaces.
Remove loose rust and debris
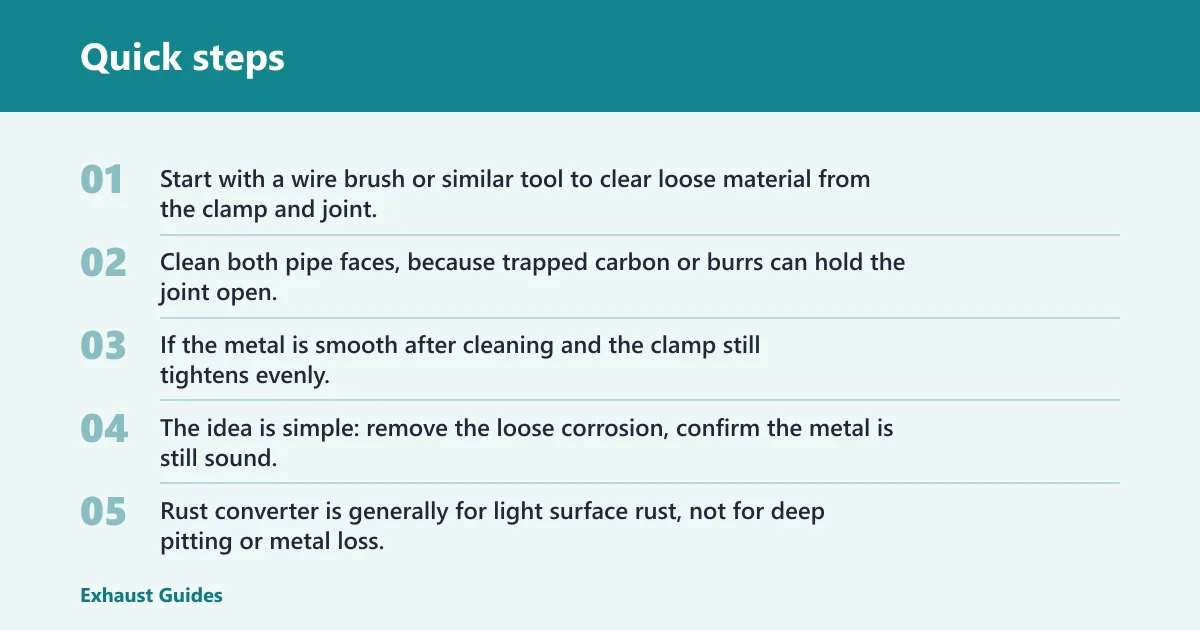
Start with a wire brush or similar tool to clear loose material from the clamp and joint. Clean both pipe faces, because trapped carbon or burrs can hold the joint open. If the metal is smooth after cleaning and the clamp still tightens evenly, the part may be reusable. The idea is simple: remove the loose corrosion, confirm the metal is still sound, and then test whether the joint can reseal.
Use rust converter only on light surface rust
Rust converter is generally for light surface rust, not for deep pitting or metal loss. High-temp compatibility matters because exhaust parts are exposed to sustained heat. If the coating cannot handle exhaust service, it is the wrong product. Use the converter only as a cleanup aid on minor corrosion, not as a way to save a clamp that is already thinning or distorted. High-temp sealants are intended for gasket and flange sealing, not for rebuilding rusted metal.
Apply exhaust sealant only to minor leaks
High-temperature exhaust sealant is generally used for minor leaks on clean mating surfaces. It is an adjunct repair, not a cure for a cracked pipe or thin clamp. If the joint is dirty, misaligned, or badly corroded, sealant will only buy time. That is useful for a driver who needs the vehicle moving, not for a permanent fix. Use it sparingly and only after the parts are cleaned, aligned, and ready to seal.
Say your lap joint clamp is about 2.25 inches and shows light orange rust with a faint hiss at idle. After cleaning the seam and checking alignment, a thin sealant layer and a proper retorque may hold the joint. If the same clamp has deep pits and flakes in your hand, replacement is the safer path.
How should you remove seized hardware?
Seized exhaust bolts should not be treated as a one-step job. Penetrating oil needs soak time before removal, then heat can help if it is safe around nearby parts, and cutting becomes the better option when the threads are too far gone. Rushing this step often snaps hardware. Penetrating oil first is the standard approach for stubborn fasteners.
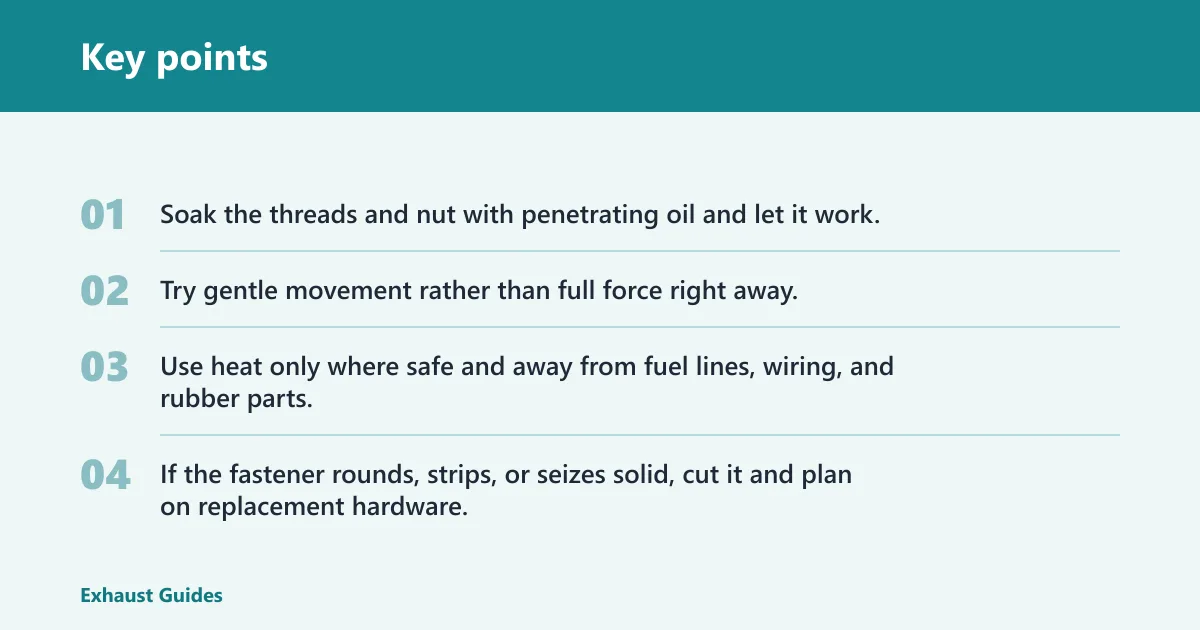
- Soak the threads and nut with penetrating oil and let it work.
- Try gentle movement rather than full force right away.
- Use heat only where safe and away from fuel lines, wiring, and rubber parts.
- If the fastener rounds, strips, or seizes solid, cut it and plan on replacement hardware.
Penetrating oil soak time
Penetrating oil works best after time, not after a single spray-and-turn attempt. Reapply if the rust is heavy and let it wick into the threads. It can make the difference between a bolt that backs out and one that snaps flush with the clamp.
Heat only when safe and appropriate
Heat can help break corrosion on rusted exhaust bolts, but use it with care. Exhaust systems sit near hoses, rubber hangers, wiring, and underbody coatings. If the area is crowded or brittle, heat may do more harm than good. Use it only when the surroundings allow a controlled approach and when nearby components can handle the work safely.
When cutting bolts is the better choice
Cutting is the right move when a bolt is too seized to save, the threads are stripped, or the head is rounded past useful grip. A clean cut is better than repeated force that twists the pipe or deforms the clamp. New hardware is often cheaper than fighting a broken one.
Replacement choices that last longer
Standard steel clamps are common, but stainless steel is a longer-life replacement where corrosion is a repeated problem. Fit still matters more than material alone. The replacement has to match the pipe outside diameter and joint structure, with enough clearance for the surrounding exhaust and underbody parts.
Standard steel versus stainless steel
Standard steel can work, but it tends to rust sooner in wet or salted conditions. Stainless steel usually lasts longer and is a good choice where road salt, winter moisture, or repeated heat cycles are part of normal use. Even so, a poor fit will still leak or slip.
Why sizing and clearance matter
A clamp that is the wrong size may bottom out before it seals, or clamp only one side of the joint. Check the outside diameter, joint style, and nearby clearance before installation. If the clamp crowds a hanger, shield, or pipe bend, the joint may shift as the exhaust heats and cools.
Why torque and alignment matter during install
When a manufacturer torque spec exists, use a torque wrench to match it as closely as possible. That helps prevent over-tightening, which can distort the pipe or crush the joint. Tighten in steps and keep the joint centered. If the clamp is the wrong design for the joint, no amount of torque will make it seal correctly.
Suppose a salt-belt vehicle comes in with a rusty U-bolt clamp, a hanging rubber isolator, and soot on the seam. Replacing only the clamp may not last if the hanger still lets the pipe twist. The safer repair is to correct the support, verify clearance, and install the right clamp on sound pipe.
Frequently asked questions
How do I treat a rusted exhaust clamp before it fails?
Judge the rust first. If it is only surface rust, clean the clamp, remove debris from the joint, and retorque if the metal still holds shape. If the clamp is pitted, thin, or deformed, replacement is the safer choice before the joint starts leaking or the hardware breaks.
Can I clean rust off an exhaust clamp and reuse it?
Yes, if the rust is only on the surface and the clamp still tightens evenly. Wire-brush loose material, clear the mating surfaces, and check for leaks after reassembly. Do not reuse a clamp with deep pitting, thinning, cracks, or any distortion that changes how it loads the joint.
When is a rusty exhaust clamp too far gone to save?
Replace it when rust has caused metal loss, flaking through the band, deformation, or cracks. Heavy pitting is also a replacement sign because clamp force becomes unreliable. If the clamp will not hold torque or the joint still leaks after cleanup, do not keep trying to rescue it.
Should I use penetrating oil on rusted exhaust bolts first?
Yes. Penetrating oil is the first step for seized exhaust bolts because it can loosen corrosion before you apply force. Give it soak time, then try removal gently. If that fails, move to controlled heat where safe, and cut the hardware if the threads or head are beyond saving.
What is the best way to stop an exhaust clamp from leaking?
Clean the joint fully, correct the alignment, and tighten to the specified torque if the clamp and pipe are still sound. For a minor leak, high-temperature exhaust sealant can help on clean mating surfaces. If the clamp is pitted, thin, or bent, replacement is the lasting fix.
How do I tell if a clamp is leaking or the pipe is cracked?
A clamp leak often leaves soot at the seam and may make a ticking, hissing, or puffing sound that changes with engine speed. A cracked pipe may show soot beyond the clamp line, visible split lines, or movement in the pipe wall itself. Inspect the full joint, not only the clamp.
Do rusted exhaust clamps need replacement or just tightening?
They only need tightening if the rust is superficial, the clamp still has its shape, and the joint seals after cleanup. Replace the clamp if the band is flaking, thin, bent, or unable to hold torque. Tightening alone will not fix metal loss or a distorted joint.
What should I do if the clamp bolts are seized or stripped?
Soak the hardware with penetrating oil first, then work it gently and use heat only when the area allows it. If the head rounds, the threads strip, or the bolt will not move, cut the hardware and replace it. Reusing damaged fasteners usually makes the repair harder the next time.
Can I repair a rusted exhaust pipe instead of replacing the clamp?
Only if the pipe damage is minor and the metal is still sound enough to seal. If the pipe is cracked, thin, or badly rusted through, replacing the clamp will not solve the leak. In that case, the pipe itself needs repair or replacement before a new clamp will help.