Why Exhaust Clamps Keep Leaking and How to Fix It
A clamp that keeps leaking usually means the joint is mismatched, deformed, or moving; fix it by measuring pipe outside diameter and matching the clamp to the joint type, not by tightening harder. Ignore it and you can get noise, soot stains, hot gas near rubber hangers, and repeated part swaps that never solve the leak. This guide shows how to tell whether the fault is clamp sizing, joint geometry, pipe deformation, or exhaust movement, then choose the right repair.
What you’ll need


- Tape measure or caliper for pipe outside diameter
- Basic hand tools for clamp removal and installation
- Penetrating oil for seized hardware
- Wire brush and shop rag
- Safety glasses and gloves
- The correct clamp type for the joint
- Replacement hardware if the old fasteners are corroded
- Exhaust sealant only for minor gaps on sound tubing
Why does my exhaust clamp keep leaking after tightening it?
A leak that comes back after tightening usually means the sealing surface cannot hold its shape. Common causes include wrong size, poor centering, joint mismatch, pipe deformation, corrosion, or movement. Tightening harder rarely fixes a joint that is ovalized, crushed, or shifting under load.
Start by treating the clamp as one part of the joint, not the whole repair. Black soot, hissing, ticking, odor, or uneven gaps point to a leak at the connection, but the real cause may be the pipe ends, the clamp style, or the hangers that support the exhaust.
Leak recurrence decision table
| Symptom | Likely cause | Quick check | Durable fix |
|---|---|---|---|
| Clamp slips after a few drives | Wrong size or poor centering | Mark the clamp position and see whether it walks off center | Measure the pipe outside diameter and install the correct clamp, centered over the sealing area |
| Soot returns after retorque | Damaged sealing surface or pipe end | Inspect for rust pitting, crushed edges, or gaps at the seam | Clean the joint and replace damaged tubing if the surface will not seal |
| Leak only under load | Exhaust movement or hanger strain | Rev the engine or gently move the pipe by hand and listen for change | Repair worn hangers and support the system so the joint stays aligned |
| Leak after sealant | Gap too large or surface not prepared | Check for rust, oil, and loose scale before assuming the sealant failed | Clean both surfaces fully; use sealant only for small imperfections on sound tubing |
| Pipe is ovalized | Overtightening or prior clamp damage | Measure the pipe in more than one direction | Replace or repair the pipe section; a new clamp will not restore the shape |
| Pipe is rust-thin | Corrosion has weakened the metal | Probe for flakes, holes, or soft spots near the clamp | Replace the affected pipe section before reinstalling the clamp |
| Hanger movement | Worn support lets the exhaust shift | Look for torn rubber, broken brackets, or excessive swing | Replace hangers and recheck the joint after the system is supported correctly |
| Incorrect clamp style | Clamp does not match the joint geometry | Check whether the joint is lap, butt, or flange style | Use a lap joint band, butt joint band, or V-band that matches the connection |
| Cracked pipe ends or a joint that will not center | Structural damage at the connection | Inspect the first few inches on both sides of the clamp | Repair or replace the pipe; centering a clamp will not fix a crack |
How do you tell the clamp from the pipe?
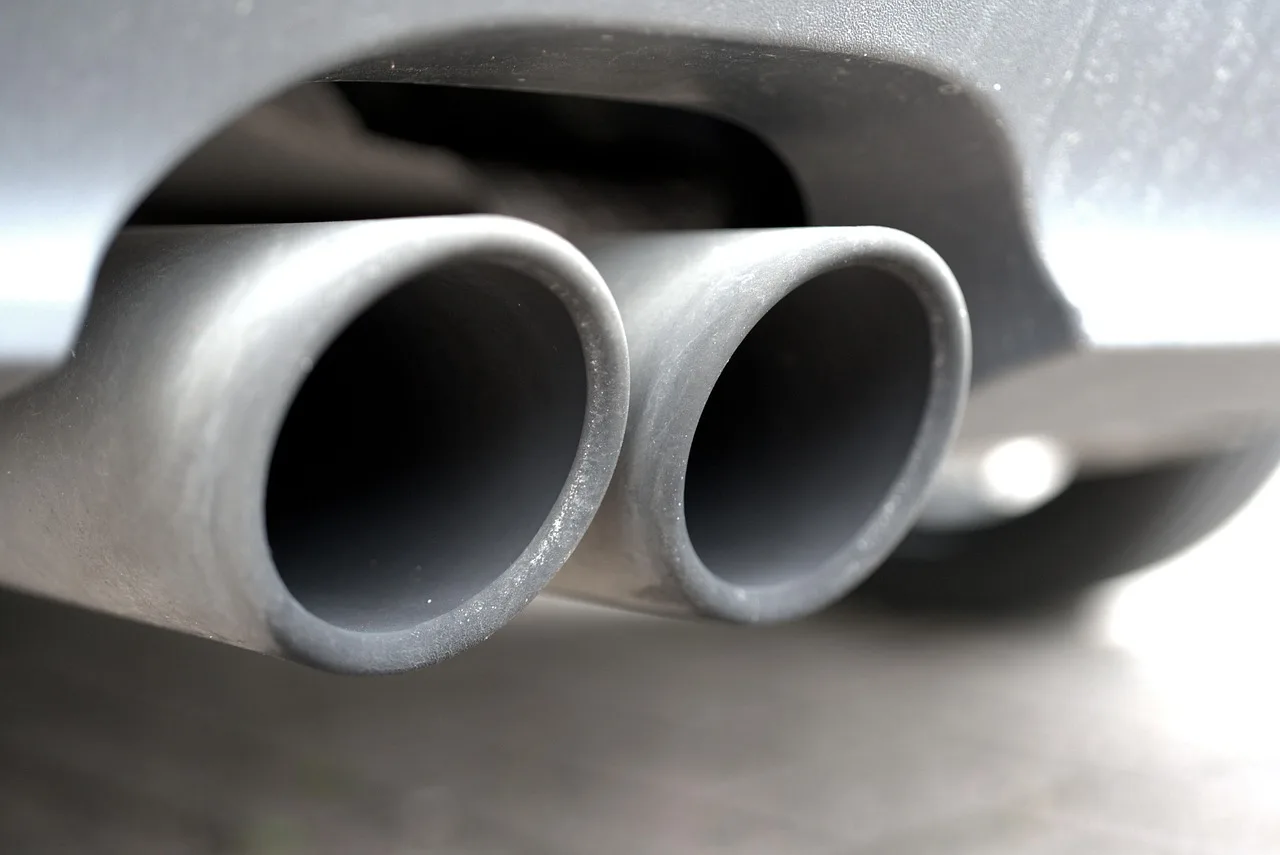
Use sound, soot, and movement first. A leaking joint often makes a ticking, puffing, or hissing sound that changes with engine speed, and black or grey soot around the joint is a stronger visual sign of leakage. Then inspect the pipe ends, welds, and flanges for cracks or thinning before you buy another clamp.
- Let the exhaust cool and inspect the joint for soot trails, ticking, or visible gaps.
- Start the engine and note whether the noise changes with engine load or pipe movement.
- Check nearby pipe ends, welds, and flanges for cracks, rust thinning, or uneven gaps.
- Measure the pipe outside diameter and compare it with the clamp size; do not guess from the vehicle model.
- Identify the joint as lap style, butt style, or flange style before choosing the next part.
If a slip joint still hisses after a fresh clamp, and the soot line sits only on one side, that points to a likely leak at the joint. That pattern usually points to misalignment or pipe deformation, not a failed clamp body. The fix starts with measuring the pipe and checking whether the joint can sit square.
How do you fix a leaking exhaust clamp?
Fix the joint in the right order: clean, inspect, fit the correct clamp, then tighten it evenly so the load is shared across the joint. A new clamp on rusty or ovalized tubing often leaks again. If the pipe is too damaged to hold shape, replace that section first.
- Remove the clamp and clean rust, soot, and old sealant from both mating surfaces.
- Repair or replace bent, oval, or rust-thin tubing before reassembly.
- Fit the correct clamp type and center it over the sealing area.
- Tighten the clamp evenly so the load is shared across the joint.
- Recheck for leaks after a short run and inspect the hangers if the leak returns.
If that didn’t work, try this next
- Confirm the clamp matches the joint: lap joint band for overlapping pipes, butt joint band for same-diameter ends, or V-band for matched flanges.
- Measure the pipe outside diameter again if the clamp bottoms out or never seems to seat.
- Look for pipe movement while the engine idles and when the exhaust is shifted by hand.
- Replace worn hangers or broken support hardware if the joint changes position under load.
- Repair or replace the pipe if the ends are cracked, crushed, or too thin to seal.
Picture a butt connection where the pipe ends meet end-to-end but one side is slightly oval. Even a correct clamp may leak there, because the joint cannot stay round long enough to seal. In that case, replacing the damaged section is the durable fix.
Should you use sealant?
Exhaust sealant can help with small imperfections on otherwise sound tubing. It will not fix a large gap, a crushed pipe, or a loose moving joint. Surface prep matters more than extra sealant, because dirt, rust, and old paste keep the sealant from bonding to the metal.
- Clean both mating surfaces until they are free of rust, soot, and old sealant.
- Apply sealant only to minor gaps on intact tubing.
- Center the clamp and tighten it evenly before the sealant skins over.
- Recheck the joint after a short drive and recheck the hangers if the leak returns.
Common mistakes
- Using sealant on a joint with a large gap instead of fixing the pipe fit.
- Tightening a U-bolt clamp hard enough to deform thin tubing.
- Skipping pipe outside diameter measurement and choosing by model year alone.
- Putting a butt joint band on overlapping pipes, or a lap joint band on end-to-end pipes.
- Ignoring worn hangers when the leak returns after a drive.
- Reusing pipe ends that are cracked, crushed, or rust-thin.
How tight should an exhaust clamp be?
Tight enough to seal, not so tight that the pipe distorts. A clamp that is too large may bottom out before applying enough pressure, while a clamp that is too small may not seat correctly around the joint. The practical target is even compression across the sealing area, not maximum force.
For a U-bolt clamp, extra tightening can deform the pipe. For a butt joint band, the clamp must be centered over the meeting point. For a lap joint band, the clamp must follow the stepped diameters of the overlapping pipes.
What type of exhaust clamp seals best on my joint?
The best clamp is the one that matches the joint geometry and pipe condition. A lap joint band clamp is shaped for slip-fit connections where one pipe overlaps another. A butt joint band clamp is for two pipes of the same diameter meeting end-to-end. A V-band clamp needs compatible flanges and reasonably good alignment.
- Lap joint clamp: best when one pipe inserts into another or overlaps it.
- Butt joint band clamp: best for same-diameter ends meeting end-to-end on sound tubing.
- V-band clamp: best for matched flanges on turbo, DPF, and other frequently serviced joints.
- U-bolt clamp: economical and simple, but best reserved for basic slip-fit repairs on tubing that can tolerate compression.
How do I stop an exhaust clamp from leaking again?
Stop repeat leaks by fixing the joint, the pipe, and the support at the same time. A clamp leak can come back when the pipe is ovalized, the clamp style is wrong, or the exhaust shifts as the engine moves. If the leak returns after a correct installation, inspect the hangers and adjacent pipe sections first.
- Measure the pipe outside diameter and confirm the joint style before buying another clamp.
- Replace cracked, rust-thin, bent, or ovalized tubing instead of trying to seal it again.
- Install the correct clamp type and center it over the sealing area.
- Inspect exhaust support/hangers so the joint is not pulled out of position.
- After a short drive, recheck for soot, ticking, or odor near the joint and near any nearby oxygen sensor.
Suppose a clamp is installed on a 2-inch joint, but the pipe is pinched slightly flat where the old clamp sat. The new hardware may hold for a day and then leak again under acceleration. The durable fix is pipe repair or replacement, not another tighter clamp.
Frequently asked questions
How do I know if the clamp is leaking or the pipe is cracked?
Listen for a ticking or hissing change with engine speed, then inspect the first few inches of pipe on both sides of the clamp. Black soot at the seam points to a leak, while a visible split, rust hole, or thin cracked edge means the pipe section needs repair.
Should I use sealant on an exhaust clamp leak?
Use sealant only for small imperfections on clean, sound tubing. Clean both surfaces first, then install the correct clamp and recheck after a short run. If the gap is large, the pipe is crushed, or the joint moves, sealant will not hold the repair.
Can a clamp leak because it is the wrong size?
Yes. A clamp that is too large may bottom out before it grips, and one that is too small may not seat around the joint. Measure the pipe outside diameter directly, then match the clamp to the actual joint, not the vehicle model label.
Why does my exhaust clamp leak after driving for a while?
Heat, vibration, and exhaust movement can open a weak joint after the system shifts. Check the hangers, nearby cracks, and pipe shape after a drive. If the leak returns only under load, the support or the pipe condition is usually part of the problem.