How to Find a Leaking Muffler Seam
Dry the exhaust, then rev the engine and watch the seam for soot, bubbles from soapy water, or a cold-stream leak. If moisture shows up only on a cold start and clears within minutes, it is often condensation. A seam leak can make the exhaust louder, bring fumes into the cabin, lead to an emissions failure, and speed up muffler deterioration. This guide shows how to separate a seam leak from condensation and nearby exhaust leaks, then choose sealant, patch, or replacement.
What you’ll need


- Spray bottle with water and dish soap
- Shop vac or blower that can push air through the tailpipe in reverse
- Flashlight
- Gloves and eye protection
- Wire brush or abrasive pad
- Muffler sealer, band clamp, or replacement parts
How do you tell a seam leak from condensation?
Condensation usually leaves clear water at the tailpipe during a cold start, then fades as the exhaust heats up. A seam leak usually leaves wetness, soot, or bubbling at the muffler shell itself, often on the upper seam or end cap, and it may get louder under load or at cold start.
Wet tailpipe in cold weather
Water dripping from the tailpipe on a cold morning is often normal. Short trips, damp air, and a cold exhaust can all make water collect and drip out before the system fully warms.
Steam, drips, or rusty water
If the drip stays clear and stops as the exhaust heats, it usually points to condensation. If the moisture looks rusty or blackened, or appears to come from the muffler seam itself, treat it as a leak until a bubble test suggests otherwise.
When moisture is normal and when it is not
A quick way to separate the two is location. Tailpipe moisture on a cold start is common. Moisture at a seam, especially with soot or a ticking sound, is more likely a seam failure or a nearby joint leak that needs a closer check.
How do you find the leak?
Let the exhaust cool, then inspect the muffler shell, seam line, end caps, and nearby joints with a flashlight. A shop vac in reverse on a cold exhaust can pressurize the system for a soapy water test, and active bubbling marks the leak point.
Inspect the muffler seam on a cool exhaust
Look for seam rust blistering, black soot tracks, and peeling metal along the weld line. Upper seam corrosion is often reported because it can trap moisture and road spray, so check the top half of the muffler, not only the underside.
Use a shop vac or blower to pressurize the system
- Park on level ground and let the exhaust cool fully.
- Seal the tailpipe opening with the shop vac outlet or a blower adapter.
- Run the vac in reverse so air moves through the exhaust.
- Spray the seam, welds, flanges, and joints with soapy water.
- Watch for bubbles, since active bubbling indicates a compromised exhaust area during testing.
Check for soot, rust blisters, and end-cap separation
Soot means exhaust has escaped there before. Rust blisters often mean the seam is separating under corrosion, and end-cap gaps can mimic a joint leak. If the muffler shell is thin enough to flex or crumble, the leak is no longer just a seam problem.
Muffler seam leak triage
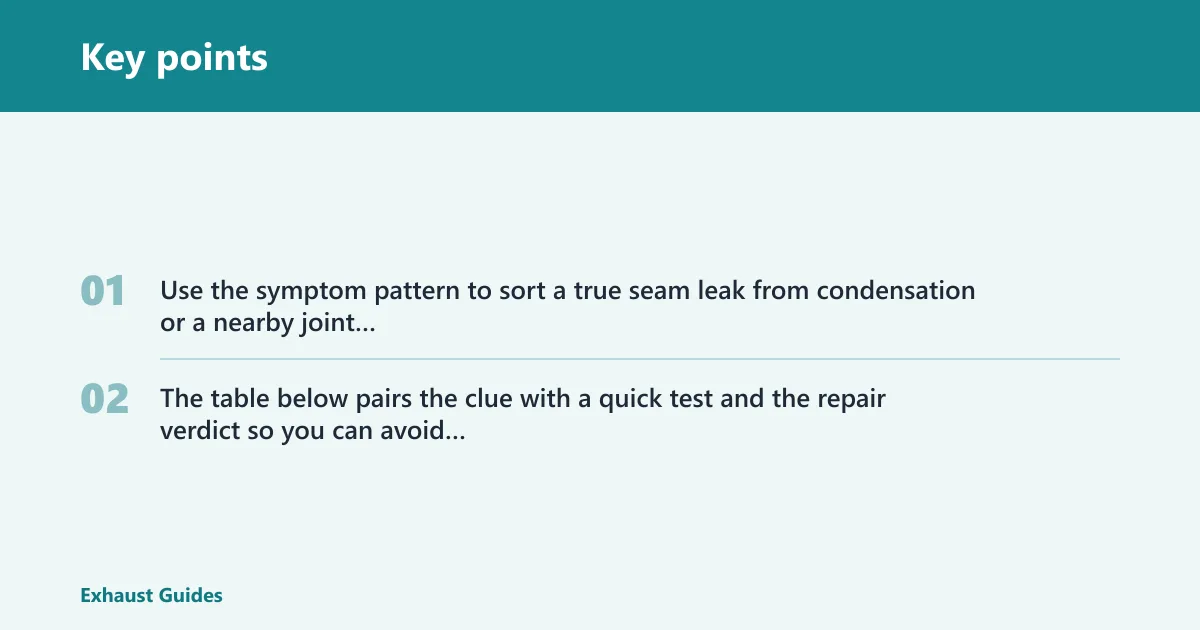
Use the symptom pattern to sort a true seam leak from condensation or a nearby joint problem. The table below pairs the clue with a quick test and the repair verdict so you can avoid sealing the wrong place.
| Symptom | Likely seam vs non-seam source | Quick test | Repair verdict |
|---|---|---|---|
| Wet tailpipe in cold weather | Usually condensation, not a seam leak | See whether the water stops after warm-up | No repair unless other leak signs appear |
| Bubbling seam with shop-vac test | True seam leak at the muffler shell | Reverse airflow and spray soapy water on the seam | Sealant, weld, or replacement depending on metal condition |
| Seam rust blistering | Corroded seam or end-cap separation | Probe the blistered area after the exhaust cools | Repair only if the metal is still sound; otherwise replace |
| Soot tracking near the seam | Exhaust has escaped at the seam or a nearby joint | Follow the soot trail and retest with soap | Fix the exact leak point, not the whole muffler by guesswork |
| Loud rumble and cabin smell | Could be a seam opening, but a larger failure is likely | Check for active bubbling plus thin, flaking metal | Replacement is often the safer choice |
| Repeat leak after sealant | Shell is too thin or the seam keeps opening | Retest after heat cycle and vibration | Move from sealer to weld or replacement |
| Hiss or tick that grows with the gas | Small seam gap, pinhole, or nearby joint leak | Snap the throttle lightly and listen for the change | Possible DIY repair if the metal is still solid |
| Rusted-through edge at the muffler end cap | Structural rust-through, not a small seam gap | Press gently with a pick or screwdriver | Replacement, not sealant |
Which repair fits the damage?
Match the repair to the metal condition, not just the symptom. Small seam gaps, pinholes, and loose flanges can be DIY candidates, while severed pipes, severe rust, and rusted-through mufflers are not. If cabin fumes are present, treat the leak as urgent and stop driving until you find the source.
Muffler sealer for small seams and pinholes
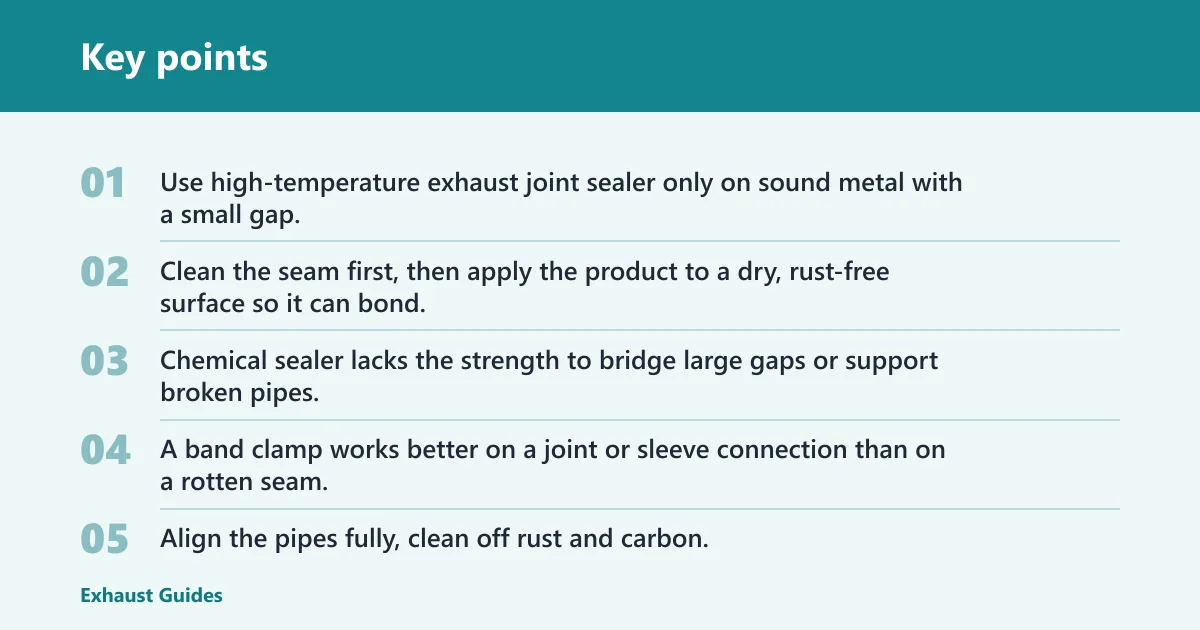
Use high-temperature exhaust joint sealer only on sound metal with a small gap. Clean the seam first, then apply the product to a dry, rust-free surface so it can bond. Chemical sealer lacks the strength to bridge large gaps or support broken pipes.
Band clamp for aligned joints or sleeves
A band clamp works better on a joint or sleeve connection than on a rotten seam. Align the pipes fully, clean off rust and carbon, and tighten evenly so the clamp can seal a flat mating surface. It will not rescue crumbling metal.
Weld repair for localized sound metal
Weld repair fits a short seam separation when the surrounding shell is still thick and solid. It is the right step only when the seam is the problem and the rest of the muffler can hold heat, vibration, and road spray.
Muffler replacement for heavy rust or internal damage
Replace the muffler when the shell is thin, the seam keeps opening, or internal damage has started the rumble. A rusted-through or internally damaged muffler may need replacement instead of repair, even if the leak looks small from the outside.
How can you repair a muffler seam without welding?
You can fix some seam leaks without welding if the metal is still solid and the gap is small. Sealant suits pinholes and minor seam separations, and a band clamp suits aligned joints or sleeves. If the leak returns after one repair, the shell is probably failing.
When sealant is enough
- Let the exhaust cool fully.
- Remove loose rust, carbon, and dirt with a wire brush.
- Dry the area completely.
- Apply high-temperature muffler sealer to the seam.
- Recheck with the shop-vac and soap test after curing.
When a clamp is the better choice
- Confirm the leak is at a joint or sleeve, not a torn shell.
- Clean both mating surfaces to bare, stable metal.
- Center the band clamp over the leak.
- Tighten it evenly, then retest for bubbles.
- If the joint will not seal, move to weld repair or replacement.
When replacement is the safer answer
- Inspect for widespread rust, soft metal, or large holes.
- Stop if the seam opens again after a repair.
- Replace the muffler if the shell is thin or internally broken.
- Retest the full exhaust after installation.
Common mistakes
Most bad repairs come from fixing the wrong part or skipping prep. A seam that looks wet may only be condensation, and a nearby flange leak can throw soot toward the muffler and fool you. Clean, dry metal matters more than the brand of sealer.
- Skipping rust and carbon cleanup before sealant or clamp work.
- Repairing a hot or wet exhaust, which blocks adhesion and hides bubbles.
- Using sealant on crumbling metal or a large gap.
- Missing a nearby joint, flange, or tailpipe leak that is making the noise.
- Ignoring cabin fumes, which can mean carbon monoxide risk.
Picture a compact car that drips water from the tailpipe for the first two minutes on a 35-degree morning. That is often condensation. Now change one detail: the drip comes from a blistered seam above the axle, and the shop-vac test makes the seam foam. That second case points to a true seam leak.
Say your muffler has a deep drone at highway speed and a faint exhaust smell enters the cabin when the fan is on low. If the seam also bubbles under soapy water, the muffler shell is leaking rather than just making noise. Cabin fumes call for urgent action, so do not drive long before repair.
How do you tell if your muffler is leaking?
A leaking muffler often makes a deep rumble or roar, or a hiss or pop that grows with the gas. Check the seam, nearby welds, and joints with a cold-exhaust bubble test. If exhaust smell reaches the cabin, stop driving until the source is found.
Sound clues that matter
A sudden roar or deep drone is a classic blown-muffler sound. A hiss or tick that rises with throttle often points to a small leak at a joint or crack. Noise alone does not prove a seam leak, so pair it with a bubble test.
Why cabin smell changes the answer
Exhaust smells inside the car are treated as urgent because fumes can enter the cabin through floor gaps, trunk seals, or the HVAC intake. If the leak is near the rear of the car, passenger safety becomes part of the diagnosis, not just the repair choice.
What is fluid leaking from the muffler?
Clear fluid from the tailpipe is often water from condensation, especially after short trips or in cold weather. Rust-colored or sooty fluid from the muffler seam is different and usually means corrosion has opened the shell. Location matters more than the drip alone.
Normal water versus leak fluid
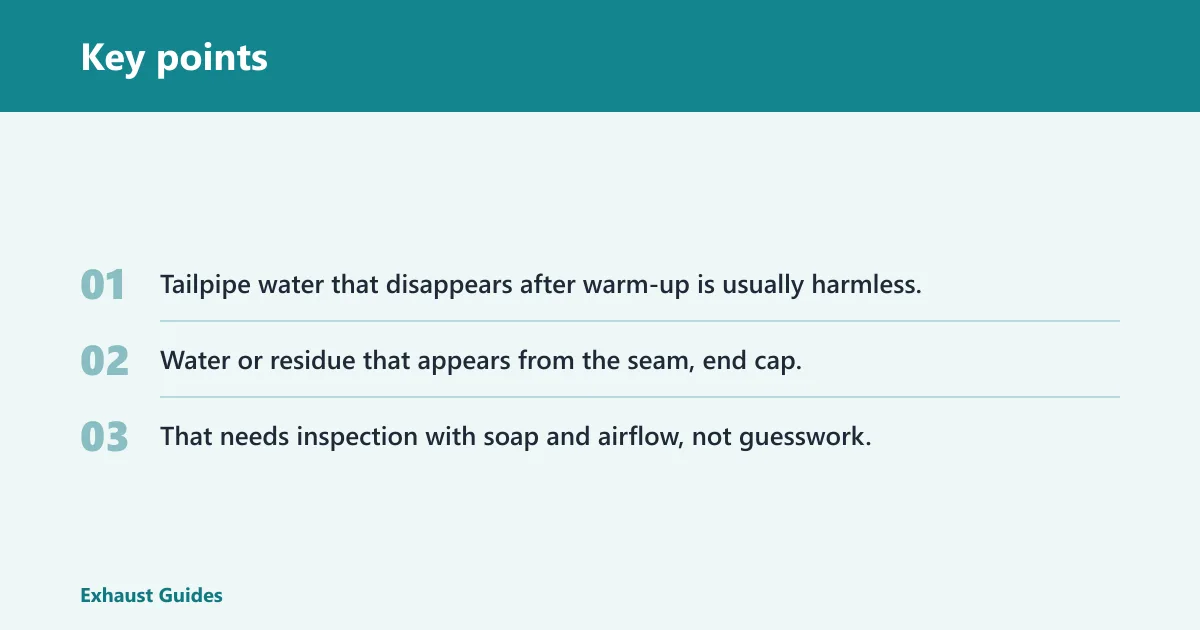
Tailpipe water that disappears after warm-up is usually harmless. Water or residue that appears from the seam, end cap, or a blistered rust spot points to exhaust escaping and carrying moisture with it. That needs inspection with soap and airflow, not guesswork.
How do you repair a cracked muffler?
Repair a cracked muffler only if the crack is small and the surrounding metal is still sound. A tiny crack near a seam may take sealant or a weld, but a cracked shell with heavy rust or thin metal should be replaced because the failure will keep spreading.
From crack to repair choice
Start with a cool exhaust, clean the area, and test for bubbles. If the crack is localized and the rest of the shell is firm, weld repair can be durable. If the crack sits in flaky or thin metal, replacement is the safer fix.
Frequently asked questions
How do I find a leaking muffler seam?
Let the exhaust cool, then spray the seam, welds, and nearby joints with soapy water while a shop vac runs in reverse through the tailpipe. Active bubbling marks the leak point. Check the top seam too, because upper seam corrosion is easy to miss from below.
How do I fix a muffler leak at a seam?
Clean off rust, carbon, and moisture first. If the seam gap is small and the metal is solid, apply high-temperature muffler sealer, then retest. If the seam keeps opening or the shell is thin, move to weld repair or replacement instead of adding more sealant.
Can I fix a muffler leak without welding?
Yes, if the leak is a small seam gap, pinhole, slip joint, or aligned sleeve connection. Sealant can work on those spots, and a band clamp can help on joints. Large holes, severe rust, and broken metal need replacement rather than a non-weld patch.
How do I know if water leaking out of the muffler is normal?
Normal condensation usually shows up as clear water from the tailpipe during a cold start and fades as the exhaust warms. Water from a seam, end cap, or rust blister is not normal. If it leaves soot or returns after warm-up, treat it as a leak.