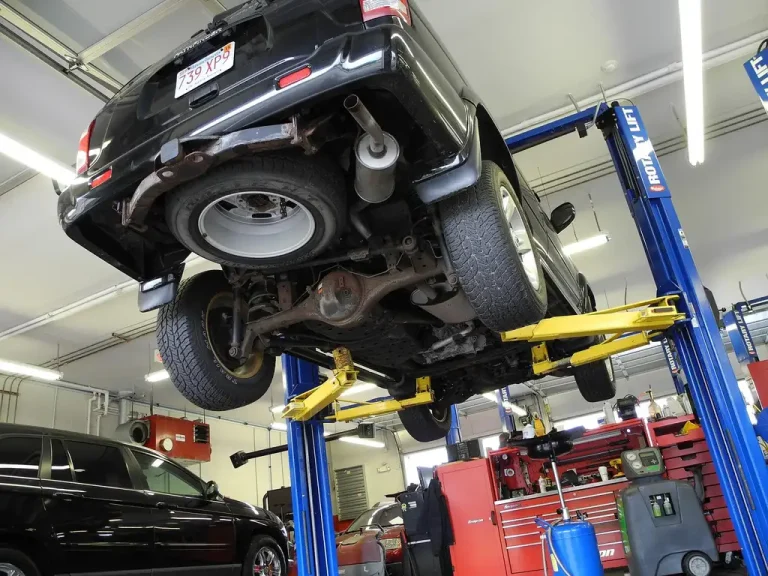
How to Check for an Exhaust Leak at Home
Check for an exhaust leak only on a cold engine. Listen for ticking at startup, look for black soot or rust streaks, and use soapy water or a smoke-style pressure test at joints. If the leak is before the catalytic converter or on a cracked manifold, stop and plan a shop repair. Exhaust leaks can put carbon monoxide in the cabin, skew oxygen-sensor readings, and turn a small gasket job into a broken stud or warped flange. This guide shows how to confirm the leak, narrow its exact location, and decide whether you can patch it at home or need a shop.
- Start with a cold engine.
- Never crawl under a car supported only by a jack.
- Use ramps or jack stands plus wheel chocks if you need underbody access.
- Stay clear of belts, fans, and other moving parts.
- Limit any running-engine check to brief listening from above or beside the vehicle.
- Shut the engine off before spraying, probing, or blocking the tailpipe.
What you’ll need

- Built-in air pump, no external source needed
- Generates thick smoke in about 10 seconds
- Portable and simple to use
- Heavy-duty LED flashlight
- Gloves
- Dish soap and water in a spray bottle
- Mechanic’s stethoscope with a metal probe, or a length of hose
- Shop vacuum that can run in blow mode
- Tape, rubber plug, or a similar way to block the tailpipe
- Jack stands or ramps if you need access under the vehicle
- Wheel chocks
What an exhaust leak sounds like
A cold-start exhaust leak often makes a sharp tick near the engine bay, a hiss at a joint, or a louder rumble under the vehicle. A small pinhole usually sounds higher and faster; a larger split can sound like a tractor-like roar. If the noise rises and falls with engine speed, the leak is more likely than a heat shield rattle.
Cold-start ticking vs. normal engine noise
A sharp, rapid tick from the exhaust manifold area is a common clue. Consumer vehicle repair guidance from sources such as the NHTSA and major service manuals consistently ties this kind of noise to exhaust gas escaping at a manifold crack or gasket leak. Valvetrain noise, by contrast, often sounds deeper inside the engine and does not usually leave soot at an exhaust joint.
Hissing, roaring, and where each points
High-pitched hissing usually fits a small pinhole leak. A louder roaring sound suggests a larger opening, and a major exhaust opening can sound like a rough, low rumble. If the sound comes from under the car rather than the engine bay, flex pipe, flange, or mid-pipe damage moves higher on the list.
When a sound is probably not exhaust-related
A heat-shield rattle sounds metallic and loose, not like escaping gas. A check-engine light by itself can point to an oxygen sensor or a mixture issue, so it should not be treated as proof of an exhaust leak. Look for soot, smell, and location before you commit to repair parts.
How do you test for an exhaust leak at home?
Start cold, inspect visually, then confirm with sound and a spray test. The best sequence is: look for soot and cracks, listen at cold start, spray joints with soapy water, narrow the sound with a hose or stethoscope, then pressurize the system with a shop vacuum and recheck bubbles. Confirm first; repair second.
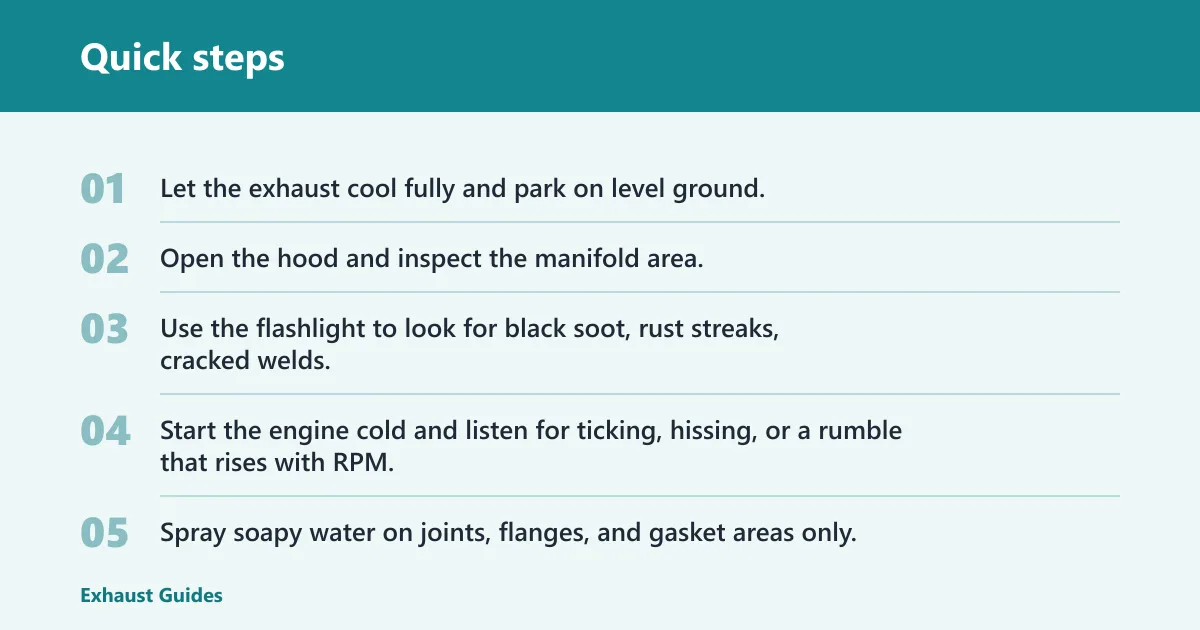
- Let the exhaust cool fully and park on level ground.
- Open the hood and inspect the manifold area, then crawl only if you need access under the car.
- Use the flashlight to look for black soot, rust streaks, cracked welds, and loose or missing hardware.
- Start the engine cold and listen for ticking, hissing, or a rumble that rises with RPM.
- Spray soapy water on joints, flanges, and gasket areas only.
- Use a hose or mechanic’s stethoscope to narrow the loudest point without touching hot parts.
- Shut the engine off, block the tailpipe, and use a shop vacuum in blow mode to pressurize the system briefly, then spray again.
- Decide whether the leak is a simple joint repair or a shop job based on location, corrosion, and fastener condition.
Can you test for an exhaust leak with soapy water?
Yes, soapy water works well on joints, flanges, and gaskets when the exhaust is cold. It is less useful on a hot system and less reliable on broad cracks that vent in many directions. Bubbles mean gas is escaping at that point, which makes the leak visible before you start replacing parts.
How to use the spray test correctly
Use it on the manifold gasket line, flange faces, slip joints, muffler seams, and tailpipe joints. Clear soap bubbles at a single seam are strong confirmation because exhaust pressure escapes through the path of least resistance. If bubbles appear only after a second spray pass, stay on that same seam and inspect the full edge.
How to use a hose or stethoscope
Hold the tip near, not on, the suspect area and move slowly from one seam to the next. A hose works as a simple listening tube, but keep it away from belts, fans, and hot metal. A stethoscope can help isolate the loudest point when the leak is small or partially shielded.
How to use the vacuum test
Block the tailpipe first, then run the vacuum in blow mode to lightly pressurize the exhaust. Re-spray the same joints and look for fresh bubbles; this can reveal multiple small leaks that idle pressure may miss. Keep the test brief so the system is only lightly pressurized.
Home exhaust leak decision matrix
This table helps you decide where to look first, which test to try first, and whether a home repair is realistic. Use the symptom, the leak zone, and the visual evidence together. A single hiss is not enough. Location matters more than volume.
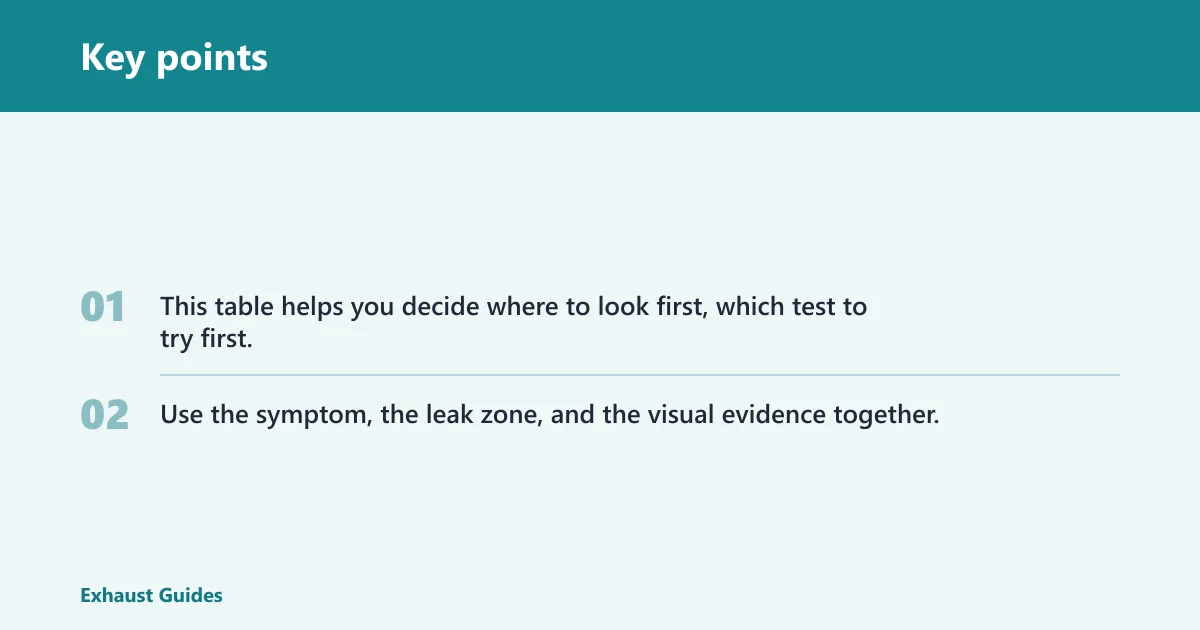
| Symptom | Likely zone | Best first test | Confidence level | DIY vs shop recommendation |
|---|---|---|---|---|
| Sharp ticking on cold start near the engine bay | Exhaust manifold or manifold gasket | Cold-engine visual check, then soapy water at the manifold-to-head area | High | Shop if cracked manifold, broken studs, or warped flange; gasket replacement may be DIY only if access is easy |
| Roaring or sputtering under the vehicle | Flex pipe | Flashlight inspection for splits, then spray test | High | Usually shop, because flex pipes often need replacement rather than patching |
| Hiss or puff at a connection point | Pipe flange or joint | Soapy water at the flange and bolt circle | High | DIY only if the gasket is accessible and the flange is not warped; torque must return to factory specs |
| Soft hiss with soot near the center section | Mid-pipe | Visual inspection for rust-through and weld cracks, then vacuum test | Medium | Shop if the pipe wall is thin or corrosion is spreading |
| Smell and light soot around a seam at the rear canister | Muffler seam | Flashlight plus spray test on the seam | Medium | Often shop if the seam is rusted open; patching is short-lived on thin metal |
| Noise at the rear hanger or outlet | Tailpipe joint | Soapy water at the slip joint or clamp | Medium | DIY if it is a loose joint; shop if the pipe is cracked or heavily rusted |
Which exhaust leaks can be patched, and which should be replaced?
Use this matrix to decide whether a sealant, clamp, or temporary wrap is worth trying. Small downstream leaks can sometimes be slowed long enough to plan a repair, but heat, rust, and pressure usually end temporary fixes quickly. Upstream leaks and structural cracks are typically replacement jobs, not patch jobs.
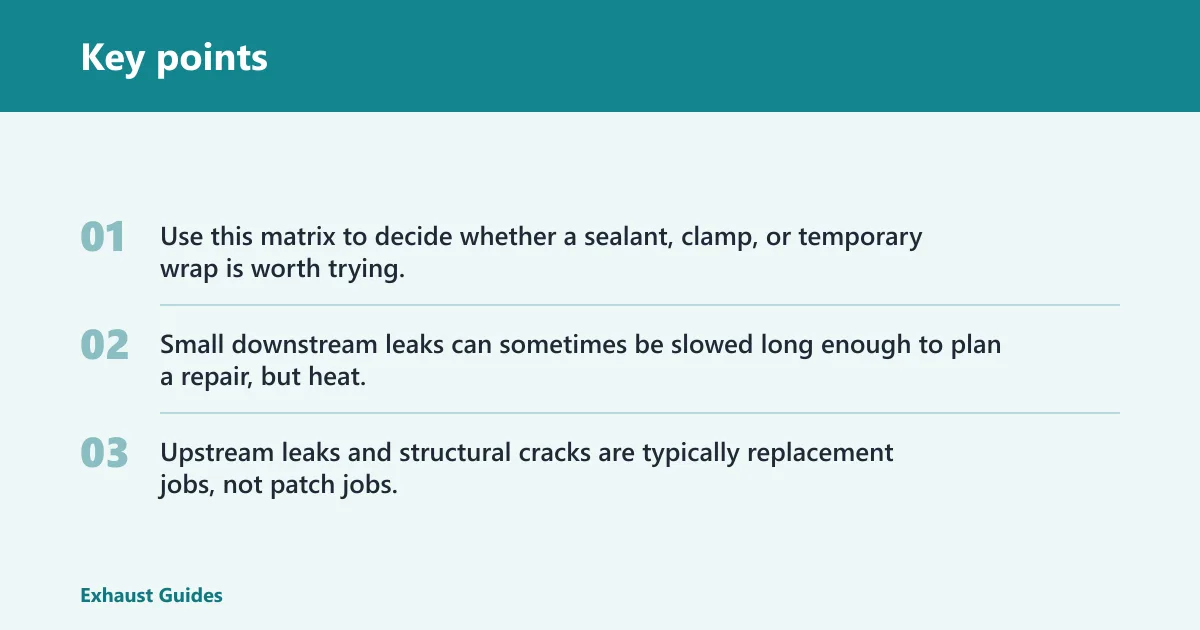
| Leak location | Typical sound or clue | What confirms it | Temporary fix only? | Never advised to patch? |
|---|---|---|---|---|
| Manifold crack | Sharp ticking near engine bay, soot at the crack line | Cold-start listen plus soot or bubbles near the manifold | Yes, at best only as a short stopgap | Yes |
| Manifold gasket | Cold-start tick at the head-to-manifold seam | Soapy water or smoke at the gasket edge | Maybe, only if the leak is minor and access is good | No, but broken studs or warped flanges make a patch a bad idea |
| Flex pipe | Roaring or sputtering under the vehicle | Visible split in the woven section or bubbles in the braid | Yes, only briefly | Usually yes, because flex pipes commonly need replacement |
| Upstream leak before the catalytic converter | Ticking, exhaust smell, possible drivability issues | Soot, bubbles, or smoke near the front exhaust section | Usually no | Yes, repair is generally the safer choice |
| Heavy rust at a pipe wall or seam | Soft hiss, rust flakes, thin metal sound | Rust-through, flaking, or deformation around the leak | Yes, only if it is just enough to move the vehicle safely | Yes, if the metal is thin or crumbling |
| Broken studs or warped flange | Persistent leak after torque check | Missing fasteners, uneven flange face, repeated bubbles | No | Yes |
| Tailpipe joint or clamp | Rear hiss or puff, soot around clamp | Bubbles at the slip joint or loose clamp | Sometimes | No, if the pipe itself is intact |
What to do by leak location
Once you confirm the leak, match the repair to the zone. Exhaust manifold and flex pipe failures usually change the repair plan completely, while a flange or tailpipe joint may only need a gasket, clamp, or proper torque. Do not start with parts until the leak is confirmed and located.
Exhaust manifold and manifold gasket
The exhaust manifold is a common leak location near the engine bay. Thermal expansion and contraction can crack the manifold, and the manifold gasket can fail where it seals the manifold to the cylinder head. A sharp, rapid ticking on cold start points here first; repair often means gasket replacement, but a cracked manifold or broken studs can push the job into shop territory.
For related symptoms and repair context, see exhaust manifold gasket symptoms.
Flex pipe
The flex pipe is a common failure point under the vehicle. It can split or blow out, and the repair usually calls for replacement rather than a patch. A roaring or sputtering sound from below the car is a strong clue, especially if soot appears along the woven or corrugated section.
For the repair path, see flex pipe replacement.
Pipe flange or joint
A flange or joint can leak where two sections meet. Look for soot, rust dust, or bubbles at the connection. Some joint leaks respond to gasket replacement or sealant, but only if the mating surfaces are flat and the fasteners can be torqued to factory specs without stripping.
Can you test for an exhaust leak with soapy water?
Yes, soapy water works well on joints, flanges, and gaskets when the exhaust is cold. It is less useful on a hot system and less reliable on broad cracks that vent in many directions. Bubbles mean gas is escaping at that point, which makes the leak visible before you start replacing parts.
Where the spray test works best
Use it on the manifold gasket line, flange faces, slip joints, muffler seams, and tailpipe joints. Clear soap bubbles at a single seam are strong confirmation because exhaust pressure escapes through the path of least resistance. If bubbles appear only after a second spray pass, stay on that same seam and inspect the full edge.
Why a cold exhaust gives cleaner results
A cold exhaust system usually improves leak testing because metal contracts as it cools. That can open small gaps that are harder to find once parts heat up and expand. A cold system also reduces the risk of burns and keeps the spray test easier to read.
Common mistakes
Most bad diagnoses come from using the wrong clue, the wrong timing, or the wrong test. A leak can sound small and still be serious, while a loud rattle can turn out to be unrelated hardware. Confirm the location before deciding on parts.
- Confusing valvetrain tick with an exhaust leak. Check for soot and a leak point before buying parts.
- Ignoring soot because the sound is faint. Soot often marks the real source better than your ears do.
- Trusting one test result only. Use visual inspection, listening, and soap together.
- Working under a hot car or near moving parts. Wait for a cold engine and keep clear of belts and fans.
- Missing a cabin exhaust smell. Exhaust leaks can introduce carbon monoxide into the passenger cabin, especially with upstream leaks.
Suppose you hear a light tick at cold start and see a faint black ring around a manifold bolt hole. That points much more strongly to a manifold gasket than to a mid-pipe leak, even if the sound seems minor. The location matters more than volume.
A common first-timer mistake is spraying every part of the exhaust at once. That makes the bubbles hard to read. Spray one joint, wait a few seconds, and look for a clear change before moving on.
When should you stop DIY?
Stop if the leak is near the firewall, if cabin odor is present, or if the manifold area shows broken studs, warped flanges, or significant corrosion. Multiple leaks and unclear results also point to a shop visit. The goal is to confirm safely, not to force a repair that the metal will not hold.
Broken studs or warped manifold flanges
When fasteners snap or the flange is warped, a gasket swap often stops being a simple driveway job. The surface may not seal again without machining, drilling, or manifold replacement. That is especially true if the leak is already loud enough to leave visible soot around the engine bay.
Heavy rust or thin metal
Flex pipes, mid-pipes, and muffler seams with heavy rust usually fail again after a quick patch. If the metal flakes, crumbles, or rings thin when tapped lightly off the hot zone, replacement is the smarter call. Patching thin metal is usually temporary.
How dangerous is an exhaust leak?
Exhaust leaks are most dangerous when they are upstream, near the firewall, or close to the passenger compartment. Carbon monoxide can enter the cabin even when the exhaust smell seems mild. Heat from the system can also burn skin quickly, so avoid touching pipes, shields, and nearby hardware until everything is fully cool.
Why upstream leaks are treated more seriously
Leaks before the catalytic converter are more likely to affect engine control and cabin air quality. They can skew oxygen-sensor readings, trigger fault codes, and push hot exhaust gas into spaces where it should not be. That is why an upstream leak is usually a repair-now issue, not a patch-and-watch issue.
For code-related symptoms, see oxygen sensor codes from exhaust leaks.
What a cabin smell can mean
A strong exhaust smell inside the cabin is a red flag because it can signal a leak near the firewall, underbody, or rear hatch area. Do not keep testing with the engine running if the smell is present. Shut the engine off and inspect from a safe distance or have the vehicle checked professionally.
For related warning signs, see catalytic converter symptoms.
How do you know if it is safe to inspect under the car?
It is only safe when the vehicle is on level ground, the engine is off and cool, and the car is supported by ramps or jack stands rather than a jack alone. Use wheel chocks, keep your body clear of pinch points, and avoid reaching near hot pipes or spinning parts. If access is awkward, stop and reassess.
For a safer support setup, see safe jack stand setup.
Frequently asked questions
How do you test for an exhaust leak?
Use three checks in order: sight, sound, and bubbles. First look for black soot or damaged welds. Then listen for ticking, hissing, or roaring at cold start. Finish with soapy water on suspect joints, or a vacuum test if the leak is small or hard to reach.
How to tell if you have an exhaust leak
A cold-start tick near the engine bay, soot near a seam, or bubbles from a joint are the clearest clues. A cabin exhaust smell is a red flag and should not be ignored. If the sound is under the car, flex pipe, flange, or mid-pipe damage becomes more likely.
What is the easiest way to find an exhaust leak?
The easiest method is a cold-engine flashlight check followed by a soapy water spray at suspect joints. If the leak is still hidden, use a reversed shop vacuum to pressurize the system and repeat the spray test. That combination is often enough to separate a small leak from random engine noise.
Is it safe to check for an exhaust leak while the engine is running?
Yes, but only for a brief listening check from above or beside the vehicle, with hands and clothing clear of moving parts. Do not crawl under a running car, and do not touch hot metal. Shut the engine off before spraying or probing, then use the vacuum test for confirmation.
How do I know if I have an exhaust leak?
Check for soot, listen for cold-start ticking or hissing, and look for a smell in the cabin or near the firewall. If the leak is near the manifold, a sharp tick is common. If it is under the car, a flex pipe or joint leak is more likely.
Sources
- National Highway Traffic Safety Administration (NHTSA) — vehicle exhaust and carbon monoxide safety guidance
- Centers for Disease Control and Prevention (CDC) — carbon monoxide exposure information
- Occupational Safety and Health Administration (OSHA) — carbon monoxide and hot-surface hazard guidance
- Factory service manuals and OEM repair procedures for exhaust manifold, flex pipe, flange, and exhaust system diagnostics