Proven Essential Jeep WJ Manifolds
Bolded Quick Summary
For your Jeep Grand Cherokee (WJ), the 4.0L inline-six uses one driver-side exhaust manifold, while the 4.7L V8 uses two separate manifolds. Replacing these is vital for fixing leaks, improving engine sound, and ensuring your WJ runs smoothly and passes inspection. We break down the selection and installation simply.
Choosing the Right Heartbeat: Proven Essential Jeep WJ Manifolds Explained
Hey there! If you’re driving a Jeep Grand Cherokee (WJ generation, 1999–2004), you probably love its toughness. But sometimes, that toughness hits a snag under the hood—often around the exhaust manifolds. You might hear a loud tick, smell exhaust fumes, or notice poor power. That annoying noise usually points straight to the manifold.
It can seem intimidating to tackle engine components, but replacing a cracked or leaking manifold is a totally achievable weekend project. You don’t need to be a professional mechanic to get this done right! This guide will walk you through exactly which manifold your WJ needs, why they fail, and how to choose a proven replacement. We are going to make this repair simple and stress-free. Let’s dive in and get your Jeep purring again!

Understanding Your Jeep WJ Engine and Manifolds
The first thing to understand when looking at exhaust manifolds for your WJ is that Jeep used two very different engine options during the WJ years. The manifold you need depends entirely on which engine is under your hood. Choosing the wrong part is the number one mistake beginners make!
The Two Engines of the WJ Grand Cherokee
The 1999–2004 Grand Cherokee came with one of two powerplants:
1. The 4.0L Inline Six-Cylinder (I6): This is the legendary, tried-and-true engine known for reliability.
2. The 4.7L PowerTech V8: This was the more modern, powerful option offered in different trims.
How Many Exhaust Manifolds on a Jeep WJ?
This is a crucial distinction and answers one of the most common beginner questions:
4.0L I6 Engine: This engine uses only one exhaust manifold. It is located on the driver’s side of the engine.
4.7L V8 Engine: This engine uses two separate exhaust manifolds. You will have one for the driver’s side (left bank) and one for the passenger’s side (right bank).
Always confirm which engine you have before ordering parts. A quick peek under the hood (or checking your vehicle registration or VIN decoder) will confirm this!
Why Do Jeep WJ Exhaust Manifolds Fail?
Exhaust manifolds handle some of the toughest conditions in your engine bay. They manage super-hot exhaust gas right as it leaves the cylinder head, dealing with constant heating and cooling cycles. Over time, this stress causes problems.
Common Failure Points
1. Cracking: Heat cycling causes the metal (especially on the cast iron OEM manifolds) to expand and contract until micro-fractures turn into visible cracks. These cracks cause that classic “ticking” sound, often mistaken for a lifter noise.
2. Warping: Extreme heat can cause the manifold flange (where it bolts to the engine) to warp slightly, breaking the seal with the gasket.
3. Broken Studs/Bolts: The bolts holding the manifold onto the cylinder head can rust, break, or seize, leading to loose connections and exhaust leaks.
The Danger of Leaks
A leaking manifold isn’t just annoying; it can affect performance and safety:
Performance Loss: Leaks disrupt the exhaust scavenging effect, which hurts engine efficiency and power, especially at lower RPMs.
Safety Concern: In rare cases where a leak is severe or the leak is near the cabin air intake, exhaust fumes (which contain carbon monoxide) could enter the passenger compartment. Always address exhaust leaks promptly. You can find more general safety guidelines on vehicle maintenance from the National Highway Traffic Safety Administration (NHTSA) website.
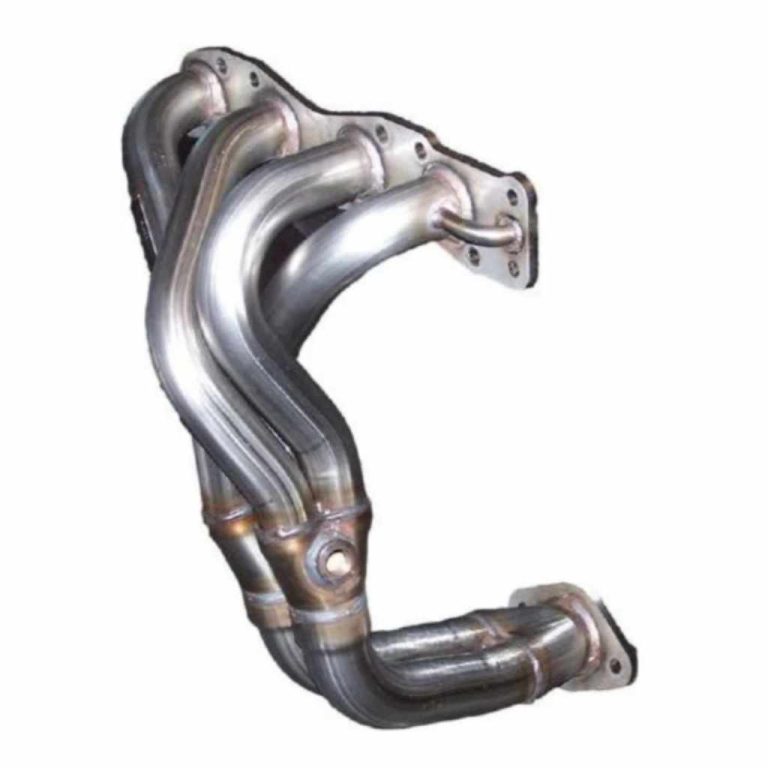
Selecting the Best Replacement Manifolds for Your WJ
When it comes to WJ manifolds, you are usually replacing cast iron with either better cast iron or, more commonly now, stainless steel headers. For the everyday driver or casual off-roader, sticking to high-quality cast iron is often the most reliable and cost-effective path.
Manifold Material Comparison
| Material | Pros | Cons | Best For |
| :— | :— | :— | :— |
| OEM-Style Cast Iron | Durable, quiet operation, direct fitment, lower cost. | Can eventually crack due to heat cycling, heavy weight. | Daily drivers seeking reliable, factory performance. |
| Stainless Steel Headers | Lighter weight, better flow (more power/sound), extremely durable. | More expensive, often louder, requires tuning for max benefit. | Enthusiasts, those seeking performance gains. |
Key Considerations for Jeep WJ Manifolds
When shopping for your replacement part, always check these three things to avoid headaches later:
1. Gasket Compatibility: Ensure the manifold comes with, or is designed for, the correct multi-layer steel (MLS) gaskets. Cheap gaskets are a primary cause of new leaks!
2. Manifold Material Quality: If sticking with cast iron, look for thicker walls or upgraded materials designed to resist cracking better than the originals.
3. Hardware Included: Replacing old, seized manifold studs is half the battle. Buy a kit that includes new, high-temperature studs and nuts, preferably made of stainless steel or a high-grade alloy.
Specific Recommendations by Engine Type
For the WJ, there are generally two popular routes, depending on your engine:
For the 4.0L Inline-Six (Single Manifold)
The 4.0L is famous for manifold issues. Many owners opt for high-quality cast iron replacements that offer thicker construction than the original equipment. Some aftermarket suppliers offer specially designed manifolds that reposition the O2 sensor bung or improve runner design slightly.
For the 4.7L V8 (Dual Manifolds)
The 4.7L often benefits significantly from upgraded manifolds, especially if you are looking for a small performance bump without going full header route. Look for brands known for quality control, as inconsistent casting can lead to immediate warping.
Driver’s Side vs. Passenger’s Side: Since the 4.7L uses two, verify if you need the left (driver) or right (passenger) side. They are usually not interchangeable.
Tools and Preparation: Setting Up for Success
Replacing an exhaust manifold is a job where preparation prevents 90% of the frustration. Heat cycles make these bolts seize up over years of service, so having the right tools and chemicals is non-negotiable.
Essential Tools Checklist
Here is what you’ll need before you start wrenching:
- Socket set (Metric: 10mm, 13mm, 15mm are common sizes for WJ bolts).
- Torque wrench (Crucial for final assembly).
- Breaker bar (For stubborn bolts).
- Penetrating oil (PB Blaster, Liquid Wrench, etc. Soak them overnight!).
- Gasket scraper or razor blade.
- Wire brush.
- Safety glasses and gloves.
- Jack and jack stands (Never work under a car supported only by a jack).
The Penetrating Oil Secret
I cannot stress this enough: spend time soaking the manifold bolts and studs a day before you plan to start the job. Spray every bolt liberally, let it sit, and spray again before you try to turn them. This simple step saves you from snapping fragile bolts, which turns a two-hour job into a full-day nightmare.
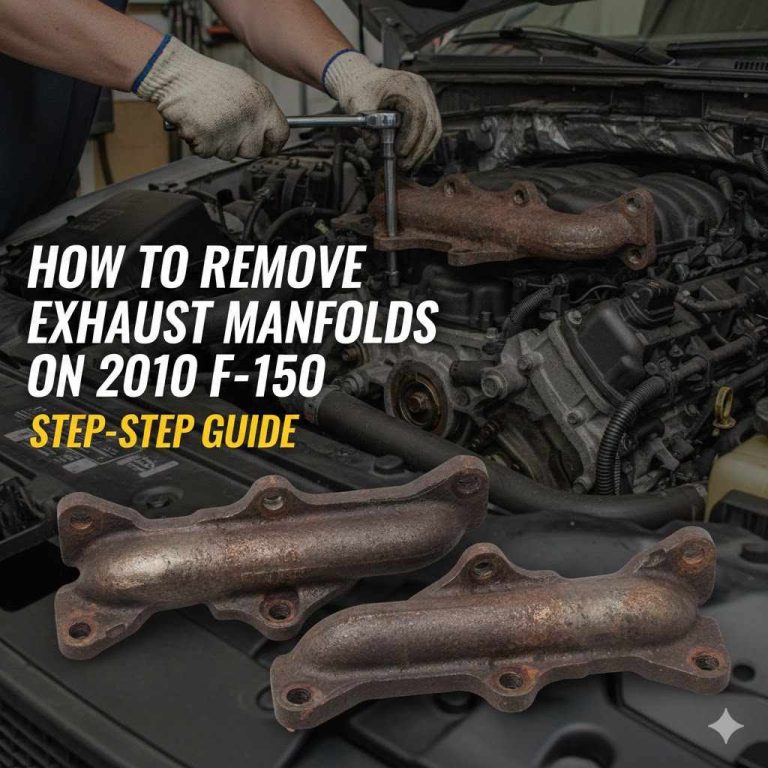
Step-by-Step Guide: Replacing Your WJ Manifold
This guide is generalized for both the single 4.0L manifold and one side of the 4.7L V8. The process is very similar, though you might have slightly different access challenges depending on the engine. Always disconnect the battery before starting any work involving sensors or wiring.
Step 1: Safety First and Access
1. Disconnect Battery: Remove the negative battery terminal.
2. Lift and Secure: Safely lift the front of the Jeep using a quality jack and secure it firmly on heavy-duty jack stands. You need room to maneuver underneath.
3. Locate the Manifold: Identify the leaking manifold. (4.0L: Driver’s side front. 4.7L: Check both sides).
Step 2: Disconnecting the Exhaust and Sensors
The manifold connects the engine to the downpipe (the first section of the exhaust system).
1. Unplug Oxygen (O2) Sensors: Carefully trace the wires for the O2 sensors plugged into the manifold or downpipe area. Gently unplug the harness connectors. Do not pull on the wires; squeeze the locking tab.
2. Separate the Downpipe: Locate the flange connection where the manifold meets the rest of the exhaust pipe. These bolts are often heavily rusted. Soak them in penetrating oil now if you haven’t already. Use your breaker bar to carefully loosen and remove these flange bolts. You might need to support the exhaust pipe so it doesn’t hang precariously.
Step 3: Removing the Old Manifold
This is where those soaked bolts earn their keep.
1. Remove Manifold Bolts: Start with the bolts holding the manifold to the cylinder head. Work from the center bolts outward, or follow the pattern recommended by your specific engine manual.
- If a bolt snaps, stop and plan to drill it out later, but try gentle, alternating tightening and loosening first.
2. Remove the Manifold: Once all bolts are removed, carefully wiggle and remove the old manifold. Be ready for some dirt and debris to fall.
Step 4: Cleaning the Mating Surface
This step is critical for a leak-free installation. The old gasket material and carbon buildup must go.
1. Scrape: Use a gasket scraper or a razor blade held at a very shallow angle to gently scrape all gasket residue off the cylinder head surface. Be extremely careful not to scratch or gouge the soft aluminum of the cylinder head.
2. Wire Brush: Use a fine wire brush to clean any remaining scale.
3. Wipe Clean: Wipe the surface down with a clean rag and brake cleaner or acetone to ensure it is totally oil-free.
Step 5: Installing the New Manifold
Always use new gaskets and hardware!
1. Position the Gasket: Place the new gasket over the mounting studs or holes on the cylinder head. Ensure it is oriented correctly—some gaskets have a specific “up” or “this side toward the head.”
2. Place the Manifold: Carefully set the new manifold over the gasket.
3. Install New Hardware: Hand-tighten the new studs/bolts into the head. Do not torque them yet!
Step 6: Torquing Down the Bolts
Proper torque sequence prevents warping the new manifold and ensures the gasket seals perfectly. You must follow the manufacturer’s recommended torque sequence (usually starting in the center and working outward in a crisscross pattern).
1. Snug Everything: Gently tighten all bolts until they are snug—just enough tension to hold the manifold firmly.
2. Torque in Passes: Using your torque wrench, tighten the bolts in stages, following your engine’s specific pattern (check a reliable source like the official Jeep repair manual for exact specs, usually around 20-30 ft-lbs for the 4.0L head bolts). Complete the process in two or three passes.
- Expert Tip: For many WJ applications, especially the 4.0L, some mechanics prefer a slightly lower torque specification and then re-checking after the engine has run for 15 minutes (a “re-torque”).
Step 7: Reassembly and Final Checks
1. Reattach Downpipe: Line up the manifold outlet with the exhaust downpipe flange. Install new bolts/nuts (or reuse the old ones if they look salvageable, though new ones are recommended) and torque them properly.
2. Reconnect Sensors: Plug the O2 sensors back into their harness connectors until they click.
3. Lower Vehicle: Remove the jack stands and lower the Jeep.
4. Reconnect Battery: Reconnect the negative battery terminal.
Step 8: Curing and Checking
Start the engine and listen closely. It might take a minute or two for the engine computer to relearn its parameters (especially if you disconnected sensors).
Run the engine for 10–15 minutes, letting it reach operating temperature.
Turn the engine off, let it cool slightly, and then check all the connections again. If everything is quiet and you smell no fumes, congratulations!
Troubleshooting Common WJ Manifold Replacement Issues
Even with the best preparation, things can go wrong. Here are solutions to the most common beginner pitfalls.
Issue 1: The Bolt Snapped During Removal
This is the classic nightmare scenario. If a manifold stud shears off flush with the cylinder head, you have a few options, listed from easiest (least invasive) to hardest:
- Bolt Extractor Set: Try drilling a pilot hole into the broken stud and using a reverse-thread extractor (often called an “Easy-Out”). Be extremely careful not to break the extractor inside the hole, as that makes the problem much worse.
- Welding a Nut: If you have access to a welder, a professional can weld a nut onto the stub of the broken bolt. The heat from the welding often breaks the rust bond, allowing you to unscrew the bolt.
- Drilling and Tapping: If all else fails, the broken stud must be drilled out completely, and the hole cleaned up using a tap to re-cut the threads for a new, slightly larger thread size (if available) or a thread insert (Heli-Coil). This requires precision.
Issue 2: New Manifold is Still Ticking/Leaking
If you’ve just installed everything and still have a tick, the problem is almost always in one of two places:
Improper Torque or Sequence: The most common cause. The manifold wasn’t torqued correctly, leading to an uneven gasket seal.
Warped Head or Manifold: If you used a very cheap manifold or the cylinder head surface was not perfectly clean and flat, it will leak.
Bad Gasket: The new gasket may have been damaged during installation or was defective from the factory.
If the leak is obvious at the head flange, you will need to remove the manifold and re-scrape the head surface, ensuring it is perfectly flat before reinstalling with a brand-new, high-quality gasket.
WJ Exhaust System Maintenance Beyond the Manifold
The manifold is just the start of the exhaust system. To keep your Jeep running efficiently and quietly long-term, a little extra attention goes a long way.
The Role of the O2 Sensor
The Oxygen (O2) sensor measures the unburned oxygen in the exhaust stream. This reading is vital because it tells your Jeep’s computer (the ECU) how to adjust the fuel mixture.
Impact of Leaks: A leak before the upstream (front) O2 sensor will cause it to read excess oxygen, tricking the computer into dumping too much fuel into the engine, hurting gas mileage.
Replacement Timing: If your WJ has over 100,000 miles and you are replacing manifolds, it is often smart to replace the upstream O2 sensors at the same time for guaranteed accuracy.
Exhaust Pipe Health
While you are under the Jeep, take a moment to check the rest of the downpipe and the catalytic converter connection. Look for rust holes or weak clamps. Replacing rusted pipes prevents future complications when accessing manifold hardware. For information regarding emissions standards related to exhaust components, consult local state guidelines, as they can vary widely across the U.S. For example, California has stricter testing protocols that affect catalytic converter compliance.

Frequently Asked Questions (FAQ) About Jeep WJ Manifolds
Q1: My 4.0L Jeep WJ is ticking. Is it definitely the manifold or could it be a lifter?
A ticking noise that gets louder or faster with engine RPM is often misdiagnosed. Manifold leaks usually create a sharp, distinct ‘tick’ that is most noticeable when the engine is cold and quiets down slightly as the metal expands when hot. Lifter noise is often a deeper ‘clack’ that persists even when warm. Feel near the manifold with a running engine (carefully!)—if you feel puffs of air, it’s the manifold.
Q2: Do I need to replace the manifold studs or can I reuse the old ones?
You should always replace the studs and nuts when replacing the manifold. Old studs are often weakened by heat cycles, rusted, and prone to snapping during re-torquing. New, high-grade hardware ensures a reliable, leak-free seal the first time.
Q3: If I use stainless steel headers instead of cast iron, do I need to retune the engine?
For mild stainless steel designs on the 4.0L or 4.7L, you may not need an immediate tune-up, but you might see slight running issues if the O2 sensors are reading differently due to improved flow. If you install performance headers that drastically change exhaust flow, a professional tune-up will maximize gains and ensure the fuel trims remain correct.
Q4: How long should a new, quality cast iron WJ manifold last?
A high-quality, thick-walled aftermarket cast iron manifold should last significantly longer than the original equipment—often 8 to 10 years or more under normal driving conditions. If you drive hard off-road or tow frequently, monitor them closely.
Q5: What is the most common bolt size for the 4.0L manifold to head connection?
The 4.0L typically uses 13mm bolts for securing the manifold to the cylinder head. Always verify this against your specific model year, as Jeep occasionally made small running changes.
Q6: Does replacing the manifold affect my Jeep’s emissions testing?
As long as the replacement manifold includes the correct fittings for all required Oxygen (O2) sensors, and you are using a direct-fit replacement (not an off-road-only pipe), your emissions testing results should not change. A leak, however, will cause you to fail testing quickly.
Conclusion: Confident Maintenance for Your WJ
Tackling exhaust manifold replacement might sound like heavy lifting, but by knowing exactly which part your Jeep WJ needs—whether it’s the single manifold for the robust 4.0L or the pair for the 4.7L V8—you’ve already won half the battle. Remember, preparation is everything here. Take your time soaking those stubborn bolts, clean that head surface until it shines, and torque everything down using the correct pattern.
By following these clear steps, you’ve successfully performed a crucial piece of engine maintenance. You’ve eliminated that annoying tick, ensured your Jeep is breathing correctly, and saved yourself a trip to the mechanic. Keep that trusted WJ running strong; you’ve got this!