How to Remove Baffles From Vance & Hines Exhaust
Getting the sound just right from your motorcycle can be a fun part of owning it. Sometimes, the stock sound of your Vance & Hines exhaust isn’t quite what you’re looking for. Many riders want a deeper, louder tone, and removing the baffles is a common way to achieve this.
However, figuring out how to remove baffles from Vance & Hines exhaust can seem tricky, especially if you’re new to working on your bike. Don’t worry, it’s usually a straightforward process. We’ll walk you through it step-by-step so you can get the sound you want without any hassle.
Let’s get started and make your ride sound amazing.
Removing Vance & Hines Exhaust Baffles Simplified
This section explains the basic reasons why someone might want to remove baffles from their Vance & Hines exhaust and what to expect from the process. It covers the common goals of seeking a louder or deeper sound, and how baffle removal directly addresses this. We’ll also touch on the fact that it’s generally not a complicated job for most motorcycle owners.
Why Remove Baffles?
Many motorcycle riders decide to remove baffles from their Vance & Hines exhaust systems for a simple reason: sound. The baffles are designed to quiet down the exhaust noise, and by taking them out, you allow more sound to escape. This typically results in a louder, deeper, and more aggressive tone that many riders prefer.
It’s about personalizing the riding experience and making the motorcycle’s presence more noticeable.
- Louder Sound: The primary motivation for removing baffles is to increase the overall volume of the exhaust. This can make the motorcycle more exciting to ride and can be a safety feature by making the bike more audible to other road users. A louder exhaust means drivers in cars might hear you coming from further away, reducing the chance of accidents.
- Deeper Tone: Beyond just volume, removing baffles often changes the pitch of the exhaust sound. It can make the rumble deeper and more resonant, which many riders find more pleasing and characteristic of a powerful engine. This deeper sound can feel more connected to the motorcycle’s performance.
- Personalization: Every rider has unique preferences. Modifying the exhaust sound is a way to make the motorcycle feel more like their own. It’s a relatively easy and cost-effective modification that can significantly change the character of the bike’s sound profile.
The baffles inside your exhaust act like mufflers. They contain materials or structures that absorb or redirect sound waves. When you remove them, the exhaust gases can flow more freely, and the sound waves are less obstructed.
This directly leads to a less muffled and more open exhaust note.
Understanding Exhaust Baffles
Exhaust baffles are components within a muffler designed to reduce noise. They work by disrupting the flow of exhaust gases and absorbing sound energy. Think of them as internal chambers or perforated tubes that create turbulence and reflect sound waves back, lessening their intensity before they exit the tailpipe.
- Construction: Baffles can vary in design. Some are simple perforated tubes that allow gases to pass through but break up sound waves. Others might have more complex internal baffling with fiberglass packing or metal wool to absorb sound. The specific design depends on the exhaust manufacturer and the intended sound profile.
- Functionality: The main goal of a baffle is noise reduction. Without baffles, exhaust systems would be extremely loud, often unacceptably so for street use. They are essential for meeting noise regulations in many areas.
- Impact of Removal: Removing baffles eliminates the noise-dampening effect. This allows the exhaust gases to exit with less restriction, resulting in a louder and often more resonant sound. It can also slightly improve exhaust flow, although this is usually a minor benefit compared to the sound change.
For example, a Vance & Hines exhaust designed for a Harley-Davidson might have a baffle with several small holes. When sound waves hit these holes, they bounce around inside the baffle chamber, losing energy. Removing this perforated piece means the sound waves travel straight out.
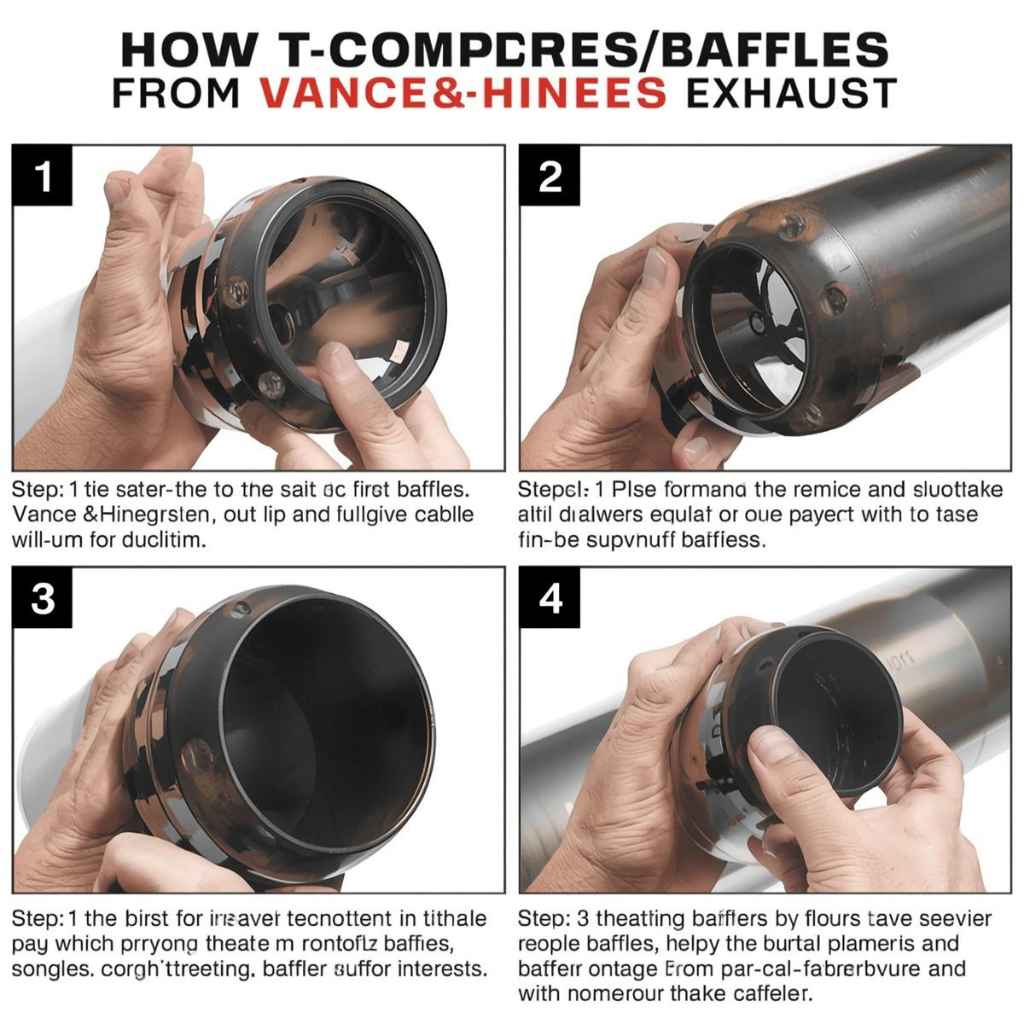
Step-by-Step Guide How to Remove Baffles from Vance & Hines Exhaust
This section provides the actual, actionable steps for removing baffles. It details the tools you’ll need and walks through the physical process. We will cover how to locate the baffle, detach it, and reassemble the exhaust if necessary.
The goal is to make this seem very doable.
Gathering Your Tools
Before you start working on your Vance & Hines exhaust, it’s important to have the right tools ready. Having everything you need beforehand makes the job go much smoother and faster. You don’t want to be halfway through and realize you’re missing a key item.
- Socket Wrench Set: You’ll likely need a set of sockets in various sizes. Common sizes for exhaust bolts are 8mm, 10mm, 12mm, and 13mm, but it can vary by model. Make sure you have a good ratchet handle to go with them.
- Screwdrivers: Both Phillips head and flathead screwdrivers might be necessary for certain fasteners or if there are any clips holding parts together.
- Penetrating Oil: Exhaust components can sometimes be stubborn due to heat and time. A good penetrating oil, like WD-40 or PB Blaster, can help loosen rusted bolts and make removal much easier.
- Gloves and Safety Glasses: Always protect yourself. Gloves will keep your hands clean and protect them from sharp edges, and safety glasses are crucial to prevent debris from getting into your eyes.
- Torque Wrench (Optional but Recommended): If you plan on re-tightening bolts to manufacturer specifications, a torque wrench is essential. This ensures bolts are tightened correctly, preventing leaks or damage.
Having these tools prepared means you can approach the task with confidence. It’s about being efficient and safe.
Locating and Removing the Baffle
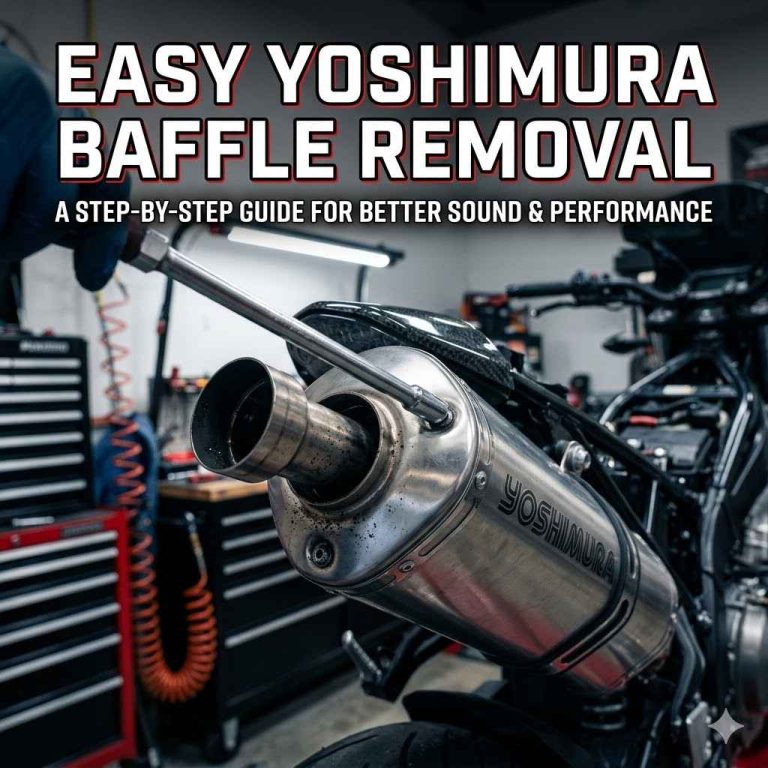
The exact method for removing baffles can differ slightly depending on the specific Vance & Hines exhaust model you have. Most Vance & Hines exhausts are designed with baffles that can be removed from the rear of the muffler. Some may require removing a bolt or screw that secures the baffle in place, while others might just slide out or require a slight tap.
- Identify the Baffle Retainer: Look at the very end of your Vance & Hines muffler. You will usually see a bolt or screw that holds the baffle in place. This is often a small machine screw or a hex bolt.
- Remove the Retaining Bolt: Using the appropriate size socket or screwdriver, carefully remove this bolt or screw. If it’s stuck, apply some penetrating oil and let it sit for a few minutes before trying again.
- Extract the Baffle: Once the retainer is out, the baffle itself should be accessible. In many cases, you can pull it straight out with your hand or a pair of pliers. Some baffles might be a snug fit, so a gentle wiggle or tap might be needed. If it seems very stuck, avoid forcing it too hard. Sometimes, rotating the exhaust slightly can help.
- Inspect the Baffle: Once removed, examine the baffle. You’ll see its structure and understand how it was muffling the sound. Some baffles have packing material, while others are just metal tubes.
This process is typically straightforward. The key is patience and having the right tools.
Reassembly and Testing
After you’ve successfully removed the baffles, the next steps involve putting everything back together and then hearing the result. It’s important to reassemble correctly to ensure a proper seal and safe operation.
- Reinstall if Desired: If you decide you want to keep the option of having a quieter ride, you can reinsert the baffles and re-secure them with the original bolts. Make sure they are seated properly before tightening.
- Check for Leaks: After reassembly, if you reinstalled any parts, it’s a good idea to start the engine briefly and listen for any exhaust leaks. Leaks can cause performance issues and unusual noises.
- Test Ride: Once everything is confirmed to be secure, take your motorcycle for a short test ride. Pay attention to the new sound. Does it meet your expectations? Is it too loud or not loud enough? This ride is also a good opportunity to check for any unusual vibrations or performance changes.
The sound test is the most exciting part. It’s where you confirm your work and enjoy the new sound profile of your Vance & Hines exhaust.
Potential Challenges and Solutions
This section addresses common problems people encounter and offers solutions. It’s about anticipating issues and providing clear ways to overcome them, reinforcing the idea that this is a manageable DIY task.
Stubborn Bolts and Fasteners
Sometimes, the bolts or screws holding the baffle in place can be difficult to remove. This is usually due to rust, carbon buildup, or over-tightening from previous installations. Don’t let this discourage you; there are effective ways to handle it.