How to Fix Exhaust Hanger Rust and Sagging
Replace the rubber hanger if the metal bracket is still solid. If the bracket, pipe hanger, or body mount is rusted through, stop driving until the support is repaired or replaced. If left alone, a sagging exhaust can hit the floorpan, damage a flex joint, or hang low enough to scrape and fail. This guide shows how to inspect the hanger, separate rubber failure from rusted metal failure, and decide between replace, weld, or park it.
What a sagging exhaust hanger means
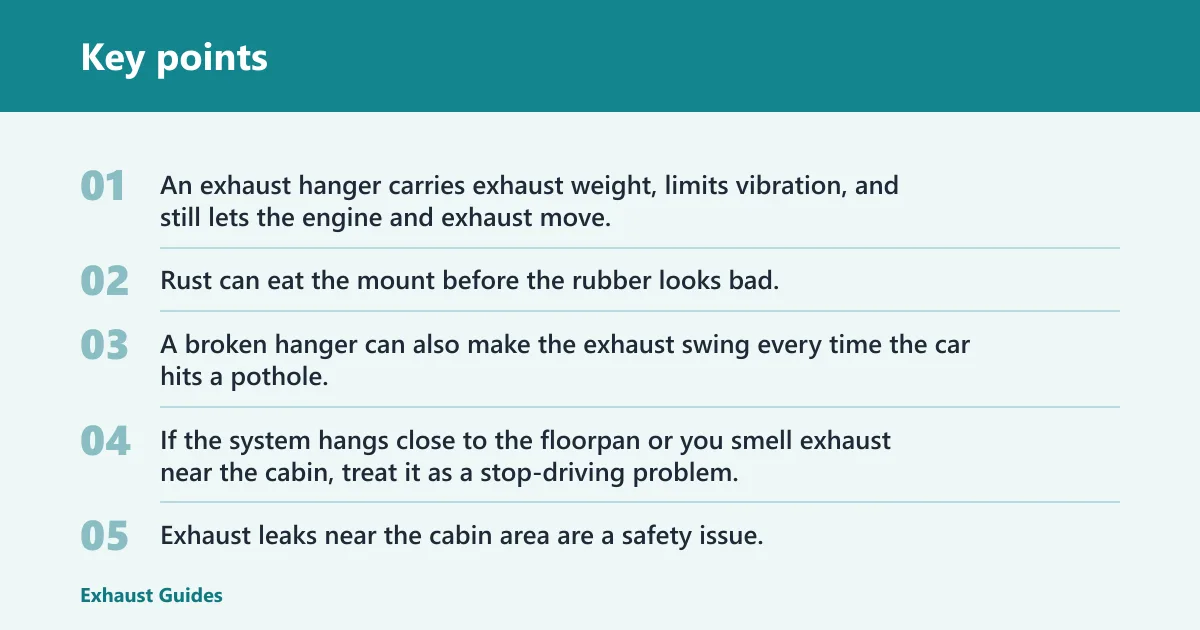


An exhaust hanger carries exhaust weight, limits vibration, and still lets the engine and exhaust move. When it sags, the pipe may clunk over bumps before the engine sound changes, and the rear muffler on many sedans and crossovers may have only a few support points. Rust can eat the mount before the rubber looks bad.
That matters because a low pipe can stress a flex joint, flange, clamp, oxygen sensor wiring, or muffler seam. A broken hanger can also make the exhaust swing every time the car hits a pothole.
If the system hangs close to the floorpan or you smell exhaust near the cabin, treat it as a stop-driving problem. Exhaust leaks near the cabin area are a safety issue.
What you’ll need
- Car jack
- Jack stands
- Wheel chocks
- Mechanic’s creeper
- Safety glasses and gloves
- Penetrating spray or lubricant
- Exhaust hanger pliers
- Needle-nose pliers or wire cutters
- Flat screwdriver
- Replacement rubber isolator
- Replacement bracket or welding access, if the metal is gone
- Wire, coat hanger, or zip tie only for a short crawl-home support
Sagging exhaust hanger triage table
| Symptom | Likely failure point | Confirmatory check | Tool needed | DIY or shop | Risk level |
|---|---|---|---|---|---|
| Cracked rubber | Rubber hanger isolator | Pull the rubber down; look for splits, ovaled holes, or missing chunks | Pliers, lubricant | DIY | Low to moderate |
| Rusted rod | Hanger rod or metal loop | Probe the rod; if flakes or scaling leave it thin, it will not hold load well | Brush, flashlight | Shop if metal is thin | High |
| Torn bracket | Exhaust-side bracket | Check whether the bracket is bent, cracked, or partly separated from the pipe | Flashlight, jack stand | Shop if welding is needed | High |
| Broken body tab | Body-side hanger mount | Look for torn sheet metal, loose spot welds, or rust holes at the mount | Flashlight, mirror | Shop | High |
| Pipe-to-body contact | Whole support set has shifted | Check rear muffler hanger, center support, and front support together, plus nearby clamps as a set | Jack, jack stands | DIY only if support points are intact | High |
| Heat shield rattle | Loose shield or hanger strain | Tap the shield and inspect for broken clips after you confirm the hanger is not dragging it | Screwdriver | DIY if shield clips are the issue | Moderate |
| Flex-joint strain | Low pipe loading the front section | Look for stretched braid, cracked welds, or a twisted pipe section | Flashlight | Shop | High |
| Cabin-exhaust risk | Leak or low pipe near the body | Check for fumes, soot marks, or a gap that can route exhaust toward the floor | None beyond inspection gear | Stop driving if fumes are present | Severe |
Repair decision checklist.
- Intact rubber only: replace the isolator.
- Thin or scaled rod: replace the welded support.
- Torn body tab: shop repair.
- Fumes or cabin smell: stop driving and tow.
How to inspect the hanger and nearby supports
Check rubber, rods, clamps, and mounting points as one system. A broken exhaust hanger may need more than a rubber replacement if the rod has rusted off, and a low pipe can hide a second weak point at the clamp or flange.
- Secure the vehicle. Park on level ground, chock the wheels, and lift the car with a jack before you crawl under it. Set it on jack stands before any under-car inspection or removal.
- Trace every support point. Check the rear muffler hanger, center support, and front support together during inspection. Many misses happen because one rotten tab looks fine until you compare it with the rest of the system.
- Check load and clearance. Look for the pipe touching the floorpan, heat shield, rear axle, or bumper structure. A sagging pipe can clunk over bumps before the engine changes sound.
- Separate hanger from leak. If you see soot at a flange, broken clamp ears, or a cracked seam, do not blame the hanger alone. If the rubber looks torn but the pipe is also blackened at a flange, that is two repairs, not one.
For a sedan, a rear muffler that hangs about 2 to 3 inches lower on one side, with rubber that looks only slightly split, can point to a rusted mount. That can still be a rusted mount, because the steel may fail before the rubber looks bad.
Can you replace only the rubber hanger?
Yes, if the isolator is the only failed part and the rod, bracket, and body mount are still solid. Rubber hanger isolators crack or tear with age, heat, and vibration, and some designs have steel cable embedded inside the rubber. Those can fight back during removal, but they are still a normal DIY replacement when the metal is sound.
- Soak the rubber. Spray lubricant where the rod passes through the isolator and wait about 5 to 10 minutes before removing the exhaust hanger isolator. The goal is to reduce friction before you pull.
- Free the isolator. Use hanger pliers, wire cutters, or needle-nose pliers to work the rubber off the rod. Pull straight when you can; twisting can tear the mount or bend the hanger.
- Inspect the rod. Clean the metal loop or rod and check for thinning, pits, or a cracked weld. If the metal looks compromised, stop and move to a bracket repair instead of fitting another rubber piece.
Use a temporary support only to keep the pipe off the pavement for a short trip. Wire, coat hangers, and zip ties are crawl-home measures, not repairs.
When does rust mean welding or bracket replacement?
Choose welding or bracket replacement when the metal has rusted through, separated from the body, or lost enough thickness that a new rubber isolator would fail again. That applies to a rusted rod, a torn pipe bracket, or a body-side tab that can no longer hold the exhaust weight.
- Probe the metal. Scrape scale from the rod, bracket, and body tab. If the steel flakes away or leaves a hole, the hanger point is no longer reliable.
- Check the mount edge. Look at the spot where the tab meets the body or where the hanger weld meets the pipe. Rust that has crept under the seam usually means replacement, not a fresh rubber piece.
- Escalate to a shop. A shop repair usually covers cutting out the failed metal, welding in a new hanger or tab, and checking nearby clamps and pipe alignment. That is the right path when the structure is gone.
Rust can eat the mount before the rubber looks bad. That is why the visual check has to include the metal, not only the isolator.
How to stop a dragging exhaust long enough to get home
If the exhaust is hanging low but still attached, a short crawl-home fix can keep it from scraping the pavement. That is only for a brief drive to a safe repair spot, and only if there is no exhaust leak near the cabin area.
- Lift the pipe slightly. With the car safely supported, raise the exhaust by hand just enough to restore clearance.
- Secure a short-term support. Add wire, a coat hanger, or a zip tie only to keep the pipe off the road for a short trip. Do not tighten it so hard that it crushes the rubber or twists the bracket.
- Drive slowly. Avoid bumps, sharp turns, and speed humps. If the pipe still swings or starts contacting the body, park it and arrange a tow.
Common mistakes
- Replacing only the rubber when the rod or bracket is rusted thin.
- Missing a broken clamp, flange, or heat shield and blaming the hanger alone.
- Working under the car without jack stands.
- Using lubricant as a cure for rusted-through metal.
- Leaving a low pipe in place when fumes reach the cabin.
- Treating wire, coat hangers, or zip ties as permanent repair parts.
A common first-timer mistake is replacing the rear rubber hanger on one side and skipping the center support. The pipe still sags because the remaining support point was already tired.
Frequently asked questions
How to separate exhaust pipes rusted together
Soak the joint with penetrating spray, tap around the seam, and let the vehicle sit long enough for the rust bond to break down. If the flange or slip joint still will not move, heat and cutting may be needed at a shop, because forcing it can damage the pipe or nearby hanger.
How to remove rusted exhaust flange nuts
Brush the threads clean first, apply penetrating spray, and use the correct-size socket with steady pressure. If the nut rounds off or the stud twists, stop and plan for replacement hardware or a welded repair. Heating seized fasteners can help, but it is easy to damage nearby components.
What is the difference between rusted exhaust flange nuts and rusted exhaust bolts?
Flange nuts usually back off threaded studs, while exhaust bolts pass through the joint and clamp the flanges together directly. Nuts are more likely to seize on exposed studs, but either fastener can rust solid. The removal approach is similar: clean, soak, and avoid rounding the hardware.
Can I drive with a sagging exhaust hanger?
Only if the pipe still has safe clearance, there is no cabin exhaust smell, and you are driving to a repair or tow point. If the exhaust is scraping, swinging hard, or leaking near the cabin, do not keep driving. The risk is damage to the pipe, flex joint, or floorpan.
When does a rusted exhaust hanger need welding instead of a rubber replacement?
Weld or replace the bracket when the rod, tab, or body mount is rusted through, cracked, or too thin to carry load. If the rubber is the only failed part, a new isolator is enough. If the metal is gone, another rubber swap will not hold the exhaust up.