How to Join Exhaust Pipe Sections Securely
Use a lap or sleeve clamp for intact pipe, a butt weld for new sections, and an expansion or band clamp only when diameters match; if the pipe is thin, cut back to solid metal first. Bad joints leak, rattle, warp, and can crush the tube so badly that the next repair is harder and more expensive. This guide shows how to choose the right joint method, prep the pipe, align it, and seal it without distortion.
Best joint method by exhaust repair scenario


| Pipe condition | Material | Needed tools | Durability | Leak risk | Best use case |
|---|---|---|---|---|---|
| New straight tubing | Mild steel, aluminized steel, or stainless steel | Cutoff saw, deburring tool, TIG or MIG welder, or a band clamp | High with weld; medium to high with a correct band clamp | Low if fit-up and alignment are correct | Permanent fabrication where you can control diameter and gap |
| Rusty cut pipe | Mild steel or aluminized steel | Cutoff tool, grinder, sleeve coupler, U-bolt clamp, or welding gear | Medium if sound metal remains; low if corrosion is active nearby | Medium to high if the pipe edge is thin or ovalized | Repair after cutting back to solid metal |
| Misaligned sections | Any matching exhaust tubing material | Hangers, jack stands, tape measure, band clamp, sleeve, or welder | Medium to high after alignment correction | High if the joint is forced into place | Sections that need support and correction before final joining |
| Muffler replacement | Usually aluminized steel or stainless steel | Band clamp, sleeve coupler, hanger hardware, wrench, and possibly sealant | Medium to high depending on joint style | Low if the inlet and outlet sizes match | Serviceable replacement where future removal matters |
| Flex pipe install | Stainless preferred for the flex section | Cutoff tool, clamps or welding gear, hangers, measuring tools | Medium if the flex is used for vibration isolation only | Medium if the pipe is bent or forced out of line | Vibration control near engine or drivetrain movement |
| Temporary roadside repair | Any pipe that still has usable wall thickness | U-bolt clamp, bandage material, wrench, pliers | Low to medium | High, especially after heat cycles | Short-term seal and support until proper repair is possible |
How do you choose the right exhaust joint?
Start with pipe condition, then match the material and the service goal. Outside diameter fit determines whether a clamp seals or crushes the tube, while wall thickness shows how much clamp load the pipe can usually take. If the pipe is thin or damaged, cut back to solid metal before choosing a clamp, sleeve, or weld.
Pipe diameter and wall thickness
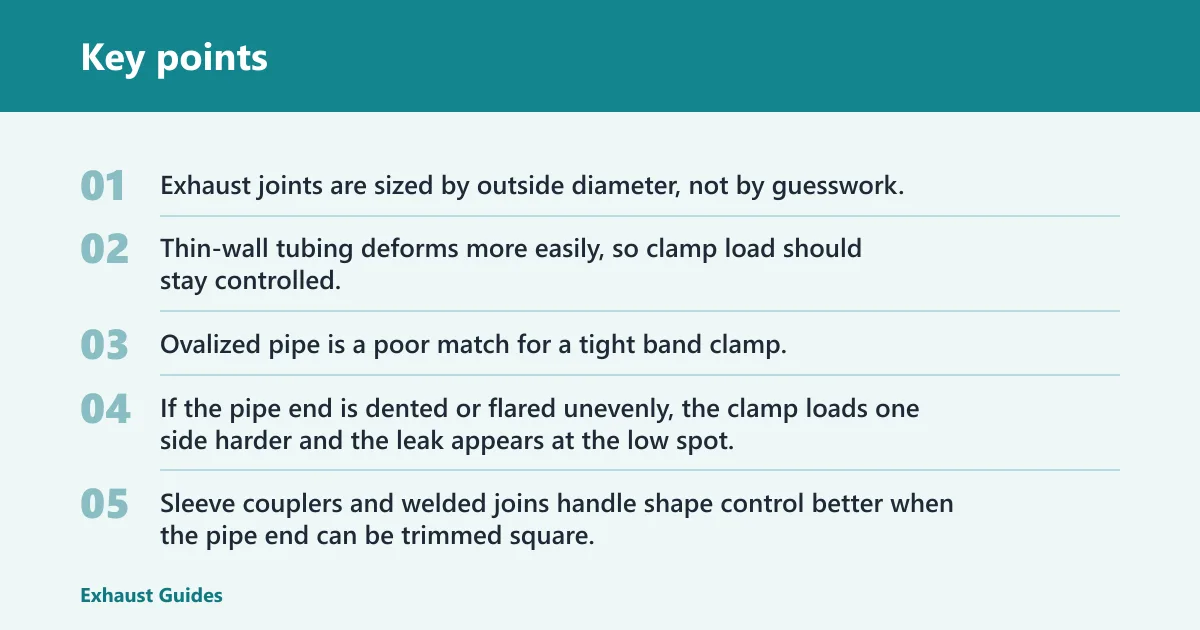
Exhaust joints are sized by outside diameter, not by guesswork. A 2.25, 2.5, or 3.0 inch clamp only seals well when the pipe OD matches the clamp range and the wall is strong enough to resist collapse. Thin-wall tubing deforms more easily, so clamp load should stay controlled.
Ovalized pipe is a poor match for a tight band clamp. If the pipe end is dented or flared unevenly, the clamp loads one side harder and the leak appears at the low spot. Sleeve couplers and welded joins handle shape control better when the pipe end can be trimmed square.
Material differences: mild steel, aluminized steel, and stainless steel
Mild steel rusts fastest and usually accepts welding and clamping without special complication, as long as the surface is clean. Aluminized steel resists corrosion better on the outside, but the coating must be removed where you weld. Stainless steel lasts longer in corrosive heat and moisture, but it needs compatible hardware and cleaner fit-up.
Clamp behavior changes with material. A U-bolt clamp can bite into mild steel quickly, but that same bite can distort thin stainless or thin-wall aluminized tubing. Band clamps generally spread load better and are often a better match for slip-fit joints on cleaner tubing.
Serviceability versus permanence
If you may need to remove the section later, use a slip joint, sleeve coupler, or band clamp. If the goal is a long-term fabrication joint and the pipe route is correct, welding gives the cleanest finish. If the repair must come apart later, do not weld a joint that the next service will need to cut open.
A 2.5 inch muffler inlet with straight, round tubing works well with a band clamp, and the muffler can come back off later without cutting. If the same pipe has a rust-thin edge and a slight crush mark, cut back, sleeve, or weld it instead, because the original end will not seal well.
How do you join 2 exhaust pipes together securely?
Use a slip joint, sleeve coupler, or weld based on how much of the original pipe is usable and whether you want the joint to come apart later. A secure joint needs the correct OD match, clean metal, straight alignment, and enough support so the hanger carries weight instead of the joint carrying the load.
Slip joints
An exhaust pipe slip joint uses a male end that slides into a female end, with overlap commonly in the 2 to 3 inch range on many aftermarket parts. The male side should enter smoothly without slop, but not so tightly that assembly distorts the tube. Assembly direction matters: the open end usually points away from the exhaust flow path so condensate and leakage are less likely to escape at the seam.
Leak control comes from fit, overlap, and the clamp or weld used to hold the joint. A slip joint stays serviceable because it can be separated later, but only if the overlap is long enough and the surfaces are clean. If the joint rocks, it will leak sooner and stress the hanger nearby.
Sleeve couplers
An exhaust sleeve coupler is a straight-through joiner for butt joins or pipe repairs. It works best when both pipe ends are cut square and sized by outside diameter, not by guesswork. Aluminized couplers suit mild steel or aluminized systems, while stainless couplers make more sense where corrosion resistance matters.
The sleeve should bridge the cut ends without forcing a step or bend. A short gap can be welded, but a large gap means the pipe is wrong-sized or trimmed badly. Fix the fit before the clamp or weld.
Welded joins
Welding is the strongest option when the pipe fit is correct and the route is final. MIG is common for faster fabrication on mild steel and aluminized steel after the coating is removed at the weld area. TIG is better when you need fine control on thin-wall tubing or stainless and want a cleaner bead.
- Cut and square the ends. Remove rust, burrs, and crushed sections, then trim each end so the faces meet evenly. Good fit-up keeps the weld gap small and reduces distortion.
- Tack the joint first. Put small tack welds at multiple points before final welding. This locks alignment and keeps the joint from pulling as heat builds.
- Finish with controlled passes. Weld in short sections and move around the joint instead of heating one side continuously. That limits warping and helps the pipe stay round.
How do you join exhaust pipes without welding?
You can join exhaust pipes without welding by using a band clamp on a proper slip fit or a U-bolt clamp on a lap joint or damaged pipe end. Sealant can help fill minor surface imperfections, but it cannot fix poor diameter match, large gaps, or a bent tube.
Band clamps for slip-fit joints
Band clamps work best when the joint already fits closely. Common sizes include 2.25, 2.5, and 3.0 inches, and the clamp should match the pipe OD and the overlap style. A band clamp is torque-sensitive because too little torque leaks and too much torque flattens thin-wall tubing.
Compared with a U-bolt clamp, a band clamp spreads force over more of the circumference and usually causes less crush distortion. That makes it a stronger choice for serviceable exhaust joints where you want to remove the section later.
U-bolt clamps for lap joints and damaged pipe
A U-bolt exhaust clamp is the cheap universal option, and it still has a place on lap joints or slightly damaged pipe. It works by squeezing the outer saddle against the overlap. The downside is crush risk: thin-wall tubing can ovalize, especially if the clamp is overtightened or the pipe is already weak.
U-bolt clamps often need re-torque after heat cycles. The joint can settle as the metal expands and contracts, so a second check after the first drive cycle is smart. If the pipe wall is already thin, a sleeve and band clamp usually outlast the U-bolt approach.
Sealant limits and where it fits in the process
High-temp exhaust paste or RTV can help on a well-fitted joint with minor surface imperfections. It is not a substitute for correct overlap, correct OD, or a round pipe. Use only sealants rated for exhaust temperatures, and expect them to wear out sooner than the metal joint itself.
Do not pack sealant into a loose or misaligned joint and call it fixed. If the pipe is gapped, ovalized, or separated by too much movement, the leak will return when the joint heats and shifts.
How do you install flexible exhaust pipe correctly?
Install flexible exhaust pipe to isolate vibration, not to correct a bad route. The flex section needs the right flow direction, enough straight pipe on each side, and support close to the connection. If the system is misaligned, fix the alignment first; flex pipe should absorb movement, not force the system into place.
Direction of flow and straight section needs
Most flexible pipe has an intended flow direction, and that direction should follow the exhaust path. Keep a straight section before and after the flex so clamps or welds have stable tube to grip. A short straight run also helps prevent the flex from kinking under engine movement.
Do not place the flex where it will be the only structural support. Its job is vibration isolation, and constant bending shortens its life quickly.
Why flex pipe cannot fix poor alignment
If the pipes do not line up, the flex section will be forced to bend at rest. That creates side load, heat stress, and early cracking near the ends. A flex pipe can absorb small engine movement, but it should not be used to correct a hard offset or sagging mount.
Support and hanger placement near the joint
Exhaust hangers reduce joint stress by holding the system’s weight and damping motion. Place a hanger near the connection, usually on the side of the joint where the pipe would otherwise droop. Rubber isolators are preferred because they reduce vibration transfer into the joint and body.
A joint that hangs between supports tends to crack at the weld or loosen at the clamp. The closer the hanger is to the connection, the less force the pipe can put on the joint during heat cycles and bumps.
Best joint method by exhaust repair scenario
Match the method to the repair goal instead of choosing the same joint for every section. A secure exhaust repair is the one that fits the pipe condition, the material, and the future service plan. The matrix below gives a practical short list for common shop scenarios.
| Scenario | Preferred joint method | Why it fits |
|---|---|---|
| New straight tubing | Weld or band clamp | Good diameter control and clean metal make either method reliable |
| Rusty cut pipe | Sleeve coupler or cut-back weld | Sound metal is needed before a clamp or weld can seal well |
| Misaligned sections | Realign with hangers, then sleeve or weld | The joint should not be forced to correct a route problem |
| Muffler replacement | Band clamp or slip joint | Serviceability matters if the muffler may need removal later |
| Flex pipe install | Weld or clamp to straight tube | The flex should sit between straight sections and not carry load |
| Temporary roadside repair | U-bolt clamp | Fast, universal, and good enough to get home before a proper repair |
Common failure modes to avoid
- Crush distortion from overtightened clamps on thin-wall tubing.
- Thermal loosening after the first heat cycle, especially on U-bolt clamps.
- Leak paths from rust scale, burrs, or ovalized pipe ends.
- Joint stress from missing or misplaced hangers.
- Flex pipe used as a bandage for a bad route or hard offset.
What is the best way to install exhaust pipe sections?
The best install method is the one that gives correct fit, keeps the pipe round, and leaves the joint supported. For a permanent join, that usually means a cut, a measured fit-up, a tack or clamp check, and then the final fastener or weld. For a serviceable repair, a band clamp on the correct OD is often the better choice.
- Measure the outside diameter. Confirm the pipe OD and wall thickness before buying a clamp or coupler. Matching by size avoids crush risk and poor sealing.
- Clean the joint area. Remove rust, coating, grease, and burrs from the first few inches of each end. Clean metal improves fit and helps clamps seat evenly.
- Dry-fit the sections. Assemble the joint loosely and verify alignment with the hangers in place before final tightening. The pipe should sit naturally, not under force.
- Set the support points. Add or adjust hangers close to the joint so the section cannot sag. This prevents cracking and reduces load on the connection.
- Lock the final joint. Tighten the clamp evenly, or tack and weld if the repair is permanent. Recheck after a heat cycle because settling is common.
A common first-timer mistake is tightening the clamp before the hangers are set. The pipe then shifts when the system warms up, and the joint leaks at the first heat cycle. Align first, support second, tighten last.
Frequently asked questions
How do you connect muffler to exhaust pipe?
Most muffler connections work best with a slip joint and band clamp if you want future serviceability, or with a weld if the layout is final. Match the inlet OD exactly, seat the pipe fully, and support the muffler with a hanger near the connection so the joint does not carry the weight.
How tight should exhaust clamps be on pipe sections?
Tight enough to seal, not so tight that the tube flattens. Band clamps are torque-sensitive and should be checked after a heat cycle. U-bolt clamps can need re-torque, especially on thin-wall tubing, because settling and thermal expansion change the clamp load.