Flex Pipe Repair Guide
Repair a flex pipe only when the leak is small, the braid is still intact, and you can clamp or sleeve solid metal on both sides; splits over 1 inch, broken braid, or rusted ends usually mean replacement. I treat bad patches with caution because they can blow out fast, push fumes into the cabin, fail inspection, and cost more once the joint or converter pipe gets damaged. This Flex pipe repair guide lines up symptoms, damage size, access, cost, and expected lifespan with the fix that actually fits.
Start here: identify the flex pipe and confirm the leak


Where the flex pipe sits and what it actually does
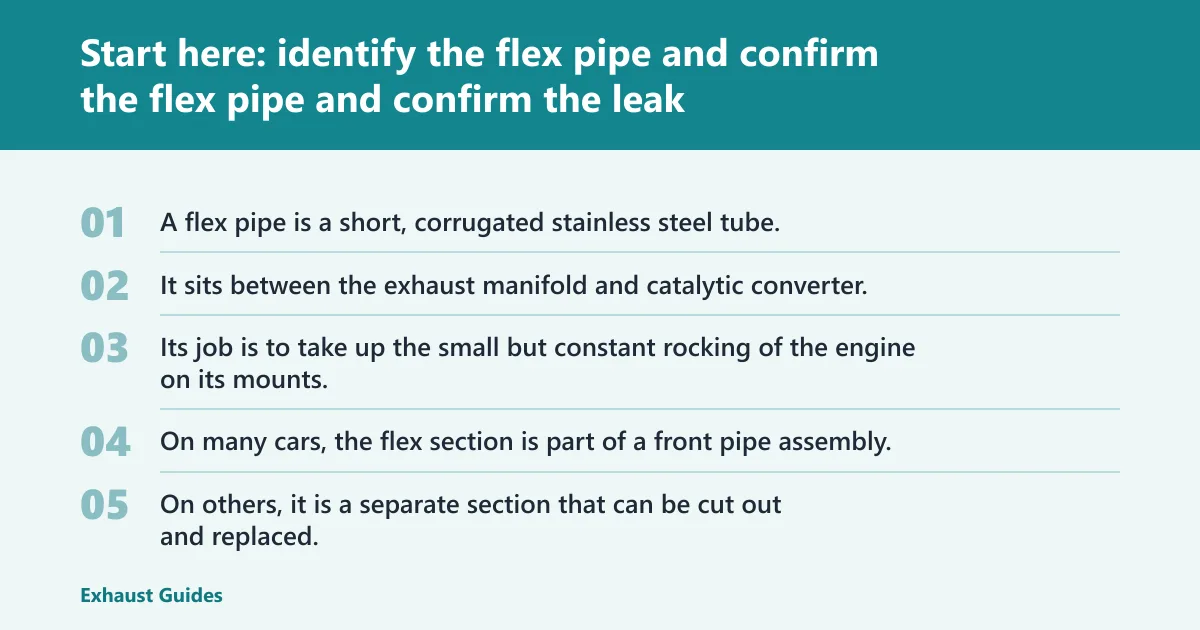
A flex pipe is a short, corrugated stainless steel tube. It sits between the exhaust manifold and catalytic converter. Its job is to take up the small but constant rocking of the engine on its mounts, so the rest of the exhaust does not have to bend and rebound every time you start, idle, shift, or load the engine.
On many cars, the flex section is part of a front pipe assembly. On others, it is a separate section that can be cut out and replaced. That fitment detail matters, because a separate section is much easier to repair with a sleeve or universal flex pipe section than an integrated pipe with tight bends and flanges.
Symptoms that point to a flex-pipe leak versus another exhaust leak
A flex-pipe leak often starts as a ticking or chuffing sound under load, then turns into a harsher exhaust note as the split grows. You may also smell exhaust, fail an emissions test, and if the leak gets bad enough, set oxygen-sensor related faults downstream.
Smell alone proves very little. I have seen manifold leaks, flange leaks, and loose heat shields sound almost the same as a bad flex section. You need to inspect it, not guess from noise.
If the leak is near the front pipe, fumes can get into the cabin, especially at idle or when the HVAC is pulling outside air. That is one reason I move faster on front flex-pipe failures than on a small leak farther back.
How flex pipes fail: heat, vibration, corrosion, and impact
Flex pipes fail from repeated heat cycles, engine rock, corrosion from road salt and trapped moisture, and direct hits from road debris or packed snow. The braid frays. The bellows crack. Salt and condensation eat the metal thinner from the outside and inside. A curb strike or hard snow chunk can crush the section and start a split.
Most stock flex pipes last 5–10 years. That range gets shorter in salt-heavy areas, on vehicles used for short trips, and on cars with worn engine mounts that make the exhaust move harder than it should.
📊 Professional flex pipe repair can cost 150 – 400. Source: How to Repair a Flex Pipe in 5 Easy Steps.
Does your flex pipe need repair or full replacement?
Patch only small damage on otherwise solid metal. If the leak is less than 1 inch long, the braid is intact, and the surrounding pipe is not thin with rust, a wrap, epoxy, or sleeve may work. Longer splits, broken braid, crushed bellows, or rusted ends usually need section replacement.
Damage you can usually patch
Repairable damage is defined as less than 1 inch long. In real shop terms, that means pinholes, very short cracks, or a small split where the surrounding metal still feels solid under a pick or screwdriver.
Good patch candidates share three traits:
- The braid is intact and still supports the bellows.
- The parent pipe on both sides is solid enough to clamp or wrap.
- The damaged area can be cleaned to bare, stable metal.
Exhaust repair wrap works best here. It is high-temperature fiberglass or bandage material, and it needs a clean surface plus tight overlap. The wrap should extend 2–3 inches past the damage. Treat that as a temporary to medium-term fix, not a forever repair.
Epoxy putty also fits this category, but only for very small holes or short cracks. It is a two-part repair material and needs surface prep plus cure time. I do not trust it where the flex section is moving a lot or the braid is already opening up.
Damage that usually needs a section replacement
Large tears or full splits require section replacement. So does a frayed braid with a bellows crack underneath, because the structure has already started to fail even if a wrap can hide the hole for a while.
Local rust thinning matters as much as crack length. A short split in paper-thin metal is not a patch job. The patch may stick, but the next weak spot opens beside it.
A universal flex pipe section is the common no-weld answer when damage exceeds patchable limits. The failed section gets cut out, the diameter is matched correctly, the exhaust is aligned, and the new section is secured with exhaust clamps if the kit is designed for that style of installation.
Damage that makes patching a bad bet
Some failures are false-economy repairs from the start:
- Crushed flex bellows from impact
- Separated ends where the flex has pulled away from its collars
- Heavy rust-through on the parent pipe
- Cracks close to a flange or catalytic converter neck
- Too little straight pipe for clamps or a sleeve
These cases usually keep moving, leaking, or tearing even after a careful patch. Spending a little on wrap and sealant can still lead to a full replacement days later, plus extra labor if the damaged edge chews up the adjoining pipe.
Flex pipe decision matrix: patch, sleeve, or replace
How to score crack length, rust level, location, and access
Use the matrix below before buying parts. The goal is to score the real repair conditions, not just the hole you can see. A tiny crack beside a flange on rusty pipe can be a worse bet than a slightly longer crack in clean, straight tubing.
| Factor | Score 0 | Score 1 | Score 2 | Score 3 |
|---|---|---|---|---|
| Crack length | Pinhole only | Less than 1 inch | Over 1 inch, not fully split | Full split or separated ends |
| Rust level | Surface rust only | Light scaling, metal still thick | Noticeable thinning or flaking edges | Rust-through on pipe or collars |
| Location | Middle of flex, stable pipe both sides | Near one collar but clamp area remains | Close to flange, converter, or bend | At flange weld or converter neck |
| Access | Clear straight access top and bottom | Minor shield or hanger in the way | Tight clamp tool access or limited straight length | No realistic clamp or sleeve room |
What each score means: expected lifespan and risk by repair path
| Total score | Best repair path | Expected lifespan | Risk level | Notes |
|---|---|---|---|---|
| 0–3 | Wrap or epoxy | Short-term to medium-term | Low to medium | Use only if braid is intact and metal cleans up well. |
| 4–6 | Clamp-on sleeve or band repair | Medium-term | Medium | Needs sound metal on both sides and enough straight section for clamping. |
| 7–9 | Universal flex pipe section | Medium-term to long-term | Medium | Better value than repeated patches when crack growth or rust is already obvious. |
| 10–12 | Full replacement of front pipe or assembly | Longest | High if patched | Patch attempts here usually fail early or leak beside the repair. |
When a cheap patch becomes a false economy
A patch is a false economy when the parent pipe is rusted, the crack is near a flange, the braid has failed, or there is not enough straight pipe for a clamp to bite. In those cases, the money spent on wrap, epoxy, and sealant mostly buys delay.
That delay can get expensive. A loose, blowing flex joint can overheat nearby parts, spread soot onto sensor wiring, and add stress to the converter pipe. If a sleeve or section replacement is already the likely end point, it makes more sense to start there.
Can you repair a flex pipe without welding?
Yes, many flex-pipe failures can be repaired without welding, but only if the damage matches the method. Wrap and epoxy fit tiny leaks on healthy metal. A clamp-on sleeve or universal flex section is the better no-weld choice once the damage is longer, rustier, or structurally weak.
When exhaust repair wrap is worth using
Use wrap on a pinhole or short crack where the flex still holds its shape. The surface has to be brushed clean with a wire brush and sandpaper, then degreased. Tight overlap matters more than piling on extra loose layers.
Wrap should not be the first pick for a flex pipe with frayed braid or a bellows crack that opens when the engine moves. The material may seal at idle, then leak again under load.
High-temperature exhaust sealant can help at the wrap edges, but it does not add strength. Its job is to close tiny leak paths after the wrap is in place.
When epoxy putty makes sense and when it fails early
Epoxy putty works on very small holes or short cracks in solid metal. The pipe must be cleaned well, roughened, and fully dry. Cure time matters. If the instructions call for waiting before heat, that wait is part of the repair, not an optional step.
It fails early when applied over flaky rust, oily soot, or moving braid. It also struggles on longer splits because the damaged area expands and contracts with heat.
When a clamp-on sleeve or universal flex section is the better no-weld choice
Mechanical couplers can be used for a no-weld repair. That approach makes sense when the bad section can be cut out cleanly and there is enough straight pipe for the couplers or clamps to hold.
Some no-weld sleeve kits use 18-inch flexible tubing. Common pipe diameters include 2, 2.25, 2.5, and 3 inches. Measure the pipe before buying anything. Guessing usually ends with a sleeve that will not seal or clamps that crush the pipe before they grip.
What tools and materials do you need?
For a home repair, gather safe vehicle support, cleaning tools, measuring tools, and the repair material that fits the damage. Jack stands or ramps on level ground are generally recommended, along with wheel chocks, gloves, and eye protection. Never rely on a jack alone under any part of the job.
Safety gear and vehicle support
- Jack stands or ramps: required for safe access on level ground
- Wheel chocks: keep the vehicle from rolling
- Gloves and eye protection: rust flakes and hot soot fall easily
- Work light: needed to inspect braid, collars, and nearby flanges
Prep tools
- Wire brush and sandpaper: remove rust, carbon, dirt, and oil so wrap or epoxy can bond
- Degreaser: cleans off residue left after brushing
- Tape measure or caliper: check pipe diameter and available straight length
- Marker: marks cut lines for sleeve or section replacement
Repair materials
- Exhaust repair wrap: for small cracks or pinholes
- Epoxy putty: for tiny holes or very short cracks
- High-temperature exhaust sealant: optional on wrap edges or clamp joints
- Exhaust clamps: installed at each joint and tightened evenly
- Universal flex pipe section: for cut-out replacement when patching is no longer sensible
How to prep the pipe so the repair has a chance to last
Cooling, lifting, and safe access under the vehicle
Let the exhaust cool fully before touching it. Park on level ground, chock the wheels, then support the vehicle with jack stands or ramps. Never work under a vehicle held only by a jack.
Check for burn risk before reaching in. Flex sections sit near shields, the converter, and sharp brackets. Tight spaces are where rushed repairs go wrong.
Cleaning off rust, carbon, dirt, and oil
Adhesion lives or dies on prep. Brush away all loose rust and soot with the wire brush. Use sandpaper to knock the repair area down to firm metal. Wipe it clean with degreaser and let it dry.
If the brush keeps pulling off soft metal, stop. That usually means the pipe is too thin for a patch to hold.
Inspection checkpoints before you commit to a patch
- Check crack length. Less than 1 inch is the main patch threshold.
- Inspect the braid. Frayed or broken braid pushes the job toward replacement.
- Probe the surrounding metal. Thin, flaking edges kill patch life.
- Measure clamp area on both sides if using a sleeve or universal section.
- Look for nearby flanges, converter necks, hangers, and shields that block tool access.
How to repair a flex pipe at home
Method 1: wrap and seal a pinhole or short crack
- Clean and degrease the area fully.
- Apply a thin bead of high-temperature exhaust sealant over the crack if the wrap instructions allow it.
- Wrap tightly, extending the repair 2–3 inches past the damage.
- Press out air gaps and keep overlap even.
- Allow the material to set as directed before starting the engine.
This path suits minor to moderate damage and can often be done at home in under 2 hours.
Method 2: apply epoxy putty to a very small hole or split
- Brush and sand the area to solid metal.
- Mix the two-part putty thoroughly.
- Push the putty into the hole or crack and feather it onto stable metal around the leak.
- Let it cure fully before heat-cycling the exhaust.
Use epoxy where the flex still feels structurally sound. Do not use it to bridge a large opening or a section that visibly flexes apart when the engine moves.
Method 3: install a universal flex pipe section with clamps
- Measure the pipe diameter and the overall flex length needed.
- Confirm whether the kit fits by inside diameter or outside diameter.
- Cut out the failed section cleanly.
- Test-fit the universal flex pipe section and align the exhaust so hangers are not preloaded.
- Install clamps at each joint, tightening evenly without crushing the pipe.
- Use high-temperature exhaust sealant at clamp gaps if needed.
Clamp torque is usually 25–30 ft-lbs for most passenger cars, but kit and vehicle guidance should take priority where available. Overtightening can deform thin pipe and create a new leak path.
How much does flex pipe repair cost, and how long will it last?
DIY patch materials can cost less than $50, while professional flex pipe repair can cost 150 – 400. Wrap and epoxy are cheapest but shortest-lived. A clamp-on sleeve or universal flex section costs more up front, yet often gives better value when rust, vibration, or daily use would beat a patch quickly.
DIY material cost by repair type
Wrap or epoxy sits at the bottom of the cost range and makes sense for a true small-leak repair. Add clamps, sealant, and a universal flex section, and the DIY total rises, but the result usually carries less failure risk than repeating patches.
What pushes DIY cost up?
- Buying the wrong diameter the first time
- Needing extra clamps because there is no usable straight pipe
- Finding the flex is integrated with a larger front pipe assembly
Shop labor and parts cost for section replacement
Professional flex pipe repair can cost 150 – 400. The low end usually applies to a straightforward cut-and-clamp or cut-and-weld section job with good access. Costs rise when the flex is integrated into the front pipe, bolts are seized, or nearby flanges and hangers also need work.
Lifespan by climate, road salt, short-trip use, and engine movement
Patch life depends on conditions more than most guides admit. In a dry climate on a lightly stressed daily driver, a wrap or epoxy repair may hold a while if the leak was truly minor. In road salt, short-trip use, or on a car with worn mounts, those same repairs often have a short life.
A sleeve or universal section usually holds up better because it replaces structure instead of covering damage. If the surrounding pipe is healthy, that is often the point where spending more once costs less than patching twice.
Can a flex pipe leak cause exhaust smell in the cabin?
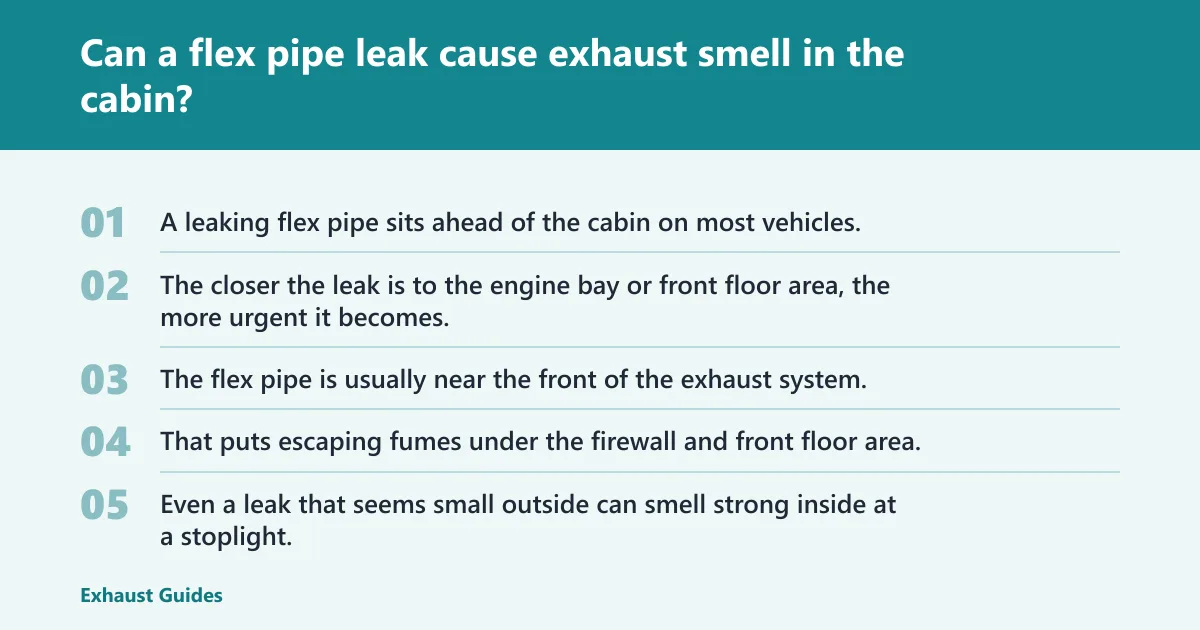
Yes. A leaking flex pipe sits ahead of the cabin on most vehicles, and exhaust escaping there can be pulled into the car, especially at idle or when the HVAC is drawing outside air. The closer the leak is to the engine bay or front floor area, the more urgent it becomes.
Why front-pipe leaks are more serious
The flex pipe is usually near the front of the exhaust system. That puts escaping fumes under the firewall and front floor area, where they can get in through body seams, grommets, or HVAC intake flow.
Even a leak that seems small outside can smell strong inside at a stoplight. If there is a cabin odor, treat the repair as a priority rather than a convenience job.
Can you drive with a broken flex pipe?
Driving with a broken flex pipe is a risk call based on leak size and location. A brief emergency drive may be possible with a small rearward leak, but a front flex-pipe leak raises fume and heat risk, can get louder fast, and should be treated as urgent.
When the leak is an urgent fume risk
Do not delay if any of these are present:
- Cabin exhaust smell
- Large split or separated flex ends
- Leak near the converter or firewall area
- Visible movement where the flex opens under throttle blips
Checks to make before driving after any repair
After repair, idle the engine for 5–10 minutes and listen cold, then warm. Feel for escaping pulses without touching hot metal directly. Watch for clamp shift after the first heat cycle, then recheck the repair within a few days.
What size exhaust repair sleeve do I need for my flex pipe?
The correct sleeve size depends on the pipe diameter the kit is meant to fit, plus the straight clamp area available on both sides of the cut. Measure carefully before buying. The most common diameters listed for flex-pipe repairs are 2, 2.25, 2.5, and 3 inches.
How to measure correctly
Measure the outside diameter or inside diameter exactly as the sleeve or coupler kit requires. Then measure the overall flex length and the straight section available for clamps. A sleeve that matches diameter but lacks clamp room is still the wrong part.
Also check whether the flex section is separate or integrated with a front pipe. Nearby catalytic converter flanges, bends, and hangers can leave too little room for a practical clamp-on repair.
Frequently asked questions
How do I know if my flex pipe needs repair or replacement?
Repair is reasonable when the leak is less than 1 inch long, the braid is intact, and the metal around the damage is still solid after brushing. Replacement is the better call for broken braid, crushed bellows, separated ends, heavy rust thinning, or damage near a flange.
Can you repair a flex pipe without welding?
Yes. Wrap, epoxy putty, mechanical couplers, and clamp-on universal flex sections are all no-weld options. The right choice depends on damage size, rust depth, and access. Small leaks can be patched; larger cracks and weak structure usually need a cut-out section with clamps.
How much does flex pipe repair cost?
DIY supplies can cost less than $50 for a small wrap or epoxy repair, while professional flex pipe repair can cost 150 – 400. Costs rise when the flex is integrated into the front pipe, access is poor, or extra hardware and pipe work are needed.
How long does a flex pipe repair last?
Wrap and epoxy are limited-life fixes unless the damage is tiny and the surrounding metal is healthy. Sleeve and universal section repairs usually last longer because they replace more structure. Salt exposure, short-trip condensation, worn mounts, and impact-heavy use all shorten repair life.
Is epoxy or exhaust tape a permanent fix for a flex pipe?
No, not in most cases. Epoxy and repair wrap are best treated as temporary to medium-term fixes for very small holes or short cracks on solid metal. They are poor substitutes for a section replacement once the braid fails, rust spreads, or the split keeps flexing open.
Can a flex pipe leak cause exhaust smell in the cabin?
Yes. Because the flex pipe is usually near the front of the exhaust, a leak there can allow fumes into the vehicle, especially at idle or when outside air is selected on the HVAC system. Cabin smell means the problem deserves quick attention, not a wait-and-see approach.