Exhaust Manifold Port Size vs Header Port Size Guide
Match the exhaust port to the head and gasket first. Header ports should generally be equal or a little larger, not smaller, unless flange misalignment forces a different fix. Bad sizing creates step turbulence, weakens scavenging, and can leave horsepower on the table. This guide shows how to measure port size, compare manifold and header openings, and decide whether to match, leave alone, or open the header.
This guide is part of our Exhaust manifold specs guide series.
| Decision factor | Exhaust manifold port size | Header port size | Winner |
|---|---|---|---|
| Primary reference | Should match the cylinder head and gasket outline first. | Should follow the flange and primary tube entry shape after the head is set. | Exhaust manifold port size |
| Risk if made too large | Can weaken thin cast material and expose the sealing edge. | Usually safer to leave slightly oversize than to force a smaller mismatch. | Header port size |
| Best use case | Stock replacement, mild build, or a cast manifold that must keep wall thickness. | Aftermarket tube headers, especially when the head outlet is already open. | Tie |
| Sealing sensitivity | Higher, because flange thickness and casting quality vary. | Also high, but flange geometry is usually easier to correct before install. | Tie |
| Flow tolerance | Small steps can matter if the outlet is narrower than the head. | A slight oversize is usually acceptable if alignment stays smooth. | Header port size |
What should you match first: head, manifold, gasket, or header?


Match the cylinder head exhaust port and the gasket first. The gasket gives you a target opening, and the manifold or header should be checked against that target after the head side is confirmed. Start there, and you avoid cutting the wrong part.
Why the cylinder head exhaust port is the starting point
The cylinder head exhaust port is the engine-side reference. It sets the opening the exhaust stream leaves through, so any later part has to fit that shape without creating a hard step at the flange. If the head is larger than the manifold, the manifold can become the restriction.
How the gasket becomes the measuring template
An exhaust manifold gasket gives you the port outline and the bolt pattern in one piece. Place it on the head and then on the manifold or header flange to see whether metal hangs inside the opening, which is the common sign that material can be removed.
Where the header port fits in the order
The header port comes after the head and gasket, not before them. A header may have a slightly larger or differently shaped inlet because it feeds a tube, but the flange still has to align with the engine side. Header sizing should support the head opening, not set it.
What is the practical size rule for manifold ports and header ports?
The practical rule is simple: the manifold port should match the head and gasket as closely as the casting allows, while the header port can be equal or a little larger if the transition stays smooth. Smaller than the head is usually the wrong direction; slightly larger is often fine.
When equal size is the right target
Equal size works best when the head port, gasket opening, and flange all line up without leaving a sharp step. That is especially true on engines where the outlet is already close to the gasket outline and the flange has enough thickness to be corrected safely. Equal size gives the cleanest transition.
When a slightly larger header port is acceptable
A header port can be a little larger when the opening still follows the gasket line and the step does not point into the flow stream. That extra room is usually easier to live with than a smaller opening, because the gas expands into the larger passage instead of hitting a choke point.
When a smaller manifold port is still fine
A smaller manifold port can be acceptable only when the difference is tiny and the build is not aimed at maximum flow. For a stock cast manifold, leaving a modest mismatch may be safer than grinding into thin metal. In that case, sealing and durability beat a perfect shape.

How do you measure exhaust port size correctly?
Measure with the gasket, the head, the manifold, and the header on the same reference surface. Trace the opening, check where the material sits inside the gasket, and look for offset at the top, bottom, and sides. That gives you a clearer picture than eyeballing the flange alone.
Tracing the gasket opening
Lay the gasket on each flange and trace the inside edge with machinist blue or a marker. That marks where the actual flow path begins and shows whether the casting or flange intrudes into the port. If metal shows inside the gasket holes, that area can usually be opened.
Comparing head, manifold, and header flanges on one surface
Stack the parts on the bench one at a time and compare the port outlines to the same gasket. This makes it easier to see whether the manifold is smaller than the head, whether the header is larger than needed, and whether bolt holes line up without forcing the gasket sideways. Alignment matters as much as size.
Checking for offset, sealing lip, and step changes
Look for a sealing lip that is too narrow after grinding, because that can create a leak path. Also check for a step where one opening sits above or below the next; even a small ledge can disturb flow and create back-pressure. Better to leave a controlled edge than remove too much.
When should you port-match a manifold before installing a header?
Port-match when the flange opening clearly hangs into the gasket, the step is large enough to interrupt the gas path, or the head port is larger than the manifold by a meaningful amount. Do not port-match by default. Thin cast manifolds, crack-prone castings, and low-speed torque builds can be better left alone.
Thin flange risk and crack risk
Cast manifolds are the parts most likely to suffer from over-opening. If the sealing area is already thin, grinding more material can leave a weak edge that warps, leaks, or cracks under heat cycling. The safer choice is often to clean the mismatch, not erase it.
Cast manifold limits versus header flange shape
Headers usually give you more flexibility because the flange and tube entry are part of an aftermarket design. Still, if the flange is misaligned, enlarging the opening without fixing the bolt pattern can make the fit worse. Fix the geometry first, then remove only the metal that blocks the gasket outline.
How much mismatch is acceptable before it becomes a problem?
A minor mismatch is one that does not leave a sharp ledge into the exhaust stream and still preserves the sealing lip. Once the step becomes obvious enough to catch flow or break the gasket line, it starts to matter. Bigger openings are not always better if they weaken the flange.
What counts as a minor step
A minor step is a small offset that stays near the edge of the opening and does not create a direct wall for the gas to hit. If the gasket covers it and the remaining material is still solid, the mismatch may be acceptable. If you can feel a large lip, it deserves correction.
When a mismatch can affect flow or sealing
Flow suffers when the outlet is smaller than the head port or when the edge breaks the path into the next part. Sealing suffers when the port is opened so far that the gasket loses support. That can turn a flow fix into a leak fix, which is the wrong trade.
Why bigger is not always better
Opening a port beyond the gasket line can slow gas velocity and reduce the scavenging effect the engine needs at certain speeds. It can also remove the material that keeps the flange flat. The goal is continuity, not maximum hole size.
How do you remove material without making the fit worse?
Mark the target first, then remove only the material that sits inside the gasket opening. Use a die grinder and cutting stone for rough shaping, but stop before the sealing edge gets thin. Finish with a polishing wheel to smooth the transition, not to make the port larger than planned.
Marking the cut area with machinist blue or a marker
Coat the flange, lay on the gasket, and trace the opening so the high spots stand out. This step keeps the cut centered where it belongs. It also makes it easier to preserve the sealing lip around bolt holes and thin corners.
Roughing with a die grinder and cutting stone
A die grinder with a cutting stone is the standard tool for rough porting. Use short passes and keep the grinder moving so you do not dig a trench or tilt the opening. The goal is to match the gasket line and remove the obvious obstruction, not to polish during the rough stage.
Smoothing the edge with a polishing wheel
After rough shaping, use a polishing wheel to knock down burrs and sharp edges. That cleanup helps the exhaust stream move through the transition more cleanly and reduces spots that can crack or shed material. It is a finishing step, not a license to enlarge the port further.
What happens if the manifold port is smaller than the cylinder head port?
If the manifold port is smaller than the cylinder head port, the smaller opening becomes the choke point. Exhaust gas has to squeeze through a reduced area, which adds restriction and can increase back-pressure. On some engines that hurts drivability more than it helps top-end flow.
Restriction and flow transition
The gas stream leaves the head, then slams into a smaller opening at the manifold flange. That step can cause turbulence and disrupt the smooth exit path. Exhaust systems guide burnt gases away from the engine, so any extra resistance works against that job.
Back-pressure and drivability tradeoffs
Back-pressure is not a goal; it is a side effect of restriction. Too much restriction can dull throttle response, raise exhaust temperature, and reduce the engine’s ability to clear cylinders cleanly. A modest mismatch may be acceptable for low-speed torque, but a large one is rarely helpful.
Leak and hot-spot concerns at the flange
A small outlet can concentrate heat at the sealing edge, especially if the flange is already uneven. That hot spot can stress the gasket and encourage leaks. Over time, the same area may crack if the material is thin or the bolts are unevenly loaded.
Printable port-matching checklist
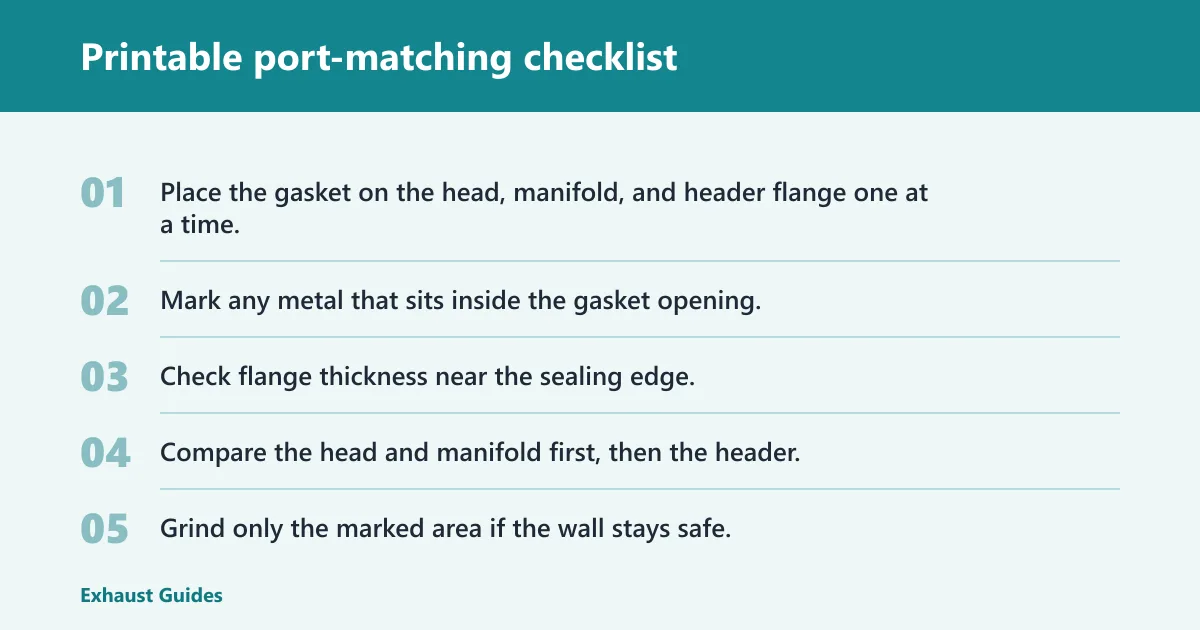
Use this checklist to compare head, gasket, manifold, and header openings in one pass. The point is to decide where material can safely come off and where it should stay. Pass means the part supports the gasket line and keeps a solid sealing lip; fail means it needs correction or should be left alone.
| Item | Head | Gasket | Manifold | Header | Pass / fail note |
|---|---|---|---|---|---|
| Port opening covers gasket outline | Matches or slightly exceeds | Template only | Inside the line = fail | Inside the line = fail | Pass if no metal blocks the opening |
| Sealing lip remains intact | Solid around bolt area | Fits flat | At least one continuous lip | At least one continuous lip | Fail if grinding thins the edge |
| Offset is small enough to ignore | Within a minor step | Centered | No sharp ledge | No sharp ledge | Fail if the step points into flow |
| Safe material-removal zone | Thick enough for light cleanup | Marks the target | Remove only inside outline | Remove only inside outline | Fail if wall thickness looks uncertain |
| Leak risk | Flat and undamaged | Full contact | No warp near bolt holes | No warp near bolt holes | Fail if flange cannot clamp evenly |
- Place the gasket on the head, manifold, and header flange one at a time.
- Mark any metal that sits inside the gasket opening.
- Check flange thickness near the sealing edge.
- Compare the head and manifold first, then the header.
- Grind only the marked area if the wall stays safe.
- Stop if the sealing lip turns thin or the casting looks crack-prone.
If the head port is noticeably larger than the manifold opening and the manifold leaves a visible lip on one side, port matching can make sense if the flange has enough thickness. In that case, port matching makes sense if the flange has enough thickness. If the manifold is already thin and the lip is tiny, leaving it alone is often the safer choice.
Choose exhaust manifold port size if…
Choose the manifold side as your main reference if you are working with a stock cast piece, a mild engine, or a flange that cannot afford much grinding. That choice is also right when sealing reliability matters more than chasing a larger opening. The manifold should match the head and gasket first.
Choose header port size if…
Choose the header side as the final check if you are installing an aftermarket tube header, especially one with a flange that already exceeds the head opening slightly. A slightly larger header port is usually acceptable if it does not create a sharp step or force the gasket out of line. If the header is smaller than the head, fix that first.
Bottom line
The safest rule is head and gasket first, manifold second, header last. Equal size is the cleanest target, a slightly larger header port is usually acceptable, and a smaller manifold port is only tolerable when the mismatch is minor and the casting is too thin to open further. If the flange is weak, leave it alone.
Frequently asked questions
Is exhaust manifold port size supposed to match header port size?
Not exactly. The better rule is that both should support the head and gasket outline without creating a sharp step or weak sealing edge. A header port can be slightly larger, but the manifold port should not undercut the head opening if you can avoid it.
How much bigger should a header port be than the manifold port?
A common rule of thumb is to keep the header equal or only slightly larger, often up to about 1/16 inch, if alignment stays smooth. Larger than that can be fine only when the flange shape, gasket, and tube entry still transition cleanly. Oversize alone is not the goal.
Can a smaller manifold port hurt performance compared with a larger header port?
Yes. A smaller manifold port can act like a choke point, adding restriction and back-pressure before the gases ever reach the header. That said, a tiny mismatch may be less harmful than over-grinding a thin casting. Flow improvement must not weaken the flange.
How do I measure exhaust port size correctly?
Use the gasket as the template and compare the head, manifold, and header on the same reference. Trace the opening, note where metal sits inside the line, and check for offset and sealing lip thickness. That workflow shows whether to leave the part alone or remove material.
Should I match the gasket, the head, or the header when sizing ports?
Match the head and gasket first. The gasket shows the safe outline, and the head shows the engine-side opening that the rest of the system has to follow. The header comes after that decision, because its job is to join the flow cleanly, not define the engine port.
What happens if the manifold port is smaller than the cylinder head port?
The smaller manifold opening becomes the restriction point. Exhaust gas hits that step, which can raise back-pressure, disturb flow, and increase local heat at the flange. If the mismatch is large, it can also contribute to gasket stress and sealing trouble.
Do I need to port-match a manifold before installing a header?
Not always. Port-match if the gasket shows obvious intrusion, the step is large, and the flange has enough thickness to grind safely. Skip it if the manifold is thin, crack-prone, or the build values durability and low-speed response over a larger opening.
Can port mismatch cause exhaust leaks or cracking?
Yes. A mismatch can leave the gasket unsupported, concentrate heat at one spot, or tempt you to grind too far into a thin flange. Any of those can create leaks. On cast parts, repeated heat cycles can turn a careless correction into a crack path.