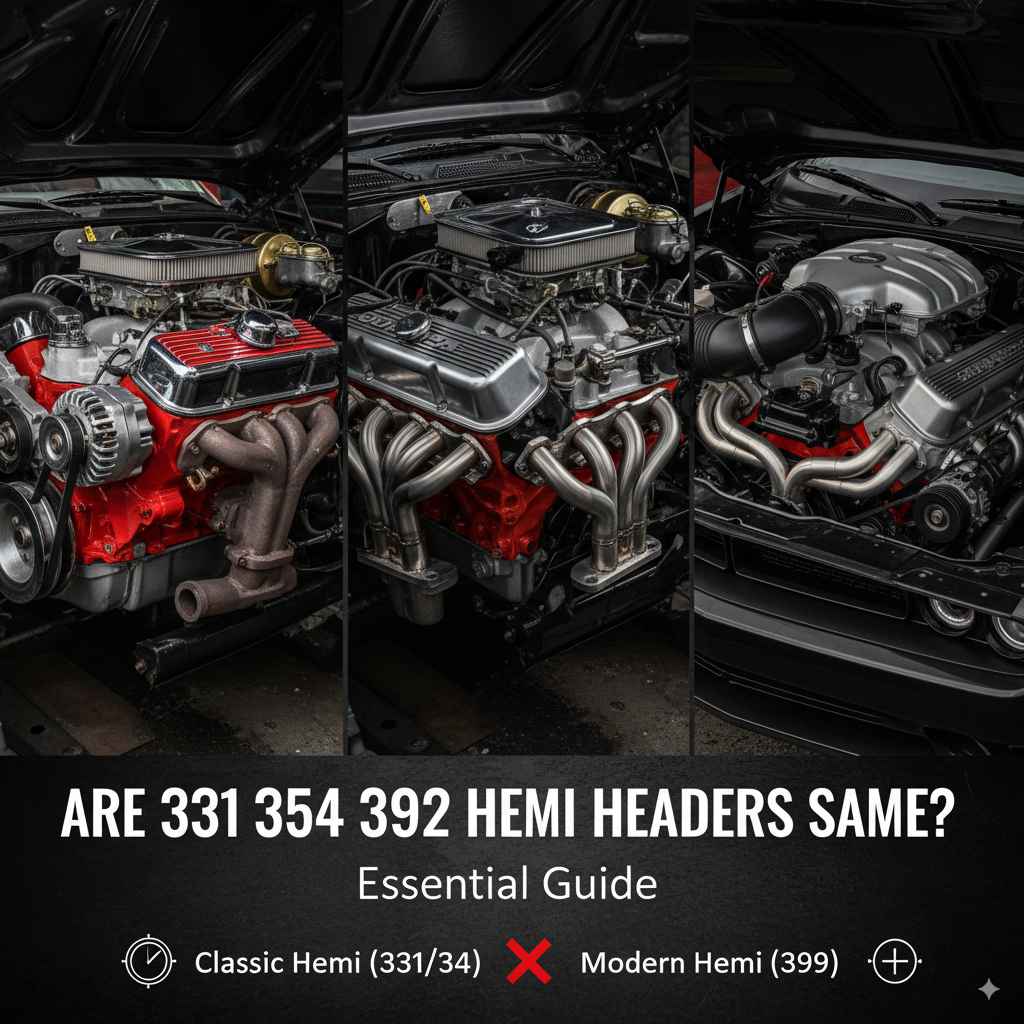
Are 331 354 392 Hemi Headers Same? Essential Guide
The 331, 354, and 392 Hemi headers are NOT the same, though they share many similarities. While bolt patterns and port shapes might look alike, subtle differences in port spacing, exhaust port shape, and overall header design exist, making direct interchangeability unlikely without modifications. Always verify compatibility with your specific engine block and intended header design.
Planning an exhaust upgrade for your classic Mopar? If you’re working with a Chrysler Hemi engine, you’ve likely encountered terms like 331, 354, and 392 Hemi. It’s a common question: are the headers for these legendary engines the same? It seems straightforward, but the answer can be a little tricky because while they share a common Hemi architecture, there are key differences that matter when it comes to exhaust headers. This guide will clear up the confusion and help you find the right fit for your powerful Hemi.
Understanding Hemi engine variations is crucial for any DIY mechanic or enthusiast looking to boost performance or simply replace worn-out parts. Headers are a popular upgrade because they can improve how efficiently your engine expels exhaust gases, leading to more power and a better sound. But slapping the wrong headers on can lead to frustrating fitment issues, leaks, or even damage. Don’t worry, we’ll break down the differences between 331, 354, and 392 Hemi headers, making your upgrade process smooth and successful.
The Hemi Family: A Quick Look
Before we dive into header specifics, let’s get acquainted with these iconic Hemi engines. Chrysler’s legendary “Semi-Hemi” or “FirePower” V8 engines, known for their hemispherical combustion chambers, offered impressive power for their time. The 331, 354, and 392 cubic inch versions represent distinct evolutionary steps:
- 331 Hemi: Introduced in 1951, this was the first of the Chrysler Hemis. Primarily found in larger Chrysler and Imperial models.
- 354 Hemi: An evolution of the 331, it saw service in the mid-1950s, often in Chrysler and Dodge models. It’s a slightly larger displacement.
- 392 Hemi: The king of the early Hemis, introduced in 1957. This was the largest and most powerful of this generation, gracing top-tier Chrysler and Imperial vehicles, and becoming a favorite for hot rodders.
While they share the same fundamental cylinder head design (the hemispherical combustion chamber, which gives them their name), manufacturing changes and displacement increases over the years meant subtle, yet important, variations. These variations directly impact exhaust header fitment.
Are 331, 354, and 392 Hemi Headers Interchangeable?
This is the million-dollar question, and the short answer is: almost, but not exactly. It’s a common misconception that because they are all “Hemi” engines from a similar era, their exhaust manifolds or headers will bolt right up. While there’s a degree of shared ancestry, direct interchangeability is generally not a given. Here’s why:
Key Differences Affecting Header Fitment
The main factors that differentiate header fitment between these engines are:
- Cylinder Head Port Dimensions and Spacing: While the shape of the combustion chamber is similar, the exact size and spacing of the exhaust ports on the cylinder heads can vary. This is perhaps the most critical factor. Even a slight difference in port center-to-center distance can make a header flange not seal properly or require significant modification.
- Block Deck Height and Overall Dimensions: The deck height (distance from crankshaft centerline to cylinder head mounting surface) and overall block dimensions can differ slightly between these displacements. This can affect how the header tubes navigate around the engine block, frame rails, and steering components.
- Exhaust Port Shape and Angle: The geometric shape and outflow angle of the exhaust port itself can be refined over different engine iterations. Headers are designed to mate precisely with these ports.
Because of these subtle but impactful differences, a header designed specifically for a 392 Hemi might not perfectly align with the ports of a 331 Hemi, and vice versa. Manufacturers of aftermarket headers invest a lot of time and R&D to ensure their products fit a specific engine family, and often, specific engine displacements within that family.
Understanding Header Design and Your Hemi
Aftermarket headers are designed to optimize exhaust flow. They replace the restrictive factory exhaust manifolds with smoother, larger diameter, and often more direct tubing. However, custom header design is paramount for optimal fit and performance.
Types of Headers
When looking at Hemi headers, you’ll typically encounter a few styles:
- Block Hugger Headers: These are short headers that tuck tightly to the block. They are excellent for tight engine bays and often used in hot rod applications where ground clearance and chassis fitment are primary concerns.
- Mid-Length Headers: These offer a balance between performance and packaging. They extend further down than block huggers but are not as long as full-length headers.
- Full-Length Headers: These extend further down the exhaust system, often connecting directly to an H-pipe, X-pipe, or collectors before leading to mufflers. They generally offer the best performance gains but can be more challenging to fit, especially in older chassis not originally designed for them.
Hemi Header Bolt Patterns
The bolt pattern on the cylinder head where the exhaust manifold or header flange attaches is a critical physical characteristic. While all Hemi heads of this era share a general Hemi aesthetic, the specific mounting hole locations and flange shape are where variations often lie. Some manufacturers might design a header with a universal Hemi bolt pattern that attempts to accommodate minor differences, but this often involves compromises or slight modifications by the installer.
A meticulously designed header will have a flange precisely machined to match the cylinder head’s exhaust port layout. This ensures a leak-free seal and optimal gas flow. For instance, a header kit for a 1957 Dodge D500 with a 354 Hemi might have a different flange mating surface than a kit for a 1958 Chrysler New Yorker with a 392 Hemi, even though both are Hemi engines.
Identifying Your Hemi Engine
Before you buy headers, you absolutely need to know which Hemi you have. This isn’t always obvious, especially if the engine has been swapped into a different vehicle or rebuilt. Look for:
- Engine Block Casting Numbers: These are the most definitive way to identify an engine. They are usually found on the driver’s side of the block, typically below the cylinder head. You’ll need to research these numbers through manufacturer databases (like Chrysler’s historical data or specialized forums) to confirm the displacement and year range. For example, casting numbers like 1949488, 2031264, 2070020, 2070021, 2129549, 2129550, 2173753, 2173754, 2173755, 2173756, 2173757, 2173758, 2192502, 2192503, 2192504, 2192505, 2070020 are associated with various Hemi versions.
- Engine Stamped Numbers: Look for a stamp on a flat boss on the front of the engine block, usually near the timing cover. This stamp often includes the build date and sometimes the engine code.
- Vehicle VIN or Build Tags: If the engine is still in its original vehicle, the Vehicle Identification Number (VIN) and associated build tags can sometimes help confirm the original engine.
If you purchased a vehicle with an engine that was a swap, consulting a Hemi specialist or a knowledgeable mechanic is the best approach. They can often identify an engine by its visual characteristics and common swap patterns.
Matching Headers to Your Specific “Hemi”
The world of aftermarket performance parts is highly specific. When searching for headers, you’ll typically find them listed for a particular engine family and often a specific displacement or model year range.
Why Specificity Matters
Manufacturers like Banks Power, Holley, Hooker Headers, and Edelbrock invest in designing headers that fit specific engine blocks and vehicle chassis. A header designed for a 392 Hemi is engineered with the port locations, angles, and clearances specific to that engine and often a range of chassis it typically goes into (e.g., early Chrysler Imperial, New Yorker). Using these headers on a 331 might present issues with tube routing or collector placement.
A Guide to Header Compatibility (General)
While direct interchangeability is rare, understanding the general trends can help:
| Hemi Engine | Common Displacement | Typical Vehicle Applications | Header Compatibility Notes |
|---|---|---|---|
| 331 | 331 cu. in. | Chrysler New Yorker, Imperial (early 50s) | Not directly interchangeable with 354/392 headers without modification; early port spacing and head design differ. |
| 354 | 354 cu. in. | Chrysler 300, Dodge D-500 (mid-50s) | Closer in design to 331/392 but still has minor port differences. Best results with headers made for 354, though some cross-fit possible. |
| 392 | 392 cu. in. | Chrysler 300, Imperial (late 50s) | Largest of the early Hemis. Requires its own header design due to unique port layout and block dimensions. Popular choice for swaps. |
Note: This table provides general information. Always verify specific fitment with the header manufacturer and your engine’s exact specifications. “Universal” Hemi headers exist but often require modifications or are less optimized for a specific engine.
The Installation Process: What to Expect
If you’ve confirmed you have the correct headers for your specific Hemi, the installation process, while generally straightforward for someone with basic mechanical skills, requires attention to detail. Here’s a general overview:
Tools You’ll Likely Need:
- Socket wrench set (metric and SAE, depending on fasteners)
- Wrench set
- Penetrating oil (for rusty bolts)
- Gasket scraper
- Torque wrench
- Safety glasses
- Gloves
- Jack and jack stands (for safe vehicle lifting)
- Ramps (optional, but can provide easier access)
- New header gaskets (always use new ones!)
- Anti-seize compound (for header bolts)
Step-by-Step Header Installation (General):
- Safety First: Ensure your vehicle is on a level surface and securely supported on jack stands. Never work under a vehicle supported only by a jack.
- Remove Existing Exhaust Manifolds: Carefully unbolt the original exhaust manifolds from the cylinder heads. This is often the most challenging step due to rust and seized bolts. Use penetrating oil liberally and be patient. If bolts break, you may need to drill them out.
- Remove Old Gaskets: Once the manifolds are off, use a gasket scraper to meticulously remove all traces of the old gasket material from the cylinder head exhaust ports. A clean mating surface is crucial for a leak-free seal.
- Fit the New Headers: Hand-fit the new headers to ensure they clear engine components, steering linkage, and the chassis. This is where you’ll notice differences if they aren’t the correct fit. Check for interference.
- Install New Gaskets: Place the new header gaskets onto the cylinder head exhaust ports. Ensure they are properly aligned.
- Install Headers with Gasket and Bolts: Carefully position the headers over the gaskets. Start all header bolts by hand to engage the threads properly. Applying anti-seize compound to the header bolts will make future removal easier.
- Tighten Header Bolts: Tighten the header bolts gradually and evenly in a criss-cross pattern. This ensures the header flange seals uniformly against the gasket and head. Refer to the header manufacturer’s specifications for the correct torque sequence and final torque value. Overtightening can warp the header flange or damage the gasket.
- Connect Exhaust System: Install any accompanying exhaust pipes, collectors, or mufflers according to the header manufacturer’s instructions.
- Check for Clearance: Double-check all clearances with components that might come into contact with the new headers, especially the engine, suspension, and steering.
- Start Engine and Check for Leaks: Start the engine and listen carefully for any exhaust leaks at the header flange or connections. A common trick is to use a piece of cardboard or a shop rag to feel for puffs of exhaust gas when the engine is running (be careful of hot components). If leaks are detected, re-torque the bolts or re-evaluate gasket seating.
Common Pitfalls and How to Avoid Them
Even with careful planning, header installations can present challenges. Here are a few common issues:
- Header Leaks: This is the most frequent problem. Ensure mating surfaces are clean and flat, use new, high-quality gaskets, and tighten bolts properly in the correct sequence. Warped header flanges are a common cause of leaks.
- Fitment Issues: Headers may not clear the chassis, steering, or other engine components. This is often due to using headers not specifically designed for your engine and chassis combination. Test fitting before final tightening is crucial.
- Broken Bolts: Old, rusted bolts can snap off during removal. Having a plan for bolt extraction (e.g., drill bits, screw extractors) is essential.
- Ground Clearance: Especially with full-length headers, ground clearance can become an issue, particularly in lowered vehicles.
The Importance of Quality Components
When investing in headers, don’t cut corners. High-quality headers are made from durable materials (like 304 stainless steel for longevity) with precise tube bending and flange machining. This ensures better fit, superior performance, and a longer lifespan. Brands like JEGS and others offer a wide range of options that are often application-specific, which is key when dealing with variations like those in Hemi engines.
Frequently Asked Questions (FAQ)
Q1: Can I use 392 Hemi headers on a 331 Hemi engine directly?
Generally, no, not without potential modifications. While they share the Hemi architecture, subtle differences in cylinder head port dimensions, spacing, and angles mean that headers designed specifically for a 392 may not align perfectly with a 331 and vice-versa. Always check manufacturer specifications.
Q2: What are the main physical differences between 331, 354, and 392 Hemi cylinder heads that affect headers?
The primary differences are in the exact size, shape, and spacing of the exhaust ports. While the overall hemispherical chamber design is similar, manufacturing refinements and slight dimensional changes between these displacements affect how header flanges mate to the heads.
Q3: How important is the bolt pattern on Hemi headers?
The bolt pattern is critical. It dictates how the header flange attaches to the cylinder head. Even small variations in the location and angle of these bolt holes can prevent a header from sealing correctly or mounting flush, leading to exhaust leaks or requiring extensive modification.
Q4: My engine is a Hemi, but I’m not sure if it’s a 331, 354, or 392. How can I find out?
The most reliable way is to find and research the engine block casting numbers, which are usually located on the driver’s side. You can also look for engine serial numbers stamped on the block’s front. Consulting a Hemi specialist or using online Hemi engine identification guides based on these numbers is recommended.
Q5: What happens if I try to install headers that aren’t the exact fit for my Hemi engine?
You’ll likely encounter fitment problems. This could range from minor issues like misaligned ports requiring spacers or gasket manipulation, to major issues where the tubes interfere with the chassis, steering, or other engine components. Exhaust leaks are also a common result of improper fitment.