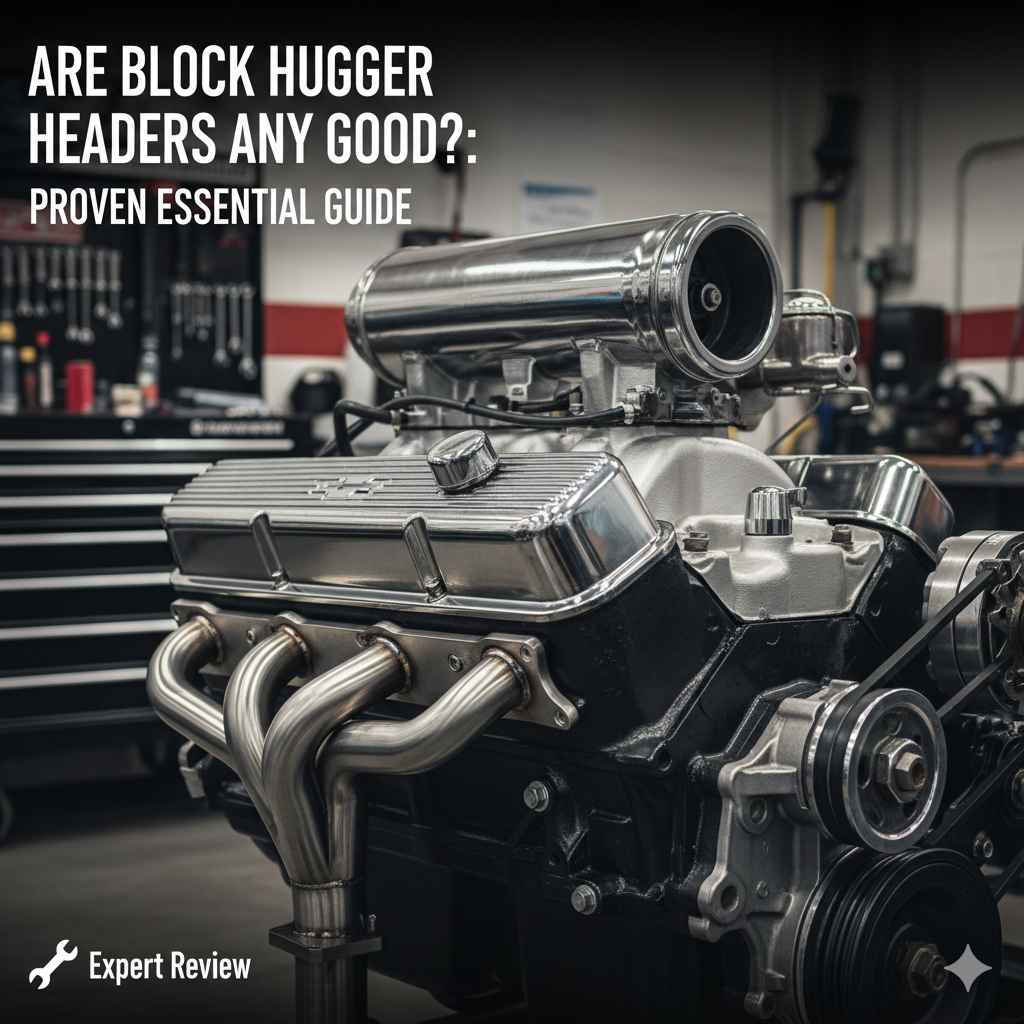
Are Block Hugger Headers Any Good: Proven Essential
Block hugger headers are a proven essential upgrade for vehicles with limited engine bay space, offering decent performance gains and better flow than stock manifolds, especially for street-driven hot rods and trucks. They are a necessary compromise when long-tube headers won’t fit.
Choosing the right exhaust parts can feel overwhelming. You hear terms like “long tubes,” “shorties,” and “block huggers,” and suddenly, your simple upgrade plan turns into a headache. Many everyday drivers wonder if these compact headers are worth the money, especially compared to their bigger cousins. If you own a classic muscle car, a truck, or anything with a tight engine bay, you might be facing this exact question.
Don’t worry! I’m Monowar Shohag, and I’m here to break this down simply. We will look closely at what block hugger headers are, why they exist, and if they truly benefit your ride. We promise clear, easy steps and straightforward answers. By the end of this guide, you will know exactly why these headers are often an essential choice for your specific setup.
When you upgrade your engine’s exhaust system, the goal is usually simple: let the used gases escape faster. This means less backpressure, which helps your engine breathe better and make more power. Headers are the first part of this crucial system after the exhaust valve.
But what happens when there just isn’t enough room? That’s where block hugger headers step in. They are designed to fit snugly against the engine block, usually ending just past the cylinder head, making them shorter and more compact than traditional long-tube headers.
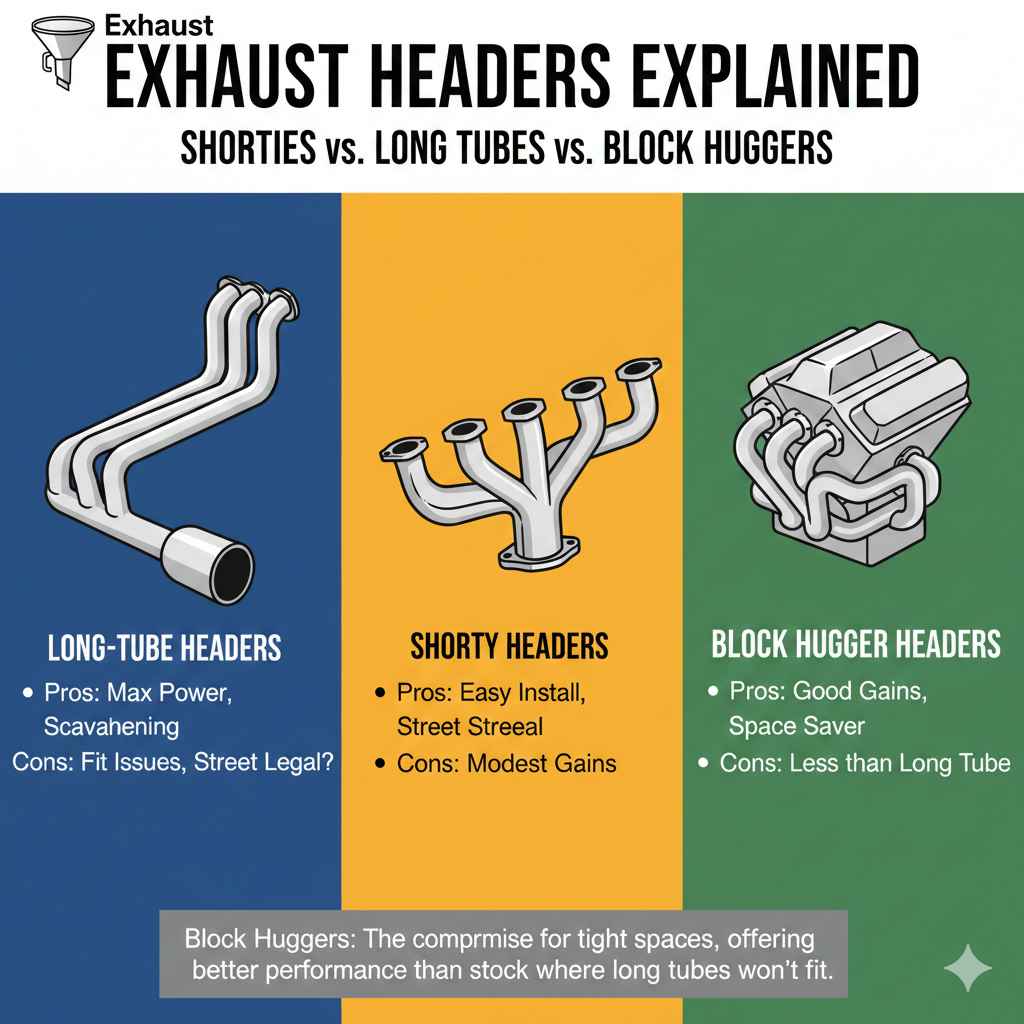
Understanding Exhaust Headers: Shorties vs. Long Tubes vs. Block Huggers
To understand if block huggers are good, you first need to know what they are competing against. Think of exhaust headers as specialized funnels designed to collect exhaust gases from each cylinder and merge them smoothly before they exit the engine.
1. Long-Tube Headers (The Performance King)
These are often considered the best for maximum horsepower. They feature long primary tubes that flow smoothly into a collector. The length helps scavenge (pull out) the exhaust gases most effectively across a wide RPM range.
- Pros: Highest potential power gains, excellent scavenging.
- Cons: Very long, difficult to fit in modern or small engine bays, often illegal for street use in some areas due to emissions.
2. Shorty Headers (The Compact Option)
Shorty headers are a direct replacement for the restrictive factory exhaust manifold. They are short, usually only extending a foot or two before connecting to the factory exhaust pipe. They offer a slight improvement over stock but are limited by their compact design.
- Pros: Easy installation, usually street-legal.
- Cons: Minimal performance gains compared to long tubes.
3. Block Hugger Headers (The Space Saver)
Block huggers sit somewhere between the two. They are slightly longer than shorties but much shorter than long tubes. They wrap tightly around the side of the engine block, maximizing space efficiency. They are often the only header option for vehicles where a long tube simply will not fit, such as many classic pickup trucks or vehicles with power steering, AC compressors, or tight chassis rails.
- Pros: Good improvement over stock manifolds, fits in tight spaces where long tubes cannot go.
- Cons: Performance is often less than long tubes because the primary tubes are not as long for optimal scavenging.
The Real Question: Are Block Hugger Headers Good for Performance?
Yes, block hugger headers are good, but their “goodness” is entirely dependent on your application. They are not designed to win drag races; they are designed to solve a packaging problem while still improving flow significantly over the cast-iron stock manifold.
Performance Comparison Summary
Here is a simple way to visualize the expected performance difference when swapping from stock manifolds:
| Header Type | Performance Improvement (vs. Stock) | Space Requirement | Best For |
|---|---|---|---|
| Stock Manifold | Baseline (0%) | Smallest | Daily driving where efficiency is key. |
| Block Hugger Headers | Moderate Gain (5%–10%) | Medium/Small | Tight engine bays, street performance. |
| Shorty Headers | Slight Gain (2%–5%) | Smallest | Direct bolt-on replacement, minimal hassle. |
| Long-Tube Headers | Highest Gain (10%+) | Largest | Race applications, dedicated performance builds. |
For the average enthusiast looking to wake up a street machine—like a classic Chevy C10 truck or a vintage Ford Mustang where frame clearance is tight—block huggers offer the best balance. You get better breathing, a noticeable bump in torque, and you avoid clearance headaches.
Why They Are Essential for Certain Builds
In many engine swaps or modified vehicles, engineers didn’t account for aftermarket exhaust headers. When you try to install long tubes, you run into issues like:
- Hitting the transmission crossmember.
- Interfering with the oil pan or starter motor.
- Interfering with steering linkage or brake lines.
- Not clearing the chassis rails on older trucks or lowered cars.
In these situations, the block hugger header isn’t just “good”; it’s the only viable high-flow header option. They hug the engine block, keeping the initial path of the exhaust gases tight and close to the heat source, which helps maintain exhaust gas velocity—a key factor for good street performance. You can read more about exhaust gas scavenging principles on reputable engineering sites like those from engineering education resources.
Installation Considerations: What to Expect When Installing Block Huggers
Installing headers is one of the most rewarding upgrades you can do, but it requires planning. While block huggers are shorter, they are often more complex to route because they have to snake around accessories located near the engine block.
Tools and Preparation You Will Need
Before you start, gather your tools. Being prepared makes the job much smoother and safer. Remember to always disconnect the battery before starting any work near electrical components.
- Jack stands (never rely only on a jack!).
- Ratchets and socket set (deep and shallow).
- Breaker bar (for stubborn bolts).
- Penetrating oil (like PB Blaster) for rusty manifold bolts.
- New header gasket set (always replace these!).
- New header bolts (often required, especially if the old ones are stripped).
- Torque wrench (essential for proper sealing).
- Safety glasses and gloves.
Step-by-Step Guide to Replacing Manifolds with Block Huggers
This process assumes you are replacing factory cast-iron manifolds with your new block hugger headers. Always consult the specific installation manual that comes with your headers.
Phase 1: Removal of Old Manifolds
- Safety First: Raise the car securely onto jack stands on level ground. Ensure it won’t move.
- Disconnect Sensors: Locate and unplug any oxygen (O2) sensors screwed into the old manifolds. Label the wires if necessary.
- Remove Spark Plug Wires: Carefully remove the spark plug wires from the spark plugs to give yourself more working room.
- Unbolt Connecting Pipes: Use a breaker bar to loosen the bolts where the manifold connects to the rest of the exhaust pipe (usually the downpipe flange). These are often rusted solid.
- Remove Manifold Bolts: Slowly and carefully remove the bolts holding the manifold to the cylinder head. Work from the center bolts outward. If a bolt breaks, stop and assess the repair method—broken manifold bolts are a common frustration.
- Clear the Area: Gently wiggle the old manifold free. Clean the cylinder head surface thoroughly, scraping off all old gasket material.
Phase 2: Installation of Block Hugger Headers
- Apply Anti-Seize: Put a light coat of high-temperature anti-seize compound on the threads of your new header bolts.
- Position the Gasket: Place the new header gasket onto the cylinder head ports.
- Fit the Header: Carefully maneuver the new block hugger header into place. This is where tight routing matters; you might need to slightly manipulate the primary tubes to align perfectly.
- Hand-Tighten Bolts: Start all the header bolts by hand. If they thread easily, they are aligned correctly.
- The Critical Tightening Sequence: Using your torque wrench, tighten the bolts in stages, following a criss-cross or spiral pattern, usually starting from the center bolts and working outward. This ensures even pressure. Check your header manufacturer’s recommended torque specification (often between 20–35 ft-lbs, but verify this!). Improper tightening is the number one cause of header leaks.
- Connect Downpipes: Bolt the new downpipes (or mid-pipes) to the header collectors, using new gaskets if provided.
- Reinstall O2 Sensors: Screw in the O2 sensors (if applicable). Use anti-seize on the sensor threads, but keep the tip clean.
- Reconnect Wires and Lower Car: Reconnect the spark plug wires and O2 sensor wiring. Carefully lower the vehicle off the stands.
The initial startup will often produce some smoke or smell as oils and residues burn off the new metal. This is normal, but listen carefully for any ticking noises that indicate a leak past the gaskets. A small leak can usually be fixed by re-torquing the bolts after the engine has run for 15 minutes and cooled down once.
Heat Management and Durability: Are Block Huggers Safe?
One common concern with any aftermarket header is heat. Because they are closer to vital components like wiring, hoses, and the transmission, heat management is crucial.
Material Matters: Durability of Block Huggers
Most quality block huggers are made from 1.5mm to 1.75mm thick mild steel, often coated in a ceramic finish or high-temp paint. Better materials mean better longevity.
- Mild Steel with Coating: This is the standard. The coating (ceramic or high-temp paint) helps manage radiant heat and prevents surface rust. However, coatings can eventually chip or burn off.
- Stainless Steel: While often more expensive, stainless steel (like 304 or 409) resists corrosion much better and generally handles heat cycles more gracefully, leading to a longer lifespan, though they often cost more upfront.
Managing Radiant Heat
Because the headers are tucked in close, you might need to take extra steps to protect nearby components from excessive heat soak. This is especially true if you are running a heavily modified engine that produces more heat than stock.
Consider using thermal shielding wraps or sleeves for sensitive lines or wires that run immediately adjacent to the header primaries. While headers inherently produce heat, protecting vulnerable plastic or rubber parts extends their life significantly.
Legal and Emissions Concerns: Street Legality Explained
This is a critical point for any modification enthusiast: Is the upgrade legal in your area? The legality of exhaust components often hinges on whether they remove or alter emission control devices.
Catalytic Converters and O2 Sensors
Block hugger headers, by design, often connect to a short downpipe that leads directly into either the factory catalytic converter location or a high-flow aftermarket cat. If your headers are sold with provisions to keep your catalytic converters in place, they are generally much easier to register as street legal.
If you buy headers that require you to eliminate the catalytic converter, you are installing what is known as a “test pipe” or “off-road only” system. These are:
- Illegal for use on public roads in almost all US states and many other countries.
- Guaranteed to fail emissions testing.
- Can sometimes cause your vehicle’s computer (ECU) to throw a “Check Engine Light” (CEL) if the O2 sensor readings become erratic after the cat is removed.
Pro Tip: Always check local regulations, often governed by the Environmental Protection Agency (EPA) in the US, regarding exhaust modifications before purchasing. Reputable manufacturers will clearly label their headers as “Street Legal” or “Off-Road Use Only.
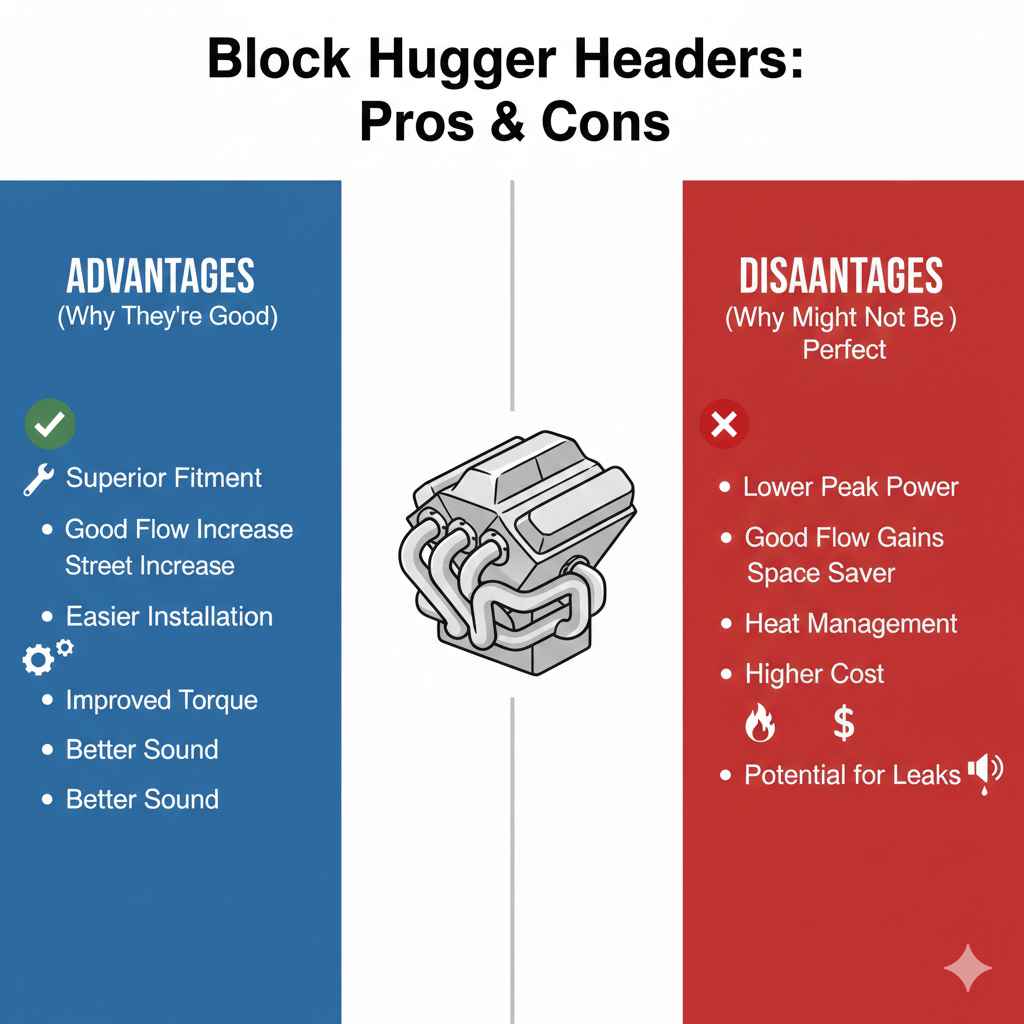
Pros and Cons of Block Hugger Headers Summarized
To help you make your final decision, here is a quick, balanced summary of the advantages and disadvantages of choosing block huggers for your vehicle.
Advantages (Why They Are Good)
- Superior Fitment: They solve clearance issues where long tubes simply won’t fit (essential for many trucks and tight engine bays).
- Good Flow Increase: They provide a significant step up in exhaust gas flow compared to heavy, restrictive factory manifolds.
- Easier Installation than Long Tubes: Because they are short, they are often easier to maneuver and bolt up without bending or cutting chassis components.
- Improved Torque: Due to their moderate primary tube length, they often offer a good low-to-midrange torque bump suitable for street driving and towing.
- Better Sound: They typically provide a deeper, more aggressive exhaust note than stock components.
Disadvantages (Why They Might Not Be Perfect)
- Lower Peak Power Potential: They cannot scavenge exhaust gases as efficiently as perfectly tuned long-tube headers at very high RPMs.
- Heat Management Required: Their tight fit near accessories requires careful attention to heat shielding.
- Higher Cost than Manifolds: They are more expensive than simple replacement manifolds.
- Potential for Leaks: The tight bends and required multiple flanges increase the potential connection points that can leak if not torqued correctly.
Frequently Asked Questions (FAQ) About Block Hugger Headers
Q1: Do block hugger headers require a custom exhaust system?
A: Sometimes, yes. While some manufacturers offer “bolt-on” systems, block huggers often terminate just a few inches past the collector. You will almost certainly need to connect them to a new downpipe or Y-pipe that flows into your existing cat-back system. Be prepared to use a welder or exhaust clamps for the connection point.
Q2: Will block hugger headers affect my gas mileage?
A: In theory, if the engine breathes better, it can be more efficient. However, most drivers notice that once they install headers and get a better sound, they tend to drive more aggressively, which lowers mileage. For steady, normal driving, mileage should stay similar or slightly improve.
Q3: Do I need to tune my car’s computer (ECU) after installing block hugger headers?
A: If you keep your factory catalytic converters and stock oxygen sensors in place, a tune is usually not essential just for the headers. However, if you notice the car running rough or if the Check Engine Light comes on, a basic custom tune (or re-flash) is highly recommended to optimize fuel delivery for the new airflow.
Q4: Are block hugger headers the same as shorty headers?
A: No. Shorty headers are extremely compact, often replacing the manifold with minimal tube length, sometimes offering only marginal improvement over stock. Block huggers are slightly longer, offering better tube tuning for performance while still maintaining a tight profile against the engine block.
Q5: How long do block hugger headers typically last?
A: If made from good quality, thick steel (especially stainless steel) and installed correctly, they can last the lifetime of the vehicle. If they are thin mild steel without a good coating, rust and heat cycling might degrade them within 5 to 10 years, depending on your climate.
Q6: Can I install block huggers myself?
A: Yes, if you have basic mechanical aptitude, patience, and a safe place to lift the car. The main challenge is removing seized manifold bolts, which often requires soaking them overnight with penetrating oil. If you struggle with rusty bolts, consider having a shop do the removal phase.
Conclusion: Making the Right Exhaust Choice for Your Build
So, are block hugger headers any good? Absolutely, they are good, and often, they are proven essential. They represent the perfect engineering compromise when maximizing performance meets the harsh reality of limited physical space.
If you are building a powerful street machine where long-tube headers are physically impossible due to chassis or accessory constraints, block huggers are your best friend. They offer a substantial performance gain over restrictive factory manifolds, giving you better throttle response and more horsepower where you need it most—down low and in the mid-range.
Remember the key takeaways: choose quality materials (like coated or stainless steel), follow the correct tightening sequence religiously to prevent leaks, and be mindful of heat shielding near vital components. By understanding their purpose and installation needs, you can confidently install block hugger headers and enjoy a better-breathing, better-sounding engine without major headaches.