3 Best Welders for Exhaust Fabrication (2026): Research Shows
For thin-wall exhaust fabrication, choose a 120V MIG for mild steel, a 140–200A DC TIG for stainless, and a small inverter MIG or spool setup only when portability and garage power limit you to household circuits. Pick the wrong process and you will blow holes in tubing, warp flanges, or end up with a machine that cannot run on your outlet. This guide matches welder type to exhaust job, material, duty cycle, and home-garage power limits.
Quick comparison
| Product | Badge | Best for | Price | ||
|---|---|---|---|---|---|
 | Lincoln Electric 90i MIG and Flux Core Wire Feed Weld-PAKLincoln Electric | Our pick | 120V MIG · flux-core · portable | $414.99 Price as of 20 Oct 2026 | View |
 | Miller Multimatic® 215 PRO Multiprocess Welder, MIG TIGMiller | Upgrade pick | MIG/TIG/Stick · 120V/240V · multiprocess | $2,179.99 Price as of 20 Oct 2026 | View |
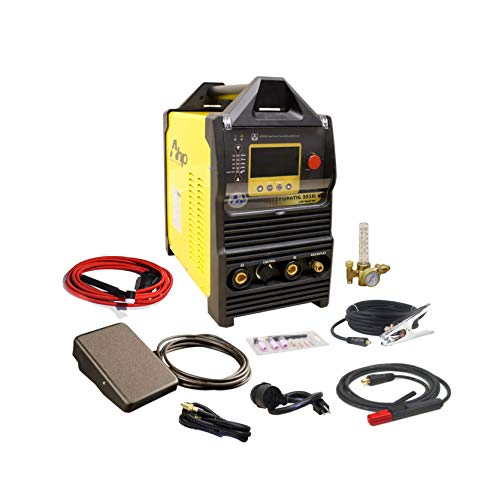 | NEW 2024 AHP AlphaTIG 203Xi Amp IGBT AC DC Tig/Stick WelderAHP | Also great | AC/DC TIG · 110/220V · pulse | $689.00 Price as of 20 Oct 2026 | View |
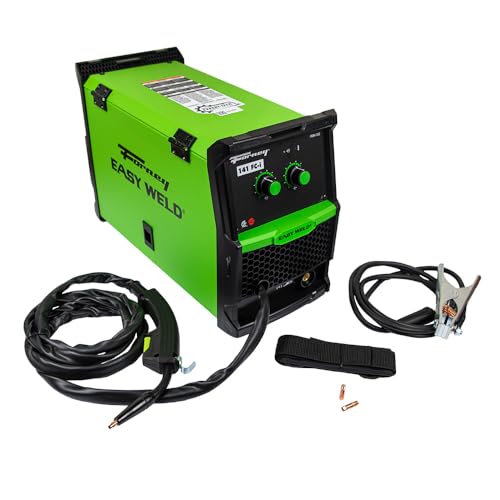 | Forney Easy Weld 262 141 FC-i Flux Core Gasless Wire WelderEasy Weld | Budget pick | 140A flux-core · 120V · gasless | $259.99 Price as of 20 Oct 2026 | View |
The right welder changes with the job. A patch on mild-steel exhaust needs quick, controlled heat; a stainless cat-back needs cleaner arc control and better shielding; under-car work adds cable length, weight, and outlet limits to the decision.
How we chose
The comparison below centers on four things that matter for exhaust work. First is low-end amperage control, because thin-wall tubing burns through fast. Second is power source, since many garages only have 120V. Third is gas use and weld cleanliness. Fourth is how much learning curve the machine adds.
Published specs and buyer feedback matter more than brand reputation here. A machine that can weld thick plate is not automatically a good exhaust welder if it starts too hot or is awkward under a car.
Lincoln Electric 90i MIG and Flux Core Wire Feed Weld-PAK Welder: best for small exhaust jobs
- Portable 120V wire-feed welder
- Includes gun, nozzle, tip, cable, and clamp
- Simple two-knob controls
This is a practical fit for small exhaust repairs where portability and simple controls matter more than feature depth. The 120V input and two-knob layout make it easier to set up for patch work, hanger repair, and mild-steel tube fixes on a garage circuit.
Based on the published details, the appeal is straightforward: it is a portable 120V wire-feed welder with MIG and flux-core capability, and it includes the gun, nozzle, tip, cable, and clamp. That makes it a tidy choice for a DIYer who wants a basic exhaust repair machine without extra accessories to buy separately.
The drawback is scope. A two-knob machine is convenient, but it gives you less fine control than a higher-end inverter when you are trying to tame thin tubing, short tack windows, and awkward joint gaps. It is also better suited to mild steel than to cosmetic stainless work.
Start with fit-up. Clean the tube ends, remove coatings, and make the joint as even as possible before you add heat. Then tack the pipe in several spots, check alignment, and weld in short bursts rather than trying to run one long bead on thin tubing.
- Cut the joint square or match the angle carefully.
- Clean both sides of the tube to bare metal where the weld will go.
- Clamp the parts so the joint stays round and aligned.
- Place small tacks at opposing points.
- Recheck alignment before finishing the weld.
- Run short beads or stitch welds, letting the joint cool as needed.
A common first-timer mistake is trying to bridge a misaligned exhaust tube joint by turning up the welder instead of fitting the pipes properly first. That usually widens the hole. It is better to stop, trim the fit, and retack than to keep increasing amperage until the edge fails.
Miller Multimatic 215 PRO: best for mixed garage and shop work
- Handles MIG, TIG, and Stick welding
- Pulsed MIG and Pulsed TIG support
- Works on 120V or 240V power
This is the broadest tool in the group for people who want one machine for MIG, TIG, and Stick, plus 120V/240V flexibility. For exhaust fabrication, that matters if you move between home garage power and a future 240V setup, or if you want one machine for tubing, brackets, and general repair.
The published feature set is strong: MIG, TIG, and Stick capability, pulsed MIG and pulsed TIG support, plus 120V/240V operation. That combination makes it the most adaptable option here for mixed material and mixed access work, especially if you may later add stainless fabrication or more precision TIG tasks.
The drawback is cost and complexity. It is far more machine than a simple muffler patch needs, and the price is hard to justify if your work stays limited to occasional mild-steel exhaust fixes. You also pay for features you may never use.
AHP AlphaTIG 203Xi: best for stainless exhaust
This is the most material-focused choice for thin stainless exhaust work. AC/DC TIG with pulse support gives you the control profile people usually want for 304 stainless tubing, where the arc needs to stay tight and the heat input has to stay low.
For exhaust use, the important part is not just TIG. It is pulse control, inverter response, and the ability to run on 110/220V power. That mix suits thin-wall tubing, small gaps, and bead appearance on stainless where contamination and excess heat show up quickly.
The drawback is that TIG asks more from fit-up and technique than MIG. If you are still learning exhaust fabrication, this machine will not hide poor prep, wide gaps, or contaminated tube ends. It is also less forgiving for fast repairs under a car.
Forney Easy Weld 262 141 FC-i: best budget gasless option
- Runs on a standard 120V household outlet
- Gasless flux-core setup
- Adjustable voltage and wire speed
This is the budget answer when the main goal is to get mild-steel exhaust repairs done on a household outlet without adding gas gear. The 120V, gasless flux-core setup keeps the machine simple, and the adjustable voltage and wire speed help with basic control.
That makes sense for hanger repair, short patches, and rough service work on mild steel. Flux-core is often chosen because it is affordable and portable, and it can be run without shielding gas. For many first-time exhaust repairs, that lowers the entry cost.
The drawback is finish and cleanup. Flux-core throws more spatter than gas-shielded MIG, and it is a weaker match for cosmetic stainless work. If appearance, low cleanup, or thin stainless matter, this is not the first pick.
What kind of welder is best for exhaust fabrication?
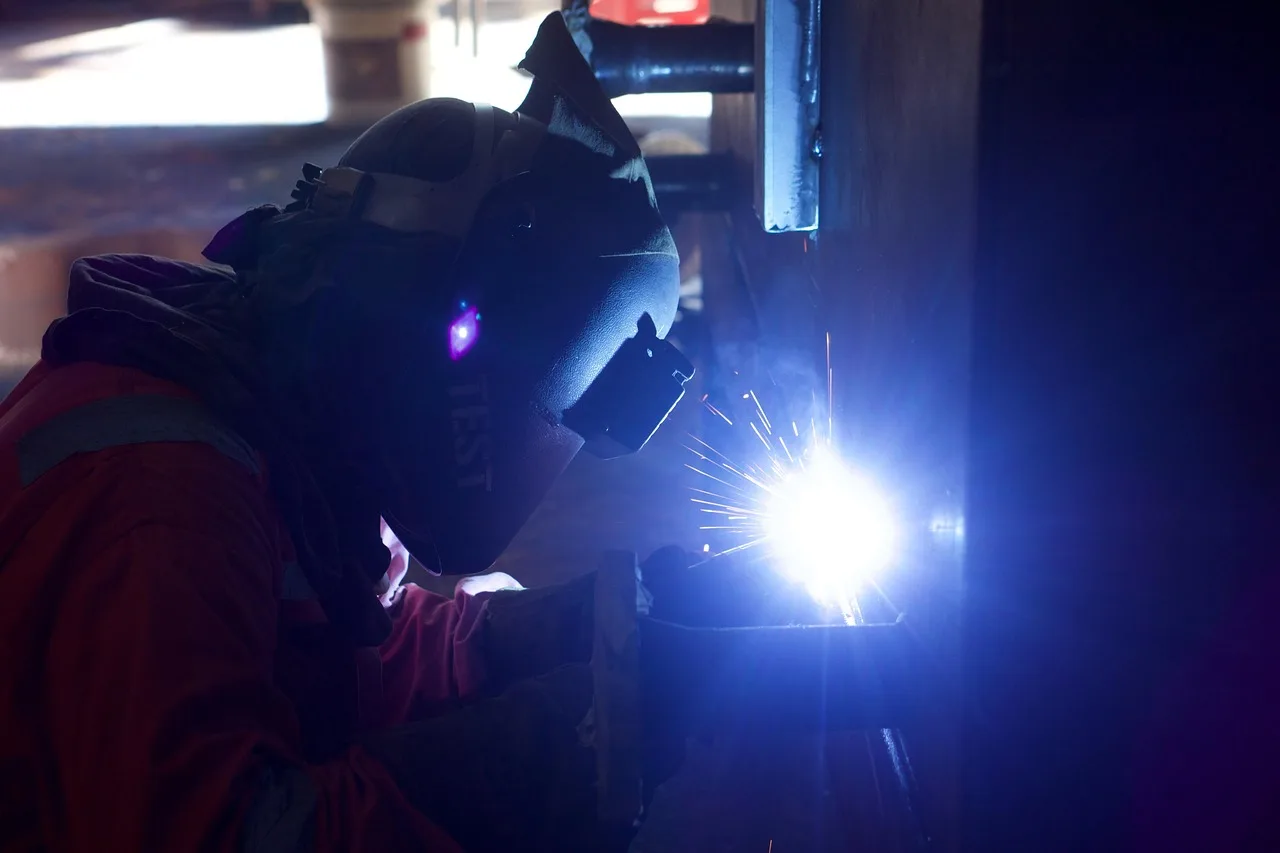
The best welder depends on the exhaust material and the kind of joint you need to make. For mild-steel repair patches and hanger work, a small MIG is usually the best balance of control and speed. For stainless tubing, TIG is the cleaner precision choice. Flux-core fits budget repair more than finish work.
Exhaust fabrication is not one job. Repairing a crushed section, fitting a flange, tacking a tip, and building a full cat-back each ask for a different mix of heat control, access, and appearance. Thin-wall tubing also gives you a very small heat window, so process choice matters more than in thicker steel work.
Best match by material
- Mild steel: MIG is the easiest default for thin repairs and general exhaust work.
- Stainless steel: TIG gives the best control and the cleanest result on thin tubing.
- Aluminized pipe: MIG is usually the practical choice, but the coating can complicate prep and weld quality.
Best match by job
- Repair patch: MIG or flux-core on mild steel, with short tacks and a clean fit.
- Flange work: TIG or a well-controlled MIG setup, depending on material and access.
- Tip install: MIG for speed on mild steel, TIG if the tip and tube are stainless.
- Full cat-back build: TIG for stainless appearance and fit, MIG for faster mild-steel fabrication.
Best match by access
Under-car work favors compact gear, short lead management, and a machine that starts predictably at low amperage. Bench work opens the door to TIG and more careful fit-up. Tight-space torch access matters most on stainless routing, where the torch angle can be more limiting than the machine itself.
Why exhaust pipe is difficult to weld

Thin-wall exhaust tubing burns through easily. The metal heats fast, cools unevenly, and gives you little room for error, especially if the joint fit is loose or the surface is dirty.
Heat soak is a common failure mode. Once one side of a tube gets hot, the next tack can suddenly collapse the edge or widen the gap. That is why fit-up, clamping, and a careful tack sequence matter more on exhaust than on thicker fabrication.
Contamination is the other problem. Rust, oily residue, old coating, and stainless oxidation can all make the puddle unstable. On stainless, poor shielding can also cause sugaring on the backside, which hurts corrosion resistance and looks rough.
Clamping matters before welding
Clamp the system so the joint faces stay aligned before you strike an arc. Good clamps reduce movement, keep pipe roundness closer to normal, and help prevent the gap from opening as the metal heats. A loose fit often looks acceptable cold and then fails as soon as the first tack pulls the tube out of line.
Suppose you are fitting a 2.5-inch section into an existing mild-steel system and the gap is uneven by a few millimeters. That gap will pull heat unevenly into the edge you are trying to save. Better clamping and a tighter cut can do more for weld quality than a higher-powered machine.
Which one should you buy?
Buy MIG if you want the simplest path for mild-steel exhaust repairs. It is the easiest mix of speed, control, and garage friendliness, especially on 120V power. A dual-voltage MIG is better if you may move from a home circuit to a shop outlet later.
Buy TIG if stainless fit and finish matter most. That is the best route for thin stainless tubing, precise bead placement, and jobs where appearance matters as much as function. It is also the better answer when pulse, HF start, and foot pedal control are part of the setup you need.
Buy flux-core only if budget and gasless setup come first. It can handle mild-steel repairs and outdoor-friendly work, but it gives up weld appearance and creates more cleanup. It is the weakest fit for cosmetic stainless exhaust.
Choose dual-voltage if you split time between garage work and future shop power. That matters if you want one welder to cover repair, fabrication, and later upgrades.
Best welder for exhaust fabrication by job type
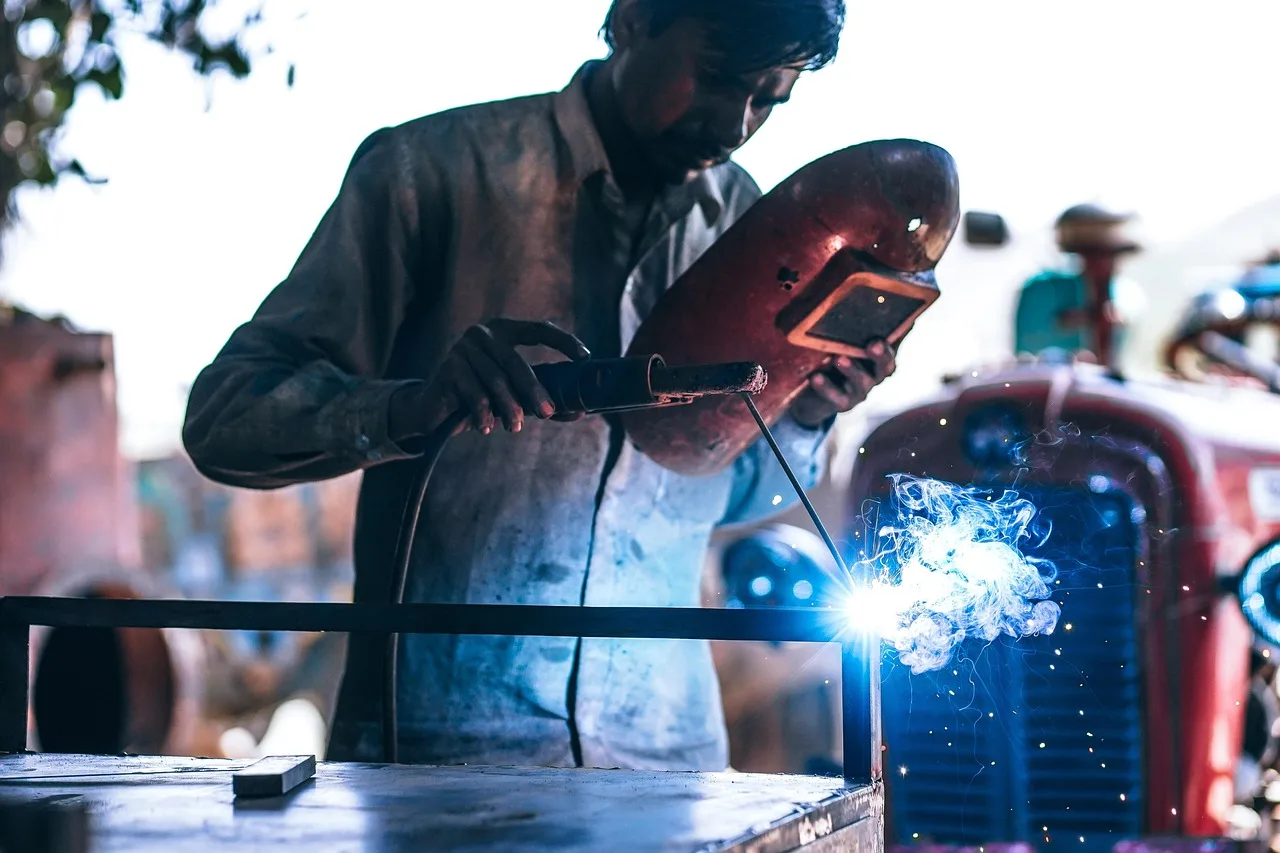
| Material | Joint type | Access | Skill level | Power source | Recommended process | Most likely failure mode |
|---|---|---|---|---|---|---|
| Mild steel thin-wall tubing | Patch, sleeve, or butt joint | Under car or bench | Beginner to intermediate | 120V household circuit | MIG with shielding gas | Blow-through from too much heat |
| Mild steel thin-wall tubing | Temporary repair or rough service joint | Outdoor or remote work | Beginner | 120V household circuit | Flux-core | Excess spatter and rough bead cleanup |
| 304 stainless tubing | Butt joint or merge collector | Bench or tight routing | Intermediate to advanced | 120V or 240V inverter | TIG with gas shielding | Sugar, warping, or burn-through |
| Aluminized pipe | Repair patch or flange area | Under car or bench | Beginner to intermediate | 120V garage power | MIG | Poor fusion if coating is not removed |
Starter settings for thin exhaust tubing
These are conservative starting points, not fixed rules. Thin tubing, joint fit, wire size, and machine design all change the exact setting you need. Start low, make a tack, and move up only enough to get fusion without edge collapse.
| Process | Typical starting point | What to watch |
|---|---|---|
| MIG with gas | Lowest practical heat setting with steady wire feed; use a small wire and short tacks on thin tubing | Edge roll-back, fast puddle growth, or a hole opening before the tack sets |
| Flux-core | Lower end of the machine’s range, with wire speed kept stable enough to avoid stubbing | Spatter, slag coverage, and whether the arc is too violent for the tube edge |
| TIG | Low amperage with foot pedal control, then add only enough current for quick fusion | Heat soak, discoloration, and a puddle that grows faster than the joint can absorb |
Can I use a flux core welder for exhaust pipe?
Yes, but it is best reserved for mild-steel exhaust repair, not show-quality stainless work. Flux-core can join thin pipe, especially when gas is not practical, but it tends to spatter more and leaves a rougher finish than gas-shielded MIG.
If the pipe is stainless and appearance matters, flux-core is the wrong tool. If the job is a quick mild-steel repair on a budget, it can work well enough, provided you keep heat low and prepare the joint carefully.
Is TIG or MIG better for exhaust welding?
MIG is better for most mild-steel exhaust repairs because it is faster to learn, easier to run on 120V, and more forgiving on small home-garage jobs. TIG is better for thin stainless because it gives finer control over heat and bead placement.
If you want the simplest all-around answer, start with MIG. If the exhaust is stainless and finish matters, TIG is the better process. A dual-process machine can cover both, but the process choice still needs to match the material.
What welder settings work for thin exhaust pipe?
Use the lowest heat that still produces fusion, and let the joint cool between short bursts. On thin-wall tubing, amperage control matters more than raw output. Too much heat causes blow-through long before a machine’s maximum rating becomes useful.
For MIG, a stable wire feed and gas shielding matter as much as amperage. For TIG, a foot pedal and pulse help hold the arc in a narrow heat window. On flux-core, keep travel short and expect more cleanup afterward.
Do I need gas to weld stainless exhaust?
For the cleanest stainless exhaust welds, yes, shielding gas is strongly preferred. It improves weld appearance, reduces spatter, and helps protect the puddle from contamination. On the backside of stainless tubing, proper shielding also helps prevent sugar.
You can join stainless with some gasless methods, but the result is usually poorer on thin exhaust work. If the goal is a clean stainless cat-back or a visible tip section, gas is the better setup.
What is the best budget welder for exhaust work?
The best budget choice is usually a small 120V MIG or a gasless flux-core machine, depending on whether you value weld quality or lowest entry cost. For mild-steel exhaust repairs, a compact wire-feed machine gives the easiest path to usable results.
If you want the cheapest workable option, the flux-core route is the least expensive because it skips gas. If you can spend more for a cleaner bead and less spatter, a gas-shielded MIG is the better budget buy over time.
How portable should a welder be for exhaust fabrication?
Portable enough to move under the car, reach the joint without tugging the leads, and fit in a garage setup without heavy repositioning. For exhaust work, portability matters because access is often awkward and the weld area may be on the floor, not a bench.
Dual-voltage helps if you need 120V now and 220V later. Lightweight machines are easier to carry and set near the work, but portability should not come at the cost of low-end amperage control. Thin tubing punishes sloppy heat control faster than it punishes weight.
Can a stick welder be used on exhaust pipe?
It can be used in a narrow sense, but it is not a normal choice for thin exhaust tubing. Stick welding puts too much heat into small tube walls and is harder to control on short, tight joints. The risk of burn-through is high.
For exhaust fabrication, MIG and TIG are the practical processes. Stick belongs more to thicker structural repair than to thin automotive tubing.