What Happens If Exhaust Valve Guide Is Worn: Essential Fixes
A worn exhaust valve guide leads to oil burning, reduced engine power, poor fuel economy, and noisy valve operation. Ignoring it causes severe engine damage, requiring immediate professional inspection and replacement of the guide to restore sealing and protect the cylinder head.
Do you hear a strange noise coming from under the hood, or maybe notice bluish smoke from your tailpipe when you accelerate? These signs often point toward an issue deep inside your engine—specifically, your exhaust valves. The valve guides, small cylinders that keep the valves moving up and down perfectly straight, can wear out over time. When this happens, it throws off the engine’s careful balance. It can be frustrating when you don’t know what the part does or how to fix it. Don’t worry; you don’t need a master’s degree in mechanics to understand this! As your guide to all things exhaust, I will break down exactly what happens when these guides fail and provide clear steps to get your engine running smoothly again. Let’s dive into making your engine sound and perform its best.
The internal components of your engine work together with incredible precision, almost like a finely tuned clock. The exhaust valves are essential; they need to snap open perfectly to let burnt gasses out and seal tightly to keep everything inside pressurized. The valve guide’s job is simple but critical: it holds the valve stem steady. When this part wears down, it creates sloppy movement, and that slop causes big problems for your engine’s health, performance, and even your wallet at the gas pump.
Understanding the Exhaust Valve and Its Guide
Before we talk about the problem, let’s quickly look at the solution—the valve assembly.
In every cylinder of your engine, there are at least two valves: the intake valve (letting the fresh air/fuel mix in) and the exhaust valve (letting the spent gasses out).
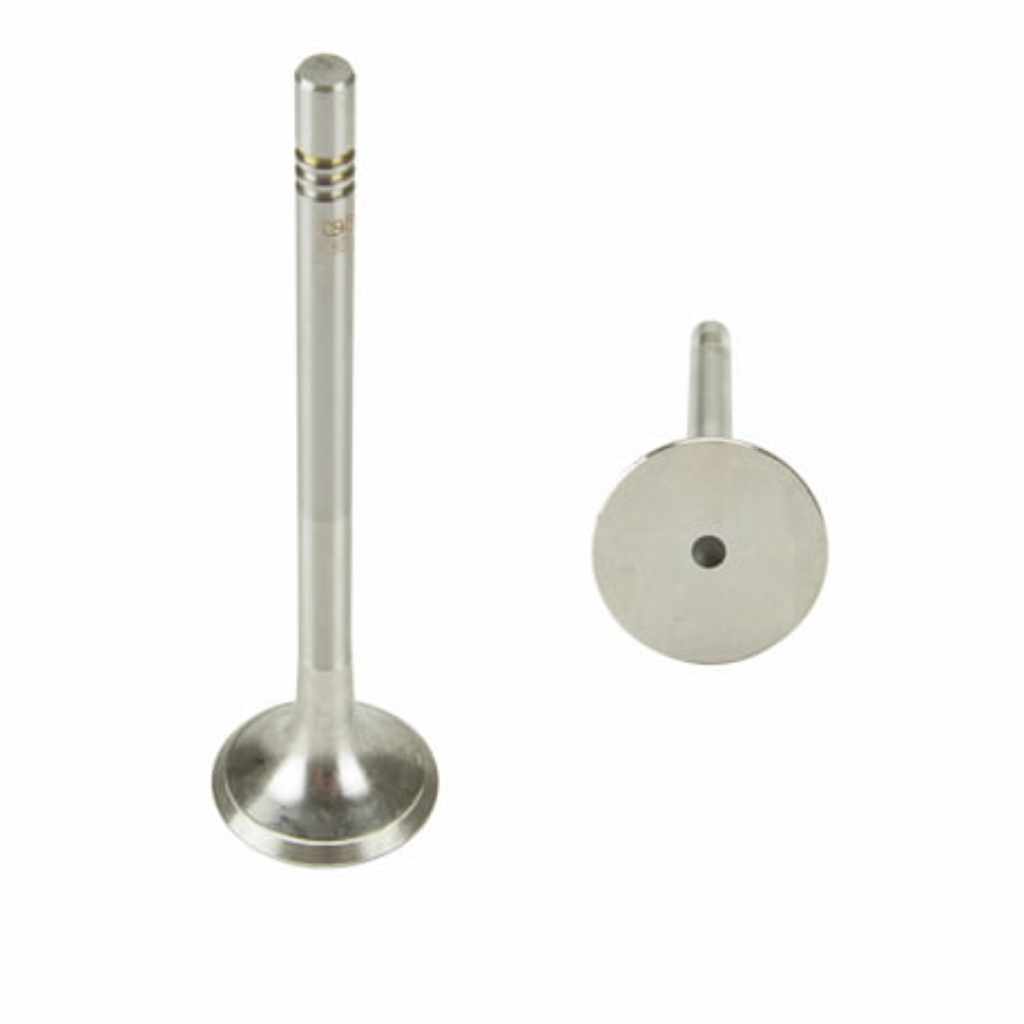
The valve guide is a small, often brass or bronze, sleeve pressed into the cylinder head. It acts like a precise bearing surface. The stem of the exhaust valve slides in and out of this guide thousands of times per minute.
A healthy guide ensures two things:
1. Correct Centering: The valve tip hits the seat perfectly every time to form a seal.
2. Oil Control: It scrapes excess oil off the valve stem to prevent it from dripping into the combustion chamber.
When the guide wears out, the valve starts wobbling. This wobble is what causes most of the noticeable—and expensive—engine trouble.
The Top 5 Symptoms of a Worn Exhaust Valve Guide
If you suspect wear, your engine will usually send you clear signals. Recognizing these symptoms early can save you from needing a much more costly engine rebuild later on. Here is what typically happens when exhaust valve guides go bad:
1. Excessive Oil Consumption (Blue Smoke)
This is often the most apparent sign. As the guide wears, the clearance between the valve stem and the guide widens. Oil from the cylinder head (where the valve springs live) can now seep past the worn guide, down the valve stem, and right into the combustion chamber.
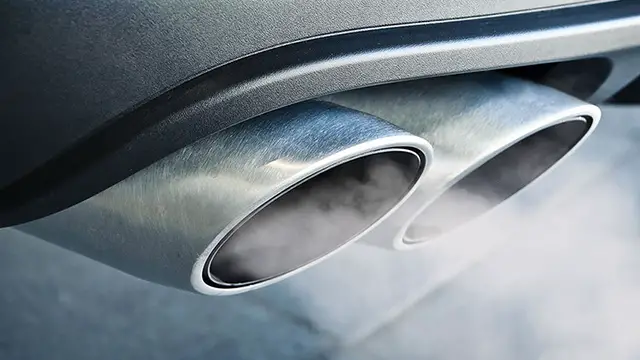
What you see: If you notice blue or bluish-gray smoke coming out of your tailpipe, especially right after you start the car or when you let off the gas pedal (deceleration), it means oil is burning.
Why it matters: Burning this much oil is not just messy; it fouls your spark plugs, reduces your fuel economy, and can leave carbon deposits on the piston crowns and valves, leading to further performance issues.
2. Decreased Engine Power and Rough Idle
A worn guide means the exhaust valve cannot seal correctly against the valve seat when closed.
Loss of Compression: If the seal is bad, combustion pressure leaks out during the power stroke. This is known as a loss of compression, which translates directly into less power produced by that cylinder.
Rough Running: When one cylinder isn’t pulling its weight due to poor compression, the engine runs rough, idles poorly, and feels sluggish during acceleration.
3. Oil Fouling on Spark Plugs
Because oil has migrated past the guide and into the cylinder, it coats the spark plug tip.
Misfires: Oily spark plugs don’t fire reliably. This causes noticeable hesitation, misfires that can sometimes trigger the “Check Engine” light, and poor starting, particularly when the engine is cold.
4. Abnormal Valve Train Noise
When the guide is worn, there is too much space between the valve stem and the guide bore. This extra space allows the valve stem to “clatter” or rattle slightly within the guide as it moves rapidly.
Tapping Sound: You might hear a distinct tapping or ticking noise coming from the top of the engine, often more noticeable at idle or higher RPMs, indicating mechanical looseness that shouldn’t be there.
5. Oil Contamination in the Exhaust
In severe cases, the amount of oil leaking past the guides is so substantial that it can build up in the exhaust manifold or catalytic converter.
Catalytic Converter Damage: Burning excessive oil forces the catalytic converter to work overtime, often leading to overheating and eventual failure, which is a very expensive repair.

Diagnosing Exhaust Valve Guide Wear: A Beginner’s Guide
If you suspect a guide issue, the next step is confirming the diagnosis before spending money on parts. You absolutely need to diagnose which component is causing the pressure loss—is it the valve seal, the guide clearance, or the valve seat itself?
Here are the essential diagnostic tests:
The Compression Test
This measures the pressure inside the cylinder when the engine is running. Low compression strongly suggests a sealing issue.
1. Remove all spark plugs.
2. Screw the compression tester into the spark plug thread of one cylinder.
3. Temporarily disable the fuel and ignition systems (check your manual).
4. Crank the engine 4 to 5 times.
5. Record the reading. Compare it to the manufacturer’s specification.
The Leak-Down Test (The Best Test)
This test is superior because it tells you where the air is leaking from. You pressurize the cylinder through the spark plug hole with an external air source (like an air compressor).
If you hear air hissing out of the exhaust pipe: This indicates an exhaust valve isn’t sealing shut, likely due to a worn guide or seating issue.
If you hear air hissing into the intake manifold: This points toward an intake valve seal problem.
If you hear air bubbling in the oil filler cap: This suggests a worn piston ring problem, not a valve guide issue.
A significant leak below the specifications found on many professional automotive repair sites (like those maintained by organizations such as the Society of Automotive Engineers or SAE) confirms internal engine wear needing attention.
Repair Options: From Temporary Fixes to Full Replacement
The severity of the wear dictates the repair path. For a beginner, understanding the basic options helps you decide if this is a manageable DIY task or a job for a professional machine shop.
Option 1: Replacing Valve Stem Seals Only (Minor Wear)
If the guide clearance is still acceptable but the rubber umbrella seals (which scrape oil off the stem) have hardened and cracked, replacing just the seals might solve the oil burning issue.
This is often the least invasive and cheapest route if the guide wear is minimal. However, replacing seals without addressing guide wear often means the problem returns quickly.
Tools and Supplies Needed (Seal Replacement):
- Valve Spring Compressor Tool (Crucial)
- Air pressure source or specialized plug (to keep the valve from falling into the cylinder)
- New Valve Stem Seals
- Pliers and magnetic pickup tool
Option 2: Valve Guide Reaming and New Guides (Moderate Wear)
When the guides themselves are worn past acceptable limits, they must be addressed. This requires removing the cylinder head from the engine and taking it to a specialized shop.
The machine shop will:
- Carefully remove the old, worn guides.
- Machine (ream) the valve guide bores in the cylinder head to the exact correct specification.
- Press-fit new, slightly oversized valve guides into the head.
- Machine the new guides to ensure they perfectly match the new valve stems (if new valves are also being installed).
This process restores the tight tolerance needed for proper sealing and oil control.
Option 3: Guide Replacement with Valve Job (Severe Wear)
If the engine has high mileage, significant valve recession, or the valve seats are also pitted or damaged, a complete “valve job” is necessary. This usually involves replacing not only the guides but also the valves themselves and thoroughly reseating the valves.
This is the gold standard repair that ensures peak performance is returned to the cylinder head.
DIY vs. Professional Repair: Making the Choice
As a guide for everyday car owners, I want to be clear: repairing valve guides is an in-depth engine repair. It is not typically a first-time DIY job unless you have experience removing a cylinder head. Cylinder heads deal with high heat, pressure, and precise torque specifications.
Here is a comparison to help you decide:
| Factor | DIY Repair (If only seals are replaced) | Professional Repair (Guide replacement) |
|---|---|---|
| Skill Level Required | Intermediate (Requires specialized tools like a spring compressor) | Expert (Requires engine removal and shop equipment) |
| Cost Estimate (Parts Only) | $50 – $150 | $400 – $1000+ (Parts + Machining) |
| Time Investment | Full weekend, depending on access | Machine shop turnaround (1–3 weeks) + labor |
| Risk of Further Damage | Moderate (Potential for dropping a valve or damaging the head threads) | Low (If using a reputable, certified shop) |
If you are working on an overhead cam engine, or if the diagnosis shows clear evidence of guide slop (often measured using a dial indicator at the top of the valve stem), taking the head to a reputable machine shop is the safest decision for long-term reliability. Look for shops certified by organizations supporting engine builders or those recommended by manufacturers.
The Step-by-Step Process for Professional Guide Replacement
Since a full valve guide replacement is usually a professional job, let’s walk through what your mechanic or machine shop will be doing. This knowledge empowers you to ask the right questions.
Phase 1: Removing the Cylinder Head
This requires careful tagging and labeling of every hose, wire, and bolt.
- Safety First: Disconnect the battery and drain the coolant from the system.
- Access: Remove all attached components—intake manifold, exhaust manifold, fuel rail, valve cover, and timing components necessary to relieve tension on the camshafts.
- Timing System: Carefully set the engine to Top Dead Center (TDC) and secure the timing chain or belt so the valve timing isn’t lost.
- Head Bolts: Loosen the cylinder head bolts in the reverse order specified by the factory manual (usually starting from the outside working inward) to prevent warping the head.
- Removal: Lift the cylinder head off the engine block and inspect the head gasket for failure signs.
Phase 2: Machine Shop Work (The Crucial Step)
Once the head is removed, it heads to the specialized shop floors.
- Cleaning and Inspection: The head is thoroughly cleaned, often chemically or via hot tanking, to ready it for measurement.
- Valve Removal: All valves, springs, and seals are removed.
- Measuring Clearance: A precision tool measures the exact clearance between the valve stem and the worn guide. If the clearance is too large (usually exceeding 0.0025 inches, though this varies by engine manufacturer), replacement is necessary.
- Guide Removal: The old guides are drifted or pulled out of the head casting.
- Boring/Reaming: Specialized precision machines bore the guide holes slightly oversize just enough to create a perfect land for the new guides—this is critical for accuracy.
- Pressing in New Guides: New guides (often made of a quality bearing material like phosphorus bronze) are lightly heated and pressed precisely into the cylinder head bore.
- Final Sizing and Valve Seating: The new guides are reamed to the manufacturer’s exact final specification for the valve stem. The valve seats are inspected and often ground (“lapped”) to ensure a perfect seal with the new/refaced valves.
Phase 3: Reassembly
This involves putting everything back in reverse order, paying close attention to torque specifications. The torque sequence for the head bolts is paramount to prevent leaks or warping. Following procedures outlined by reliable sources, such as those from the National Institute for Automotive Service Excellence (ASE), ensures all components are seated correctly.
Lubrication: Every bolt, cam lobe, and valve stem must receive a light coating of assembly lubricant.
Gasket Installation: A new, high-quality head gasket must be used. Never reuse an old one.
Torquing: Head bolts are torqued in three or more stages using a calibrated torque wrench to the exact engine specifications, often requiring an angle turn for the final stage.
This rigorous process ensures that the new valve guides will not wear out again prematurely and that the combustion sealing is restored completely.
Preventative Maintenance to Extend Valve Guide Life
The best fix is prevention. While valve guides are designed to last the life of the engine, certain driving habits and maintenance gaps can dramatically shorten their lifespan. Here’s how you can protect them:
1. Use High-Quality Engine Oil: Cheap or incorrect viscosity oil breaks down faster under high heat, failing to lubricate the guides properly. Always use the oil weight recommended in your owner’s manual. If you tow heavily or drive aggressively, consider a high-quality synthetic oil.
2. Regular Oil Changes: Sludge buildup and contaminants in old oil act like sandpaper against the precise surfaces of the valve stem and guide. Stick strictly to your service interval.
3. Avoid Overheating: Excessive heat bakes the oil, reducing its lubricating film strength. Keep your cooling system in top shape to manage engine temperatures.
4. Don’t Frequently Over-Rev: Driving the engine far past the redline puts massive shock loads on the valve train components, accelerating wear in the guides.
5. Address Early Symptoms: If you notice that persistent blue smoke or a slight tap, address it immediately. Catching seal wear before it causes significant guide wear is much cheaper.
FAQs About Worn Exhaust Valve Guides
Q1: Can I fix a worn exhaust valve guide without removing the cylinder head?
Generally, no. If the guide itself is worn (the metal sleeve), the only way to replace or machine it to fit snugly around the valve stem is to remove the head from the engine block. You might be able to replace the valve stem seals, but this is only a temporary fix if the guide is actually loose.
Q2: How long do exhaust valve guides usually last?
In a well-maintained engine using the correct lubricants, valve guides are designed to last the vehicle’s expected lifespan, often well over 150,000 or 200,000 miles. Wear is accelerated by poor lubrication (wrong oil type) or severe overheating.
Q3: Will using thicker oil fix a worn valve guide?
Using a slightly thicker oil (e.g., switching from 5W-30 to 10W-30 if allowed by your manual) can sometimes temporarily reduce oil consumption caused by minor guide wear. The thicker oil is slightly better at sealing the larger gap. However, this only masks the problem; it does not repair the mechanical wear, and it can negatively impact oil flow to other critical engine parts.
Q4: What is the difference between a valve stem seal and the guide?
The valve stem seal is a small rubber piece that rides on the valve stem, primarily designed to scrape oil off the stem as it retracts. The valve guide is the hardened metal sleeve inside the cylinder head that forces the valve to move straight up and down. The seal controls oil; the guide controls alignment.
Q5: How severe is the symptom of blue smoke on startup?
Blue smoke on startup is very common and often indicates that oil has pooled slightly on the valve stems overnight due to worn intake* valve seals or guides. While noticeable, the initial startup puff is usually less concerning than constant smoke during acceleration, though both require inspection.
Q6: Can a bad valve guide cause a failed emissions test?
Yes, absolutely. Excessive oil burning increases hydrocarbon (HC) emissions significantly because you are introducing unmetered fuel/oil into the exhaust stream, which the catalytic converter cannot handle efficiently. This usually causes a failure on the HC portion of the test.
Conclusion: Restoring Confidence in Your Engine
Dealing with internal engine issues like worn exhaust valve guides can feel daunting, but understanding the mechanism behind the problem takes away much of the mystery. When you notice blue smoke, hard starting, or a consistent loss of power, a worn valve guide is a strong suspect because it compromises the engine’s ability to seal gases and manage oil correctly.
While replacing the guides requires specialized care from a machine shop, knowing the telltale symptoms and understanding the professional repair process puts you firmly in control of your vehicle’s maintenance decisions.