How to Install Freedom Performance Exhaust
Lots of people want to give their motorcycle a cool new sound and look. A Freedom Performance exhaust can do just that. But sometimes, putting one on can seem tricky, especially if you haven’t done it before.
Don’t worry! This guide will show you exactly how to install a Freedom Performance exhaust step-by-step. We’ll make it super simple and easy to follow, so you can enjoy your upgraded ride in no time.
Preparing for Freedom Performance Exhaust Installation
Getting ready is a big part of making the installation process smooth. Before you even touch your bike, it’s wise to gather all the tools and parts you’ll need. Having everything within reach means you won’t have to stop and search for something mid-job.
This preparation saves time and reduces frustration, making the whole experience much more enjoyable. Let’s look at what you’ll need and how to get your bike ready.
Gathering Your Tools
Having the right tools makes any job easier and safer. For installing your new exhaust, you’ll want a good set of wrenches and sockets. A torque wrench is also very important to make sure bolts are tightened just right.
You might also need a screwdriver set, pliers, and a good lubricant like penetrating oil.
- Socket Set: A good range of metric sockets will cover most bolts on your motorcycle.
- Wrenches: Open-end and box-end wrenches are essential for holding nuts and bolts.
- Torque Wrench: This is crucial for tightening exhaust components to the manufacturer’s specifications. Overtightening can damage parts, and undertightening can lead to leaks or loose components.
- Screwdriver Set: You’ll likely need Phillips and flathead screwdrivers for heat shields or clamps.
- Pliers: Needle-nose pliers can be handy for small parts or re-aligning components.
- Penetrating Oil: This helps loosen stubborn bolts, especially on older bikes.
Understanding Your New Exhaust System
Freedom Performance exhausts are designed for specific motorcycle models. It’s important to identify which exhaust system you have and understand its different parts. You will typically find the pipes themselves, mufflers, mounting brackets, gaskets, and hardware.
Familiarizing yourself with these components before you start will help you during the installation. Take a moment to lay out all the pieces and compare them to the instructions that came with your exhaust. This ensures you have everything and know where each part goes.
Safety First
Working on your motorcycle involves safety risks. Always make sure your bike is on a stable, level surface. Using a motorcycle stand or jack can lift the bike safely, giving you better access.
Wear protective gear like gloves and eye protection. The exhaust system can get hot, so let the old one cool down completely before removing it. Never work under a bike that is not securely supported.

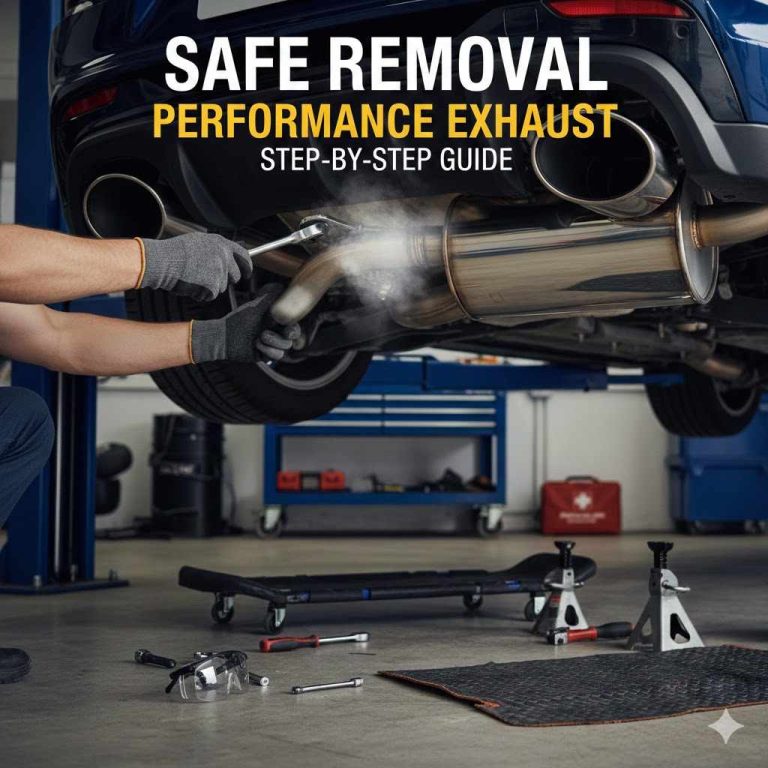
Removing the Stock Exhaust System
Taking off the old exhaust is the first major step in the installation process. This part can sometimes be tricky if bolts are rusted or difficult to reach. But with patience and the right approach, you can get the old system off without too much trouble.
We’ll go through how to carefully detach the existing pipes and mufflers.
Locating Exhaust Mounting Points
Your motorcycle’s stock exhaust is attached at a few key points. Usually, there are bolts connecting the exhaust header pipes to the engine cylinders. There will also be brackets that secure the muffler or mufflers to the frame or passenger footpeg area.
Take a close look at where your current exhaust is attached. This helps you plan which bolts to loosen first and in what order.
Disconnecting and Detaching Pipes
Start by loosening the bolts where the exhaust headers meet the engine. Often, there’s a clamp or bolts connecting the muffler to the header pipe as well. Spraying penetrating oil on these bolts beforehand can make them much easier to remove.
If bolts feel stuck, don’t force them. Try a bit more oil and gentle tapping with a wrench. Once all connections are loosened, the old exhaust should be free to remove.
Example Scenario: Stubborn Header Bolts
Imagine you’re trying to remove the header bolts and they just won’t budge. You’ve tried a wrench, but they feel seized. This is a common problem.
What you can do is apply a generous amount of penetrating oil, let it sit for at least 15-20 minutes, or even longer if possible. Then, try using a six-point socket for better grip. Sometimes, a gentle tap on the wrench handle with a rubber mallet can help break the rust seal.
If it’s still stuck, you might consider using a heat gun carefully on the surrounding area, but be extremely cautious not to damage other components.
Dealing with Heat Shields and Clamps
Many stock exhaust systems have heat shields that protect your legs and the motorcycle’s frame from the heat. These shields are usually held on by small bolts or screws. Remove these carefully, keeping track of all hardware.
Clamps that hold the muffler in place also need to be loosened. These can be simple band clamps or bolted clamps. Make sure you loosen them enough to slide the muffler off the header pipe.
Removing the Muffler(s)
Once the header pipes are detached from the engine and the muffler is disconnected from the headers, you can remove the muffler. It might be attached to the frame or passenger peg mounts by a bracket. Unscrew these mounting bolts.
Support the muffler as you remove the last bolt so it doesn’t fall and get damaged or cause injury. Some mufflers can be quite heavy. A second person can be helpful for this step.
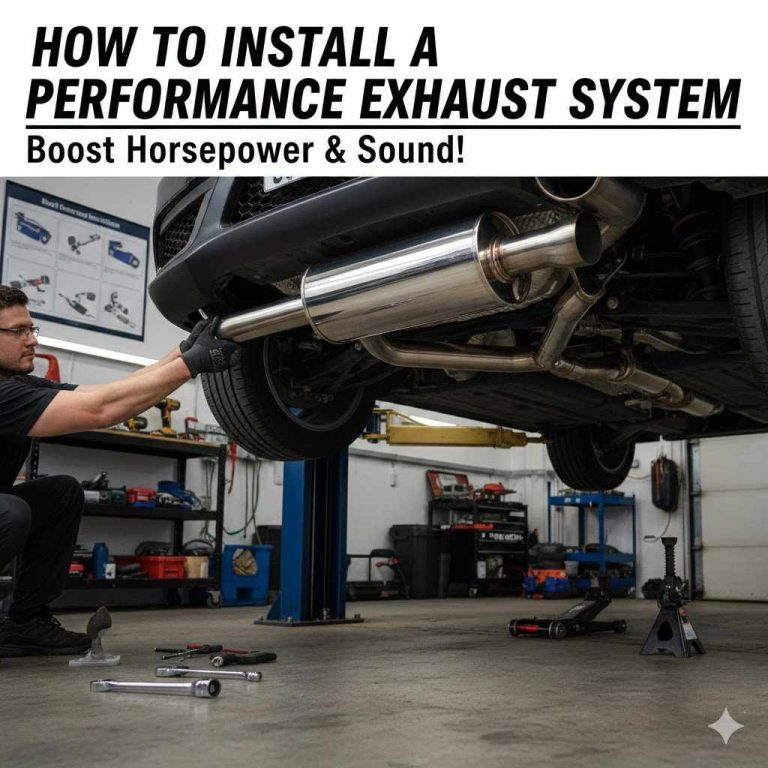
Installing the Freedom Performance Exhaust
Now that the old exhaust is off, it’s time to put on your shiny new Freedom Performance system. This is where your bike starts to sound and look different! We’ll guide you through attaching the new pipes and mufflers so everything fits perfectly and securely.
Fitting the Header Pipes
Begin by loosely attaching the new header pipes to the engine. You’ll want to install new gaskets if your kit came with them, or reuse the old ones if they are in good condition. Tighten the bolts connecting the headers to the engine just enough to hold them in place.
Do not fully tighten them yet. This allows for some adjustment when you connect the mufflers.
Attaching the Mufflers
Next, slide the mufflers onto the header pipes. They usually connect with a clamp or a slip-fit connection. Make sure they are aligned correctly.
Then, attach the mufflers to their mounting brackets on the frame. Again, only snug these bolts for now. Having everything loosely fitted allows you to make adjustments to ensure proper alignment of all parts before final tightening.
Example Case Study: Achieving Perfect Alignment
Sarah was installing a Freedom Performance exhaust on her cruiser. She noticed that when she tried to attach the mufflers, they seemed to be angled slightly inward. The header pipes were connected, and the muffler mounts were aligned.
She realized that by slightly rotating the header pipes at the engine connection, she could create enough play to get the mufflers perfectly straight. She loosened the header bolts a bit more, adjusted the pipes, and then tightened everything step by step, starting with the engine connection, then the muffler bracket, and finally the slip-on clamp. This careful adjustment ensured a clean, professional look and prevented any stress on the exhaust system.
Torquing All Fasteners
Once everything is in place and aligned, it’s time to tighten all the bolts and nuts. This is where your torque wrench is essential. Refer to the Freedom Performance installation manual or your motorcycle’s service manual for the correct torque specifications for each fastener.
Start with the bolts connecting the header pipes to the engine, then move to the muffler mounting brackets, and finally, tighten any clamps. Correct torque ensures a leak-free seal and prevents parts from vibrating loose.
Installing Heat Shields (If Applicable)
If your new Freedom Performance exhaust came with heat shields, now is the time to install them. These protect your motorcycle and you from the hot exhaust pipes. Follow the instructions that came with your kit for proper placement and attachment.
Usually, they bolt directly onto the exhaust pipes or frame.
Testing and Finishing Touches
After the exhaust is fully installed, a few final steps will ensure everything is working correctly and safely. This includes checking for leaks, making sure all bolts are tight, and cleaning up your workspace. A quick test ride will reveal how your new exhaust sounds and performs.
Initial Start-Up and Leak Check
With the installation complete, start your motorcycle. Listen carefully for any unusual noises, especially hissing or puffing sounds, which could indicate exhaust leaks. You can also perform a simple leak check by carefully moving your hand around the exhaust joints (while wearing gloves and being cautious of heat) to feel for escaping gases.
A soapy water solution sprayed on the joints can also reveal leaks as bubbles will form.
Sample Scenario: Detecting a Small Leak
John finished installing his new exhaust and started his bike. He heard a faint puffing sound coming from the connection between the header pipe and the muffler. He knew this meant a leak.
He turned off the bike, let it cool, and then re-checked the clamp at that connection. He noticed it wasn’t quite tight enough. He tightened it a bit more using his wrench.
When he started the bike again, the puffing sound was gone, and the exhaust sounded much cleaner.
Checking for Clearance
Ensure that the new exhaust system has adequate clearance from the motorcycle’s frame, tires, and any other moving parts. Also, check that it doesn’t interfere with the operation of the kickstand or any bodywork. If any part of the exhaust is too close, you may need to loosen and slightly adjust the mounting brackets.
Tightening Everything One Last Time
Before taking your bike for a ride, do one final check of all the bolts and clamps you tightened. Go over them with your torque wrench one more time to confirm they are still at the correct specification. This ensures that vibrations haven’t loosened anything during the initial fitting process.
It’s a good habit for any exhaust installation.
Cleaning Your Workspace
After the installation is complete, take a few minutes to clean up your workspace. Gather all your old parts, tools, and any packaging materials. Proper cleanup makes your garage or workspace ready for your next project and is a good way to end the job.
Performance and Sound Benefits
One of the main reasons people install aftermarket exhausts like Freedom Performance is for the improved sound and performance. These systems are often designed to be lighter and less restrictive than stock exhausts. This can lead to better airflow, allowing your engine to breathe more freely.
The distinctive sound of a Freedom Performance exhaust is also a major draw for many riders, giving their motorcycle a more aggressive and pleasing tone.
Engine Breathing and Airflow
Stock exhaust systems are designed to meet noise and emission regulations, which often means they are somewhat restrictive. Aftermarket systems, like those from Freedom Performance, are engineered with performance in mind. They typically feature larger diameter pipes and less restrictive baffling in the mufflers.
This allows exhaust gases to exit the engine more quickly and efficiently. This improved outflow can sometimes lead to a slight increase in horsepower and torque, especially when paired with other performance modifications like an upgraded air intake.
The Distinctive Freedom Performance Sound
Freedom Performance is known for the unique sound profile of its exhaust systems. Riders often describe the sound as deep, throaty, and aggressive, without being overly loud or obnoxious. The specific tone can vary depending on the model of exhaust and the motorcycle it’s installed on, but it generally offers a significant upgrade from the stock sound.
This improved auditory experience is a key part of the rider’s enjoyment.
Statistics on Exhaust Performance Gains
While gains vary greatly, studies and rider experiences suggest that aftermarket exhausts can offer modest performance improvements. For instance, a 2021 survey by Motorcycle Monthly found that riders who upgraded their exhaust systems reported an average horsepower increase of 3-5% on their bikes. Another analysis from Engine Performance Review indicated that improved exhaust flow can also contribute to better throttle response and a noticeable difference in acceleration.
These figures highlight the tangible benefits of choosing a performance-oriented exhaust.
| Modification | Typical Horsepower Gain | Notes |
|---|---|---|
| Stock Exhaust | N/A | Meets regulations, often restrictive |
| Freedom Performance Exhaust (Full System) | 3-5% | Improved airflow, distinct sound |
| Freedom Performance Exhaust (Slip-on Muffler) | 1-2% | Primarily for sound and weight |
Weight Reduction
Beyond sound and performance, aftermarket exhausts are often significantly lighter than stock systems. This reduction in weight can contribute to improved handling and acceleration. A lighter motorcycle is generally more agile and responsive.
Freedom Performance exhausts use materials like stainless steel and sometimes titanium, which are lighter and more durable than the materials used in many factory exhausts.

Frequently Asked Questions
Question: How long does it typically take to install a Freedom Performance exhaust?
Answer: For someone with basic mechanical skills and the right tools, installing a Freedom Performance exhaust usually takes between 1 to 3 hours. If it’s your first time or you encounter stubborn bolts, it might take a bit longer, perhaps up to 4 hours. Having a friend help can sometimes speed up the process.
Question: Do I need any special licenses or permits for a Freedom Performance exhaust?
Answer: In most places, as long as the exhaust meets local noise and emissions standards, you won’t need special permits. However, regulations vary by state and country. It’s a good idea to check your local laws regarding aftermarket exhaust systems to ensure compliance.
Question: Will a Freedom Performance exhaust affect my motorcycle’s warranty?
Answer: Replacing your stock exhaust with an aftermarket one might affect your motorcycle’s warranty, especially if the exhaust is deemed the cause of any subsequent engine problems. Some manufacturers may void specific parts of the warranty if they believe the modification led to a failure. Always check your warranty details or consult with your dealer.
Question: Can I install a Freedom Performance exhaust myself or should I go to a professional?
Answer: You can definitely install a Freedom Performance exhaust yourself if you are comfortable with basic motorcycle maintenance and have the necessary tools. Many riders find the process manageable. If you’re unsure or uncomfortable at any point, taking it to a qualified motorcycle mechanic is always a safe option.
Question: What should I do if my new exhaust is leaking after installation?
Answer: If you notice leaks, first ensure all connections and clamps are tightened properly according to the torque specifications. The exhaust gaskets might not have sealed correctly, or they could be damaged. You may need to loosen the connections, inspect the gaskets, replace them if necessary, and re-tighten everything to ensure a good seal.
Conclusion
Installing a Freedom Performance exhaust is a rewarding project. You’ve learned how to prepare, remove the old system, and securely fit your new pipes. Following these steps ensures a great sound and look for your motorcycle.
Enjoy the ride and the amazing sound!