How to Install a Motorcycle Slip-On Exhaust
Install a motorcycle slip-on exhaust by matching the inlet size, replacing any worn gasket, aligning the can before tightening, and torquing the clamp to the maker’s spec. Skip the fitment checks, and you can end up with exhaust leaks, rattles, melted bodywork, or a muffler that moves out of place. This guide covers the parts, tools, fitment checks, sealing steps, and common mistakes that cause first-install problems.
What a slip-on exhaust changes

What does a slip-on exhaust change?
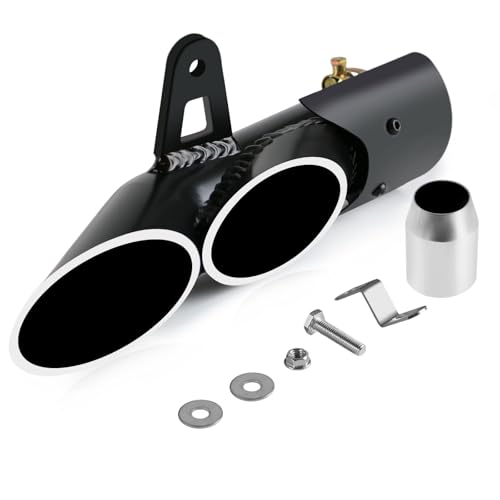
A slip-on exhaust usually replaces only the muffler section and may keep the OEM header or mid-pipe in place. Fitment, clamp seating, and bracket alignment matter as much as sound. On some bikes, the new can also changes weight distribution and heat near luggage or passenger parts.
The exhaust note usually gets deeper, and it can be louder. Performance changes vary by motorcycle and are often modest on a slip-on-only install, especially if the catalytic converter stays in place. If the bike has an integrated catalyst section or a fixed OEM muffler, the “slip-on” may need a specific mid-pipe or may not apply at all.
What you’ll need
Will it fit your motorcycle?
How do you know if it will fit?
No slip-on fits every motorcycle. Check the make, model, year, and trim first, then compare the inlet diameter, hanger location, and supplied hardware with the OEM muffler layout. A reducer or adapter is sometimes required, especially when the new canister is built for a different pipe size or bracket offset.
What should you check at the joint and mount?
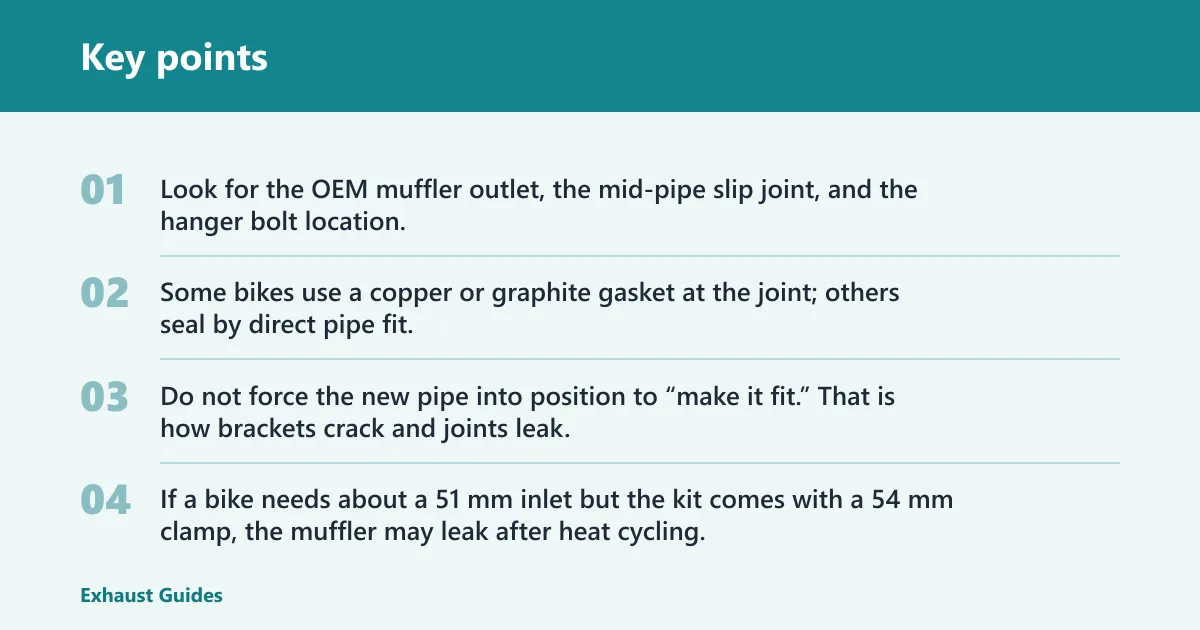
Look for the OEM muffler outlet, the mid-pipe slip joint, and the hanger bolt location. Some bikes use a copper or graphite gasket at the joint; others seal by direct pipe fit. If the original muffler is welded into an integrated catalyst section or the hanger line does not match, stop and confirm the kit number before loosening anything.
What model-specific exceptions matter?
Non-removable OEM mufflers, side-mounted exhausts with fixed shields, and bikes with under-engine catalyst sections can require special adapters or a different part number. Do not force the new pipe into position to “make it fit.” That is how brackets crack and joints leak.
If a bike needs about a 51 mm inlet but the kit comes with a 54 mm clamp, the muffler may leak after heat cycling. The muffler may slide on loosely at first, then leak after heat cycling because the clamp never fully seats on the slip joint.
Install the slip-on exhaust
What is the right installation order?
A common installation order is to loosen and remove the old muffler, inspect the joint, fit the new can loosely, align the hanger, then final-torque the clamp and bracket. That sequence prevents pipe clocking problems, where the canister looks straight but the joint is pulled sideways and leaks under load.
Remove the stock muffler. Support the exhaust weight before taking out the hanger bolt. Slide the muffler off the header or mid-pipe without twisting the joint harder than needed, because sideways force can nick the gasket or distort the slip fit.
Inspect the joint closely. Check the gasket, sealing surface, and mounting points for cracks, hardening, flattening, or carbon tracks. Replace any gasket that is pinched, missing, or damaged, and clean soot from the pipe ends before assembly.
Test-fit the new canister. Slide the slip-on onto the OEM pipe or adapter until it seats fully, then back it off only enough to confirm orientation. If the kit uses a reducer, install it exactly as directed so the clamp compresses the correct section of pipe.
Install the hanger loosely. Start the bracket or hanger bolt by hand with the can supported, but do not tighten it fully yet. The canister must hang in its natural position so the mounting holes line up without forcing the pipe or bracket.
Position the clamp correctly. Center the exhaust clamp over the slip joint and make sure it sits fully on the overlap, not on a bevel or edge. Tighten it evenly so the joint compresses uniformly; a tilted clamp often leaves one side leaking.
Align, then torque. Rotate the canister until it clears the swingarm, bodywork, luggage mounts, and passenger peg area. Then final-torque the clamp and hanger fasteners to the manufacturer’s spec with a torque wrench, because overtightening can crack brackets or deform the pipe.
Check heat shield coverage. Refit the OEM exhaust heat shield if the kit reuses it, or install the supplied shield if one is included. Make sure it does not touch the canister in a way that rattles, and that it still protects nearby bodywork from heat.
Start and recheck. Let the bike idle and inspect the joint, hanger, and shield area for leaks, rattles, and hot spots. After the first heat cycle, shut the bike off and recheck fastener torque if the manufacturer calls for it.
Picture a canister that looks centered at the hanger but still leaks at the slip joint. The usual cause is pipe clocking: the bracket hole lines up, but the inlet is twisted a few degrees, so the clamp never seals evenly.
Slip-on exhaust checklist
What should pass before your first ride?
Use this as a post-install check before your first ride. It is a fitment and sealing check, not a sound check.
| Check | Pass condition | Why it matters |
|---|---|---|
| Clamp position | Centered over the slip joint and fully seated | Prevents a partial seal and exhaust leak |
| Bracket alignment | Bolt starts by hand without prying | A forced hanger can crack or pull the pipe off line |
| Gasket condition | Undamaged, correct type, and installed as specified | A pinched or hardened gasket is a common leak source |
| Heat shield clearance | No contact with the canister or adjacent bodywork | Prevents rattles, heat marks, and melted panels |
| Clearance to bike parts | Safe gap to swingarm, panniers, axle access, and center stand | A misaligned can can hit moving or hot parts |
| Fasteners | Torqued to spec | Prevents loosening, cracking, or slip-out |
| Startup | No ticking, hissing, popping, or fuel smell at idle | Helps catch leaks or fueling issues early |
Common mistakes
What usually goes wrong first?
The most common first-install error is treating the muffler swap as a simple bolt-on. Fitment has to be checked before tightening, especially on bikes that need a reducer or a special hanger offset.
What do leak symptoms usually mean?
A sharp ticking near the joint usually points to a clamp leak or a gasket that is not seated. Soot trails at the slip joint often mean the clamp is off-center or unevenly tightened. A rattle that appears only at idle or on bumps often points to a loose hanger or a shield touching the canister.
| Symptom | Likely cause | Fix |
|---|---|---|
| Exhaust leak at the slip joint | Clamp not centered, uneven tightening, or wrong adapter size | Loosen, reseat the joint fully, center the clamp, and retorque evenly to spec |
| Rattling bracket | Hanger forced into place or fastener left loose | Support the can, realign the bracket, and torque the bolt without prying |
| Heat shield contact | Shield or canister clocked too close to bodywork or the shield clips are mispositioned | Rotate the can slightly, reset the shield, and confirm safe clearance all around |
| Misaligned canister | Pipe held by the bracket before the joint was fully seated | Back off the hanger, reseat the slip joint, then tighten in the proper order |
| No-start or popping after install | Lean or rich running, air leak, or fueling change after cat removal or intake change | Inspect for leaks first, then check the bike’s fueling requirements and emissions setup |
Suppose the bike idles cleanly for 20 seconds, then starts popping on decel. If the clamp is dry and the gasket looks seated, the next check is for an air leak at the joint or a fueling change that became more relevant after the install.
Do you need a tune after installing one?
Do you always need a tune?
Usually not for a slip-on-only install on a bike that keeps its catalytic converter, intake, and factory fueling setup. A tune becomes more relevant when the exhaust change is paired with intake changes, cat removal, or symptoms of lean or rich running. Popping, surging, backfiring, or a strong fuel smell deserve a closer check.
When is a tune more relevant?
If the bike has closed-loop fueling limits, an aftermarket air filter, or a de-catted mid-pipe, the ECU may need adjustment more than it did with the stock exhaust. Check the kit instructions and the motorcycle’s service information before assuming no change is needed. If the bike runs poorly after a leak-free install, fueling is the next thing to inspect.
Frequently asked questions
Can you put any slip on exhaust on a motorcycle?
No. The inlet diameter, hanger position, and pipe angle have to match the motorcycle’s make, model, and year. Some bikes need an adapter or reducer, and some cannot use a standard slip-on because the OEM muffler is integrated with a catalyst section or fixed mount.
What tools do I need to install a motorcycle slip-on exhaust?
Use a socket set, ratchet, torque wrench, and the correct hex or Allen bits for the hanger hardware. Add anti-seize only where the manufacturer allows it, plus a new gasket if the old one is damaged or specified as non-reusable.
How tight should motorcycle exhaust clamps be?
Tight enough to fully compress the slip joint evenly, but only to the manufacturer’s torque spec. Do not crush the pipe or overpull the bracket. If the joint still leaks after a proper torque, the clamp may be off-center or the gasket may be wrong.
Do I need a tune after installing a slip-on exhaust?
Often no, if the install keeps the stock intake, catalyst, and fueling setup intact. A tune becomes more relevant if you remove emissions equipment, add an intake change, or notice popping, surging, or other running issues after the exhaust is sealed correctly.
What tools and parts do you need?
- Motorcycle-specific slip-on exhaust
- Factory service manual or maker’s instructions for your exact make, model, and year
- Socket set and ratchet
- Torque wrench
- Hex keys or Allen bits, if the hanger uses them
- Exhaust clamp, band clamp, or hose-clamp style hardware supplied with the kit
- New exhaust gasket, if the kit calls for one or the old gasket is damaged
- Anti-seize compound for fasteners, where the manufacturer allows it
- Shop rags and a non-petroleum cleaner for sealing surfaces
- Small pick or gasket removal tool
- Gloves and eye protection
Use anti-seize only on threads or fastener shanks where the kit or manual allows it. Keep it off the gasket, slip joint, and any sealing surface. Contamination there can create the leak you are trying to avoid.
How do you troubleshoot the problem?
Recheck the clamp. Loosen it, reseat the canister fully, and tighten evenly from side to side. A clamp that bites only one side can seem tight and still leak.
Replace the gasket. Install the exact gasket type the bike calls for, such as copper or graphite, if the old one is crushed, hardened, or missing. Reuse it only if the manufacturer says it is still serviceable.
Confirm fueling changes. If the bike now has intake changes, a removed catalyst, or persistent popping, check the appropriate ECU fueling or tune option before riding long distances.
Prevention: mark the clamp position before the first heat cycle, then recheck clearance and fastener torque after the bike cools. That follow-up catches movement before it becomes a leak or a cracked bracket.