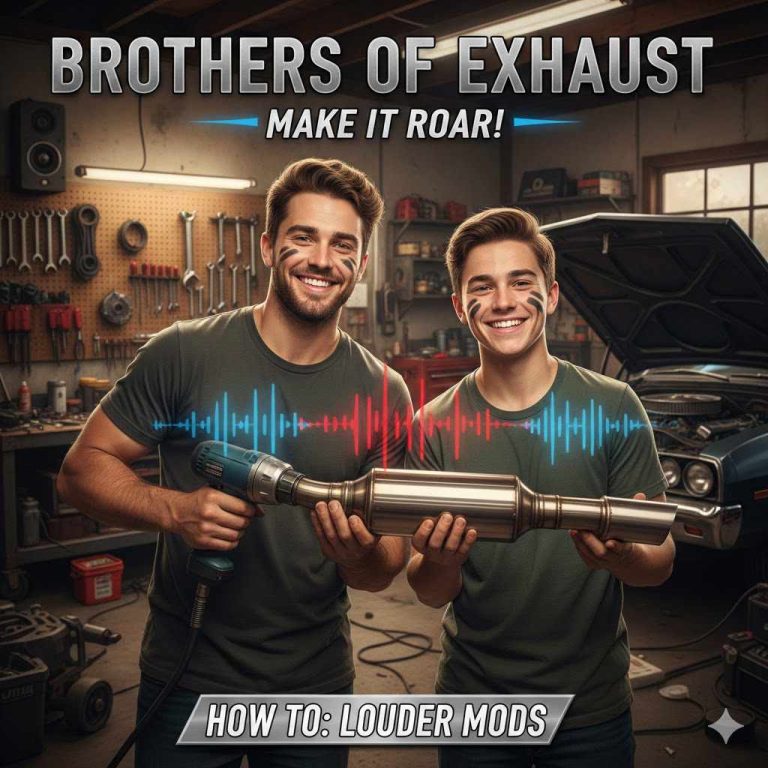
How to Install Vance And Hines Exhaust: Easy Step-by-Step Guide
Are you ready to give your motorcycle a powerful new voice and boost its performance? Installing Vance and Hines exhausts can be the game-changer your ride needs.
But if you’re worried it might be complicated or time-consuming, don’t be. This guide will walk you through every step in a simple, clear way—so you can get your bike roaring like never before without any hassle. Keep reading, and by the end, you’ll have the confidence to upgrade your exhaust like a pro.
Preparing For Installation
Preparing for the installation of your Vance and Hines exhaust is a vital first step. This preparation helps make the process smooth and safe. It saves time and avoids errors. Knowing what to expect ensures a better experience and a proper fit for your bike.
Gathering Tools And Materials
Start by collecting all necessary tools and parts. Common tools include wrenches, screwdrivers, and pliers. You will also need new gaskets and mounting hardware. Check your exhaust kit for any included pieces. Having everything ready avoids interruptions during installation.
Ensuring Safety Precautions
Safety is important before you begin. Work in a well-ventilated area. Use gloves to protect your hands from sharp edges. Make sure your bike is cool to avoid burns. Keep a fire extinguisher nearby. Clear the workspace to prevent tripping or accidents.
Checking Compatibility With Your Bike
Verify that the exhaust fits your specific motorcycle model. Check the year, make, and model against the exhaust kit details. Using the wrong exhaust can damage your bike or reduce performance. Confirm that mounting points match your bike’s frame. This step ensures a secure and proper installation.

Removing The Old Exhaust
Removing the old exhaust is the first important step before installing the Vance and Hines exhaust. This process requires some basic tools and careful handling to avoid damage. It helps to work in a clean, well-lit area. Wear gloves to protect your hands from sharp parts and dirt.
Follow each step carefully for a smooth removal. Taking your time now makes the installation easier later.
Locating Exhaust Components
Start by identifying the exhaust parts on your motorcycle. These include the headers, mid-pipes, mufflers, and clamps. Look under the bike to find where each piece connects. Check the bolts and brackets holding the exhaust system in place. Knowing these points helps you remove the parts safely.
Loosening Bolts And Clamps
Use the right tools like a wrench or socket set to loosen bolts and clamps. Spray some lubricant on rusty bolts to make this easier. Turn bolts counterclockwise to loosen them. Be gentle to avoid stripping the threads. Keep all bolts and clamps in a safe place for later use or disposal.
Detaching The Old Exhaust System
Carefully pull the exhaust parts away from the bike once bolts are loose. Wiggle the pipes if they feel stuck, but avoid using force. Hold the exhaust firmly to prevent dropping or scratching the bike. Remove the system step by step, starting from the muffler and moving toward the headers. Check for any leftover gasket pieces and clean the mounting surfaces before installing the new exhaust.
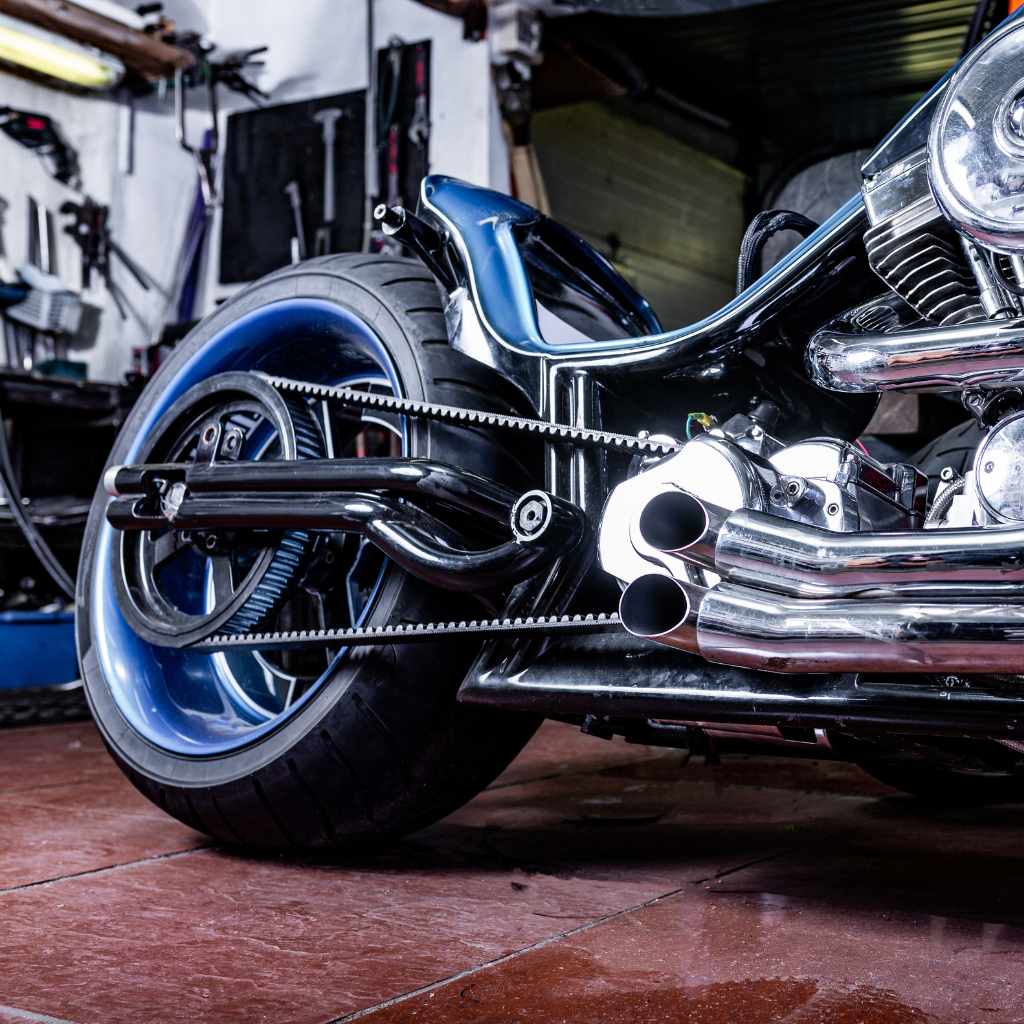
Installing The Vance And Hines Exhaust
Installing the Vance And Hines exhaust is a straightforward process. It improves your bike’s sound and performance. This guide will help you install the exhaust step-by-step. Follow each step carefully for the best fit and function.
Positioning The New Exhaust
First, remove the old exhaust carefully. Place the new Vance And Hines exhaust near the mounting points. Check the alignment with the bike’s frame. Hold it loosely to see how it fits before tightening. Make sure the exhaust pipes do not touch other parts.
Securing Clamps And Bolts
Use the clamps and bolts that come with the exhaust. Attach them loosely at first. This allows small adjustments later. Tighten the bolts gradually, starting from the front. Avoid over-tightening to prevent damage. Check that the exhaust is secure but still adjustable.
Aligning And Adjusting For Fit
Adjust the exhaust so it sits evenly on both sides. Look for even gaps between pipes and frame. Move the exhaust slightly if needed to avoid contact. Make sure the exhaust is stable and does not rattle. Tighten all bolts firmly once aligned correctly.
Final Checks And Testing
After installing your Vance and Hines exhaust, final checks and testing are essential. This step ensures your exhaust works properly and safely. It helps catch any issues early before riding. Follow these simple steps carefully.
Inspecting For Leaks And Tightness
Check all bolts and clamps for tightness. Use a wrench to gently tighten any loose parts. Look for gaps or holes where exhaust gases might escape. Feel around joints for air leaks while the engine is off. Fix any leaks before starting the engine.
Starting The Engine
Turn on the engine and let it idle. Listen closely for unusual sounds or rattling. Watch for smoke or fumes near the exhaust connections. The engine should run smoothly without hesitation. Shut it off if you notice any problems.
Monitoring Performance And Sound
Take a short ride to test the exhaust’s performance. Notice if the bike feels stronger or smoother. Pay attention to the exhaust sound; it should be deeper and clearer. Avoid sounds that are too loud or harsh. Adjust or recheck if the performance or sound seems off.
Maintenance Tips For Longevity
Keeping your Vance and Hines exhaust in good shape is key. Proper care helps it last longer and work well. Follow simple steps to maintain the exhaust. This keeps your ride smooth and safe.
Cleaning The Exhaust
Clean the exhaust regularly to remove dirt and grime. Use a soft cloth and mild soap with water. Avoid harsh chemicals that can damage the finish. Dry the exhaust completely to prevent rust. Cleaning keeps the metal shiny and free from buildup.
Regular Inspections
Check the exhaust often for signs of wear or damage. Look for cracks, rust spots, or loose parts. Tighten bolts and clamps as needed. Early detection stops small problems from growing. Inspections keep your exhaust safe and reliable.
Handling Common Issues
Some common problems include rattling, leaks, or discoloration. Rattling may mean loose bolts or broken hangers. Leaks need immediate attention to avoid engine damage. Discoloration often happens from heat but can be cleaned. Fix issues quickly to avoid costly repairs later.
Frequently Asked Questions
How Do I Prepare My Motorcycle For Vance And Hines Exhaust Installation?
Start by cooling the engine completely. Gather all necessary tools like wrenches and screwdrivers. Remove the old exhaust carefully to avoid damage. Ensure a clean workspace and read the installation manual thoroughly before beginning.
What Tools Are Needed To Install Vance And Hines Exhaust?
You will need a socket wrench set, screwdrivers, and possibly a torque wrench. Some models may require additional tools like Allen keys. Always check the specific installation guide for your exhaust model to ensure you have the right tools.
How Long Does It Take To Install A Vance And Hines Exhaust?
Installation typically takes between 30 minutes and 2 hours. The exact time depends on your motorcycle model and your mechanical experience. Taking your time ensures a proper fit and avoids potential damage.
Can I Install Vance And Hines Exhaust Myself?
Yes, if you have basic mechanical skills and tools. Follow the step-by-step instructions carefully. If unsure, consult a professional to avoid mistakes. Proper installation ensures safety and optimal exhaust performance.
Conclusion
Installing a Vance and Hines exhaust is simple with clear steps. Take your time and follow each instruction carefully. Use the right tools to avoid damage. Double-check all bolts and connections for safety. Enjoy the improved sound and performance of your bike.
Regular maintenance keeps the exhaust working well. This upgrade adds style and power to your ride. Now, you are ready to hit the road with confidence. Keep riding safe and enjoy every mile.