Exhaust Inspection and Testing Guide for Fast Diagnosis
Use a cold-to-hot exhaust inspection and three tests, leak, backpressure, and movement, to separate leaks, restriction, and internal breakup before replacing parts. I stick to that order in the bay because skipping it leads to bad calls: O2 data gets misread, converters get replaced when they were never plugged, and a cracked flex pipe or loose hanger keeps rattling after the job. This guide lays out a repeatable field workflow, the tools to use, and pass-fail checks for leaks, blockage, broken substrate, and noise.
Start with symptom capture and a safe setup


The exhaust system carries burned air-fuel gases from the exhaust ports, through the manifold and pipes, and out behind the vehicle after combustion in the cylinders. That job matters most when the complaint is fumes in the cabin, because exhaust gas can carry carbon monoxide, which is a colorless, odorless poison, if it leaks before the tailpipe, and a forward leak can draw CO into the cabin at idle or low speed. Forward leaks move to the top of the list fast.
Match the complaint before touching parts
Write the complaint in one of six buckets: leak, restriction, rattle, soot, smoke, or bank imbalance. That one step keeps the inspection from turning into a random walk under the car.
A cold tick on startup usually points me toward the manifold, flange, or flex section. Power loss under load with rising heat points toward restriction. A rear metallic buzz after a bump often turns out to be a shield, hanger, or pipe contact issue rather than a failed converter.
Set up for a cold check, hot recheck, and underbody access
Cold checks catch manifold cracks, gasket leaks, and shield noise best. Hot checks catch expansion-related contact, loaded leaks, and restriction clues. The vehicle needs safe underbody access and enough cool-down time to inspect shell condition without burning hands or melting tools.
POPProbe lists the inspection time as 30-45 minutes and says the checklist has 28 total items. I use that as a pacing cue: enough time to be methodical, not enough time to guess.
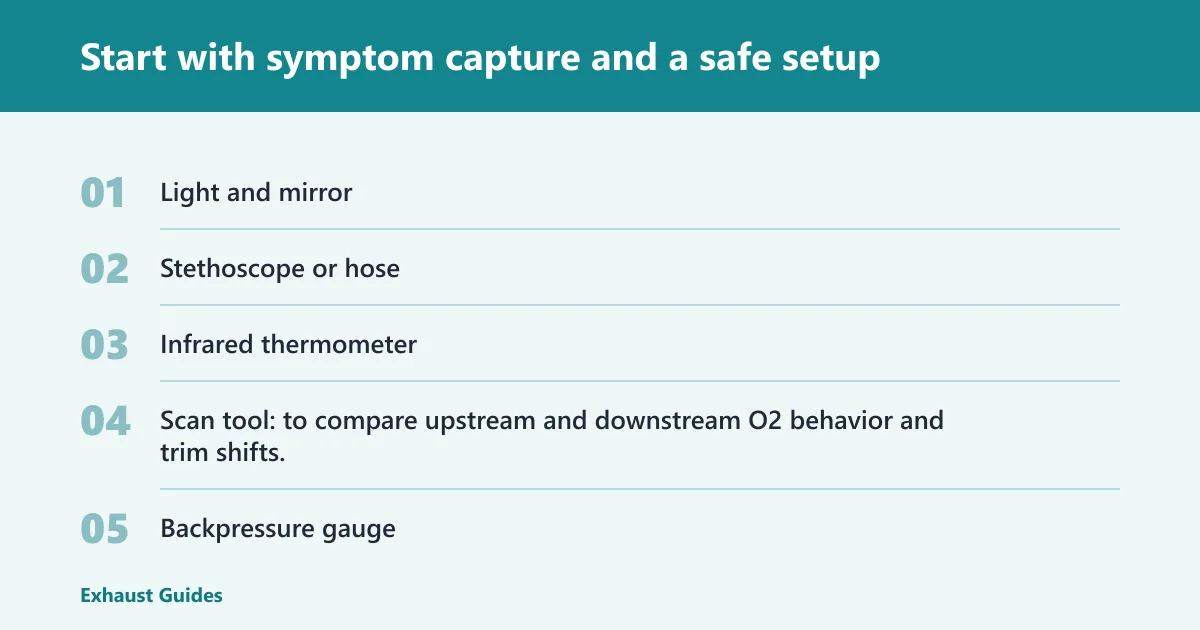
Tools that matter
- Light and mirror: for flange backsides, upper manifold runners, and sensor bungs.
- Stethoscope or hose: to localize ticking and leak pulse without leaning into hot components.
- Infrared thermometer: for repeatable shell and pipe temperature checks, especially bank-to-bank.
- Scan tool: to compare upstream and downstream O2 behavior and trim shifts.
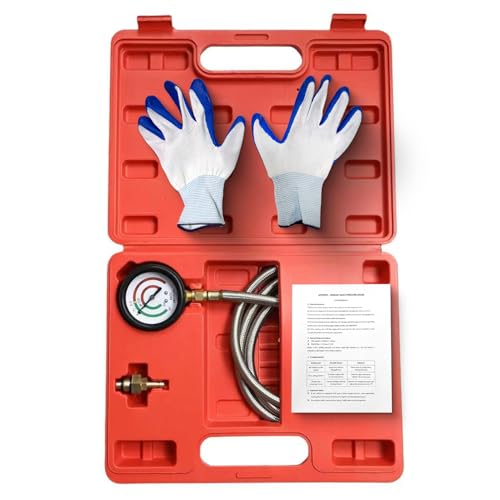
- Backpressure gauge: to verify suspected restriction after visual and temperature clues line up.
📊 POPProbe lists the inspection time as 30-45 minutes. Source: Exhaust System Full Inspection and Repair Checklist.
How do I inspect an exhaust system for leaks?
Start with a cold engine at the manifold and trace the system rearward, checking each flange, weld, flex bellows, slip joint, resonator seam, muffler seam, tailpipe weld, and O2 sensor bung. Use soot, white oxidation, ticking, and a distinct exhaust pulse to confirm the leak path. Recheck hot and under light load, because some leaks stay quiet cold and open only after the pipes grow and the powertrain shifts.
Run the first-pass leak check in the right order
- Inspect the exhaust manifold right after startup.
- Check manifold-to-pipe flanges for soot and missing hardware.
- Inspect the flex pipe braid, inner bellows area, and welds.
- Check slip joints, clamps, resonator seams, muffler seams, and tailpipe welds.
- Inspect O2 sensor bungs and plug points for streaking.
- Watch hangers and nearby body points for movement that opens a joint.
This order matters. Leaks ahead of the cabin, firewall, or front floor are higher-risk than a pinhole behind the rear axle because they can pull fumes into the vehicle at idle or low speed.
Know the visual clues that count
Dry black soot at a flange or gasket face usually points to a gas path under pressure. Black streaking at a slip joint often means clamp load is weak or the pipe is out of round. White oxidation around a small crack or pinhole can show a long-term hot leak. Fresh condensation at a cold tailpipe is normal and should not be called a leak by itself.
Use sound and pulse without creating false positives
A sharp tick on cold start that fades as metal expands fits manifold cracks, broken studs, or a gasket leak. A soft hiss near a joint can come from actual leakage, but fan noise and injector clicking can fool the listener. Use a hose or stethoscope, move slowly, and compare one runner or joint to the next.
Hands should stay clear of moving parts and hot shields. A strip of paper held near, not on, a suspected joint can show exhaust pulse direction. Skip soap-on-hot-exhaust shortcuts, they make a mess and can mislead when boiling moisture looks active.
Confirm the leak path after movement or repair
Exhaust leaks often change after parts are loosened and retightened. After any repair, repeat the cold listen, inspect the exact joint that was moved, and then load the engine lightly in gear or on a controlled throttle hold while watching for fresh streaking or a returning tick.

How do I check if an exhaust manifold gasket is blown?
Check it immediately after a cold start, when manifold and gasket leaks are easiest to hear and see. Look for ticking, soot at the flange, broken studs, warped flange gaps, and localized heating. A manifold leak can also skew O2 readings and fuel trims, which is why code-only diagnosis misses it.
Make the manifold the first inspection point after start
The exhaust manifold is the highest-priority leak check because high heat and tight packaging make leaks there especially hazardous. Light, mirror, and patience matter more than speed. Cracks hide on runner undersides and at collector merge points.
Check for:
- Cracks in runners and collector area
- Warped flange edges or uneven gasket crush
- Broken or missing studs and nuts
- Soot tracks at the gasket line
- Heat-shield rub marks masking the sound of a leak
Use temperature and sound together
A leaking runner often shows a sharper tick and a local hot spot near the escape point once the engine settles. Compare runners on the same bank at repeatable spots. Do not compare a shiny shield on one side to bare cast iron on the other and expect useful numbers.
Know how manifold leaks confuse sensors
An upstream leak can pull fresh air into the stream during pulse scavenging. Pressure-wave scavenging during valve overlap can help explain why a small leak near the head may make an O2 sensor read leaner than the cylinders actually are. Fuel trims rise, catalyst conclusions go sideways, and the real fault stays in place.
What does a rattling exhaust usually indicate?
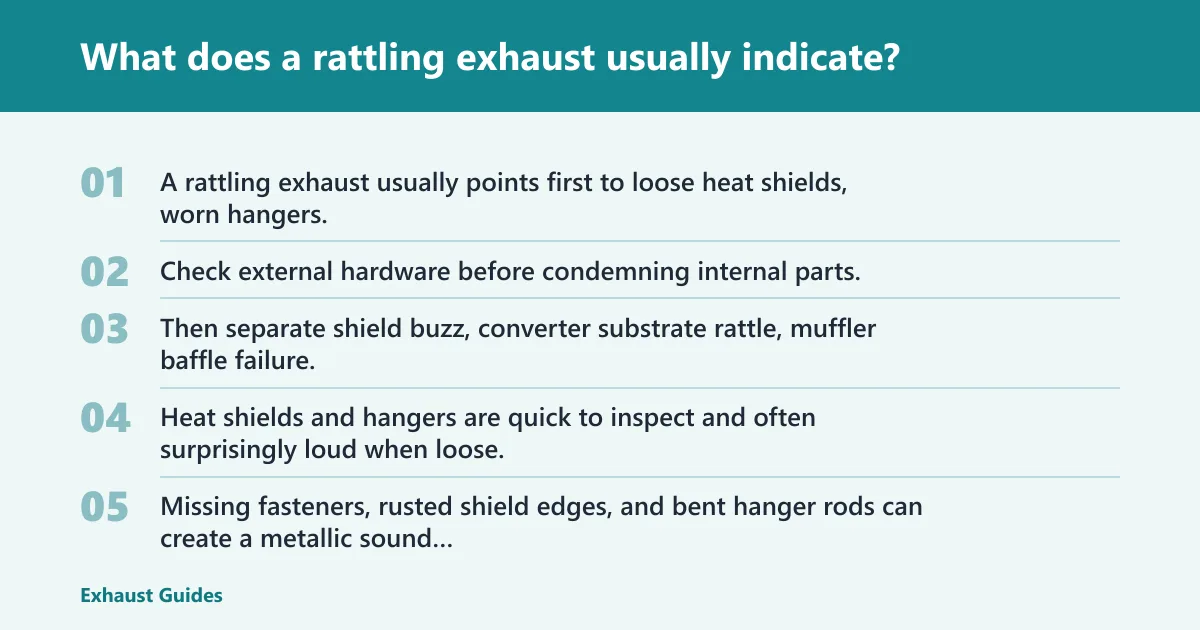
A rattling exhaust usually points first to loose heat shields, worn hangers, or pipe contact marks, not a failed catalytic converter. Check external hardware before condemning internal parts. Then separate shield buzz, converter substrate rattle, muffler baffle failure, and resonator drone with tap, shake, and loaded-idle checks.
Start with shields, hangers, and contact points
Heat shields and hangers are quick to inspect and often surprisingly loud when loose. Missing fasteners, rusted shield edges, and bent hanger rods can create a metallic sound that changes with rpm or body motion. Contact marks on a pipe or muffler shell show where movement is turning a minor fit issue into a noise complaint.
Pay close attention after underbody impacts. A slightly bent pipe can sit quiet at idle and hit the crossmember only when the engine twists under load.
Tell external rattle from internal break-up
A converter substrate rattle usually sounds dry and ceramic when the shell is tapped lightly with a rubber mallet. A muffler with loose baffles tends to thud or buzz from the rear, and the noise often changes with tailpipe angle or a light shake. A resonator can drone at one narrow rpm band without any loose pieces at all.
Avoid miscalling normal expansion noise
Thin shields ping when cooling. That alone is not failure. Call it a fault only when the noise matches the complaint, can be reproduced, and ties to looseness, missing hardware, or witness marks.
How can I tell if my catalytic converter is clogged?
Start with the outside of the converter, then compare O2 behavior, temperature pattern, and backpressure. A clogged converter usually shows load-related power loss, rising heat ahead of the unit, and poor high-rpm breathing. A failed-efficiency converter may set codes without being plugged, so restriction still needs separate proof.
Check shell condition and obvious abuse first
A typical exhaust system may include a catalytic converter to reduce air pollution. Converters hate impacts and heat. Inspect for dents, crushed inlets, discoloration, melted shields, and sulfur smell after hard running. A shell rattle suggests substrate break-up, but it does not prove the brick has shifted enough to restrict flow. (en.wikipedia.org)
POPProbe cites P0420/P0430 as catalytic converter efficiency failures. Treat those codes as a direction, not a verdict.
Read O2 behavior before calling the converter bad
The upstream O2 sensor should react quickly to mixture changes. The downstream sensor is the clue for converter oxygen storage behavior. If upstream and downstream patterns track too closely, converter efficiency may be poor. If a leak ahead of the converter or an upstream sensor fault is present, that same pattern can mimic a catalyst problem.
On dual-exhaust setups, compare bank-to-bank trims, switching activity, and complaint location. One bank hot, one bank lazy, or one tailpipe sooting differently gives better direction than a single code alone.
Verify restriction with a backpressure gauge
A backpressure gauge is used to verify restriction after repair or when clogging is suspected. A common connection point is the upstream O2 sensor port ahead of the suspected converter. If that port is inaccessible, a temporary test port in the pipe may be needed, but that is a fabrication step, not a first move for a DIY owner.
As a practical field check, low pressure at idle that climbs sharply and stays elevated with rpm held steady is actionable for restriction. Readings that stay modest and stable while the engine still lacks power push the diagnosis toward fuel, ignition, or transmission load instead.
Pair pressure with temperature and symptoms
Backpressure on its own can mislead. Use it with shell temperature comparison, vacuum or load symptom notes, and shell condition. A converter can be rattling internally with normal pressure. It can also be heat-damaged from a misfire rather than being the root cause.
What tools do I need to test exhaust backpressure?
You need a backpressure gauge that can connect ahead of the suspected restriction, usually through an upstream O2 sensor port, plus a scan tool and infrared thermometer to keep the result honest. Pressure data works best when it is matched to drivability symptoms, temperature pattern, and converter shell condition.
Where to connect and when to test
Connect ahead of the converter or section being questioned. If the complaint is bank-specific on a V engine, test the affected bank first, then compare the other bank only if the hardware layout matches well enough to make comparison fair.
Use the gauge after the visual inspection and after temperature clues suggest restriction. Do not lead with a pressure test when the complaint is clearly a manifold tick or rear shield buzz.
What reading becomes actionable
There is no single universal number for every platform, pipe size, and test method. In field use, the important clue is trend: pressure that rises too fast with rpm and does not settle back toward a low baseline points to blockage. Pressure that stays low while the engine still falls on its face points elsewhere.
After-repair verification matters
When a clogged converter or collapsed muffler was replaced, repeat the same test point and the same rpm hold. That gives a before-and-after result instead of a guess. If the vehicle uses a direct-fit replacement exhaust system, BRExhaust describes its kits as direct-fit replacement exhaust systems and says its kits include all essential pipe, clamp, gasket, and mounting components. BRExhaust says the systems avoid cutting, welding, or custom fabrication.
How do I test exhaust temperature with an infrared thermometer?
Use fixed points on the same material and surface finish, then compare side to side and inlet to outlet after a repeatable warm-up. An infrared thermometer is useful for bank imbalance and restriction clues, but shiny shells, moving airflow, and random aim can make bad data look convincing.
Choose repeatable test points
Pick small, easy-to-find spots on each bank: manifold outlet area, front converter shell, rear converter shell, and the pipe just before and after the muffler if access allows. Use the same distance and angle every time. If one shell is shiny and the other is dull, place a small consistent target area on both if local shop practice allows and heat is safe to manage.
Use side-to-side and front-to-rear comparison correctly
On dual systems, bank-to-bank comparison is often more useful than chasing one absolute temperature. One bank much cooler upstream can point toward a dead hole or sensor/fuel issue. One bank much hotter ahead of the converter, with power loss, can suggest restriction. Across a single converter, a major front-hot/rear-cool split under the same load is a strong clue the unit is storing heat or flow is impaired.
Use practical context, not a hard promise. Small differences can be normal when pipes route differently or airflow under the floor is uneven.
Avoid false readings
Do not shoot through fan wash, road draft, or off polished heat shields. Hold engine load as constant as safely possible. Compare like to like: shell to shell, pipe to pipe, bank to bank. Random targets produce random stories.
How do I know if an O2 sensor is causing exhaust issues?
Look at the O2 sensors as part of the exhaust workflow, not as isolated electrical parts. A lazy upstream sensor, biased reading, or wiring issue can mimic leaks and catalyst faults, while a real exhaust leak can fool a good sensor. Sensor data has to match sound, soot, temperature, and pressure.
When sensors mimic exhaust faults
An upstream sensor that reacts slowly can make trims drift and set mixture-related complaints that sound like exhaust trouble. A downstream sensor that mirrors upstream activity can suggest catalyst inefficiency, but the same pattern appears with converter leaks, upstream leaks, or a converter that was overheated by another engine fault.
When the exhaust fools the sensors
Leaks ahead of the upstream sensor skew fuel control. Leaks between upstream and downstream sensors can corrupt converter comparisons. A broken substrate may rattle with normal sensor patterns if the damage is mechanical, not chemical. That is why O2 interpretation comes after the cold leak check, not before it.
Use sensor review in after-repair confirmation
After fixing a leak or replacing a converter, review trims and upstream/downstream behavior again. If a P0420/P0430 complaint remains, confirm there is no remaining leak, no fuel-control issue, and no bank-specific imbalance before calling the new part at fault.
Inspect the rest of the system for rust, collapse, and soot clues
Flex pipe checks
The flex pipe often fails from vibration and movement. Look for cracked bellows, separated braid mesh, leakage at the collar welds, and over-extension from worn mounts or excessive engine roll. A flex section can also kink after impact or poor installation, creating a restriction that looks like a catalyst issue from the driver seat.
Muffler / silencer and resonator checks
A typical exhaust system may include a muffler to reduce noise. The muffler or silencer is a rear component commonly exposed to moisture, so rust holes and seam swelling are common. Internal baffle failure changes tone. Collapse changes flow.
The resonator may be present or omitted depending on the vehicle. When damaged, it can create drone, rattle, or a strange deadened sound. To tell if a resonator is bad, check for rust-through at the shell seam, internal loose material on a shake test, and a narrow-band drone that starts after impact or corrosion rather than after engine work.
Tailpipe soot, smoke, and tip clues
Tailpipe soot by itself is not converter proof. Dry black soot can come from rich running, short-trip use, or an exhaust leak path that stains one side of the tip. Wet oily residue leans toward oil burning. White vapor on a cold morning may be harmless condensation, while persistent sweet steam points outside the exhaust system toward engine cooling issues.
On dual exhaust, uneven tip color matters. One dark tip and one cleaner tip can suggest bank imbalance, injector drift, a sensor issue, or a leak changing oxygen content on one side.
Rust risk zones that fail first
Seams, hanger mounts, flange lips, and low spots collect moisture and road debris. Tap suspect areas lightly. A dull crunch, flaking seam, or sudden punch-through means the metal is already thin. Hanger attachment corrosion matters because a sound shell can still fail in service when the hanger tears away and the system drops.
Use the exhaust diagnosis matrix to choose the next test
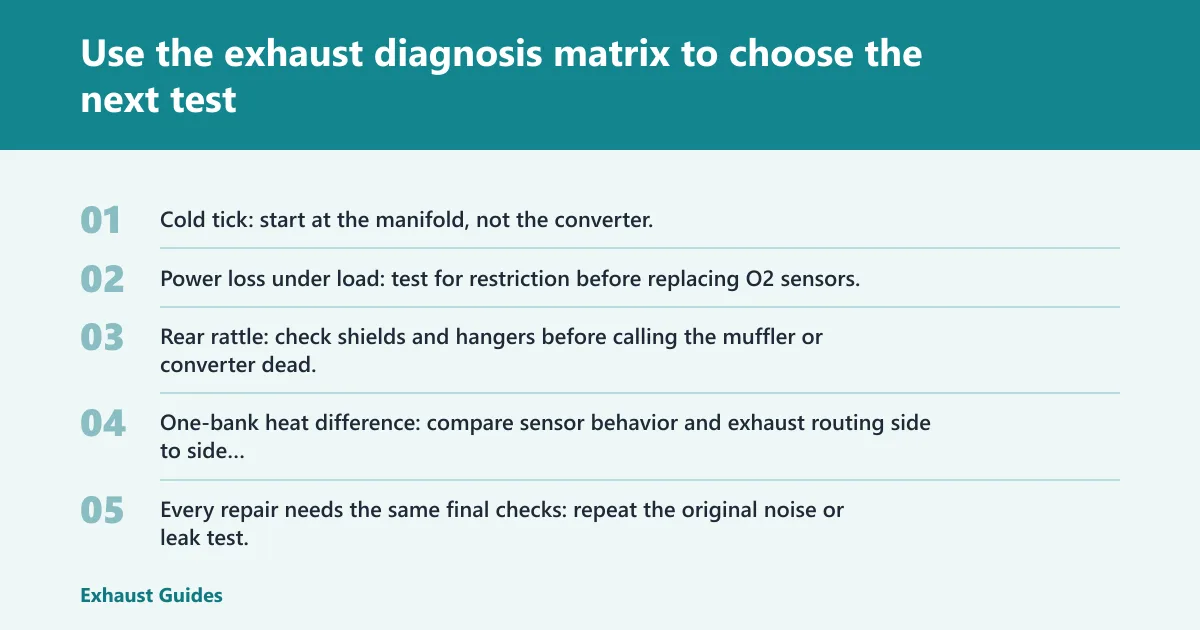
One-page exhaust diagnosis matrix
| Symptom | Likely fault | First test | Pass/fail clue | Next step |
|---|---|---|---|---|
| Cold tick near engine bay | Manifold crack, blown gasket, broken stud | Cold start listen and mirror check at manifold | Fail: soot at flange, sharp tick, visible crack; Pass: no localized leak evidence | Compare runner temperatures and review upstream O2 trim effect |
| Hiss or puff at joint | Flange leak, slip-joint leak, sensor bung leak | Visual check for soot or white residue, pulse check | Fail: black streaking or pulse at joint; Pass: dry clean joint with no pulse | Retorque or reseal, then recheck hot under light load |
| Power loss under load | Clogged converter, collapsed muffler, kinked flex pipe | IR temperature comparison ahead of and across suspect section | Fail: front section stores heat and flow feels choked; Pass: temperatures track normally | Confirm with backpressure gauge ahead of suspect restriction |
| Metallic rattle under floor | Loose heat shield, broken hanger, converter substrate rattle | Tap and shake external components first | Fail: shield buzzes or hanger contact marks present; Pass: externals secure | Tap converter and muffler shells for internal loose material |
| Rear deep buzz or tone change | Muffler baffle failure, resonator damage | Shake rear section and inspect seams | Fail: internal thud, rust seam swelling, drone started with corrosion | Check for collapse and compare tailpipe flow side to side if dual |
| Soot around tip | Rich running, oil use, short-trip staining, bank imbalance | Compare both tips and scan fuel trims/O2 behavior | Fail: one-bank soot bias or wet oily residue; Pass: light even dry film only | Check injectors, compression concerns, and leaks ahead of sensors |
| Smoke or persistent vapor | Oil burning, coolant issue, severe overfueling | Observe color and duration after full warm-up | Fail: persistent oily or sweet vapor; Pass: brief condensation only | Separate engine fault from exhaust damage before replacing exhaust parts |
| P0420/P0430 complaint | Converter efficiency loss, O2 issue, exhaust leak, fuel-control fault | Check for leaks, then compare upstream/downstream O2 patterns | Fail: sensors mimic efficiency loss with leak or trim issue present; Pass: no leak, patterns still poor | Use temperature and backpressure clues before converter replacement |
| One bank hotter than the other | Bank imbalance, restricted bank, fueling or sensor issue | IR thermometer at matched bank points | Fail: repeatable side-to-side heat split at same load; Pass: minor variation only | Compare trims, O2 switching, and bank-specific restriction clues |
Apply the matrix to common cases
Cold tick: start at the manifold, not the converter. Power loss under load: test for restriction before replacing O2 sensors. Rear rattle: check shields and hangers before calling the muffler or converter dead. One-bank heat difference: compare sensor behavior and exhaust routing side to side before drawing a conclusion.
After-repair confirmation
Every repair needs the same final checks: repeat the original noise or leak test, inspect the moved joints for fresh streaking, review O2 patterns when codes were part of the complaint, and re-run temperature or backpressure checks when restriction was suspected. That step closes the loop.
If a replacement system or section was installed, confirm hanger preload is neutral, pipe-to-body clearance is consistent, and there is no flex pipe over-extension at idle snap or gear engagement. Good parts can still make bad noise when alignment is off.
Frequently asked questions
How do I inspect an exhaust system for leaks?
Inspect it cold from the manifold to the tailpipe, looking for soot, white oxidation, cracked welds, and loose joints. Listen for ticking at startup, then recheck hot for leaks that open with expansion or movement. Focus first on manifold flanges, flex sections, sensor bungs, and slip joints.
How can I tell if my catalytic converter is clogged?
A clogged converter usually shows power loss under load, rising heat ahead of the converter, and poor high-rpm breathing. Confirm with a backpressure gauge through the upstream O2 port if possible, and compare that result with shell temperature and O2 behavior before replacing the converter.
How do I check if an exhaust manifold gasket is blown?
Check right after a cold start, when the leak is loudest. Look for a sharp tick, soot at the gasket line, broken studs, and flange gaps. Compare runner temperatures at matched points, and remember that a manifold leak can skew upstream O2 readings and fuel trims.
What does exhaust soot around the tip mean?
Tip soot can mean rich running, oil use, short-trip staining, or bank imbalance. By itself, it does not prove a bad catalytic converter. Compare both tips, check whether the deposit is dry or oily, and read fuel trims and O2 data before tying soot to one exhaust part.
How can I tell if a resonator is bad?
A bad resonator may rattle, rust through at the seam, or create a narrow-band drone at certain rpm. Shake and tap the shell, inspect for rust swelling and perforation, and compare the sound change with nearby shields and hangers so normal resonance is not mistaken for internal failure.
How do I know if an O2 sensor is causing exhaust issues?
Review O2 behavior only after checking for leaks, because exhaust leaks can fool a good sensor. A lazy or biased upstream sensor can imitate mixture problems, and downstream behavior can imitate catalyst failure. The sensor story has to match trims, temperatures, noise, and physical inspection findings.