How to Change Performance Exhaust BMW Z4: Ultimate DIY Guide
If you want to unlock the full potential of your BMW Z4, changing the performance exhaust is one of the best upgrades you can make. Imagine your car sounding more aggressive, breathing better, and even gaining a little extra power—all with a simple swap.
But how do you make sure you do it right? In this guide, you’ll discover step-by-step how to change your BMW Z4’s exhaust system easily and safely. Whether you’re a beginner or have some experience, by the end, you’ll feel confident to upgrade your ride and enjoy that thrilling new sound every time you hit the road.
Keep reading to transform your driving experience now!
Tools And Materials Needed
Changing the performance exhaust on a BMW Z4 requires some specific tools and materials. Having the right items makes the job easier and safer. Preparing ahead saves time and avoids frustration.
Below are the key tools and materials you need to start the upgrade. Each plays an important role in the installation process.
Essential Tools
Gather a socket wrench set with various sizes. This helps remove old bolts and tighten new ones. Use a jack and jack stands to lift and secure the car safely. A torque wrench is important to apply the correct tightness to bolts. You will also need screwdrivers and pliers for clamps and clips. Lastly, WD-40 or a similar lubricant helps loosen rusted parts.
Choosing The Right Exhaust
Select a performance exhaust designed specifically for the BMW Z4 model. Check for stainless steel material for durability and corrosion resistance. Decide on the exhaust style: cat-back, axle-back, or full system. Consider sound level and power gain to fit your driving needs. Verify that the exhaust fits your car’s year and engine type.
Safety Gear
Wear safety glasses to protect your eyes from debris. Use gloves to avoid cuts and burns from hot parts. Work in a well-ventilated area to reduce inhaling fumes. Ensure the car is stable on jack stands before working underneath. Keep a fire extinguisher nearby for emergencies.

Preparing Your Bmw Z4
Preparing your BMW Z4 for a performance exhaust upgrade sets the foundation for a smooth install. Start by creating a safe workspace. Clear the area around your car and gather all necessary tools. A well-prepared environment helps avoid delays and mistakes.
Next, focus on making your car easy to work on. Proper parking and lifting are key steps. These make accessing the exhaust system safer and more comfortable. Careful preparation protects both you and your vehicle during the process.
Parking And Lifting The Car
Park your BMW Z4 on a flat, stable surface. This prevents any movement while working. Engage the parking brake and switch off the engine. Use wheel chocks on the opposite wheels for extra security.
Lift the car using a reliable jack. Place the jack under the designated lift points of your Z4. Use jack stands to support the car securely. Never rely on the jack alone to hold the vehicle.
Removing The Old Exhaust
Locate the bolts and clamps holding the old exhaust. Spray them with penetrating oil to loosen rust or dirt. Use the correct size wrench or socket to remove these fasteners.
Carefully detach the exhaust from the hangers. Support the exhaust as you remove the last bolts. This prevents damage to the car or exhaust parts.
Inspecting Components
Check the exhaust hangers for wear or damage. Replace any cracked or broken parts. Look over the exhaust pipes for holes or rust spots.
Inspect the gaskets and seals. Worn gaskets can cause leaks. Replace any damaged components before installing the new exhaust.
Installing The Performance Exhaust
Installing the performance exhaust on your BMW Z4 is an important step for better sound and power. This process needs care and patience. Follow each step to make sure the exhaust fits well and works properly.
Aligning The New Exhaust
Start by placing the new exhaust under your BMW Z4. Check the pipes and mufflers for proper position. Make small adjustments to match the car’s original exhaust path. Use a jack or stand to hold the exhaust in place. Correct alignment prevents leaks and noise problems later.
Securing Clamps And Bolts
After alignment, tighten the clamps and bolts. Use the right tools to avoid stripping them. Secure each clamp firmly but do not overtighten. This keeps the exhaust stable without damaging parts. Double-check every bolt to ensure nothing is loose.
Checking For Proper Fit
Look under the car to see if the exhaust sits correctly. Ensure there is enough space between the exhaust and other parts. Check for any signs of rubbing or contact. Start the engine and listen for unusual noises. A proper fit means a smooth, quiet ride without leaks.
Tuning And Testing
Tuning and testing are important steps after installing a performance exhaust on your BMW Z4. They ensure the new exhaust works well with the engine. Proper tuning improves power, sound, and fuel efficiency. Testing helps spot issues early. Follow these steps carefully for the best results.
Starting The Engine
Turn on your BMW Z4 after installing the exhaust. Let the engine run for a few minutes. Listen carefully to the engine sound. It should be smooth and steady. Watch for any unusual noises or vibrations. This step helps the engine adjust to the new exhaust system.
Listening For Leaks
Check all connections and joints for leaks. Listen for hissing or popping sounds. These noises often mean exhaust gases are escaping. Use a flashlight to inspect hard-to-see areas. Tighten clamps or bolts if you find leaks. A sealed exhaust system improves performance and safety.
Adjusting For Optimal Performance
Fine-tune the engine settings after checking for leaks. Adjust the fuel mixture and ignition timing if needed. Use a tuning device or visit a professional tuner. This step maximizes power and fuel efficiency. Test drive the car and feel for smooth acceleration. Repeat adjustments until performance feels right.
Maintenance Tips
Maintaining your BMW Z4’s performance exhaust is key to keeping it running smooth and loud. Regular care prevents damage and keeps the sound sharp. Follow these simple tips to make your exhaust last longer and work better.
Regular Inspections
Check the exhaust system often for rust, cracks, or loose parts. Look under the car and around the pipes. Early spotting of problems helps avoid costly repairs later. Use a flashlight for better visibility in dark areas.
Cleaning The Exhaust
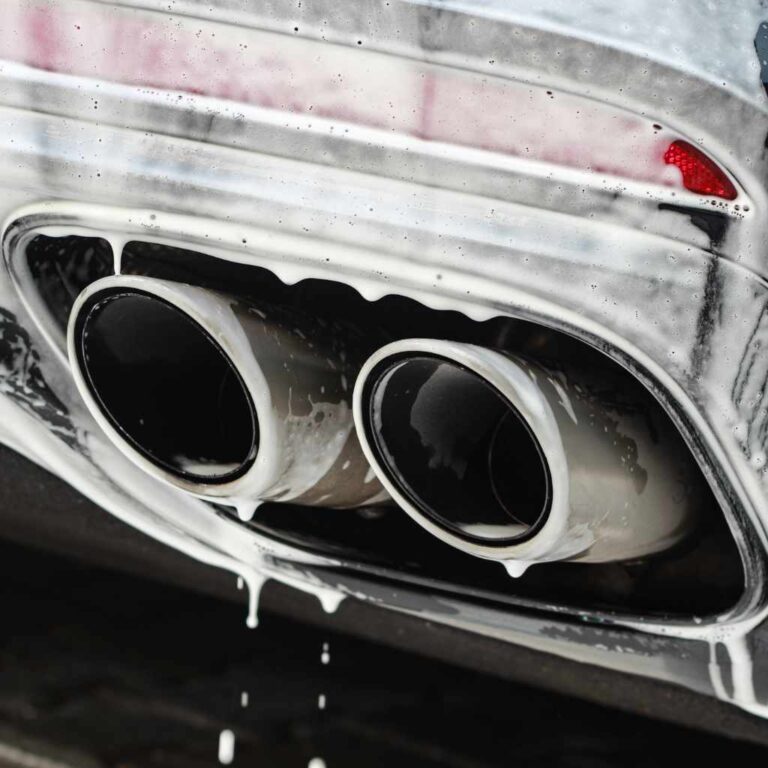
Clean the exhaust pipes to remove dirt and grime. Use a soft brush and mild soap with water. Avoid harsh chemicals that can damage the metal. Dry the pipes well to stop rust from forming.
Troubleshooting Common Issues
Listen for strange noises like rattling or loud bangs. These could mean loose parts or leaks. Watch for black smoke or bad smells coming from the exhaust. These signs show the system needs repair. Fix small issues before they grow bigger.
Frequently Asked Questions
How Do I Change The Performance Exhaust On A Bmw Z4?
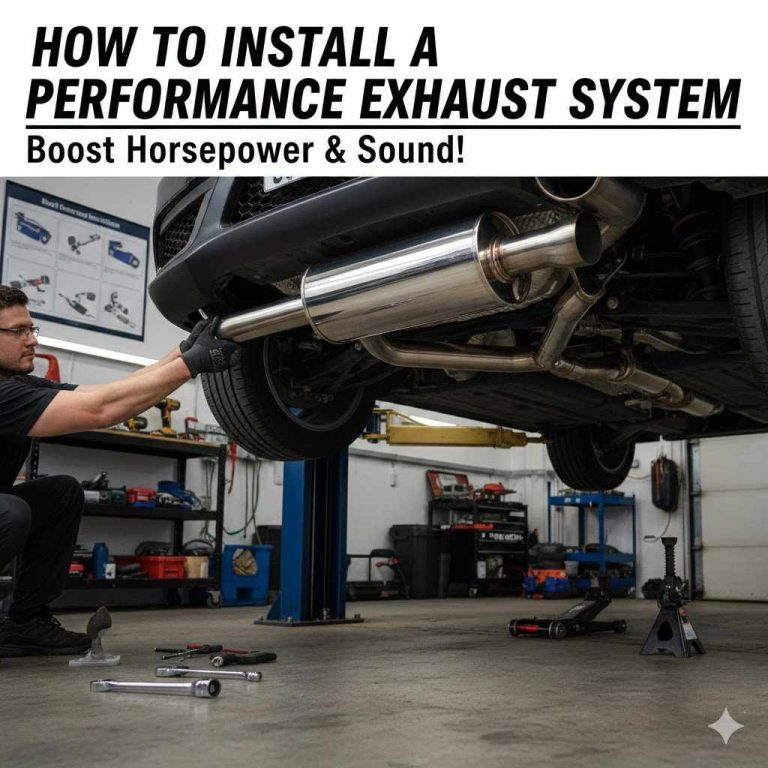
To change the performance exhaust on a BMW Z4, first lift the car safely. Remove the old exhaust by loosening clamps and bolts. Fit the new exhaust carefully, ensuring proper alignment. Tighten all connections and check for leaks before lowering the car.
What Tools Are Needed To Replace A Bmw Z4 Exhaust?
You need a jack and jack stands, socket wrenches, ratchets, and penetrating oil. A rubber mallet and exhaust hanger pliers also help in removing old parts easily.
Can I Install A Performance Exhaust On My Bmw Z4 Myself?
Yes, if you have basic mechanical skills and tools, you can install it yourself. Follow the instructions carefully, work safely, and ensure all fittings are secure to avoid leaks or damage.
How Much Does It Cost To Replace A Bmw Z4 Performance Exhaust?
Costs vary from $500 to $1500 depending on the exhaust brand and labor charges. Doing it yourself can save labor costs but expect to pay for quality parts.
Conclusion
Changing the performance exhaust on your BMW Z4 can improve sound and power. It takes some tools and patience to do it right. Follow each step carefully to avoid mistakes. Enjoy the deeper sound and better performance after installation. This upgrade can make your driving more exciting and fun.
Remember to check local laws about exhaust changes. Keep your car safe and legal while enjoying the new setup. Now, you are ready to enjoy your BMW Z4’s enhanced exhaust system.
Related pick: Check today's price on Amazon