Does a Dodge 5.2 Have 2 Upstream Oxygen Sensors? Solved
Yes, a Dodge 5.2L Magnum engine from 1996 or newer typically has two upstream oxygen sensors, one for each exhaust manifold (Bank 1 and Bank 2). Models made before 1996 (OBD-I) usually have only one upstream sensor. The key is to check your vehicle’s model year to determine the correct number.
Hello there! I’m Monowar Shohag, and I’m here to help you make sense of your vehicle’s exhaust system. If you’re working on a classic Dodge with the legendary 5.2L Magnum V8, you might be scratching your head about the oxygen sensors. It’s a common point of confusion, and you’ve come to the right place for a clear answer. Trying to find parts or diagnose a check engine light can be frustrating when you’re not sure how many sensors you’re supposed to have.
Don’t worry, we’re going to clear this up together. Whether you drive a Ram, Dakota, or Durango, the answer is usually straightforward once you know what to look for. In this guide, I’ll walk you through exactly how to identify your sensor setup, explain why it matters, and even show you how to tackle a replacement. Let’s get your Dodge running smoothly again.
Understanding Your Dodge 5.2L Magnum Engine
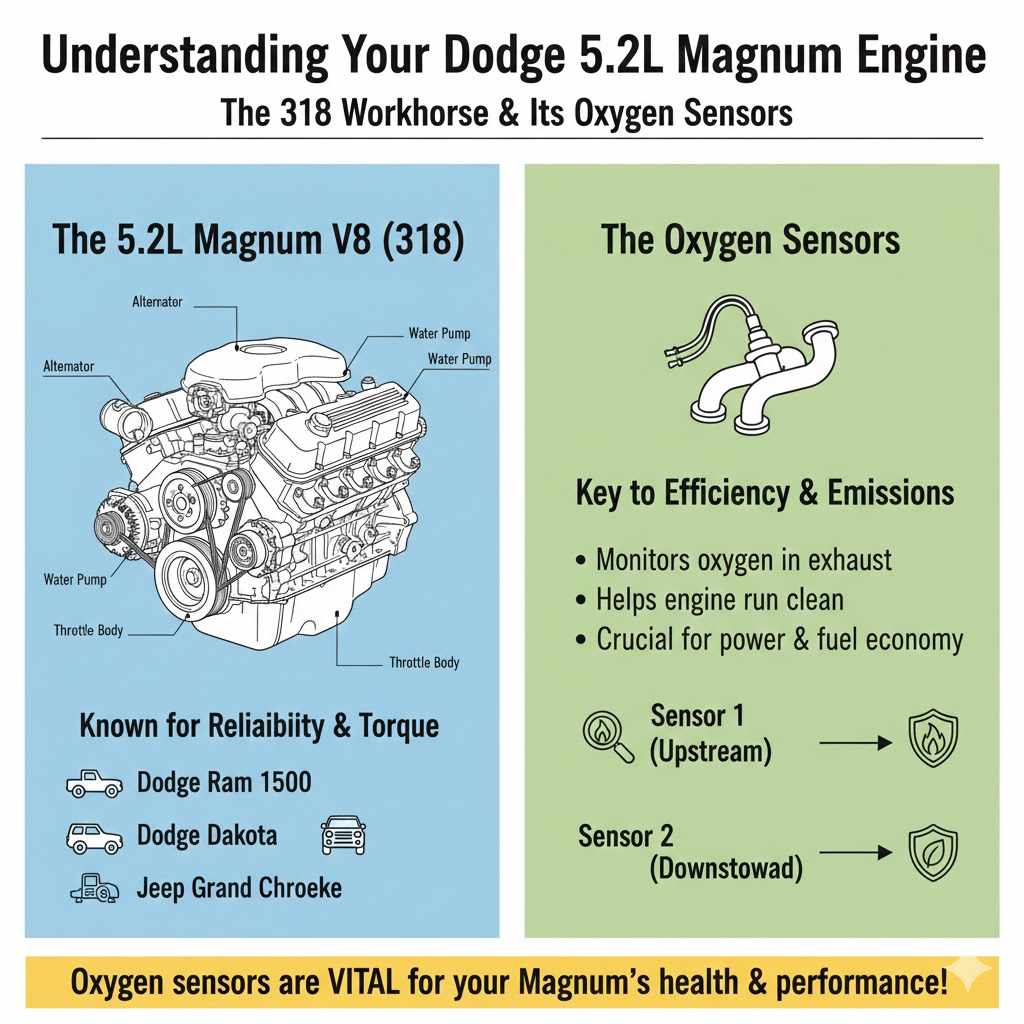
Before we dive into the sensors, let’s appreciate the engine we’re working with. The 5.2L V8, also known as the 318 Magnum, is a workhorse. Found in countless Dodge trucks and SUVs from the 1990s and early 2000s, it’s known for its reliability and torque. This engine powered legends like:
- Dodge Ram 1500
- Dodge Dakota
- Dodge Durango
- Jeep Grand Cherokee
A key part of keeping this engine efficient and powerful is its emissions system, and at the heart of that system are the oxygen sensors.
What is an Upstream Oxygen Sensor Anyway?
Think of an upstream oxygen sensor as a sniffer for your engine. It sits in the exhaust manifold, right after the exhaust leaves the engine but before the catalytic converter. Its only job is to measure how much unburned oxygen is in the exhaust gas.
It then sends this information to your vehicle’s main computer, the Engine Control Unit (ECU). The ECU uses this data to make real-time adjustments to the air-to-fuel ratio. If there’s too much oxygen, the computer adds more fuel. If there’s not enough, it cuts back. This constant balancing act is crucial for:
- Peak Performance: A perfect air-fuel mixture means your engine makes power efficiently.
- Good Fuel Economy: The engine only uses the fuel it absolutely needs, saving you money at the pump.
- Low Emissions: A complete burn of fuel reduces harmful pollutants coming out of your tailpipe.
Upstream vs. Downstream Sensors: A Simple Difference
You’ll often hear about “upstream” and “downstream” sensors. The names tell you exactly where they are located relative to the catalytic converter.
- Upstream (Sensor 1): Located before the catalytic converter. This is the primary sensor that controls the air-fuel mixture.
- Downstream (Sensor 2): Located after the catalytic converter. Its job is to monitor the converter’s efficiency by comparing its readings to the upstream sensor.
Today, we are focusing on the critical upstream sensors.
The Big Question: One Upstream Sensor or Two?
Here is the simple answer: It depends entirely on the year of your vehicle. The major dividing line is the year 1996. This was when the automotive industry switched from the older OBD-I (On-Board Diagnostics I) system to the modern OBD-II system that is still used today.
Vehicles Before 1996 (OBD-I)
If your Dodge 5.2L was made in 1995 or earlier, it most likely has an OBD-I system. These earlier, simpler systems typically used just one upstream oxygen sensor. On the V8 engine, the two exhaust manifolds feed into a single pipe (often called a Y-pipe). The single O2 sensor was usually placed in this pipe right after the two sides merged, giving the computer an “average” reading from all eight cylinders.
Vehicles 1996 and Newer (OBD-II)
If your Dodge 5.2L is from 1996 or newer, it has an OBD-II system. According to U.S. Environmental Protection Agency (EPA) regulations, OBD-II systems required much more detailed monitoring of the engine and emissions. For a V8 engine, this meant monitoring each bank of cylinders separately.
Your 5.2L V8 has two “banks”:
- Bank 1: The side of the engine with cylinder #1 (on a Dodge 5.2, this is the driver’s side).
- Bank 2: The opposite side of the engine (the passenger’s side).
OBD-II vehicles have two upstream oxygen sensors—one for Bank 1 and one for Bank 2. This allows the ECU to adjust the air-fuel mixture for each side of the engine independently, leading to better efficiency and more precise emissions control.
Quick Reference Table: O2 Sensor Count by Year
Here’s a simple table to help you figure out your setup.
| Model Year | Diagnostic System | Typical Number of Upstream O2 Sensors | Common Location |
|---|---|---|---|
| 1995 & Earlier | OBD-I | One | In the Y-pipe after the manifolds merge |
| 1996 & Later | OBD-II | Two | One in each exhaust manifold (Bank 1 & Bank 2) |
How to Be 100% Sure About Your Vehicle
While the year is an excellent guide, the best way to know for sure is to look at your own vehicle. It only takes a few minutes and requires no special tools. Here’s how you can confirm your setup with confidence.
Check the Vehicle Emissions Control Information (VECI) Sticker
Pop your hood and look for a sticker, usually on the underside of the hood, the radiator support, or a fender. This VECI sticker contains a wealth of information about your vehicle’s emissions system. It often includes a diagram showing the location and number of oxygen sensors, labeled as “O2S” or “HO2S” (Heated Oxygen Sensor).
Perform a Visual Inspection
This is the most direct method. You’ll need to safely look at your exhaust manifolds. The exhaust manifolds are the large, heavy iron pipes that bolt directly to the sides of your engine.
- Safety First: Make sure your engine is completely cool. The exhaust system gets extremely hot.
- Look at the Driver’s Side (Bank 1): Follow the exhaust manifold down from the engine. Look for a small, spark-plug-like sensor screwed into the pipe with a wire coming out of it. If you see one, that’s your Bank 1 upstream sensor.
- Look at the Passenger’s Side (Bank 2): Do the same thing on the passenger side. If you have an OBD-II vehicle, you should find a matching sensor in the same relative position on this side.
- Check the Y-Pipe (For Pre-1996 Models): If you don’t see sensors on the manifolds, follow both pipes down to where they merge into one. Look for a single sensor located at or just after this junction.
Why Does the Number of Sensors Matter?
Knowing whether you have one or two upstream sensors is vital for a few key reasons. Getting it wrong can cost you time, money, and a lot of frustration.
- Ordering the Right Parts: You need to know how many sensors to buy. Ordering two when you only need one is a waste of money. Ordering one when you need two means you can’t finish the job.
- Diagnosing Check Engine Lights: An OBD-II scanner will give you codes like “P0135 – O2 Heater Circuit (Bank 1 Sensor 1)” or “P0155 – O2 Heater Circuit (Bank 2 Sensor 1)”. If you don’t know which sensor is Bank 1 and which is Bank 2, you might replace the wrong one.
- Passing Emissions Tests: A faulty upstream O2 sensor will almost guarantee a failed emissions test. The system relies on these sensors to manage pollutants, and if they aren’t working, your vehicle won’t meet the standards.
Common Symptoms of a Failing Upstream O2 Sensor
Oxygen sensors don’t last forever. They live in a harsh environment of extreme heat and contaminants. When one starts to fail, your vehicle will usually give you some clear warning signs.
- Check Engine Light: This is the most common symptom. A code scanner will point directly to a faulty O2 sensor or its circuit.
- Terrible Fuel Economy: If the sensor fails, the ECU often defaults to a “rich” fuel mixture (too much fuel) to be safe. This can cause your gas mileage to plummet.
- Rough Idle or Misfires: An incorrect air-fuel mixture can cause the engine to run poorly, especially at idle.
- Sluggish Performance: Your truck or SUV might feel lazy or slow to accelerate.
- Black Smoke or Rotten Egg Smell: A very rich condition can lead to black smoke (unburned fuel) from the tailpipe. A failing catalytic converter, often caused by a bad O2 sensor, can produce a sulfur or “rotten egg” smell.
Common O2 Sensor Trouble Codes (Dodge 5.2L)
If you have a check engine light, using a simple OBD-II scanner can give you a specific code. Here are a few you might see related to upstream O2 sensors.
| DTC (Diagnostic Trouble Code) | Common Meaning | What It Suggests |
|---|---|---|
| P0131 | O2 Sensor Circuit Low Voltage (Bank 1 Sensor 1) | The driver’s side upstream sensor is sending a low signal, possibly due to a sensor failure or wiring issue. |
| P0135 | O2 Sensor Heater Circuit (Bank 1 Sensor 1) | The internal heater in the driver’s side upstream sensor has failed. This is a very common failure. |
| P0151 | O2 Sensor Circuit Low Voltage (Bank 2 Sensor 1) | The passenger’s side upstream sensor is sending a low signal. |
| P0155 | O2 Sensor Heater Circuit (Bank 2 Sensor 1) | The internal heater in the passenger’s side upstream sensor has failed. |
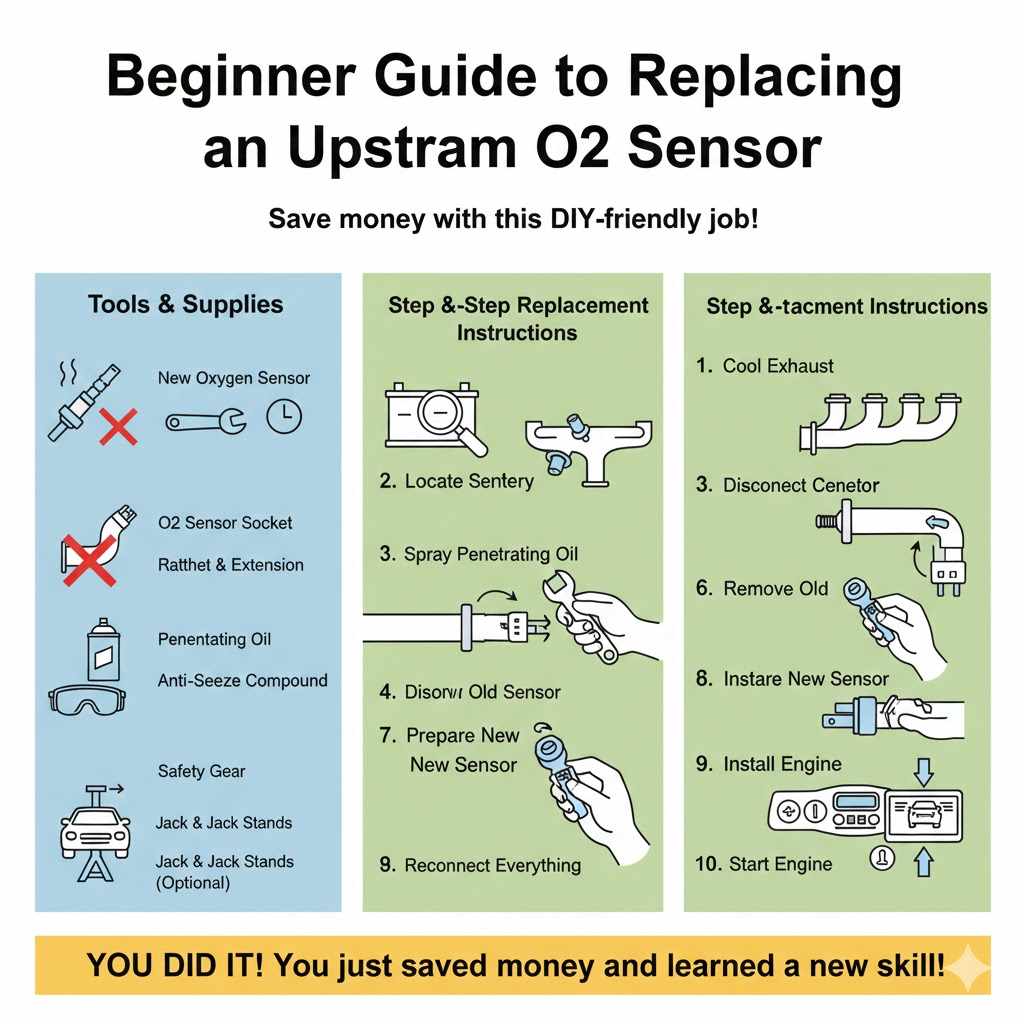
A Beginner’s Guide to Replacing an Upstream O2 Sensor
Feeling brave? Replacing an O2 sensor is a fantastic DIY job for a beginner. With the right tools and a little patience, you can save a lot of money on labor costs. Let’s walk through it.
Tools and Supplies You’ll Need
- New Oxygen Sensor(s) – Make sure you get the correct one for your year and bank!
- Oxygen Sensor Socket – This is a special socket with a slit on the side for the wire to pass through. It’s essential.
- Ratchet and possibly an extension
- Penetrating Oil (like PB B’laster or WD-40 Specialist)
- Anti-Seize Compound (often included with the new sensor)
- Safety Glasses and Gloves
- Jack and Jack Stands (if you need more room to work)
Step-by-Step Replacement Instructions
Here’s how to get the job done safely.
- Let the Exhaust Cool Completely: This is the most important safety step. The exhaust can cause severe burns. Wait at least a few hours after driving.
- Disconnect the Battery: Disconnect the negative terminal of your battery to prevent any electrical shorts and to help reset the ECU after the new sensor is installed.
- Locate the Old Sensor: Find the upstream sensor you need to replace (Bank 1 on the driver’s side, Bank 2 on the passenger’s side).
- Spray with Penetrating Oil: O2 sensors are notorious for getting seized in the exhaust pipe. Spray a generous amount of penetrating oil where the sensor threads into the pipe. Let it soak for at least 15-20 minutes. You can even do this the night before.
- Disconnect the Electrical Connector: Follow the wire from the sensor up to its electrical connector. There’s usually a small plastic tab you need to press to release it. Be gentle; old plastic can be brittle.
- Remove the Old Sensor: Place the O2 sensor socket over the sensor, making sure the wire is in the slot. Attach your ratchet and turn counter-clockwise. It may take a good amount of force to break it loose. Be steady and firm.
- Prepare the New Sensor: Your new sensor should have anti-seize compound either pre-applied to the threads or in a small packet. If not, apply a small amount to the threads, being very careful not to get any on the sensor tip itself. This will make it much easier to remove in the future.
- Install the New Sensor: Carefully thread the new sensor in by hand to avoid cross-threading. Once it’s finger-tight, use the socket and ratchet to snug it down. Don’t over-tighten it; check the new sensor’s box for a specific torque value if you have a torque wrench. A good snug turn is usually sufficient.
- Reconnect Everything: Plug the new sensor’s electrical connector back in. You should hear a click. Reconnect the negative battery terminal.
- Start the Engine: Start the vehicle. The check engine light may still be on. It might turn off on its own after a few drive cycles, or you can use an OBD-II scanner to clear the codes.
Congratulations! You just replaced your own oxygen sensor and saved a nice chunk of change.
Frequently Asked Questions (FAQ)
1. What’s the difference between an upstream and a downstream O2 sensor?
The upstream sensor is located before the catalytic converter and is used by the engine computer to adjust the air-fuel mixture. The downstream sensor is after the catalytic converter and its main job is to monitor the converter’s health and efficiency.
2. Can I drive with a bad upstream O2 sensor?
You can, but it’s not recommended for long. A bad sensor will cause poor fuel economy, increased emissions, and can potentially lead to more expensive damage to your catalytic converter over time. It’s best to replace it as soon as possible.
3. How often should I replace my O2 sensors?
There’s no strict replacement interval, but they are a wear-and-tear item. Many manufacturers suggest checking or replacing them somewhere between 60,000 and 100,000 miles. If your truck has high mileage and they’ve never been changed, it’s good preventative maintenance.
4. What do “Bank 1” and “Bank 2” mean on my Dodge 5.2?
On a V8 engine like the 5.2L Magnum, “Bank 1” is the side of the engine that contains cylinder #1. For your Dodge, this is the driver’s side. “Bank 2” is the opposite bank, which is the passenger’s side.
5. Do I really need a special O2 sensor socket?
Yes, it’s highly recommended. The slot on the side of the socket allows it to fit over the sensor with the wire attached. While you might be able to use a standard deep socket in some cases (if you cut the wire), or a wrench, the proper socket provides the best grip and prevents you from rounding off the sensor.
6. Why is my new O2 sensor causing a check engine light?
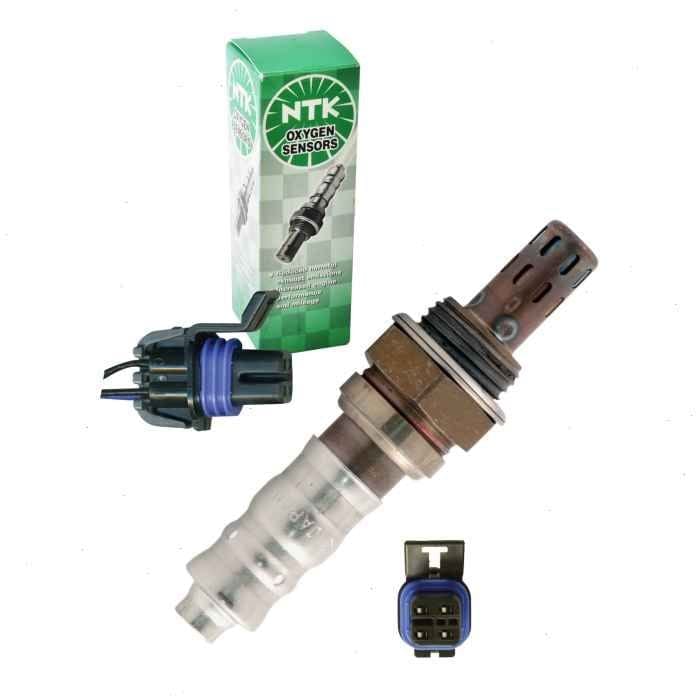
This can happen for a few reasons. First, ensure you bought the correct part number for your specific vehicle and sensor location. Second, check the wiring and connector for any damage. Lastly, sometimes a cheap, low-quality universal sensor may not communicate properly with the vehicle’s computer. Using a reputable brand like Bosch, NTK, or Denso is always a good idea.
7. What is anti-seize and why is it important?
Anti-seize is a special lubricant that prevents the metal threads of the sensor from rusting and fusing to the threads in the exhaust pipe due to extreme heat. Using it ensures the sensor can be removed much more easily in the future.
You’ve Got This!
Working on your own vehicle can feel intimidating, but understanding your Dodge 5.2’s oxygen sensor setup is a perfect first step. Now you know the key difference between pre-1996 and 1996-and-newer models, and you have the confidence to pop the hood and see for yourself exactly what you’re working with.
Whether you discovered you have one upstream sensor or two, you are now equipped with the knowledge to buy the right part, diagnose a check engine light, and even tackle the replacement yourself. Taking care of these small but mighty sensors will keep your classic Dodge running strong, efficient, and clean for many more miles. Keep up the great work, and don’t hesitate to dive into your next project!