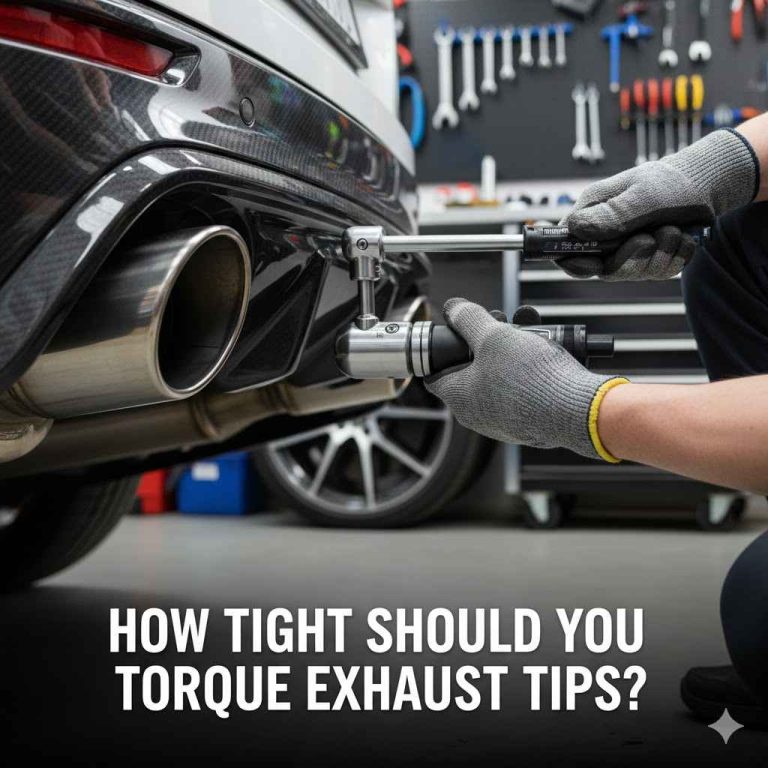
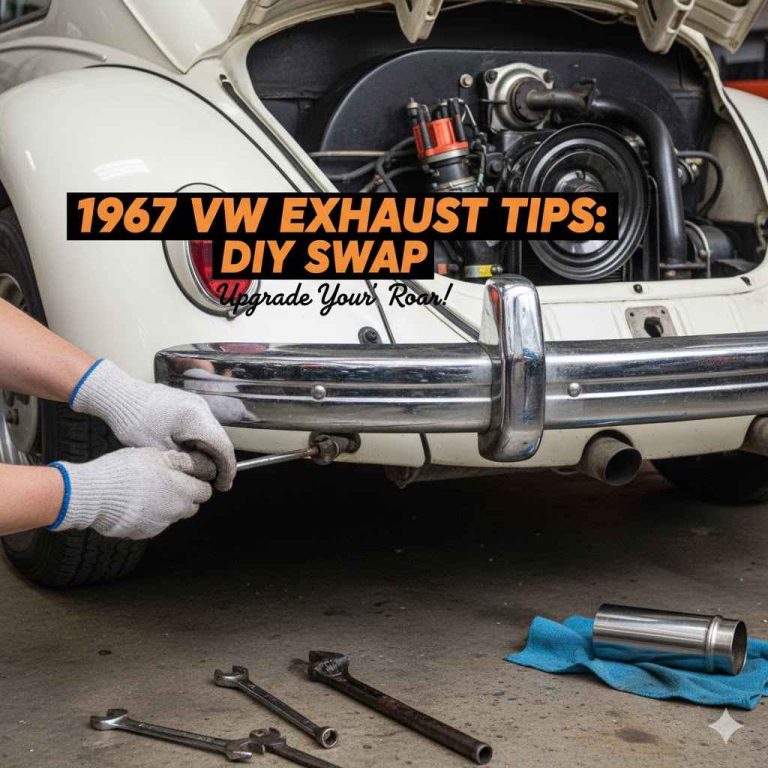
Are Exhaust Tips Welded Or Bolted? Essential Secrets
Exhaust tips are typically secured using either welding or clamping/bolting methods. Welding offers a permanent, clean look but requires professional installation, whereas bolted or clamped tips are easier for DIY replacement or adjustment, offering flexibility but sometimes requiring more maintenance to stay tight.

LCGP
LCGP Bolt On Diesel Exhaust Tip 4",…
- SIZE:Standard exhaust tip size 4" inlet 6" outlet 15" overall length,please measure the OD of your tailpipe before purchasing
- MATERIAL:The exhaust pipe is made of stainless steel,it is corrosion-resistant and not easy to deform,the surface powder coating i…
- DESIGN:The tail of the exhaust tip features an angle-cut and rolled-up design that is both aesthetically pleasing and ensures that…
As an Amazon Associate I earn from qualifying purchases.
When you look underneath your car at that shiny piece of chrome or stainless steel sticking out the back, you might wonder how it actually stays attached. Are exhaust tips welded on strong, or do they just bolt right up? This question is a big deal, especially if you plan to upgrade, clean, or replace a rusty one yourself. Spending time trying to figure out the attachment method before you start working saves you time and frustration.
Don’t worry if this seems confusing! Many car owners feel the same way. Whether you have factory tips or aftermarket diamonds, understanding the connection method is the first step to proper care. We are going to break down exactly how those tips stay put—welded, bolted, or clamped—in simple, easy-to-follow steps. By the end of this guide, you’ll know exactly what you are dealing with and how to handle it safely.
Understanding Exhaust Tips: More Than Just Looks
Exhaust tips, sometimes called tailpipes or finishers, are the very end pieces of your car’s exhaust system. While they look nice and change the sound slightly, they are crucial for directing hot, dirty exhaust gases safely away from the vehicle body.
The way they attach directly impacts cleaning, maintenance, and upgrade path for your ride. Getting this detail right ensures your new look lasts and doesn’t fall off on the highway!
The Two Main Attachment Styles: Welded vs. Bolted/Clamped
When you examine your exhaust tip, it will almost always fall into one of these two primary attachment camps. Knowing which one you have dictates whether you need a wrench or a grinder to make a change.
1. Welded Exhaust Tips (The Permanent Solution)
Welding is the process where two pieces of metal are fused together permanently using high heat. This method is very common on factory-installed exhaust systems or when an owner wants a seamless, high-end look.
When a tip is welded, it is fused directly onto the muffler exit pipe or the tailpipe leading to it. There is no gap, no seam, and usually no visible hardware holding it in place.
2. Bolted or Clamped Exhaust Tips (The Adjustable Solution)
This method uses hardware to secure the tip. It is extremely common with aftermarket replacement tips because it allows owners to install them without needing specialized welding equipment.
There are two main variations here:
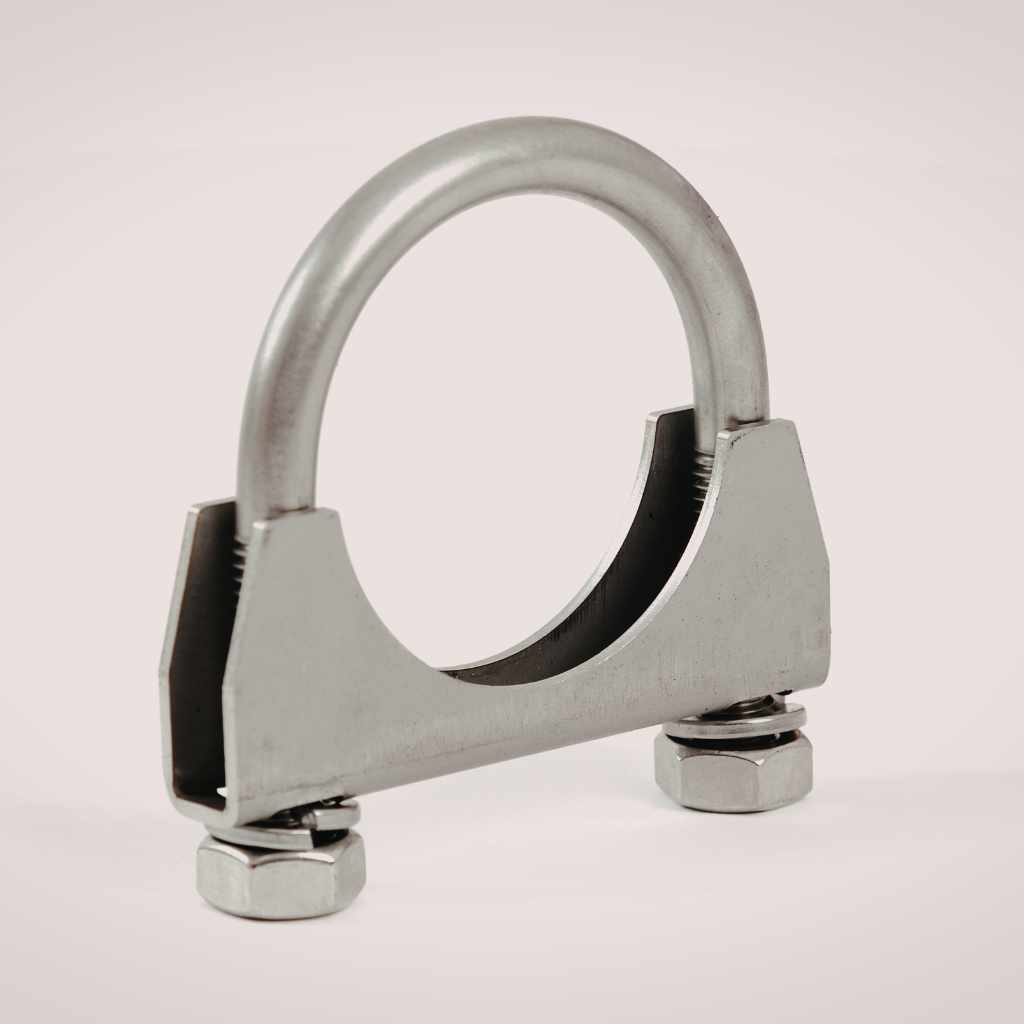
- Clamped/Slip-On: The tip slides over the existing pipe, and a heavy-duty clamp (similar to a hose clamp, but much stronger) tightens around the connection point to hold it tight against the pipe via friction.
- Bolt-On: Less common for just the tip itself (more common for full axle-back systems), this involves drilling small holes and using nuts and bolts to mechanically fasten the tip housing to the existing pipe.
How to Tell If Your Exhaust Tips Are Welded or Bolted
This is the most important secret! You don’t need expensive diagnostic tools; you just need a flashlight and maybe a small mirror. Follow these steps carefully to positively identify your tip’s attachment method.
Step 1: Visual Inspection at the Connection Point
Get low and look directly at where the decorative tip meets the piping leading from the muffler. You are looking for clear seams or hardware.
What to Look For in a Welded Tip:
- Smooth Transition: The tip and the pipe should look like one continuous piece of metal.
- Weld Beads: Look for a thin, slightly raised line of metal running around the circumference where the two pieces meet. This is the weld bead. It often looks slightly textured or uneven compared to the rest of the pipe.
- No Gaps: There should be zero space between the tip and the pipe underneath it.
What to Look For in a Bolted/Clamped Tip:
- Visible Hardware: Look for the head of a bolt or a screw, usually accessible from the top or side of the connection point.
- The Clamp Band: You will see a metal band wrapped around the pipe with a bolt tightening it down. This is a dead giveaway for a slip-on/clamp connection.
- Small Gap or Seam: You might notice a very slight, uniform gap or a clearer seam line where the two pieces simply slide into each other before tightening.
Step 2: The Wiggle Test (Gentle Prodding)
This test requires a gentle touch, especially if your car is hot. Ensure the car has been off for several hours and the exhaust system is completely cool before touching anything.
- Grip the exhaust tip firmly but gently.
- Try to twist or wiggle it side-to-side or up-and-down.
- If the tip moves even slightly, especially if you hear a faint squeak or scraping sound, it is almost certainly a slip-on/clamped style. Welded joints should not move at all.
Step 3: Dealing with Factory Over-Pipes (A Tricky Case)
Some manufacturers use a system where the tip is actually part of a larger tailpipe assembly that is bolted to the muffler. In this case, the tip itself might look welded to that tailpipe section, but the entire section bolts off the main muffler.
If you can’t see clamps or bolts directly connecting the tip to the pipe right before it, look further up the system where the whole tailpipe section connects to the muffler. If that connection uses bolts, you have a removable assembly, even if the tip design looks fused.
Comparison Table: Welded vs. Bolted Installation
To help you decide if you want to stick with your current setup or upgrade, here is a quick comparison of the pros and cons of each attachment style.
| Feature | Welded Attachments | Bolted/Clamped Attachments |
|---|---|---|
| Attachment Permanence | Permanent; removal requires cutting or grinding. | Temporary; easy to loosen, remove, or adjust. |
| Installation Difficulty (DIY) | High (Requires a certified welder). | Easy to Moderate (Requires basic hand tools). |
| Aesthetic Finish | Cleanest, seamless look possible. | Can sometimes show the clamp or a slight gap. |
| Vibration Risk | Very Low (Securely fixed). | Slightly Higher (Can loosen over time due to thermal stress). |
| Cost to Install/Replace | Higher (Due to specialized labor cost). | Lower (Often comes with the aftermarket tip). |
Why Do People Choose Welded Over Bolted (And Vice Versa)?
Your choice depends heavily on your goals for your vehicle. Are you aiming for maximum performance and a clean look, or are you prioritizing easy-to-do maintenance?
The Appeal of Welding: Longevity and Aesthetics
For long-term owners or those seeking a customized look, welding is often the preferred path.