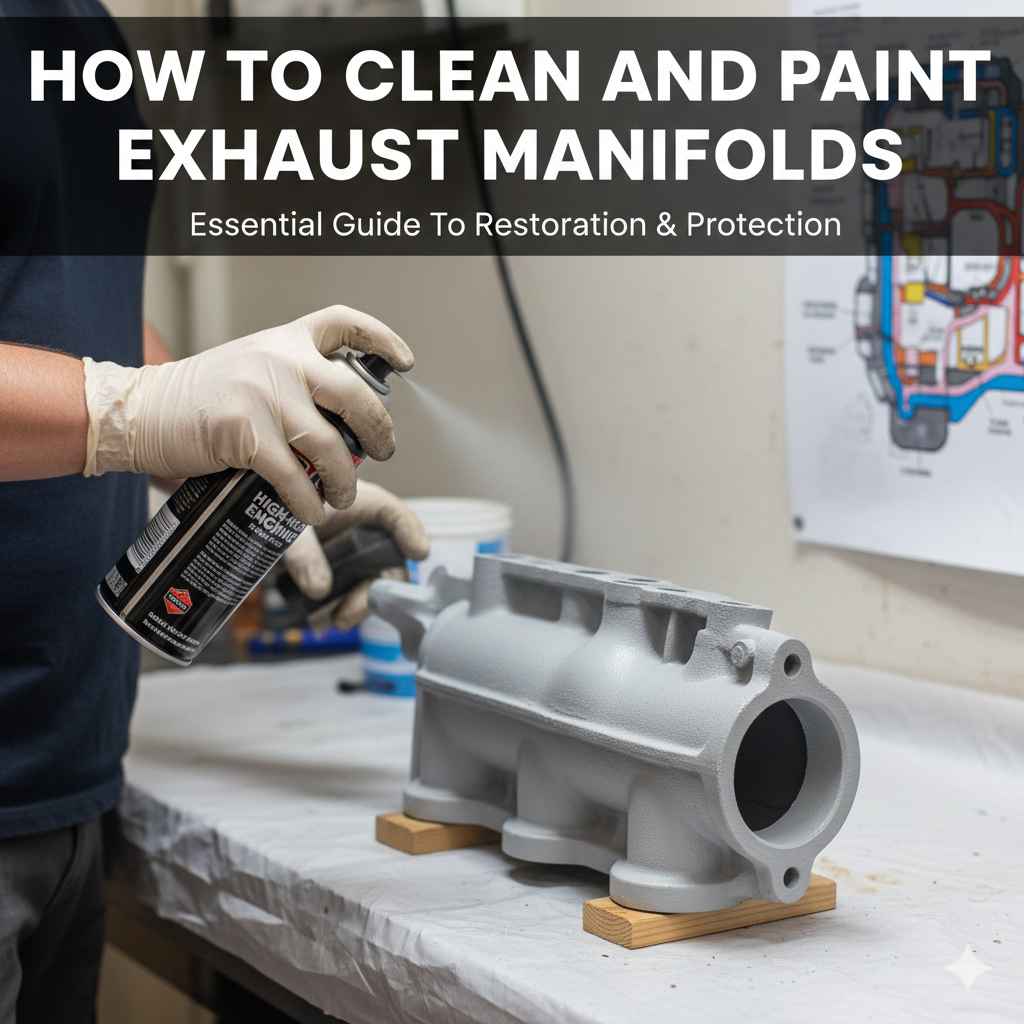
How To Clean And Paint Exhaust Manifolds: Essential Guide
To effectively clean and paint exhaust manifolds, you must first safely remove them, thoroughly clean off all rust and carbon using wire brushes and degreasers, and then apply specialized, high-temperature exhaust paint according to the manufacturer’s curing instructions for a durable, renewed finish.
Seeing rusty, crusty exhaust manifolds peeking out from under your hood can make your whole engine look tired. These parts are vital for directing hot gases away from your engine, but heat and exposure to the elements take a toll. If you’ve ever wondered how to clean and paint exhaust manifolds yourself to make them look factory-new (or even better), you are in the right place. This job seems tough, but with the right tools and step-by-step guidance, you can absolutely do this. We will break down the process into simple, manageable parts. By the end of this guide, you’ll have the confidence to tackle this project, improving both the look and possibly the longevity of your exhaust system.
Why Bother Cleaning and Painting Your Exhaust Manifolds?
Many people only focus on the visible parts of their car, but the manifolds are key performers working hard out of sight. Keeping them in good shape matters for a few key reasons.
Aesthetics: Restoring Engine Bay Beauty
Let’s be honest: a clean engine bay looks professional and makes future repairs easier. Freshly painted manifolds give a great visual upgrade, making your engine look well-maintained, even if you don’t plan on selling the car soon. It shows pride in your ride.
Corrosion Protection and Longevity
Rust isn’t just ugly; it eats metal. Exhaust manifolds face extreme heat and moisture, creating a perfect environment for corrosion. A high-quality, heat-resistant paint acts as a protective barrier. This shields the metal from moisture and road salt, which can extend the life of this crucial component. Proper protection helps prevent leaks that can impact performance.
Safety and Heat Management (A Minor Benefit)
While the primary function of the manifold is to handle exhaust heat, fresh paint can offer a slight, temporary improvement in reflecting some radiant heat away from nearby components. More importantly, addressing existing heavy rust prevents potential thinning of the metal, which is a safety concern over the very long term.

Essential Tools and Materials Checklist
Getting the right supplies before you start makes the entire process smoother and faster. Don’t skip gathering these items first. Think of this as setting yourself up for success!
Required Tools:
- Basic socket set and wrenches (metric and standard, depending on your vehicle).
- Jack and jack stands (never rely on just a jack!).
- Torque wrench (for proper reinstallation).
- Wire brushes (various sizes, stiff metal bristles).
- Scrapers or putty knives.
- Safety glasses and heavy-duty gloves.
- Automotive degreaser or brake cleaner.
- Sanding blocks or orbital sander (optional, for heavy surface rust).
- Painter’s tape and masking materials (plastic sheeting or old cardboard).
Essential Materials:
- High-Temperature Exhaust Paint (Crucial! Standard paint will burn off instantly). Look for paint rated for 1200°F (650°C) or higher.
- Exhaust Manifold Gaskets (It is highly recommended to replace these, especially if you are removing the manifold).
- New manifold bolts/studs (often a good idea, as old ones can snap).
- Brake cleaner or solvent for final wipe-down.
Step 1: Safety First – Preparation and Removal
Exhaust manifolds get incredibly hot. You must ensure the engine is completely cool before you even think about touching anything. Safety glasses and gloves are mandatory throughout this entire process.
Preparing the Vehicle
- Ensure Cooling: Let the car sit for several hours, or preferably overnight, after running. The metal must be cool to the touch.
- Access the Area: Depending on your car, you might need to jack it up to access the underside bolts, or you might only access them from the top. If lifting, use a sturdy jack and secure the vehicle properly on high-quality jack stands. Refer to your vehicle’s service manual for safe jacking points. According to safety guidelines from the National Highway Traffic Safety Administration (NHTSA), proper support is critical for any under-car work.
- Disconnect Sensors (If Applicable): If your manifolds have oxygen sensors (O2 sensors) threaded into them, gently disconnect the wiring harness plugs. Be careful not to pull the wires.
Removing the Manifold
This is often the trickiest part because the bolts are subjected to constant heat cycles, making them rust and seize easily.
- Lubricate the Bolts: Spray every visible bolt head and stud liberally with a penetrating oil (like PB Blaster or Kroil). Let it soak for at least 30 minutes—longer is better.
- Loosen Carefully: Use the correct size socket. Apply slow, steady pressure. If a bolt starts to turn but feels extremely tight, stop, apply more penetrating oil, and let it sit again. For stubborn bolts, try tightening them slightly first before attempting to loosen them further.
- Remove the Manifold: Once all bolts are removed, gently wiggle the manifold free. It might be stuck due to carbon buildup. Use a rubber mallet to tap the sides if necessary, avoiding direct hammer strikes on the metal itself.
- Set Aside: Place the removed manifold on a protected surface, like a heavy piece of cardboard or an old rag, in a well-ventilated area.
Step 2: The Deep Clean – Rust and Carbon Removal
The quality of your final paint job depends entirely on how well you clean the surface now. Paint will not stick to oil, heavy rust, or loose scale.
Cleaning Process Breakdown
- Initial Scraping: Use a putty knife or scraper to knock off the largest chunks of flaky rust and thick carbon deposits from the exterior surfaces. Be careful not to gouge the metal, especially near sealing surfaces, but be aggressive on the outer texture.
- Wire Brushing: This is where the real work happens. Use a stiff wire brush, either manually or attached to a drill/angle grinder (use a flap disc or wire wheel attachment meant for metal). Systematically scrub every exposed surface of the manifold. You are aiming to get down to bare, solid metal or the deepest layer of tightly bonded surface oxidation.
- Detailing Crevices: Manifolds have complex shapes and bolts holes. Use smaller detail wire brushes or a rotary tool (like a Dremel) with a small wire brush attachment to clean between the runners and bolt holes.
- Degreasing: Once all visible scale and rust are gone, the metal is often covered in residual grease, oil film, or rust inhibitors. Spray the entire manifold down liberally with an automotive degreaser or brake cleaner. Wipe it down thoroughly with clean, lint-free rags. The surface must look uniform and dull metal, not shiny or oily.
Tool Tip: Power vs. Hand Brushing
While a power tool speeds up the bulk removal, hand-brushing is essential for controlling the finish and ensuring you don’t damage the manifold structure. For the best results, use power tools for the large, flat areas and finish with hand tools.
Step 3: Surface Preparation for Optimal Paint Adhesion
Even after heavy cleaning, tiny particles can remain. We need a final step to ensure the high-temp paint has something solid to grip onto.
Sanding and Final Wipe
If you have heavy pitting or deep rust that the wire brush couldn’t remove, light sanding with 120-grit sandpaper can help smooth the texture. If the surface looks clean and dull after degreasing, you might skip heavy sanding, but a very light scuffing with 220-grit sandpaper over the whole surface can help adhesion. After sanding, clean the entire part again with fresh brake cleaner to remove all sanding dust.
Masking Off Sensitive Areas
You only want paint where it belongs. You need to protect areas that require a perfect seal or that should remain bare metal.
- Gasket/Flange Surfaces: Use a razor blade or sharp scraper very carefully to scrape the sealing flange surfaces perfectly clean. You need bare, clean metal here so the new gasket seals properly. Do not paint these surfaces.
- Sensor Threads: If you removed O2 sensors, make sure no paint gets into the threads or the sensor tip itself.
- Bolt Holes: Place masking tape over the exterior of the bolt holes to prevent paint from getting inside the threads, which could make reinstallation impossible.
Use quality painter’s tape and heavy plastic sheeting or large cardboard boxes to fully cover the rest of the engine bay—hood underside, hoses, and surrounding components—from overspray. Be generous with your coverage.
Step 4: Applying High-Temperature Exhaust Paint
This is the exciting part! Using the correct paint is non-negotiable here. Standard spray paint rated for 350°F will instantly turn to ash. You need ceramic or specialized exhaust coating rated for high sustained temperatures.
Understanding Your Paint
Read the can! High-temperature paints often require specific application techniques, usually involving several light coats rather than one heavy coat. Check the recommended nozzle distance and drying time.
The Painting Procedure
- Shake Well: Shake the can vigorously for at least one full minute before starting to ensure the ceramic particles are mixed evenly.
- First “Tack” Coat: Apply a very light, even coat from about 10–12 inches away. This coat should look slightly thin or patchy; its job is to “tack up” the surface.
- Wait for Flash-Off: Wait the time specified on the can (usually 10–15 minutes) until the paint is dull but not wet. This is crucial for preventing runs.
- Subsequent Coats: Apply the next coats slightly heavier, maintaining smooth, even passes across the metal. Overlap each pass slightly. Most manufacturers recommend 2 to 4 total coats for maximum durability.
- Final Surface Check: After the final coat, check all areas, especially around bolt holes, to ensure no paint dripped and sealed the threads or blocked ports. If you see drips, gently scrape them off immediately while the paint is still wet.
Step 5: Curing the Paint for Durability
This is the step many beginners rush, leading to paint failure later. High-temperature paint doesn’t just “dry”; it has to cure, which means hardening through a chemical reaction triggered by heat.
The Curing Process Explained
The curing schedule is almost always printed on the back of the can. Ignoring this will result in the paint smoking, bubbling, or peeling off the first time the engine gets hot. The process usually involves gradually increasing the engine temperature over a set period.
For reference, here is a common curing schedule example. Always check your specific paint can for the definitive schedule.
| Curing Stage | Engine Temperature/Time | Result |
|---|---|---|
| Stage 1 (Light Heat) | Idle for 10 minutes (until light smoke appears) | Initial bonding |
| Stage 2 (Medium Heat) | Run engine at 2000 RPM for 20 minutes | Hardening begins |
| Stage 3 (Operating Temp) | Drive vehicle gently for 30 minutes | Final chemical cure |
During the first few heat cycles, you will see smoke and smell odors. This is the solvents burning off. Ensure you do this process in a very well-ventilated area, ideally outdoors, wearing a respirator if necessary.
Step 6: Reinstallation and Final Checks
Once the paint is fully cured (often 24 hours after the final heat cycle), you can put the manifolds back on the engine.
Reinstallation Steps
- Replace Gaskets: Always use new exhaust manifold gaskets. Old gaskets are compressed and will likely leak under pressure, causing exhaust leaks that affect performance and sound.
- Seat the Manifold: Place the manifold gently onto the exhaust ports, ensuring the new gasket sits correctly on both the manifold and the cylinder head.
- Install Bolts: Hand-tighten all bolts first to ensure they thread in easily without binding. This prevents cross-threading.
- Torque Sequence: This is vital for a good seal. Tighten the bolts in stages using your torque wrench, following the manufacturer’s specified pattern (usually starting from the center and working outwards). First pass might be 50% of final torque, second pass 100%. Consult a trusted source like SAE International (Society of Automotive Engineers) for general best practices on fastener loading if you cannot find your specific vehicle specs.
- Reconnect Sensors: Reconnect all O2 sensor wiring harnesses, ensuring the connections are secure and routed away from hot exhaust components.
The Final Test Drive
Start the car and let it idle. Listen carefully for any hissing or puffing sounds that indicate a leak. If you hear a leak, shut the engine off immediately and re-torque the bolts according to the proper pattern. Once confirmed leak-free, take a short, easy drive. You should notice that while the manifolds are hot, the area around them might look significantly cleaner than before!
Troubleshooting Common Manifold Painting Issues
Even with the best intentions, things can sometimes go wrong. Here are common problems and how to fix them when learning how to clean and paint exhaust manifolds.
Problem 1: Paint Bubbling or Peeling During Curing
Cause: The surface was not perfectly clean (residual oil/grease) or the curing cycle was rushed. The most common issue is starting the engine too hot on the first start, or not reaching the required temperature during the cure.
Fix: If caught early, you might be able to sand down the affected area carefully, clean it thoroughly with brake cleaner, and reapply and re-cure. If peeling is widespread, the entire manifold may need to be stripped (often with chemical stripper or media blasting) and started over.
Problem 2: Exhaust Leak After Reinstallation
Cause: Uneven tightening of the bolts, or reusing an old gasket. The flange surface might not be perfectly flat.
Fix: Shut off the engine. Re-check the torque settings on all bolts, following the sequence. If leaks persist, you must replace the gasket again.
Problem 3: Excessive Smoke/Smell After Painting
Cause: This is normal during the initial curing stages as the solvents burn off. However, if the smoke is thick black or persists long after the heat cycle is completed, it might mean an area of uncured paint is coating an adjacent hot engine part (like a wiring harness or hose).
Fix: Immediately turn off the engine. Once cool, carefully inspect the manifold area and remove any paint splatter from engine components using a plastic scraper or solvent wipe-down.

Frequently Asked Questions (FAQ)
Q1: Can I clean and paint the exhaust manifold while it is still on the car?
A: It is strongly discouraged. While you can lightly clean the exterior, you cannot properly remove rust, apply specialized paint evenly, or properly cure the paint without removing it. Painting it on the car leads to poor adhesion and immediate failure due to paint overspray on engine parts.
Q2: What is the biggest danger when painting exhaust manifolds?
A: The biggest danger is applying the wrong type of paint. Standard paint will vaporize and burn, creating toxic smoke and likely damaging your O2 sensors or catalytic converter downstream.
Q3: How long does it take for high-temperature exhaust paint to dry completely?
A: The paint might feel “dry to the touch” in a few hours, but it is not cured. You must follow the manufacturer’s heat curing schedule, which usually involves running the engine multiple times over several hours or days before the coating is fully hardened and heat-resistant.
Q4: Do I need to remove the oxygen sensors before painting?
A: Yes, if they are threaded into the manifold you are painting. Paint getting into the sensor threads or the sensor tip itself will ruin the sensor’s ability to read the exhaust gas, causing your “Check Engine” light to illuminate.
Q5: Is media blasting better than wire brushing for cleaning manifolds?
A: Media blasting (using sand, walnut shells, or glass beads) provides the cleanest, most uniform surface profile, leading to the best paint adhesion. However, wire brushing is a perfectly adequate and much more accessible DIY method if done thoroughly.
Q6: Can I paint cast iron manifolds?
A: Yes, cast iron manifolds are the most common type painted. They handle heat very well, but they require excellent surface preparation because cast iron is porous and holds oil residue deep in its texture.
Q7: What color paint is best for exhaust manifolds?
A: High-temp paints are generally available in black (matte, satin, or semi-gloss) and sometimes silver or grey. Matte black is the most traditional and often hides minor surface imperfections best.
Conclusion: Achieving a Lasting, Professional Finish
Learning how to clean and paint exhaust manifolds is a rewarding task that breathes new life into the often-neglected components under your hood. By respecting the heat involved, prioritizing safety, and meticulously following the steps—especially the thorough cleaning and the required heat-curing cycle—you move beyond a simple cosmetic fix. You are actively protecting a vital part of your vehicle’s performance system from corrosion.
Remember the key takeaways: use only high-temperature rated paint, ensure the surface is surgically clean and grease-free, and never skip the gradual heat curing process. While this job requires patience, especially waiting for the paint to set and cure, the result is an engine bay that looks sharper and a set of manifolds that are protected for miles to come. Take your time, follow the instructions closely, and you will be amazed at the professional results you can achieve right in your own driveway.