How To Adjust String Height: Proven Resonator Guide
Adjusting string height on your resonator guitar is key to playability. This guide simplifies the process, helping you achieve comfortable action without fret buzz, ensuring your resonator sounds and feels its best for any playing style.
So, you’ve got a resonator guitar and you’re finding the strings a bit too high or maybe a bit too low? It’s a common situation, and getting it just right can make a world of difference in how you enjoy playing. High action can make pressing down strings feel like a workout, while low action can lead to annoying buzzing sounds. Don’t worry, it’s not as complicated as it might seem! With a few simple tools and this step-by-step guide, you’ll be well on your way to setting up your resonator guitar for optimal comfort and sound. We’ll walk through everything you need to know, making this process feel manageable and rewarding.
Resonator guitars, with their unique construction and sound, deserve a setup that lets them shine. Whether you’re strumming bluesy tunes or picking out intricate melodies, the height of your strings, often called “action,” plays a huge role. This guide is designed for anyone new to guitar setup or just looking for a clear, straightforward way to tackle string height adjustment on their resonator.
We’ll cover the tools you’ll need, explain how to diagnose if your action needs adjustment, and then guide you through the actual steps to change it. By the end, you’ll have the confidence and knowledge to make your resonator guitar a joy to play.
Why String Height Matters for Your Resonator Guitar
The height of your guitar strings off the fretboard is called “action.” It dramatically affects how your guitar plays and sounds. Too high, and it’s hard to fret notes cleanly, especially for extended playing sessions. Too low, and your strings might hit the frets, creating an unpleasant buzzing noise. For a resonator guitar, where the bridge and saddle are crucial components, getting this balance right is especially important.
A well-adjusted string height means:
- Easier Playing: Less finger fatigue, making it simpler to play faster or for longer periods.
- Clearer Notes: Each note rings out without obstruction or buzz.
- Optimal Tone: The right action allows the resonator cone to vibrate freely, contributing to its characteristic tone.
- Better Intonation: Incorrect action can sometimes affect how in tune the guitar plays up the neck.
Understanding Resonator Guitar Anatomy: What You Need to Know
Before we grab any tools, let’s quickly look at the key parts of a resonator guitar involved in setting string height. Understanding these will make the adjustment process clearer.
The Bridge and Saddle
On most resonator guitars, the bridge is a critical component that sits on top of the resonator cone. The saddle is a piece of bone, plastic, or composite material that sits in a slot on the bridge. The strings rest on the saddle, transferring their vibration to the cone. Adjusting the string height primarily involves modifying the saddle or shims beneath it.
The Nut
The nut is found at the headstock end of the fretboard. It has slots that guide the strings from the tuners to the fretboard. While adjustments are sometimes made here, it’s less common for basic string height adjustments and often a more advanced task.
Tools You’ll Need for Adjusting String Height
You don’t need a professional luthier’s workshop, but a few basic tools will make this job much easier and more precise. Having the right tools ensures you don’t damage your guitar.
Essential Tools:
- Screwdrivers: A set of small Phillips and flathead screwdrivers. Resonator bridges often have screws requiring these.
- Allen Wrenches (Hex Keys): Common for saddle height adjustment screws on some models.
- Feeler Gauges: These are thin metal strips of precise thickness. They are excellent for measuring the string height accurately at the 12th fret. A set usually ranges from very thin to quite thick. You can find reliable sets at most hardware stores or online.
- Ruler or Measuring Tape: A ruler marked in millimeters and/or inches is useful for initial measurements.
- A Soft Cloth: To protect the guitar’s finish.
- Pencil or Marker: For marking if needed.
- Optional: Small files (for saddle modification, advanced), replacement shims (if you’re removing material or need new ones).
Measuring Your Current String Height (The Action)
Before you change anything, it’s vital to know where you’re starting from. This helps you determine if an adjustment is even needed and if you’ve made progress.
The standard measurement point for action is at the 12th fret, measured from the top of the fret to the bottom of the string. Here’s how to do it:
- Tune Your Guitar: Make sure your guitar is tuned to standard pitch. A slack string will give a false low reading.
- Position the Guitar: Lay the guitar on a stable surface, or hold it comfortably.
- Use Feeler Gauges: Gently press down the string you want to measure (e.g., the low E string). Now, slide a feeler gauge under the string, just above the 12th fret.
- Find the Tightest Fit: Try different thickness feeler gauges until you find one that just barely slides under the string with a tiny bit of resistance. This is your current action measurement for that string.
- Record Your Measurements: It’s a good idea to measure all six strings, especially the low E and high E strings, as they are most affected by action changes. Note down the measurements.
Typical Action Guidelines
While personal preference plays a big role, here are some general guidelines for string height at the 12th fret:
| String Type | Typical Low End (mm/inch) | Typical High End (mm/inch) |
|---|---|---|
| Low E (6th) | 1.8 mm / 0.070 in | 2.5 mm / 0.100 in |
| A (5th) | 1.7 mm / 0.067 in | 2.4 mm / 0.095 in |
| D (4th) | 1.6 mm / 0.063 in | 2.3 mm / 0.090 in |
| G (3rd) | 1.5 mm / 0.059 in | 2.2 mm / 0.087 in |
| B (2nd) | 1.5 mm / 0.059 in | 2.2 mm / 0.087 in |
| High E (1st) | 1.7 mm / 0.067 in | 2.5 mm / 0.100 in |
These are just starting points. If you play slide guitar, you might prefer higher action. If you do a lot of intricate fretting, lower action can be more comfortable. If your current measurements are significantly outside these ranges and you’re experiencing buzzing or discomfort, it’s time to adjust.
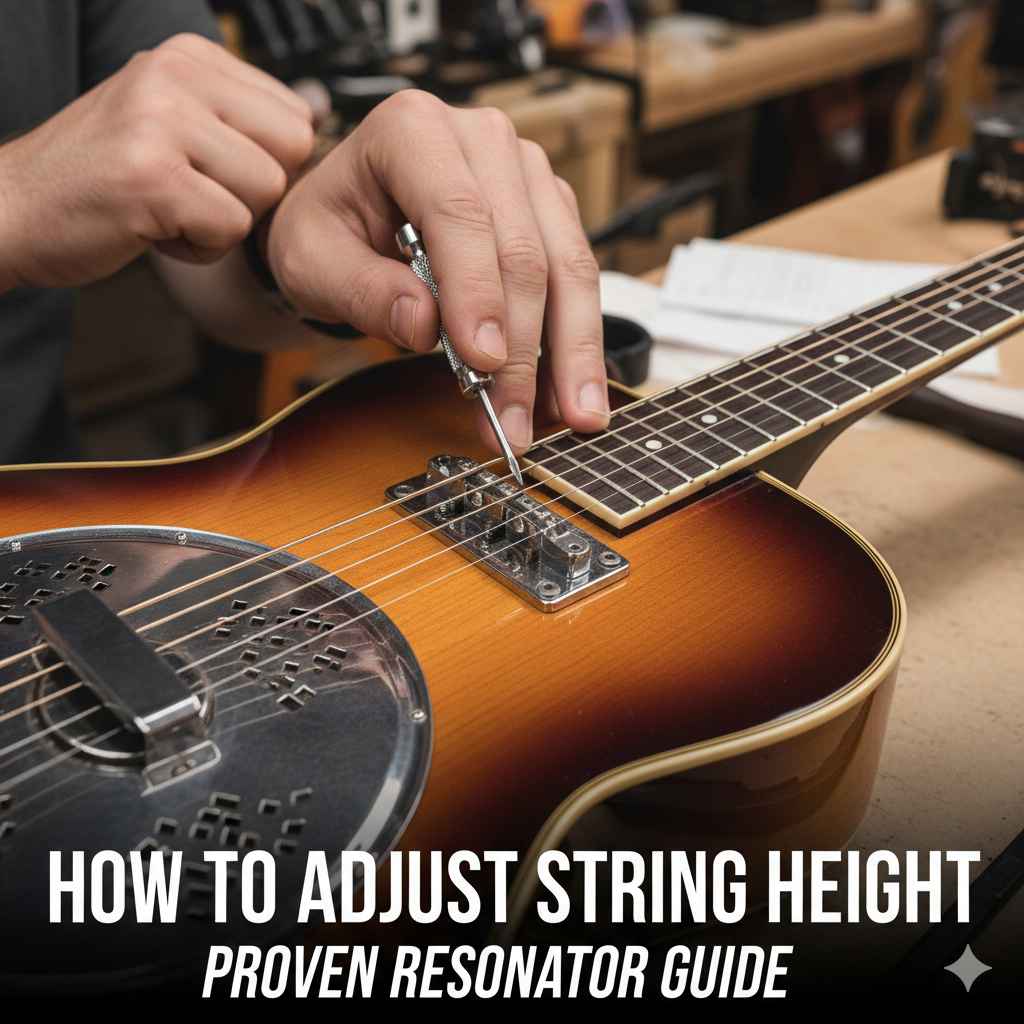
How to Adjust String Height: Step-by-Step on a Resonator Guitar
The most common way to adjust string height on a resonator guitar is by adjusting the saddle or adding/removing shims under it. Some resonator guitars have adjustable saddles with screws, while others have fixed saddles that require shims. We’ll cover both scenarios.
Scenario 1: Resonator Guitar with a Fixed Bridge and Saddle (Using Shims)
This is very common on many biscuit and spider resonator guitars. The saddle sits in a fixed slot, and its height is determined by the material underneath it.
Step 1: Access the Bridge and Saddle
You’ll need to remove the cover plate or baffle to access the bridge and saddle. This often involves unscrewing the baffle. Be gentle, and keep track of any screws.
Step 2: Carefully Remove the Saddle
The saddle is usually just sitting in its slot on the bridge. Lift it out carefully. Some might be glued lightly, but most will lift out. Make sure you know its exact orientation – it’s usually notched to match the strings.
Step 3: Adding Shims (to Increase String Height)
If your strings are too low, you need to raise the saddle. This is done by adding material underneath it, called shims. Common materials for shims include:
- Thin pieces of hardwood (like maple)
- Specialized guitar shim material (available from guitar parts suppliers)
- Sometimes, even a small piece of sturdy cardstock can work for minor adjustments if it’s consistent.
Cut a piece of your shim material to the same shape as the bottom of your saddle. Start with a very thin shim (e.g., 0.5mm or 0.020 inches). Place the shim in the saddle slot, then carefully put the saddle back on top of the shim. Ensure the shim is flat and the saddle sits securely.
Step 4: Removing Shims or Sanding (to Lower String Height)
If your strings are too high, you need to lower the saddle. This is done by removing material from the bottom of the original saddle or removing existing shims.
- If there’s a shim already, try removing a thin layer from it or replacing it with a thinner one.
- If there are no shims, you’ll need to carefully sand the bottom of the saddle. Use fine-grit sandpaper on a flat surface (like a piece of glass or a leveling block). Gently rub the bottom of the saddle back and forth, applying even pressure.
- IMPORTANT: Sand very slowly and take off only a tiny amount at a time (e.g., scrape with your fingernail to feel the difference). You can always remove more, but you can’t put it back!
After sanding, clean off the dust and place the saddle back in its slot. Make sure it’s seated correctly.
Step 5: Reassemble and Test
Put the cover plate or baffle back on your resonator guitar. Tune it up. Measure your action again at the 12th fret using your feeler gauges. If it’s not quite right, repeat the process of removing the baffle, adjusting the shim or saddle height, reassembling, and re-measuring. It’s an iterative process, so be patient!
Scenario 2: Resonator Guitar with an Adjustable Saddle
Some modern resonator guitars, especially some electric models or higher-end acoustic resonator guitars, feature an adjustable metal or composite saddle. These often have small screws that raise or lower the saddle segments.
Step 1: Locate the Adjustment Screws
Identify the small screws on the sides of the saddle or beneath it. These screws move up or down, altering the saddle’s height.
Step 2: Adjusting the Height
- To Lower Action: Turn the adjustment screws clockwise (tighten them). This will push the saddle down. Make very small adjustments, perhaps a quarter turn at a time.
- To Raise Action: Turn the adjustment screws counter-clockwise (loosen them). This will allow the saddle to move upwards, or you might need to unscrew them slightly and then use shims if you need significant height increase beyond what the screws allow.
Important Note: On some adjustable bridges, the saddles are individually adjustable for each string. If this is the case, you can adjust string height on a per-string basis, which can also help with balancing string tension and tone.
Step 3: Tune and Measure
Tune your guitar after making adjustments. Use your feeler gauges to measure the action at the 12th fret. Repeat the adjustments, tuning, and measuring until you achieve your desired string height.
Step 4: Verify Intonation (for Adjustable Saddles)
If your saddle is adjustable for individual strings, changing the height can sometimes affect intonation. After you are happy with the action, check your intonation. You can do this by tuning the open string, then fretting the same string at the 12th fret and checking if the pitch is exactly one octave higher. If it’s not, you may need to adjust the saddle position forward or backward to compensate. This is more advanced but crucial if your guitar is playing out of tune up the neck.
Common Issues and How to Solve Them
During the process, you might run into a few snags. Here’s how to handle them:
- Excessive Fret Buzz: If you lower the action too much, you’ll get buzzing. The solution is to raise the action slightly until the buzz disappears. If you only notice buzz on certain frets, it might indicate a fret is higher than the others, which is a more complex issue requiring fret leveling.
- Uneven String Heights: Ensure your saddle is sitting perfectly flat and evenly on the bridge or shim. If it’s tilted, the action will be uneven. With adjustable saddles, ensure all adjustment screws are set correctly for each string.
- Difficulty Unscrewing Baffles/Covers: Sometimes screws can be tight. Use the correct size screwdriver to avoid stripping the screw head. A small drop of penetrating oil (applied very carefully and sparingly, and allowed to work) might help, but use this as a last resort.
- Stripped Screw Heads: If a screw head is damaged, you might need a screw extractor tool or professional help. Always use the correct screwdriver size and apply firm, steady pressure.
- Saddle Not Seating Properly: Make sure the saddle slot on the bridge and the bottom of the saddle are clean and free of debris. Any debris can cause the saddle to sit unevenly.
Tips for a Perfect Resonator Setup
Here are some extra tips to help you achieve the best results:
- Work Slowly and Methodically: Guitar setup is not a race. Take your time with each step.
- Adjust in Small Increments: Too much adjustment at once can lead you past your desired point, making it harder to get back.
- Keep it Clean: Regularly clean your guitar’s fretboard, bridge, and saddle area. This prevents build-up that can affect sound and playability.
- Understand Your Guitar: Different resonator models have different bridge designs and saddle materials. What works for one might not be identical for another. Consult your guitar’s manual if you have one.
- Consider String Gauge: The gauge (thickness) of your strings also affects the perceived action and tension. Heavier strings generally require a slightly higher action to avoid buzzing, while lighter strings can be set lower. If you switch string gauges, you may need to readjust your action.
- Professional Help is Okay: If you’re uncomfortable at any stage, or if you’ve tried and can’t get it right, don’t hesitate to take your guitar to a qualified guitar technician or luthier. They have the expertise and specialized tools to get it perfect. Learning about guitar setup is great, but sometimes professional skill is needed. For resources on acoustic instrument maintenance, the Acoustic Guitar website offers valuable insights into how instruments function.
For general maintenance and deeper dives into instrument care, resources from institutions like The Smithsonian’s National Museum of American History (which houses a significant collection of musical instruments) can offer historical context and understanding of instrument evolution, indirectly informing maintenance practices.
Frequently Asked Questions (FAQ)
Here are some common questions beginner resonator guitarists have about adjusting string height.
Q1: How often should I adjust the string height on my resonator guitar?
A1: You generally only need to adjust string height if you notice a problem, such as increased fret buzz, difficulty fretting notes, or discomfort while playing. It’s not a routine maintenance task like changing strings. Environmental changes (humidity, temperature) can also cause minor shifts in neck relief or action, so a periodic check is wise.
Q2: Can I adjust the string height at the nut?
A2: Yes, it’s possible to adjust string height at the nut by filing the slots deeper or adding shims beneath the nut. However, this is a more delicate process than adjusting at the saddle. For beginner adjustments, focus on the saddle. Improper nut slotting can cause tuning instability or buzzing at the first few frets.