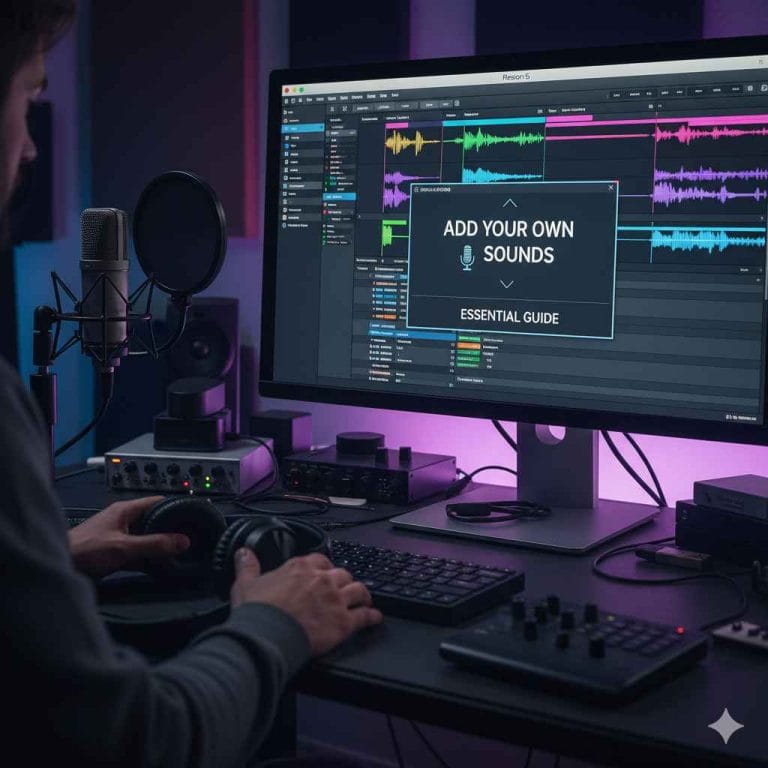
How to Add Songs in Resonance App: Essential Guide
Adding songs to the Resonance app is straightforward! Import your music files from your device or cloud storage directly into the app to organize and enjoy your audio library. This guide will walk you through every simple step.
It can be a bit puzzling trying to get your favorite tunes into a new app. You just want to listen to your music, right? And when an app doesn’t clearly show you how to add songs, it can feel frustrating. Don’t worry, we’ve all been there with different apps! This guide is here to make adding music to the Resonance app as easy as hitting play. We’ll break down the process into simple, step-by-step instructions so you can start enjoying your sound library in no time. Let’s get your music playing!
Getting Started with Resonance: A Quick Overview
Resonance is a fantastic app designed for managing and enjoying your audio collection. Whether you’re a music lover looking to organize your library, or someone exploring new ways to experience sound, understanding how to get your music into the app is the first step. Think of it like prepping your car for a road trip – you need to load up your essentials. For Resonance, your music files are those essentials. This guide will make sure you’re not just driving, but cruising with your favorite soundtrack.
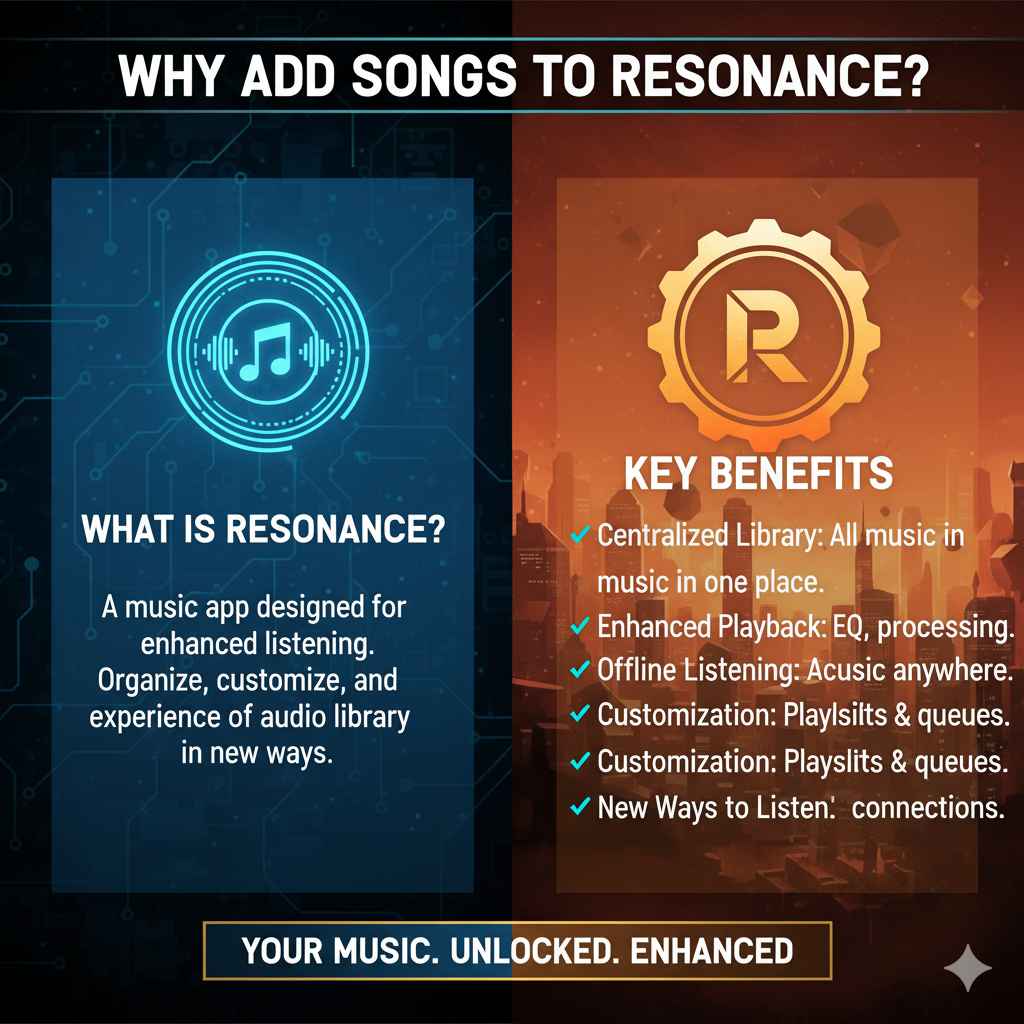
Why Add Songs to Resonance?
There are several great reasons to add your music to Resonance. It’s not just about having your songs in one place; it’s about enhancing your listening experience. Here are a few key benefits:
- Centralized Library: Keep all your music organized and accessible within a single app. No more searching through different folders or services.
- Enhanced Playback Features: Resonance might offer unique playback options, equalization settings, or audio processing that can make your music sound even better than your standard player.
- Offline Listening: Once added, your songs are usually available even without an internet connection, perfect for commutes or areas with poor reception.
- Customization: Organize playlists, create listening queues, and tailor your music experience exactly how you like it.
- Discover New Ways to Listen: Resonance might have features that help you discover connections within your music or experience it in new ways.
Before You Begin: What You’ll Need
Getting your music into Resonance is usually an uncomplicated process, much like making sure your car has enough fuel before a long drive. You probably already have what you need. Here’s a quick checklist:
- Your Music Files: These can be MP3, FLAC, AAC, or other common audio formats stored on your smartphone, tablet, or computer.
- Resonance App Installed: Make sure you have the Resonance app downloaded and installed on your device from your app store (like the Google Play Store or Apple App Store).
- Internet Connection (Optional for Initial Import): While you can often add local files without internet, some methods of adding music (like from cloud services) will require a stable connection.
- Device Storage: Ensure your device has enough free space to store the music files you plan to add.
Step-by-Step Guide: How to Add Songs in Resonance App
Adding songs to the Resonance app is a bit like loading up your car’s trunk before a weekend getaway. You want to make sure everything is secure and easily accessible. We’ll cover the most common ways people add music, making it simple for beginners.
Method 1: Importing from Your Device Storage
This is usually the most common and straightforward method. Your music files are already on your phone or tablet. You just need to point Resonance to them.
- Open the Resonance App: Find the Resonance app icon on your device and tap to open it.
- Navigate to the Import/Add Music Section: Look for a button or menu option that says “Add Music,” “Import Library,” “Scan Files,” or similar. This is often found in the main menu, settings, or a dedicated library tab. It might be represented by a ‘+’ icon.
- Select “Local Files” or “Device Storage”: The app will likely ask where you want to import from. Choose the option that refers to files stored directly on your device.
- Grant Permissions: Resonance will need permission to access your device’s storage. You’ll see a pop-up asking for permission; tap “Allow” or “Grant.” This is crucial for the app to see your music files. It’s like giving your GPS permission to see your location so it can guide you.
- Choose Your Music Files: A file browser will open. You can typically:
- Scan the entire device: This will search for all compatible audio files.
- Select specific folders: If you know where your music is saved (e.g., a “Music” folder), you can select that folder.
- Choose individual songs or albums: Some apps allow you to pick and choose.
- Start the Import: Once you’ve selected the files or folders, tap “Import,” “Add,” or “Done.” The app will then start scanning and adding these songs to its library. This might take a few moments depending on how many songs you’re adding.
- Verify Your Music: After the import is complete, go to the “Library,” “Songs,” or “My Music” section within Resonance to see if your tracks have appeared. You can then start playing them!
Method 2: Importing from Cloud Storage (e.g., Google Drive, Dropbox)
If your music isn’t stored directly on your device but is backed up to a cloud service, you can often import it from there. This is useful if you have a massive music collection or want to free up space on your device.
- Open the Resonance App: Launch the Resonance app on your device.
- Find the Import Option: As before, look for a “Add Music,” “Import Library,” or ‘+’ icon.
- Select Cloud Storage Option: Choose the option that lets you connect to cloud services. This might be labeled “Cloud Storage,” “External Services,” or list specific providers like “Google Drive,” “Dropbox,” etc.
- Link Your Cloud Account: You’ll likely be prompted to log in to your chosen cloud service and grant Resonance permission to access your files. Follow the on-screen instructions to authorize the connection.
- Browse and Select Music: Once linked, you can navigate through your cloud storage folders just like you would on your computer or the cloud service’s app. Find the music files or folders you want to add.
- Import the Selected Files: Select the music and tap the “Import” or “Add” button. The app will download these files from the cloud and add them to your Resonance library. Ensure you have a stable internet connection for this process.
- Check Your Library: Confirm that your cloud-imported songs are now visible and playable within Resonance.
Method 3: Using iTunes/Apple Music Integration (for iOS users)
If you’re an iOS user and have music in your Apple Music or iTunes library, Resonance might offer a way to integrate with it. Note: This often depends on whether the music was purchased from iTunes or synced using Apple Music/iCloud Music Library.
- Open Resonance & Seek Import: Start the Resonance app and look for the import function.
- Select “iTunes Library” or “Apple Music”: This option might be presented alongside local storage and cloud services.
- Grant Access: Resonance will request permission to read your Apple Music library. You’ll need to allow this access.
- Resonance Scans Library: The app will then scan the music library that’s accessible on your device through Apple Music. It can usually see songs you’ve downloaded for offline listening.
- Add Songs: Select the songs or playlists you want to add to Resonance. The app may copy them into its own library or create links to them within the Apple Music ecosystem, depending on its design.
- Confirm Your Additions: Verify the imported music in your Resonance library.
Organizing Your Music in Resonance
Once your songs are in Resonance, the real fun begins: organizing them! Think of this like organizing your garage – everything has its place, making it easy to find what you need. Here’s how you can typically do it:
- Playlists: This is your go-to for grouping songs by mood, genre, artist, or activity. Want a workout mix? Create a “Workout Jams” playlist. Need a chill-out soundtrack? Make a “Relaxation” playlist.
- Albums & Artists: Resonance will usually automatically sort your imported music by album and artist. This default organization is super helpful for quickly finding music by your favorite performers or by full albums.
- Genres: Many apps also categorize songs by genre, letting you quickly jump to rock, pop, classical, or any other style you’re in the mood for.
- Sorting Options: Explore the settings in your library. You can often sort by title, artist, album, date added, and more. Get it sorted how you like it!
Troubleshooting Common Issues
Even with the best instructions, sometimes things don’t go perfectly. Let’s look at a few common hiccups and how to fix them, just like finding that one squeaky part on your exhaust and fixing it for a quiet ride.
Issue: Songs Not Appearing in Resonance
Possible Causes & Solutions:
- Incorrect File Format: Resonance might not support older or obscure audio formats. Try converting your songs to a common format like MP3 or AAC using an online converter or audio editing software.
- File Corruption: The music file itself might be damaged. Try playing the song using another player on your device. If it doesn’t play there, you may need to re-download or find a new copy.
- Permissions Not Granted: Double-check that you’ve given Resonance permission to access your device’s storage in your phone’s settings. Go to Settings > Apps > Resonance > Permissions and ensure “Storage” or “Files and Media” is enabled.
- App Cache/Data Issues: Sometimes, clearing the app’s cache or data can resolve unexpected behavior. Go to your device’s Settings > Apps > Resonance > Storage and tap “Clear Cache.” If that doesn’t work, try “Clear Data” (note: this might reset some app settings).
- Rescan Required: Some apps have a specific “rescan library” option in their settings that forces them to look for new music.
Issue: Slow Import Times
Possible Causes & Solutions:
- Large Number of Files: Importing thousands of songs will naturally take time. Be patient!
- Slow Internet Connection: If importing from cloud storage, a weak Wi-Fi signal or slow mobile data will dramatically increase import times. Try when you have a stronger connection.
- Device Performance: If your device is also running many other apps or is low on battery, it may slow down the import process. Close other unnecessary applications.
- Background Processes: Ensure Resonance is allowed to run in the background for imports, especially on Android devices which can sometimes pause background processes to save battery.
Best Practices for Managing Your Music Library
To make sure your music experience in Resonance is always smooth and enjoyable, follow these simple best practices. It’s like keeping your car’s engine tuned – a little regular attention prevents big problems.
1. Keep Your Music Files Organized on Your Device
Before you even import, make sure your music files are in logical folders on your device or cloud storage. Using folders like “Artist Name/Album Name/Song.mp3” is a great habit.
2. Utilize Consistent Tagging
Most music players rely on ID3 tags (metadata embedded in the audio file) to identify songs, artists, and albums. Ensure your tags are correct and consistent. This helps Resonance (and other apps) organize your music accurately.
For example, make sure the “Artist” tag is always filled in the same way, like “The Beatles” and not sometimes “Beatles” and other times “The Beatles”. Many free tools exist to help edit ID3 tags, such as Mp3tag for Windows or MusicBrainz Picard. For more information on audio file metadata, you can refer to resources like the Library of Congress’s Digital Preservation page on ID3 Tags.
3. Regularly Update Your Library
When you add new music to your device or cloud storage, remember to go back into Resonance and import them. Rescan your folders or use the “Add Music” function to keep your library fresh.
4. Back Up Important Playlists
If Resonance allows exporting playlists or if you’re using cloud services, consider making backups of your carefully curated playlists. This is a safety net in case something happens to the app or your device.
5. Understand the Difference Between Local and Cloud Files
If you import from the cloud, be aware that the music file might still live in the cloud and stream to Resonance. If you remove it from the cloud, it may disappear from Resonance. Importing directly from your device usually means the file is physically on your phone/tablet.
Resonance App Storage & Performance Considerations
Just as a clean exhaust system contributes to better engine performance, how you manage your music within an app can affect its speed and efficiency. Here’s what to keep in mind:
Local Storage vs. App Storage
When you add songs to Resonance, there are generally two ways they are handled:
| Method | Description | Pros | Cons |
|---|---|---|---|
| Direct Link/Scan | Resonance accesses music files directly from their original location on your device or cloud storage. | Saves internal storage space on your device. Quick to set up. | Requires original files to remain in place. If files are moved or deleted from original location, they’ll break in Resonance. Relies on external organization. |
| Copy/Import Into App | Resonance copies the music files into its own dedicated storage space within its app data. | Music is self-contained, not affected if original files are moved/deleted. Can offer faster access as files are close to the app’s core. | Uses significant internal storage space on your device. Requires more time for the initial import. |
Performance Tips:
- Avoid Importing EVERYTHING at Once: If you have tens of thousands of songs, consider importing them in batches or by genre/artist. A massive import can temporarily slow down your device and the app.
- Keep App Updated: Developers often release updates that improve performance and fix bugs. Make sure your Resonance app is always up-to-date.
- Monitor Device Storage: If your device is running low on space, it can impact the performance of all apps, including Resonance. Try to keep at least 10-15% of your device’s storage free. For more on maintaining device performance, check out guides on managing Android storage or optimizing iPhone storage from reputable tech sites.
- Clean Up Unused Songs: Routinely review your library. If you find songs you no longer listen to, consider deleting them from both Resonance and your device/cloud storage to free up space.

Conclusion
You’ve now got the know-how to smoothly add songs to your Resonance app! Whether your music lives on your device, in the cloud, or within services like Apple Music, we’ve covered the straightforward methods to get it playing. Remember, the key is to grant the app the permissions it needs and to select the right import source. Don’t be afraid to explore within the app; you’ll find that organizing your music into playlists and by artist makes the whole experience much more enjoyable and personalized.