Do You Break In Exhaust Tips? Essential Guide
No, you do not need to “break in” new exhaust tips like you would an engine or brake pads. Exhaust tips are primarily cosmetic, and any slight initial change in sound or color is due to heat cycling the new metal, not a required “break-in” period. Enjoy your new look immediately!
Are you looking at those shiny, brand-new exhaust tips sitting on your garage floor, wondering if there’s a special secret handshake before you bolt them on? You are not alone! Many new car owners feel nervous when upgrading parts, worrying about warranty issues or damaging that perfect finish. It is easy to think that every new component needs time—a “break-in” period—to settle in. But when it comes to exhaust tips, the process is much simpler than you might think. We are here to clear up the confusion. Forget complicated procedures; we will walk you through exactly what happens when you install new tips and how to keep them looking fantastic for years to come. Let’s get these tips installed safely and confidently!
Do You Break In Exhaust Tips? The Simple Truth
The short answer, which often surprises beginners, is a resounding no. You do not need to perform any specific driving routine, idle your car for hours, or follow a slow-speed test to “break in” new exhaust tips.
Exhaust tips are essentially the decorative final piece of your exhaust system. Unlike engine internals or brake pads, which rely on friction surfaces melding together, an exhaust tip’s only job is to manage the exiting exhaust gases and look good while doing it. They don’t have moving parts that need lubricating or seating.

Why the Confusion Exists: Heat Cycling vs. Breaking In
The reason people often ask about breaking in exhaust tips is related to how they change appearance after the first few drives. This change isn’t a “break-in” process; it’s called heat cycling.
What is Heat Cycling?
Heat cycling is simply when the metal of the tip reaches its operating temperature for the first time. For stainless steel or chrome tips, this initial exposure to high exhaust heat can cause minor, temporary shifts in color or sheen. This should not be confused with needing to wear down or adjust the metal.
- New Tips Look Perfect: They are clean and polished from the factory.
- First Drive Heat: The tip heats up quickly when you drive, especially at highway speeds.
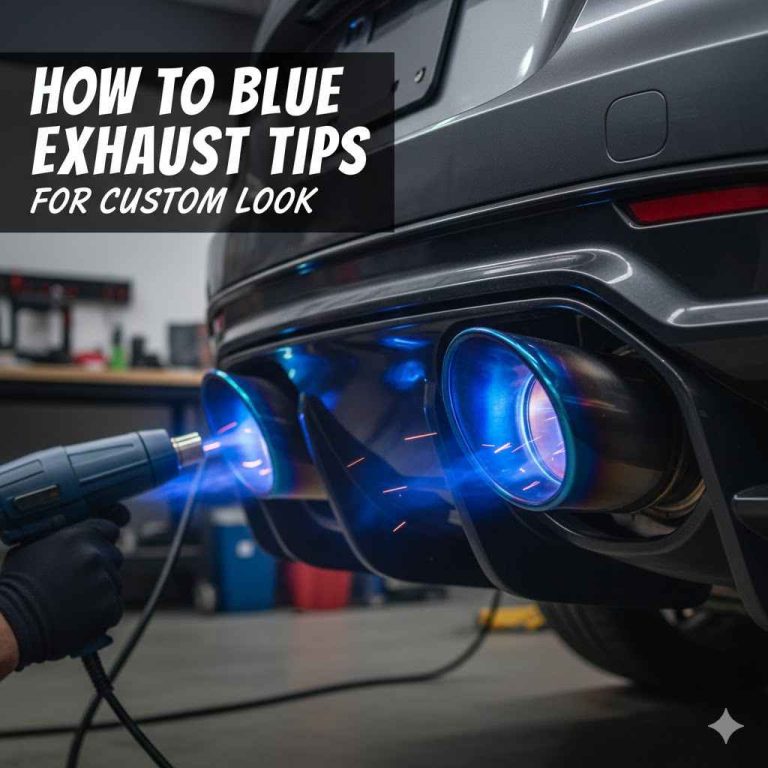
- Temporary Color Change: You might see slight blue, straw, or golden hues appear near the outlet. This is normal, especially on titanium or high-grade stainless steel, and indicates the tip is doing its job.
Once the tip has gone through several heat cycles—meaning you’ve driven the car normally for a few days—the color will usually stabilize. This stabilization is the end of the initial material change, not a mechanical break-in routine the driver must perform.
Installation vs. Break-In: What You Actually Need to Focus On
Since there is no break-in procedure, your focus should shift entirely to proper installation. A poorly installed exhaust tip can vibrate, rattle, loosen, or even fall off. That’s a much bigger problem than a few blue spots!
Tools You May Need for Installation
Before you begin, gather the necessary tools. This list assumes you are attaching clamp-on or slip-on style tips, which are common for beginner upgrades. If you are welding, always consult a professional.
| Tool | Purpose |
|---|---|
| Jack and Jack Stands | For safely lifting the rear of the car (Safety first!). |
| Wrench or Socket Set | For removing or adjusting factory clamps (if removing the old tips). |
| Screwdriver (Flathead or Phillips) | To help unseat old clamps or adjust set screws. |
| High-Temperature Silicone or Anti-Seize | To prevent future rust or sticking, especially on slip-on models. |
| Torque Wrench | For tightening new bolts to the manufacturer’s specification (essential for safety). |
Remember, safety is paramount when working under a vehicle. Never work under a car supported only by a jack. Always use reliable jack stands placed on solid ground. For more information on safe lifting procedures, referencing standards from organizations like the National Highway Traffic Safety Administration (NHTSA) is always a good practice.
Step-by-Step Guide to Installing Your New Exhaust Tips
Since true “breaking in” isn’t required, here is a confident, beginner-friendly guide to getting your new tips attached correctly so you can start enjoying them right away.
- Safety First: Cool Down the Exhaust. Ensure the car has been turned off for at least two hours. Exhaust components can hold immense heat long after the engine stops running, leading to severe burns.
- Lift and Secure the Vehicle (If Necessary). If your tips require access from underneath the bumper, safely jack up the rear of the car and secure it firmly on jack stands. Never skip the stands.
- Remove the Old Tips or Factory Tailpipes. Locate the clamps or welds holding the existing tips. Use your wrench or socket to loosen the clamp bolts. Often, the old tips are simply slid off or cut away, depending on the style.
- Clean the Mounting Area. Wipe down the existing exhaust pipe where the new tip will slide over. Remove any rust, dirt, or residue. A clean surface ensures a snug, secure fit.
- Apply Anti-Seize (Optional but Recommended). Apply a very small amount of high-temperature anti-seize compound to the pipe where the new tip will slide on. This prevents corrosion from welding the new tip to the old pipe over time.
- Position the New Tips. Slide the new tips onto the existing exhaust pipe end. Adjust them carefully to ensure they are perfectly aligned, centered, and exiting the bumper evenly. This alignment is crucial for the final look.
- Tighten the Clamps or Set Screws.
- For Clamp-On Tips: Tighten the clamp bolt. Initially, tighten it until it’s snug, then check the alignment one last time. Fully tighten the clamp using your socket wrench, aiming for the manufacturer’s recommended torque if provided.
- For Weld-On or Slip-On Bolt Tips: If your tips use set screws that press against the pipe, tighten them firmly. These screws bite into the metal to hold the tip in place.
- Double-Check Everything. Lower the car if it was raised. Tug gently on the tips to ensure they do not wiggle or spin. Everything should feel solid.
- The Test Drive (The Real “Break In”). Take the car for a short, normal drive. Listen for any rattling, scraping, or vibrations. If everything sounds and feels normal, your installation is successful, and you are done! There is no need for special mileage or speed limits.
Caring for Your New Tips to Prevent Premature Discoloration
Since you are not breaking them in, the next focus is maintenance. The appearance of exhaust tips is highly dependent on what they are made of and how well you clean them. Improper cleaning is the fastest way to ruin that new shine.
Understanding Tip Materials and Heat Effects
Different metals handle heat differently. Knowing your material helps you manage expectations regarding color change.
| Material Type | Common Appearance | Heat Cycling Behavior |
|---|---|---|
| Chrome Plated | Very highly reflective silver | Can sometimes turn slightly yellow or blue under extreme heat if the plating is thin; prone to heat stains if not cleaned regularly. |
| 304 Stainless Steel | Duller, brushed look (when unpolished) | Develops light straw or golden hues that usually stabilize with regular driving. Very durable against heat. |
| Titanium or Black Ceramic Coated | Deep black, blue, or rainbow sheen | Intended to show color change (bluing/purpling). This is the desired aesthetic for many enthusiasts. |
Cleaning Mistakes Beginners Make
The biggest mistake people make when cleaning tips is using abrasives or harsh household cleaners that damage the finish or speed up the heat discoloration process.
- Avoid Harsh Chemicals: Never use oven cleaner, steel wool, or heavy-duty degreasers meant for engine blocks. These will strip chrome plating or etch polished stainless steel.
- Skip Abrasive Scrubbing: Do not use the rough side of a kitchen sponge or metal brushes. These will introduce swirl marks that become highly visible under sunlight.
- Don’t Clean Cold Tips with Cold Water: While you generally clean the tips when the car is off, cleaning very hot tips with cold water can shock the metal and potentially damage or warp the finish. Let them cool down first!
Pro Tips for Maintaining That Showroom Shine
Once installed, maintaining the look is about consistency, not complicated chemical treatments. We want to protect the surface from road grime and light exhaust soot.
The Simple Cleaning Routine
For general cleaning (every few weeks or after a long trip):
- Rinse: Spray the tips thoroughly with plain water to remove loose dirt and dust.
- Wash: Use a dedicated car wash soap (pH-neutral) mixed with water. Apply gently using a very soft microfiber towel or wash mitt.
- Rinse Again: Rinse off all soap residue completely.
- Dry Immediately: Use a clean, dry microfiber towel to wipe the tips completely dry. Air drying leaves water spots, especially on chrome.
For Stubborn Soot and Light Heat Stains
If you have dark exhaust soot or those slight yellow/blue heat tints that you want to minimize (especially on chrome):
- Use a dedicated metal polish formulated specifically for chrome or stainless steel. Follow the product directions exactly.
- For light burns on stainless steel, a very fine 0000-grade steel wool can sometimes be used very gently, followed immediately by a metal polish, but this should be a last resort and is generally not recommended for polished chrome.
For tips that are ceramic coated or intentionally colored (like blue titanium), abrasive polishes are strictly forbidden, as they will remove the coating. Stick to mild soap and water, or products specifically designed to preserve ceramic finishes.
When Does Exhaust Replacement Require “Breaking In”?
While the tips themselves do not need breaking in, other exhaust components sometimes do after installation or replacement. This is often where the confusion originates. Here is a quick comparison.
| Component Replaced/Installed | Does it Need a Break-In Period? | What Happens? |
|---|---|---|
| Exhaust Tips (Cosmetic) | No | Initial heat cycling causes minor color changes that stabilize. |
| New Muffler or Resonator | Yes (Slightly) | Internal packing material (if present) needs to burn off protective coating or settle, which might slightly change the sound profile over the first 100–500 miles. |
| New Catalytic Converter | Yes (Crucial) | The catalyst material needs heat to properly begin chemical reactions (lowering emissions). Driving normally is key. |
| New Brake Pads | Yes (Crucial) | The pad material must mate perfectly with the rotor surface for optimal stopping power and safety. |
The Role of Performance Exhaust Systems
If you replace your entire exhaust system, including the catalytic converter and muffler, you will notice a difference right away. You might hear a louder sound or feel a slight bump in power due to freer-flowing gases. However, even with a full system replacement, the process recommended by manufacturers is simply normal driving.
Focus on driving gently for the first few hundred miles when installing a full performance system. This allows gaskets to seat properly and any residual manufacturing oils to burn off the new metal without shocking the system with sudden, wide-open throttle runs.
Remember, the exhaust tip is the decoration on the cake; the muffler and piping are the structure. Treat the whole system with respect during initial use, but realize zero special procedure is needed just for the tips.
Common Installation Pitfalls to Avoid
Since we established installation quality is key, let’s review a few minor things that trip up beginners when fitting new tips.
- Over-Tightening Clamps: If you tighten the clamp bolt too much, you can deform the clamp or potentially even crush the existing tailpipe, making future removal extremely difficult or causing a leak. Tighten until snug and stable, not until you hear the metal groan.
- Not Checking for Leaks: After installation, run the car and lightly place your hand (carefully, while wearing gloves) near any connection points. You should feel a steady flow of exhaust gas coming only out of the tip opening itself. Any puffing or hissing suggests a loose connection or a bad seal that needs adjustment.
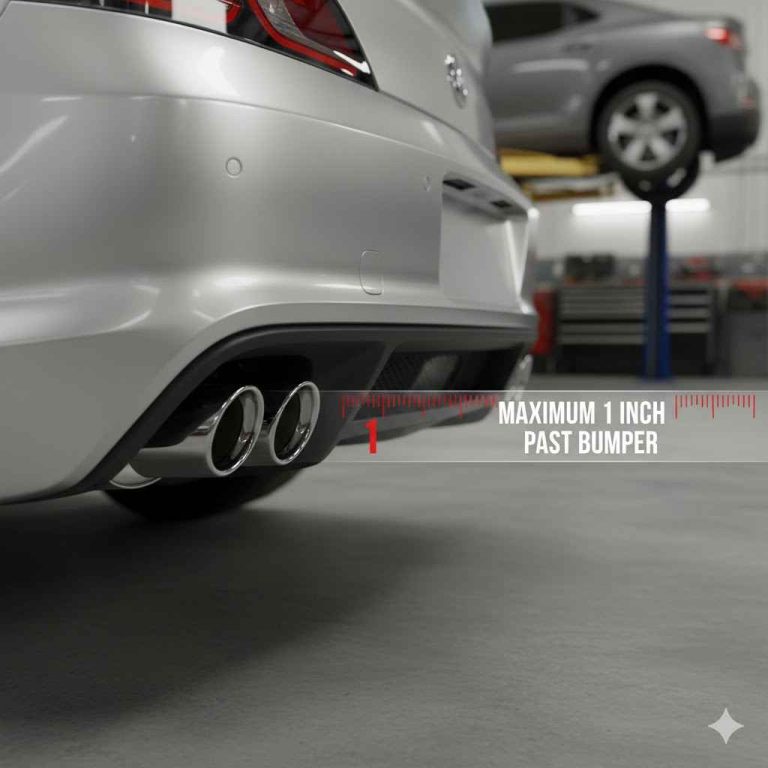
- Improper Alignment Depth: If the tip is pushed too far onto the existing pipe, it might sit too far inside the bumper opening, looking recessed, or worse, it might hit the bumper itself, causing rattling. Aim for symmetry and an even, attractive protrusion from the vehicle bodywork.

Frequently Asked Questions (FAQ) About Exhaust Tips
Q1: Will new exhaust tips void my car’s warranty?
Generally, replacing cosmetic exhaust tips will not void your vehicle’s factory warranty. However, if you damage another component (like the rear bumper or the muffler assembly) during the installation process of the tips, that specific damage would not be covered.
Q2: Why are my new stainless steel tips turning blue/gold?
This is normal heat cycling! Stainless steel changes color as it heats up and cools down. If you have 304 stainless steel, these colors are usually a sign that the metal is heating properly and will stabilize after a few drives. It’s a natural byproduct of heat, not a defect.
Q3: Can I use WD-40 to clean my chrome exhaust tips?
No, WD-40 is a lubricant and penetrating oil, not a cleaner for automotive finishes. It might remove light dust initially, but it will leave an oily residue that attracts dirt and can potentially stain chrome over time. Stick to dedicated car soap or metal polish.
Q4: My tip spins freely even after tightening the clamp. What now?
This means the clamp is not creating enough friction against the pipe. Double-check that the clamp is fully seated around the pipe and not slipping on an uneven surface. If it still spins, you may need to apply several wraps of high-temperature foil tape around the existing pipe before sliding the new tip on, or consider upgrading to a bolt-on style tip.
Q5: How long should I wait before washing my car after installing new tips?
You can wash your car right away, assuming the tips were installed correctly and are tight. Since there is no “break-in” period, the metal has settled its initial thermal changes immediately upon installation.
Q6: Do black exhaust tips ever fade or turn blue?
Yes. If your tips are black ceramic coated or painted, they are designed to withstand high heat, but extreme, sustained heat can sometimes lighten the color or cause a slight iridescent (rainbow/blue) shift, especially towards the exit point. This is usually considered normal wear for high-performance parts.
Conclusion: Enjoy Your Upgraded Look Confidently
You have taken the guesswork out of upgrading your vehicle’s appearance. To summarize our journey together: Do you break in exhaust tips? Absolutely not. They are cosmetic additions that require precise installation, not a running-in period.
Your focus should always be on safety during installation—using secure jack stands and tightening bolts correctly—and utilizing gentle, appropriate cleaning methods afterward. By avoiding harsh chemicals and abrasive scrubbers, you ensure that the beautiful shine or aggressive coating you invested in remains vibrant, ride after ride.
Feel confident bolting on those new tips today. With proper mounting and simple, regular wipe-downs, your vehicle’s rear end will look sharper than ever, proving that sometimes the easiest automotive upgrades are the most rewarding. Happy driving!