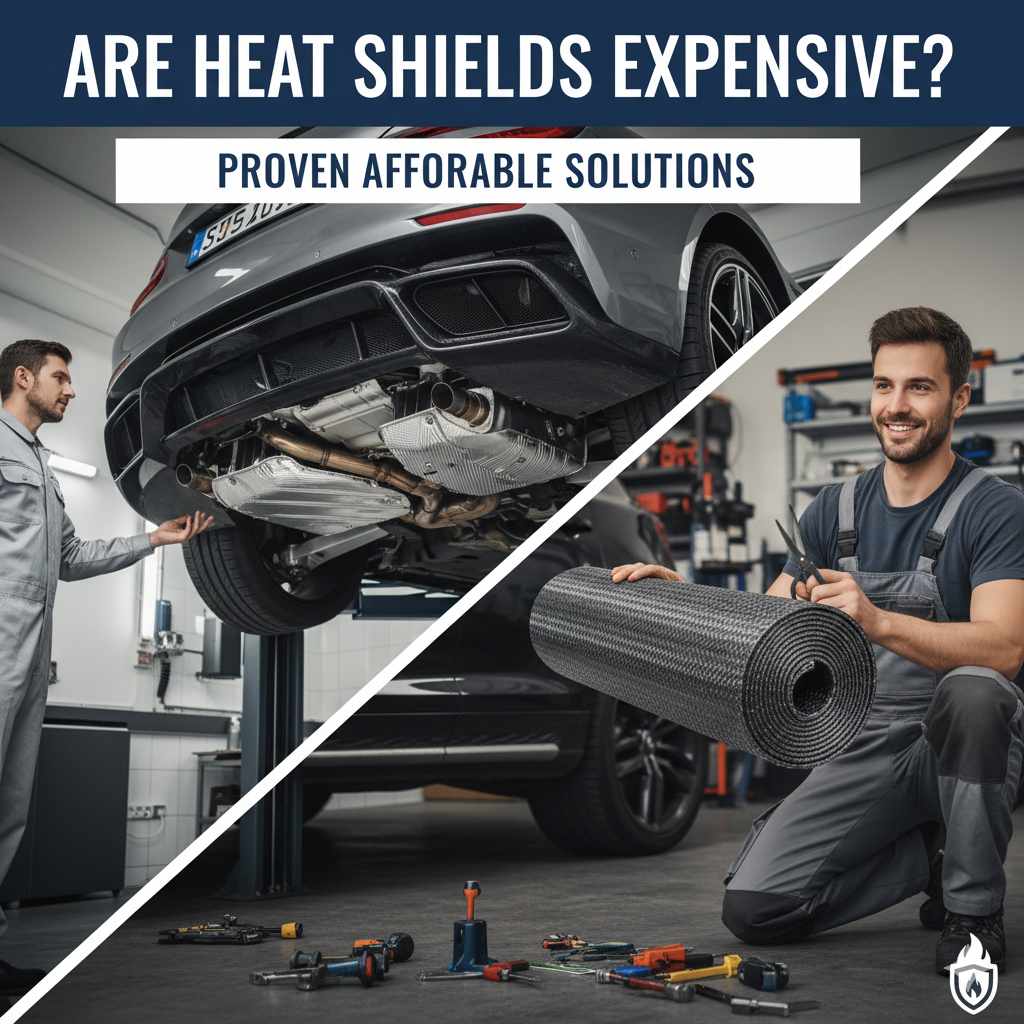
Are Heat Shields Expensive? Proven Affordable Solutions
Don’t break the bank replacing heat shields! While some options can be pricey, affordable, effective solutions like universal kits, DIY fixes, and even careful repairs are readily available for most vehicles. You can protect your car and your wallet.
Is the dreaded rattle from under your car making you wince? You might be dealing with a loose or damaged heat shield. These essential components protect your vehicle from the intense heat of the exhaust system. When they go wrong, they not only get noisy but can also become a safety hazard. Many car owners worry that fixing this might mean a big dent in their wallet. The good news? You don’t always need to spend a fortune to solve this problem. We’ll explore the real costs involved and, more importantly, show you proven, affordable ways to get your heat shields sorted. Let’s tackle this common issue together, and you’ll see it’s more manageable than you think.
Understanding Heat Shields and Their Cost
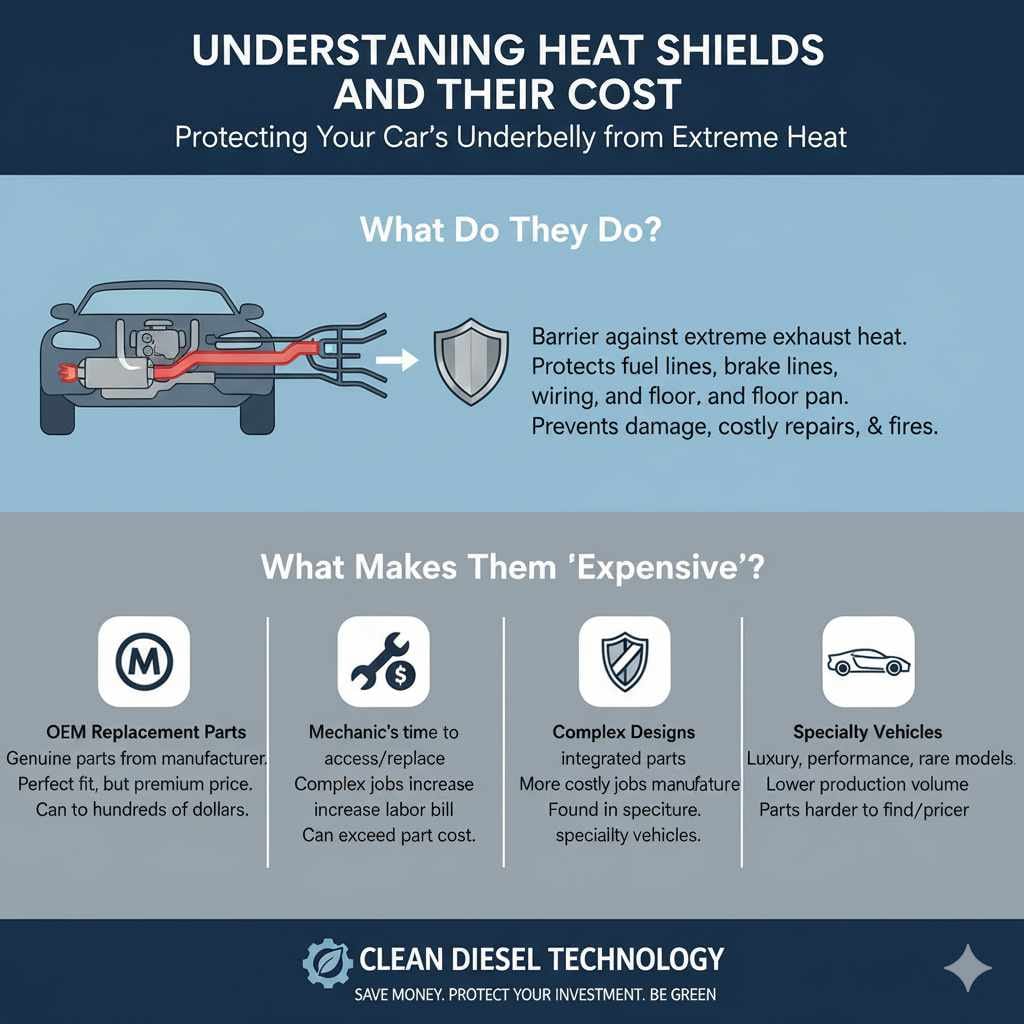
Heat shields are like the unsung heroes of your car’s underbelly. They’re typically made of thin metal, like aluminum or stainless steel, and they act as a barrier. Their main job is to stop the extreme heat generated by your exhaust system – from the engine’s manifold all the way to the muffler – from damaging other nearby parts of your car. Think about components like the fuel lines, brake lines, electrical wiring, or even the floor pan of your car. Without a heat shield, prolonged exposure to high temperatures could cause serious damage, leading to costly repairs and, in the worst cases, even fires.
You’ll find heat shields in various places: around the exhaust manifold, along the exhaust pipes themselves, and particularly near the catalytic converter and muffler. They are designed to be durable, but they aren’t indestructible. Over time, road debris, rust, vibrations, and physical impacts can cause them to weaken, rust through, or even detach.
What Makes Heat Shields “Expensive”?
When people ask “are heat shields expensive?”, they’re usually thinking about a few factors:
- OEM Replacement Parts: The most straightforward but often most expensive route is buying a brand-new, genuine part directly from your car’s manufacturer (Original Equipment Manufacturer or OEM). These are designed to fit your specific vehicle perfectly. However, they can carry a premium price tag, sometimes hundreds of dollars, especially for specialized or multi-piece shields.
- Labor Costs: If you’re not doing the work yourself, a mechanic will charge for their time. Accessing certain heat shields can be tricky, requiring the car to be lifted and sometimes exhaust components to be temporarily removed. This labor can add a significant amount to the total repair bill. For complex jobs, labor might even outweigh the cost of the part itself.
- Complex Designs: Some vehicles have intricate heat shield designs that integrate multiple parts or are made from advanced, heat-resistant materials. These are naturally more costly to manufacture and therefore to purchase.
- Specialty Vehicles: Parts for luxury cars, performance vehicles, or older, rare models can sometimes be harder to find and more expensive due to lower production volumes and specialized materials.
This is where many car owners get nervous, imagining they’ll have to shell out a lot of money. But let’s look at the flip side – the affordable solutions.
Proven Affordable Solutions for Heat Shields
The good news is that you often have several budget-friendly options available. The best solution for you will depend on the specific problem with your heat shield and your comfort level with DIY repairs.
1. Universal Heat Shield Kits
These are a lifesaver for many situations. Instead of buying an exact OEM replacement, you can opt for a universal heat shield kit. These kits come with a sheet of heat-resistant material and fasteners, allowing you to cut out a piece to fit the damaged area or even fabricate a new shield from scratch. They are considerably cheaper than specific OEM parts.
Pros:
- Significantly less expensive than OEM.
- Can be used for various shield types and locations.
- Allows for custom fitting.
Cons:
- May require some cutting and shaping skills.
- Fit and finish might not be as perfect as an OEM part.
- Durability can vary depending on the material quality.
When looking for universal kits, check reputable automotive parts stores or online retailers. Many are made from materials like aluminized steel or stainless steel, designed to withstand high temperatures. You can find them for as little as $20-$50.
2. Repairing Existing Heat Shields
Often, a heat shield doesn’t need full replacement. It might have a few holes, a loose edge, or a rusted-out section. In these cases, repair is a very cost-effective option.
Common Repair Methods:
- Patching: For small holes, you can use a piece of scrap metal (like from a tin can if it’s a temporary fix, or a piece of sheet metal from an auto parts store for a more durable repair) and secure it with high-temperature rivets or bolts and nuts.
- Welding: If you have welding skills and equipment, you can weld patches over rusted areas or reattach detached sections.
- Reinforcing Loose Edges: Sometimes, a shield just needs to be re-secured. You might be able to drill new holes and use bolts, washers, and nuts to reattach it firmly. High-temperature RTV sealant can also help seal gaps and reduce rattling.
- Clamps and Brackets: Heavy-duty, high-temperature exhaust clamps can sometimes be used to secure a sagging or loose shield, especially where it connects to the exhaust pipe.
DIY Repair Example: Fixing a Rattling Shield with Bolts
Let’s say your exhaust pipe heat shield is rattling because one of its mounting points has rusted away. Here’s a simple approach:
- Safety First: Ensure your car is parked on a level surface and cooled down completely. Use jack stands to safely support the vehicle if you need more access underneath. Never rely on a jack alone.
- Access the Shield: Safely get under your car and locate the rattling heat shield. Identify which part is loose.
- Prepare for Reattachment: If a mounting bolt hole is rusted through, you might need to create a new mounting point. You can do this by drilling a new hole in the shield and a corresponding hole in the exhaust pipe flange or hanger it’s supposed to attach to.
- Secure with Hardware: Use a high-temperature bolt (often stainless steel), a washer, and a nut. For extra security and to prevent future rust, use locking washers or thread-locking compound rated for high temperatures. Ensure the bolt isn’t too long that it could interfere with anything.
- Test: Once secured, gently tap the shield to ensure it’s firm and doesn’t rattle. Lower the car safely if it was raised.
Tools you might need include a socket wrench set, drill with metal bits, safety glasses, gloves, and new fasteners. The cost for this type of repair can be as low as $10-$20 for hardware.
3. Creative DIY Solutions (with caution!)
For those who are mechanically inclined and enjoy a challenge, there are more creative DIY fixes. Some people have used heavy-duty metal sheeting (like from galvanized steel trash cans or even robust aluminum foil layered and secured properly, though the latter is often very temporary) to fashion a patch. The key is to ensure the material can withstand high temperatures and is securely fastened so it doesn’t become road debris.
Important Note: While creative solutions can save money, always prioritize safety and material suitability. Using the wrong material could lead to premature failure or even a fire hazard. Always research the temperature resistance of any material you plan to use. For more robust DIY, consider visiting your local metal supplier for scrap pieces of stainless steel or aluminized steel.
4. Used Parts (with careful inspection)
If you need a full replacement and can’t go the universal route, consider sourcing used parts from a reputable auto recycler or junkyard. These parts are typically much cheaper than new OEM ones.
What to look for: