Smoke Test for Exhaust Leaks: How It Works
A smoke test finds exhaust leaks by filling the exhaust path with low-pressure smoke and watching where it escapes. A visible plume at one joint usually means the leak is at or just upstream of that point. Missed leaks can trigger false O2 readings, noise complaints, and repeat repairs. This guide shows how the test isolates leaks by section, what smoke patterns mean at each joint, and when heat, backpressure, or plugged exits can mislead you.
What a smoke test checks


On a car, a smoke test is a low-pressure leak check that uses visible smoke to reveal where gas escapes. Automotive smoke leak detectors are built for closed systems, and some units combine a smoke generator with a built-in air pump. Many also use a pressure gauge or flow meter so you can watch whether the system holds or bleeds down.
The same machine can check EVAP, intake, cooling, EGR, crankcase, turbo, and exhaust leaks. That is useful, but exhaust diagnosis needs a different setup than an EVAP-only test because the exhaust path has normal exits, hot-soak residue, and multiple section joints that can redirect smoke.
Smoke fluid fills the detector and produces visible smoke within seconds on some machines, but it must be used exactly as the manufacturer directs. One listed detector advertises smoke output of 1-6L/min and says the smoke appears within 7-15 seconds. It also uses a flow meter and pressure gauge to help protect the pipeline from damage.
How a smoke machine finds hidden leaks
Smoke follows the easiest escape path. At an exhaust joint, a crack, pinhole, split seam, or bad gasket will usually show a thin wisp first, then a steady plume if the leak is larger or the pressure is held long enough. If a gauge keeps rising, one listed tool describes that as indicating no pipeline problem; if it keeps decreasing, that indicates a leak.
Do not expect smoke to appear at the first open spot every time. Backfill from the tailpipe, soot deposits, condensation, and multiple small leaks can move the visible plume away from the true source. The goal is to isolate the exhaust in sections so each joint can be judged on its own.
Which automotive systems the same tool can test?
An automotive smoke tester can check more than exhaust. Common uses include EVAP, intake, cooling, EGR, crankcase, turbo, and exhaust leak checks. That broad range is helpful, but the access point, sealing method, and safe pressure differ by system. Exhaust testing is usually best done at low pressure, since thin flex sections, gaskets, seals, catalysts, and sensors can be stressed by too much flow.
Seal the exhaust path first, then add smoke at low pressure and watch the system in sections, not all at once. The aim is to keep the smoke inside the section you want to inspect while you control the normal exits, so the plume you see can be tied to one joint instead of the whole rear of the car.
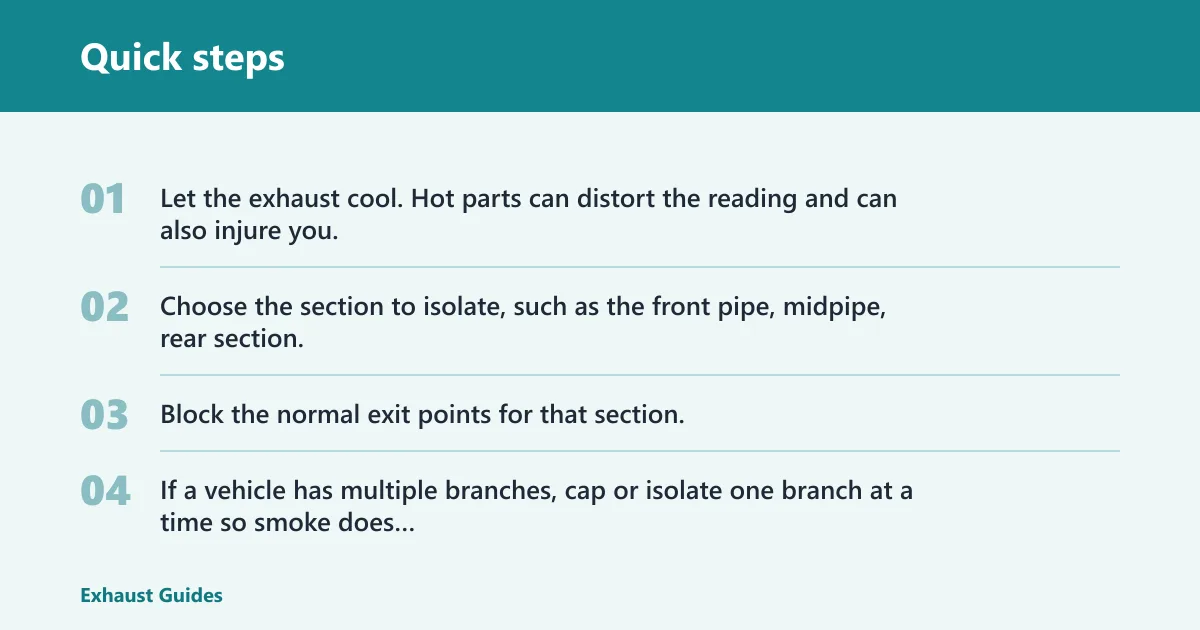
Seal the system before adding smoke
- Let the exhaust cool. Hot parts can distort the reading and can also injure you.
- Choose the section to isolate, such as the front pipe, midpipe, rear section, or a single branch before a Y-pipe.
- Block the normal exit points for that section. A tailpipe opening left fully open can let smoke out where the system is supposed to vent, which hides a leak upstream.
- If a vehicle has multiple branches, cap or isolate one branch at a time so smoke does not backfill through the other side and confuse the result.
Inject smoke at low pressure
Push smoke into the selected access point slowly. The smoke is pushed into the system under low pressure, and that leak detection can be done without damaging pipes or walls. That principle matters even more on exhausts with thin flex sections or older flanges that already have heat-cycle fatigue.
Do not use high pressure to speed the test. Exhaust systems are not designed to be pressurized like a brake booster line. The safer approach is enough pressure to move smoke through the section, but not enough to balloon a flex pipe or force smoke past a seal that only leaks under load.
Watch the system in sections, not all at once
Start at the manifold or first accessible joint, then move outward in sections. If the front section seals cleanly, isolate the next one. This step-by-step approach matters because a rear leak can make the whole system seem suspect, while a front leak can mask a second leak farther back.
Say a compact car has a faint tick on cold start and a soot ring around the front pipe flange. Smoke the front section first with the tailpipe blocked. If smoke appears at the flange but the rear section stays dry, you have a focused diagnosis instead of a vague “exhaust leak somewhere” answer.
Exhaust smoke-test interpretation table
| Leak location | Expected smoke behavior | False-positive causes | Next confirmation step |
|---|---|---|---|
| Manifold | Smoke wisps from the manifold face, runner crack, or heat-shield edge; a steady plume may appear near a warped surface. | Condensation dripping from the heat shield, soot on the casting, or smoke backfill from an open downstream joint. | Recheck with the section isolated; confirm with cold-start ticking or a quick listen near the flange. |
| Gasket | Fine smoke traces around the gasket perimeter, often at one corner first. | Carbon staining that looks like a leak, or smoke escaping from the adjacent pipe seam and rolling across the flange. | Inspect bolt torque and flange flatness, then repeat the smoke test with the neighboring section sealed. |
| Flex pipe | Smoke lifts through braid gaps or a split bellows section, often as a side plume that grows under steady flow. | Steam from condensation inside the flex, or smoke escaping from a clamp ahead of the flex and blowing across it. | Check for rust stripes, broken braid, or a visible crack in the bellows after the system cools. |
| Flange | Smoke escapes at the flange edge, usually as a narrow ribbon around one side of the joint. | Uneven soot buildup, a warped flange that leaks only when hot, or smoke reflecting off a nearby shield. | Mark the leak point, then inspect gasket seat, stud tension, and flange face alignment. |
| Muffler seam | Smoke seeps from a seam line, pinhole, or perforated shell, sometimes across a long section of the can. | Normal condensation drainage or soot around the seam from past exhaust pulses. | Tap and inspect the shell for rust-through, then check whether the plume repeats from the same spot. |
| Y-pipe | Smoke appears at the merge point or one branch weld, often with one side filling faster than the other. | Backfill from the opposite branch, especially if both banks are open or poorly capped. | Seal one branch at a time and repeat to see which side actually leaks. |
| Tailpipe joint | Smoke exits at the slip joint, clamp, or hanger-supported connection near the rear of the vehicle. | Smoke coming out of the normal tailpipe exit, condensation at the outlet, or a blocked rear tip forcing smoke around the joint. | Isolate the tip and inspect the slip fit, clamp position, and any split seam under the joint. |
What smoke at each joint means
Thin wisps usually mean a small leak, a leak under borderline pressure, or a joint that opens more when hot. A steady plume usually means the leak path is larger, less restricted, or directly connected to the section you isolated. The pattern matters as much as the location.
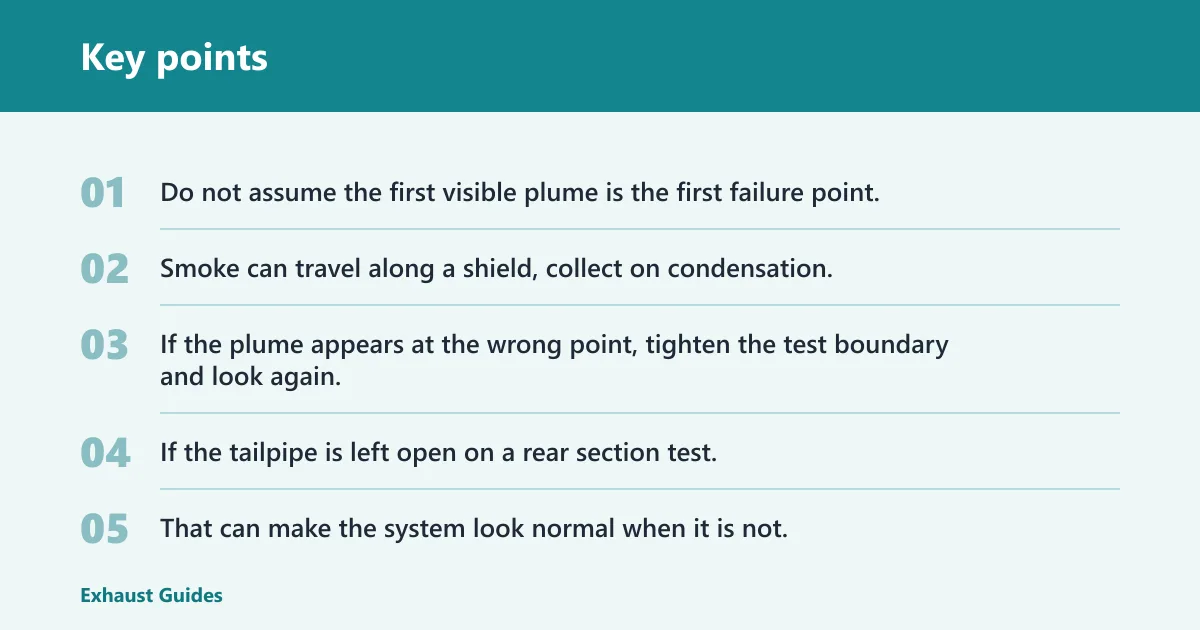
Do not assume the first visible plume is the first failure point. Smoke can travel along a shield, collect on condensation, and exit where the air gap is easiest rather than where the crack starts. If the plume appears at the wrong point, tighten the test boundary and look again.
Backfill from the tailpipe
If the tailpipe is left open on a rear section test, smoke may exit there before it reveals a leak upstream. That can make the system look normal when it is not. The fix is simple: seal the normal outlet for the section under test, then reopen it only after you move to the next section.
A common first-timer mistake is to smoke the whole exhaust at once and then trust the first plume at the tip. That reading is weak. Isolate the branch, block the outlet, and let the smoke prove which joint is leaking.
Smoke that appears at the wrong point
Condensation can drip from a shield or seam and carry smoke with it, which makes the leak appear lower or farther back than it is. Soot can do the same by staining the path where smoke later condenses. Multiple leaks can also create a false trail, so the visible plume should be confirmed from both ends of the section.
What pressure should you use?
Use low pressure. The safest exhaust smoke test is the one that fills the section without stressing it. One listing says the detector uses a flow meter and pressure gauge to protect the pipeline from damage. On that type of tool, a rising pressure gauge is described as indicating no pipeline problem, while a falling gauge points to a leak.
Reading the gauge or flow meter
A stable reading means the section is likely holding smoke. A slow drop means the system is leaking somewhere in the isolated section. A fast drop means the opening is larger or the section is not sealed well enough for the test to mean anything. If the tool has a flow meter, use it the same way: a changing reading is a clue, not a verdict by itself.
Stop and reset the test if the pressure climbs too quickly, if a flex pipe starts to bulge, or if smoke is clearly escaping from a normal outlet you forgot to block. Then reseal and test the smaller section instead of trying to force one pass on the whole system.
When to stop and reset the test
Stop if smoke is entering the cabin, if the gauge behavior is erratic, or if you suspect a blocked path is causing pressure to build in the wrong place. Exhaust smoke testing should answer a narrow question. If the question changes, reset the setup rather than chasing a misleading plume.
Which adapters do you need?
Many smoke tools connect through the EVAP service port. On many 1996+ American cars, that port is a common access point and may be located in the engine compartment or elsewhere on the vehicle. Some setups need an adapter, and some require a check valve to be removed before the machine can connect properly.
Using the EVAP service port
That port can be useful for testing more than EVAP when the exhaust layout and the vehicle design make it a practical access point. The key is whether the smoke can be routed into the section you want without bypassing it. If the port connects to a path that does not isolate the exhaust, pick a different entry point.
Other access points on non-EVAP setups
On some vehicles, a downstream sensor opening, a temporarily removed clamp, or a disconnected joint gives a better path for exhaust smoke. The best adapter is the one that lets you fill the chosen section slowly and seal it again cleanly. Do not force a connector that does not fit; leaks at the adapter can mimic leaks in the exhaust.
When smoke testing can mislead you
Smoke testing is useful for hidden leaks, but it is not perfect. It can be fooled by condensation, soot, a partially blocked tailpipe, and multiple small leaks that redirect the plume. It can also point you to the wrong joint if smoke is escaping through a normal outlet that was not sealed for that section.
Suppose a wagon has a rear muffler seam leak and a slightly loose midpipe flange. Smoke may first appear at the rear seam because that path is easiest, even though the flange is the larger fault. That is why the test should be repeated section by section until the pattern stays consistent.
When another check is better first
A cold-start listening test works well for a crack that ticks loudly when metal is cold and opens as it warms. A propane test can help on some intake-related problems, but it is not the first choice for a hot exhaust system. Shop air plus soapy water can be useful on a removed section or a bench-tested part, but it is less practical on a complete underbody system than smoke.
Use smoke when you need to see a hidden path. Use listening when the leak is obvious only on startup. Use soapy water when the part is off the car and you can safely pressurize it in a controlled way. For many exhaust faults, the best answer is a mix of those checks, not one method alone.
Frequently asked questions
How do you smoke test your exhaust system?
Seal the section you want to inspect, introduce low-pressure smoke, and watch each joint for a visible plume. Start with the manifold or front pipe, then move rearward in sections. Keep the tailpipe or other normal exits blocked for the section under test so smoke does not backfill and hide the real leak.
How do you smoke test exhaust leaks?
Use an automotive smoke leak detector with smoke fluid, then connect it to a safe access point and isolate the exhaust section. Watch the manifold, gasket, flex pipe, flange, muffler seam, Y-pipe, and tailpipe joint one at a time. If the gauge drops, the section is leaking.
What is a smoke test for a car?
It is a low-pressure leak check that uses visible smoke to show where air or gas escapes from a closed system. On cars, the same tool can check EVAP, intake, exhaust, turbo, EGR, crankcase, and cooling systems. The setup changes with the system.
How does a smoke machine find hidden leaks?
It fills the target system with smoke under low pressure. Smoke escapes through the smallest opening, so the leak often becomes visible even when it is hard to hear or feel. Pressure gauge or flow meter readings help confirm whether the system is holding or bleeding down.
Can a smoke test find turbo or EGR leaks too?
Yes. The same smoke tester can be used on turbo and EGR systems, along with intake, EVAP, crankcase, cooling, and exhaust checks. The access point and pressure need to match the system, and the exhaust still needs low-pressure testing to avoid stressing flex sections or seals.
What pressure should a smoke test use on a vehicle?
Use low pressure only. Exhaust systems should not be pressurized hard, because thin flex sections, gaskets, catalysts, and sensors can be damaged or distorted. Watch the gauge or flow meter instead of chasing a higher reading; a stable or rising gauge can indicate that the section is sealed.