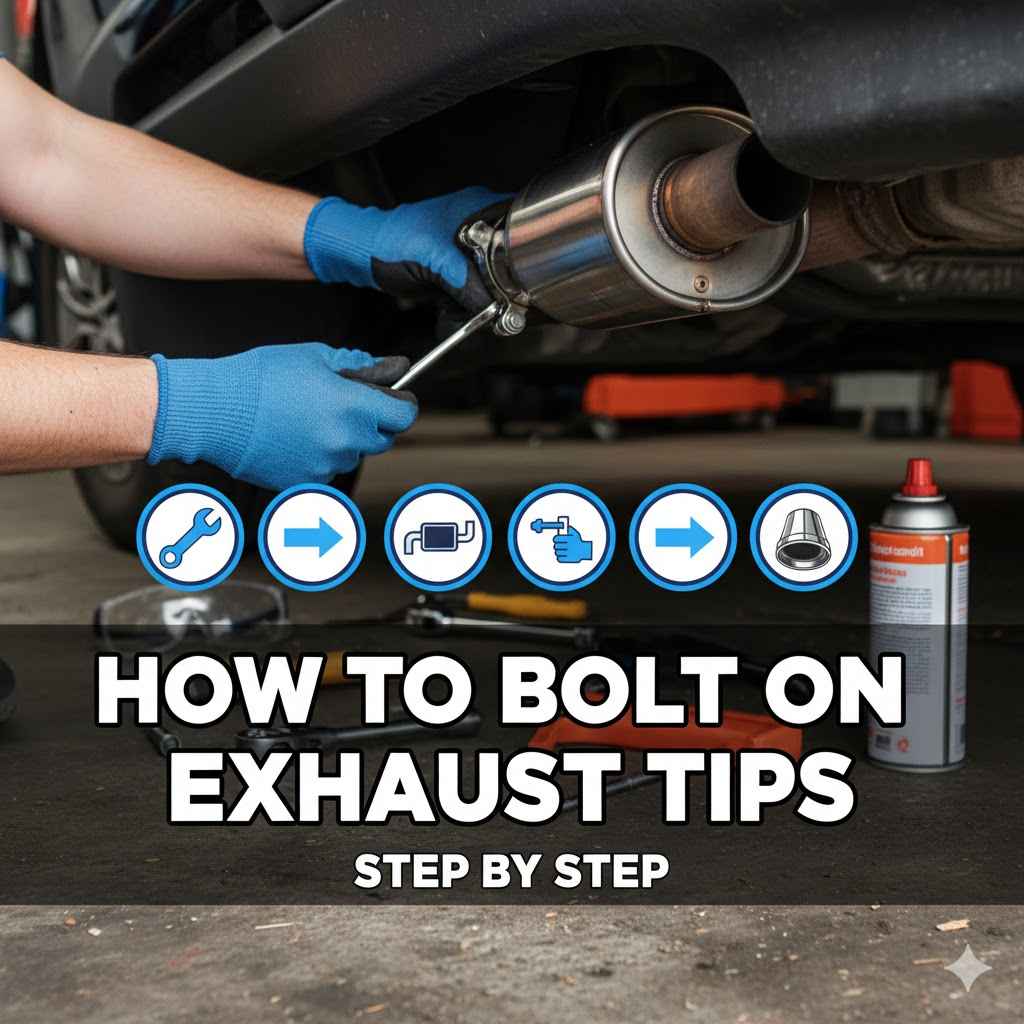
How to Bolt On Exhaust Tips Step By Step
Want to give your car’s tailpipe a fresh look? Bolting on new exhaust tips might seem tricky, especially if you’ve never done it before. You might wonder if you need special tools or if it’s a job for a mechanic.
Don’t worry! Learning How to Bolt On Exhaust Tips Step by Step is easier than you think. This guide will walk you through everything you need to know, making it a simple and fun DIY project.
We’ll cover what you need and how to get the job done right.
Choosing Your New Exhaust Tips
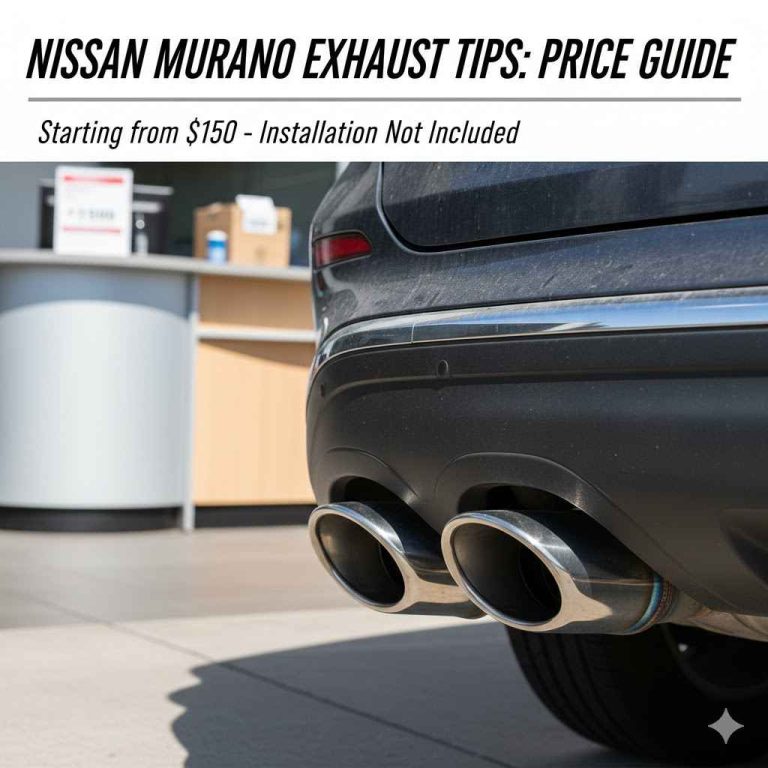
Picking the right exhaust tips is the first exciting step in upgrading your car’s look. These tips are the flashy end pieces of your exhaust system. They don’t change how your engine sounds or performs, but they can make a big difference in your vehicle’s style.
Many types are available, made from different materials like stainless steel or carbon fiber, and they come in various shapes and sizes. Thinking about your car’s overall design will help you choose tips that fit well and look great.
Material Matters
The material your exhaust tips are made from affects their look and how long they last. Stainless steel is popular because it resists rust and looks shiny for a long time. It’s tough and can handle the heat from your exhaust.
Carbon fiber tips are super light and give a sporty, high-tech appearance. They are also very strong. Other options might include chrome-plated metal, which offers a classic bright shine but can sometimes chip or pit over time if not cared for.
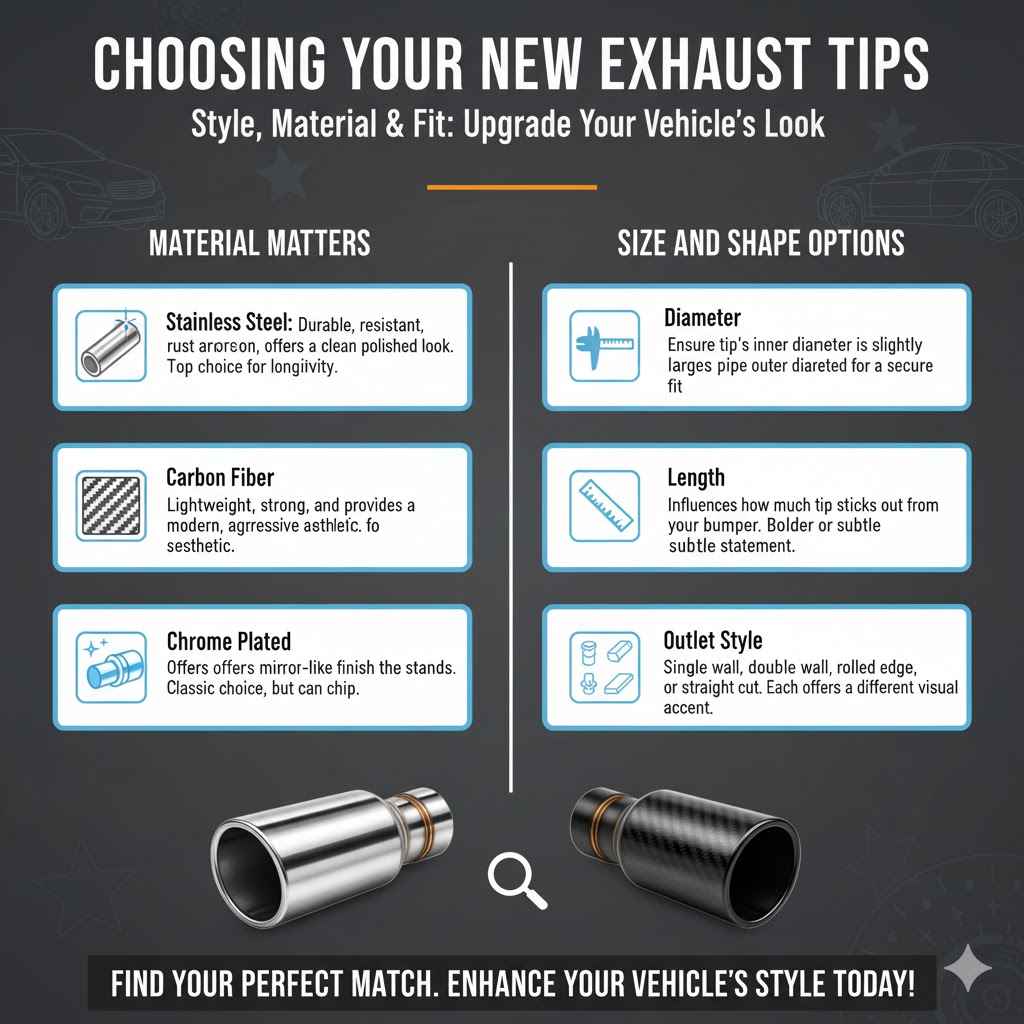
Stainless Steel: Durable, resistant to rust and corrosion, offers a clean polished look. It’s a top choice for longevity and appearance.
Stainless steel tips can withstand high temperatures and exposure to road salt and moisture without degrading quickly. They are relatively easy to clean, keeping their shine with simple washing.
Carbon Fiber: Lightweight, strong, and provides a modern, aggressive aesthetic. Often used on performance vehicles.
Carbon fiber is a composite material known for its high strength-to-weight ratio. Its woven pattern gives it a distinct visual appeal that many car enthusiasts desire. While stylish, it can be more susceptible to scratches than metal.
Chrome Plated: Offers a mirror-like finish that stands out. It’s a classic choice for many car owners.
Chrome plating gives a brilliant, reflective surface. However, this finish can be less durable than stainless steel and may require more upkeep to prevent damage from chemicals or harsh weather.
Size and Shape Options
The size and shape of your exhaust tips should complement your car’s bumper and existing exhaust pipe. Tips come in single, dual, or even quad outlets. You can find round, oval, square, or angled styles.
Measuring your current exhaust pipe’s diameter is important. This helps ensure the new tips will fit snugly or be the correct size to clamp onto. An ill-fitting tip can look awkward and may not stay in place.
Diameter: Ensure the tip’s inner diameter is slightly larger than your exhaust pipe’s outer diameter for a secure fit.
Getting the diameter right is key. If the tip is too small, it won’t slide over the pipe. If it’s too large, it might rattle or not clamp effectively.
Aim for a fit that is snug but allows for slight adjustment during installation.
Length: The length of the tip can influence how much of it sticks out from the bumper.
A longer tip can create a bolder statement, while a shorter one offers a more subtle enhancement. Consider the vehicle’s rear design to decide what length looks best and doesn’t interfere with any other parts.
Outlet Style: Choose from single wall, double wall, rolled edge, or straight cut.
Single wall tips are basic. Double wall tips have an inner and outer layer, adding thickness and a more premium look. Rolled edges are often found on sportier designs, while straight cuts offer a clean, modern appearance.
Each offers a different visual accent.
Gathering Your Tools and Supplies
Before you start working on your car, make sure you have all the necessary tools and supplies. Having everything ready will make the process of How to Bolt On Exhaust Tips Step by Step much smoother. You don’t want to be searching for a wrench halfway through the job.
Most of the items needed are common and can be found at hardware stores or auto parts shops.
Essential Tools
You’ll need a few basic tools to get the job done safely and correctly. A socket wrench set with various sizes is very useful. You might also need a screwdriver, especially if your current tips are held on by screws.
A tape measure is good for double-checking sizes. Having a pair of gloves will protect your hands from dirt and sharp edges. Safety glasses are also a good idea to keep your eyes protected.
Socket Wrench Set: Essential for tightening or loosening bolts.
A good socket set includes various common bolt sizes. This tool allows you to apply even pressure and torque, which is important for securely attaching the new tips without damaging them or the exhaust pipe.
Screwdriver Set: May be needed for clamps or set screws.
Some exhaust tip clamps use screws. Having a set with different head types (Phillips and flathead) and sizes ensures you can handle whatever type of fastener your new tips use.
Tape Measure: For verifying measurements.
A tape measure helps confirm the diameter of your existing exhaust pipe and the fit of the new tips. Accuracy here prevents potential problems during installation.
Gloves: To protect your hands.
Auto parts can be dirty, greasy, or have sharp edges. Wearing work gloves keeps your hands clean and safe from minor cuts or scrapes.
Safety Glasses: To protect your eyes.
When working under a car or with tools, there’s always a risk of debris falling or flying. Safety glasses are a must for eye protection.
Supplies for Installation
Beyond tools, a few extra supplies can help ensure a perfect installation. Some exhaust tips use clamps, and you might need a new, high-quality exhaust clamp if the one that comes with your tips isn’t robust enough. A bit of high-temperature exhaust sealant can create a tighter, more secure seal between the tip and the pipe, preventing leaks and rattles.
It also helps prevent exhaust gases from escaping.
Exhaust Clamps: Ensure you have the right size and type.
Clamps are often used to hold exhaust tips in place. Look for stainless steel clamps designed for exhaust systems, as they are durable and resist rust. The clamp size should match the diameter of the exhaust pipe you’re attaching the tip to.
High-Temperature Exhaust Sealant: For a leak-proof seal.
This specialized sealant is designed to withstand the extreme heat of an exhaust system. Applying a small amount can fill any tiny gaps, ensuring no exhaust gases escape around the tip, which also helps prevent rattling.
Wire Brush: For cleaning the exhaust pipe.
Before attaching new tips, cleaning the end of your existing exhaust pipe is crucial. A wire brush removes rust, dirt, and old exhaust residue, creating a clean surface for a better fit and seal.
Preparing Your Vehicle
Safety comes first when working on your car. Preparing your vehicle properly ensures you can access the exhaust system easily and work without risks. This step involves making sure your car is stable and accessible.
Taking a few minutes to do this will save you a lot of trouble later.
Safe Lifting and Support
If you need to lift your car to get better access, use a reliable jack and, most importantly, jack stands. Never work under a car that is only supported by a jack. Place the jack stands on a strong part of the car’s frame.
Ensure the ground beneath the jack and stands is level and firm. A car that is not properly supported can cause serious injury. If your car is low to the ground, you might not need to lift it, but always ensure you have enough room to work comfortably and safely.
Use a quality jack: Ensure it can lift your vehicle’s weight.
The jack is the first tool to raise the vehicle. Make sure it’s rated for your car’s weight and is in good working order. Hydraulic jacks are common and generally safe.
Always use jack stands: Never rely solely on a jack.
Jack stands are designed to hold the car’s weight securely. Place them under strong points of the frame or chassis. They provide a much more stable support than a jack alone.
Chock the wheels: Prevent the vehicle from rolling.
Place wheel chocks behind the wheels that remain on the ground to prevent the car from accidentally rolling while it’s lifted.
Work on a level surface: Ensure stability.
A flat, hard surface like concrete is ideal. Uneven ground can cause the jack or stands to shift, creating a dangerous situation.
Cleaning the Exhaust Area
Once you have access, take time to clean the end of your exhaust pipe. This involves removing any rust, dirt, or old exhaust soot. A wire brush works well for this.
A clean surface helps the new exhaust tip fit snugly and securely. It also ensures that any sealant you use will bond properly. A clean area makes the entire process of How to Bolt On Exhaust Tips Step by Step much more effective.
Remove surface rust and debris: Use a wire brush.
Scrub the end of the exhaust pipe thoroughly. This removes anything that might prevent a good seal or a tight fit. Old rust and carbon buildup can be stubborn but need to be cleared away.
Wipe down with a clean cloth: Ensure no dust remains.
After brushing, wipe the pipe clean with a dry cloth. This removes any loose particles left behind by the brush. A pristine surface is essential for the best results.
Step-By-Step Installation Guide
Now you’re ready for the actual installation. Following these steps carefully will ensure your new exhaust tips are attached securely and look great. This guide makes learning How to Bolt On Exhaust Tips Step by Step straightforward and achievable for anyone.
Removing Old Exhaust Tips (If Applicable)
If your car currently has exhaust tips, you’ll need to remove them first. Most tips are attached with clamps or set screws. Locate these fasteners.
Loosen the clamp with a socket wrench or screwdriver until you can slide the old tip off. Some older tips might be rusted in place; a little penetrating oil can help if they are stuck. Be patient and gentle to avoid damaging your existing exhaust pipe.
Locate the fasteners holding the old tip.
These are usually clamps around the pipe or small set screws on the side of the tip.
Loosen the clamps or screws.
Use the appropriate tool (socket wrench or screwdriver) to loosen them. Turn counter-clockwise to loosen.
Gently slide or pull the old tip off.
If it’s stuck, a gentle wiggle or tap might help. If severely rusted, consider a bit of penetrating oil.
Inspect the exhaust pipe for damage.
Ensure the pipe end is in good condition before attaching new tips.
Attaching the New Exhaust Tips
Slide the new exhaust tip onto the end of your car’s exhaust pipe. Make sure it’s positioned evenly. If your tips came with a clamp, position it over the area where the tip meets the pipe.
Tighten the clamp securely using your socket wrench. If you’re using exhaust sealant, apply a small bead around the exhaust pipe before sliding on the new tip. This creates a strong, leak-free seal.
Ensure the tip is straight and aligned with your car’s bumper before fully tightening everything.
Apply exhaust sealant (optional but recommended).
Put a thin, even layer of high-temperature exhaust sealant around the end of the exhaust pipe.
Slide the new exhaust tip onto the pipe.
Push it on firmly until it meets the sealant or rests against the end of the pipe.
Position the clamp over the connection point.
Ensure the clamp is snug against the exhaust pipe and covers the area where the tip is attached.
Tighten the clamp securely.
Use your socket wrench to tighten the clamp’s bolts. Don’t overtighten, but ensure it’s snug enough that the tip won’t move.
Check alignment and straightness.
Step back and look to ensure the tip is centered and pointing straight out from the bumper.
Fully tighten the clamp once alignment is confirmed.
Do a final tightening to ensure the tip is firmly secured.
Final Checks and Securing
Once the new tips are on, give them a good tug to make sure they are solid and won’t move. Check that they are straight and centered. If you used sealant, allow it to cure according to the product’s instructions, which usually takes a few hours.
A quick test drive can confirm there are no unusual noises or vibrations. This completes the process of How to Bolt On Exhaust Tips Step by Step.
Test for wobble or looseness.
Gently try to twist or pull the exhaust tip to ensure it’s firmly attached and doesn’t shift.
Verify aesthetic alignment.
Make sure the tip looks good from all angles, centered in the bumper opening.
Allow sealant to cure.
Refer to the sealant’s packaging for the recommended curing time. Avoid excessive vibration or stress during this period.
Perform a brief test drive.
Listen for any strange noises like rattling or whistling. Check that the tips remain secure.

Frequently Asked Questions
Question: How long does it take to bolt on exhaust tips
Answer: On average, bolting on exhaust tips takes about 30 minutes to an hour. This depends on your experience and if you encounter any stuck fasteners.
Question: Do I need special tools to install exhaust tips
Answer: Usually, basic tools like a socket wrench set and a screwdriver are enough. Some specialized clamps might require specific tools, but most kits come with necessary hardware.
Question: Can exhaust tips affect my car’s performance
Answer: No, exhaust tips are purely cosmetic. They do not change how your engine runs or how much power your car has.
Question: What if my new exhaust tips don’t fit
Answer: Double-check the diameter measurements. You might need a different size tip or a specific adapter if the exhaust pipe is an unusual size.
Question: Should I use exhaust sealant
Answer: Using high-temperature exhaust sealant is recommended. It helps create a secure, leak-proof seal and can prevent rattles or vibrations.
Wrap Up
You have learned how to bolt on exhaust tips step by step. It’s a straightforward process that can greatly enhance your car’s appearance. With the right tools and a little patience, you can achieve a professional look easily.
Enjoy your upgraded ride!