
How to Find a Leaking Oxygen Sensor Bung
Find a leaking oxygen sensor bung by isolating the leak with a cold-start check or smoke test: if soot, bubbles, or a sharp tick appears at the bung while the sensor is correctly tightened, the bung is the source. Leave it alone, and you can end up with noisy running, false O2 readings, melted wiring, and a repair that grows fast. This guide shows how to rule out other exhaust leaks, confirm a bung leak, and choose the right fix for damaged threads, thin pipe, or a cracked weld.
What you’ll need

- Creates thick visible smoke for easy leak detection at bungs
- Adjustable pressure protects EVAP and sensitive components
- EVAP, vacuum, intake, and exhaust modes covered
- Gloves and eye protection
- Flashlight or inspection light
- Small mirror for hidden sides of the pipe
- Socket or oxygen sensor wrench for the sensor hex
- Smoke machine set for low-pressure smoke
- Spray bottle with soapy water
- Infrared thermometer
- Anti-seize or thread seal only if the sensor maker calls for it
- Replacement oxygen sensor, bung plug, or repair bung as needed
How to isolate the leak
- Start cold. Let the exhaust cool fully before you begin, then start the engine and listen near the bung area from a safe distance. A sharp tick at startup that fades as the metal heats often points to a small leak, while a steady puffing sound can point to a wider gap or crack.
- Trace the soot. Look for a black carbon ring around the sensor hex, the bung weld, or the pipe beside it. A thin soot line at the threads suggests seepage at the bung, while soot that starts at a weld bead or flange edge points elsewhere.
- Check nearby joints. Inspect the manifold gasket, flange, flex pipe, and any repaired section upstream of the sensor. A leak there can sound like a bung problem because the noise can travel along the pipe, and the oxygen sensor may still set fuel-trim codes.
- Confirm with smoke. If the area is still uncertain, use low-pressure smoke with the engine off and the exhaust cool. Watch for smoke leaving the bung threads, the weld, or the adjacent pipe seam; do not use high-pressure air, which can widen a weak leak.
Say your 18 mm sensor hex is dry but there is a black crescent on one side of the bung. If smoke appears at the same edge, the leak is usually at the bung-to-pipe joint, not at the sensor tip itself.
What a bung leak looks like
A leaking oxygen sensor bung usually shows its clues right at the sensor port: a tick or puff near the hex, soot at the threads or weld, and a leak that may be worse cold than hot. Because the bung is the threaded port the sensor seals against, even a slight thread gap can leak exhaust.
What to look for at the bung
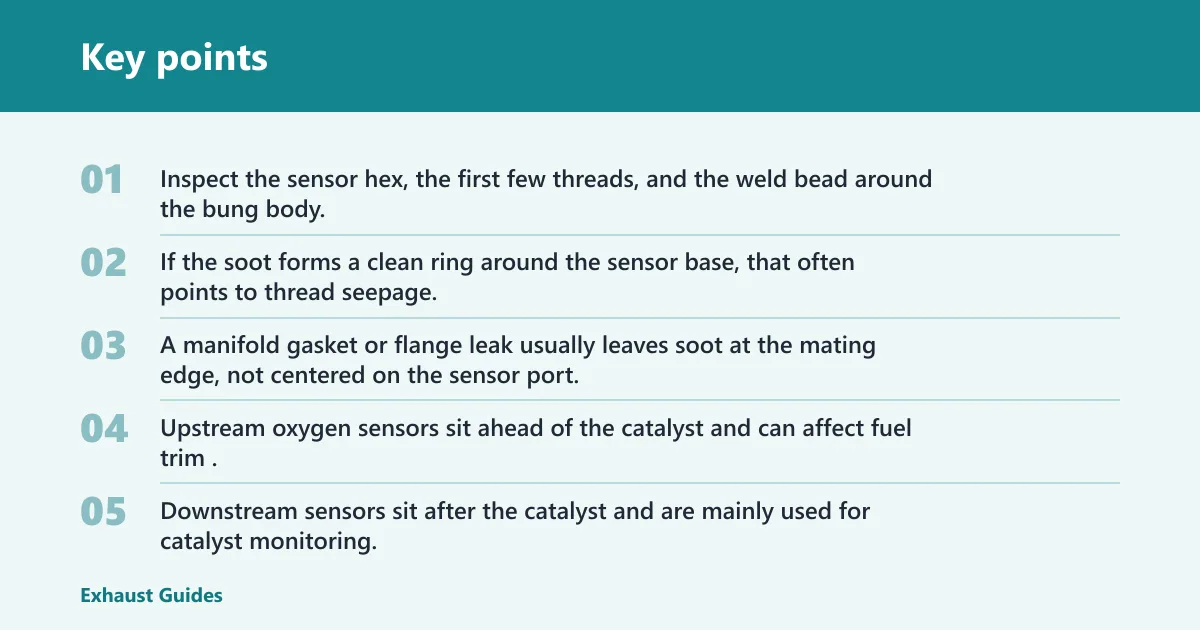
Many oxygen sensor bungs use M18 x 1.5 threads, but the hole size should match the bung kit or repair part, not the sensor alone. Inspect the sensor hex, the first few threads, and the weld bead around the bung body. If the soot forms a clean ring around the sensor base, that often points to thread seepage.
What a manifold or flange leak looks like
A manifold gasket or flange leak usually leaves soot at the mating edge, not centered on the sensor port. The sound may be louder close to the head or flange than at the bung, and smoke may escape before it reaches the sensor area. That location difference matters more than the noise alone.
How sensor location changes the clues
Upstream oxygen sensors sit ahead of the catalyst and can affect fuel trim. Downstream sensors sit after the catalyst and are mainly used for catalyst monitoring. A leak near an upstream sensor can alter trim faster, but either location can leak at the bung, the pipe, or a nearby joint.
Can a smoke test confirm it?
A low-pressure smoke test is commonly used to confirm a small exhaust leak, including a bung leak, because it shows the exit point. It should confirm a suspected area, not replace a careful visual inspection and sound check.
- Seal the tailpipe. Block the exhaust outlet so smoke can build inside the system. Keep the pressure low enough that the smoke machine is doing the work, not compressed air.
- Watch the suspect area. Feed smoke through the exhaust and inspect the bung, weld, flange, and nearby pipe seam. Smoke at the sensor base usually points to thread seepage; smoke from the bead or pipe wall points to a crack or bad weld.
- Use soapy water only where reachable. With the engine idling, spray a light soap mix on joints you can easily reach. Bubbles mark escaping exhaust gases, but this works best on short, exposed sections and should not be used on a hot converter or a long rusted pipe.
- Compare temperatures. An infrared thermometer can help compare suspect spots after a cold start or short idle. A cooler patch near a leak may support the diagnosis, but the thermometer is only a clue, not a stand-alone test.
Suppose smoke escapes from the bung only after the sensor is warmed and expanded. That pattern often points to thread wear or a damaged sealing surface rather than a completely cracked pipe.
Oxygen sensor bung decision table
| Cold-start ticking | Soot ring shape | Smoke-test outcome | Thread condition | Leak location | Next action |
|---|---|---|---|---|---|
| Sharp tick at start, fades warm | Thin ring at sensor base | Smoke at threads only | Lightly worn, not crossed | Bung threads | Remove sensor, inspect, clean threads, reinstall to spec with correct seal use only if allowed |
| Tick near head or flange | Soot at mating edge | Smoke at gasket or flange | Sensor threads look clean | Manifold gasket or flange | Repair the gasket, flange, or fasteners before touching the bung |
| Puffing under load | Soot trail from bead | Smoke from weld or crack | Threads intact | Weld bead or pipe wall | Replace or weld in a new bung if the nearby pipe is sound; replace the section if rust is spreading |
| Intermittent tick, CEL present | Wider soot halo | Smoke at sensor and seam | Cross-threaded or damaged | Mixed bung and pipe damage | Repair threads only if the base metal is solid; otherwise install a weld-in repair bung |
How do you repair stripped bung threads?
Stripped bung threads can sometimes be saved, but only if the bung body and pipe metal are still solid. If the sensor will not seat, wobbles, or leaves a leak after tightening, move from thread cleanup to a threaded repair or a weld-in bung rather than forcing the sensor harder.
- Remove the sensor carefully. Back it out straight to avoid shaving more threads from the bung. If the sensor came out with damaged threads, inspect the first few turns for galling or cross-thread marks.
- Inspect the sealing surface. Check whether the sensor seals on its seat or only on the threads. Missing seal surfaces, crushed edges, or removal damage can keep a good sensor from sealing even when the thread pitch is correct.
- Choose the repair path. Use a thread chaser or threaded repair only when the bung wall is thick enough and the pipe is not rust-thin. If the area is thin, rusted, or cracked, a weld-in repair bung is often the better fix than a clamp-on repair.
- Install the right seal method. Use anti-seize or thread seal only where the sensor maker allows it, and keep it off the sensing tip. If the port is unused, a bung plug can seal it, but the plug must match the thread pitch and the heat load of the exhaust location.
A common first-timer mistake is to keep tightening a noisy sensor until the hex bottoms out. That can split a weak bung or destroy the remaining threads, turning a simple reseal into a weld repair.
Weld-in versus clamp-on repair
A weld-in oxygen sensor bung is the better choice when the pipe is thin, rusted, patched before, or cracked near the port. A clamp-on repair may work only on solid tubing with enough wall thickness and no heat damage around the clamp band. If the pipe flexes or flakes rust, clamp-on parts tend to last poorly.
When a bung plug makes sense
Use a bung plug when the port is no longer needed and the thread size is known. It can be a temporary seal during diagnosis or a permanent seal on an unused opening, but it must match the bung thread and live safely in exhaust heat. A loose or wrong-pitch plug will leak immediately.
Common mistakes
- Blaming the bung before checking the manifold gasket, flange, flex pipe, and nearby welds.
- Using high-pressure air instead of low-pressure smoke, which can push through a weak seal and mislead the diagnosis.
- Reading soot only where it is easiest to see, instead of tracing the soot trail back to its start.
- Overtightening a damaged sensor into stripped threads.
- Using anti-seize or thread seal on the sensing tip or on a sensor design that does not call for it.
- Choosing a clamp-on repair for rusted or thin tubing that really needs a weld-in bung.
Frequently asked questions
What size hole for o2 sensor bung
Most oxygen sensor bungs use M18 x 1.5 threads, but the hole size should follow the bung kit or repair part you are installing. Do not guess from the sensor alone. Match the drill and tap size to the specific bung hardware so the sensor seats squarely and seals.
How do I tell if the oxygen sensor bung is leaking or if it’s the exhaust manifold gasket?
Check where the soot starts and where the sound is loudest. A bung leak usually marks the sensor base or bung weld, while a manifold gasket leak marks the head-to-manifold or flange edge. Smoke that exits before the sensor points upstream of the bung.
Can I use soapy water to find a leaking oxygen sensor bung?
Yes, but only on accessible areas and with the engine idling. Spray a light soap mix on the suspected joint and watch for bubbles. Use it to confirm a spot you have already narrowed down by sound and soot, not as the only diagnosis method.
Will a leaking oxygen sensor bung cause a check engine light?
It can. A leak near an upstream sensor may skew fuel trim, and a downstream leak can affect catalyst monitoring or set related codes. The light does not prove the bung is the only fault, so inspect nearby joints before replacing the sensor or bung.
Is a weld-in oxygen sensor bung better than a clamp-on repair?
On thin, rusted, or previously patched tubing, yes. A weld-in repair bung is usually the stronger choice because it restores the port with proper metal support. A clamp-on repair makes sense only on sound pipe with enough wall thickness and no surrounding crack.
How do I repair a stripped oxygen sensor bung threads?
Start by removing the sensor and inspecting the first threads and sealing surface. If the metal is still solid, a thread repair may work. If the bung is thin, cracked, or badly cross-threaded, the better fix is often a weld-in replacement bung rather than another sensor attempt.
What tools do I need to inspect an oxygen sensor bung for leaks?
Use gloves, eye protection, a flashlight, a mirror, and a socket or sensor wrench. Add low-pressure smoke, a spray bottle with soapy water, and an infrared thermometer if you want confirmation. Those tools let you locate the leak before deciding on reseal, thread repair, plug, or replacement.