How to Weld Exhaust Pipe Without Blowing Holes
Use the lowest heat that still wets the joint. On about 0.040–0.065 in exhaust tubing, TIG is often the cleanest fit; on thicker pipe, MIG with short stitches may work better. Fit a tight lap, sleeve, or butt joint before you weld. Blow-through leaves pinholes, warped tubing, and cracks that keep leaking. This covers joint choice, heat control, filler selection, and repair methods for thin exhaust pipe.
Why exhaust pipe blows through
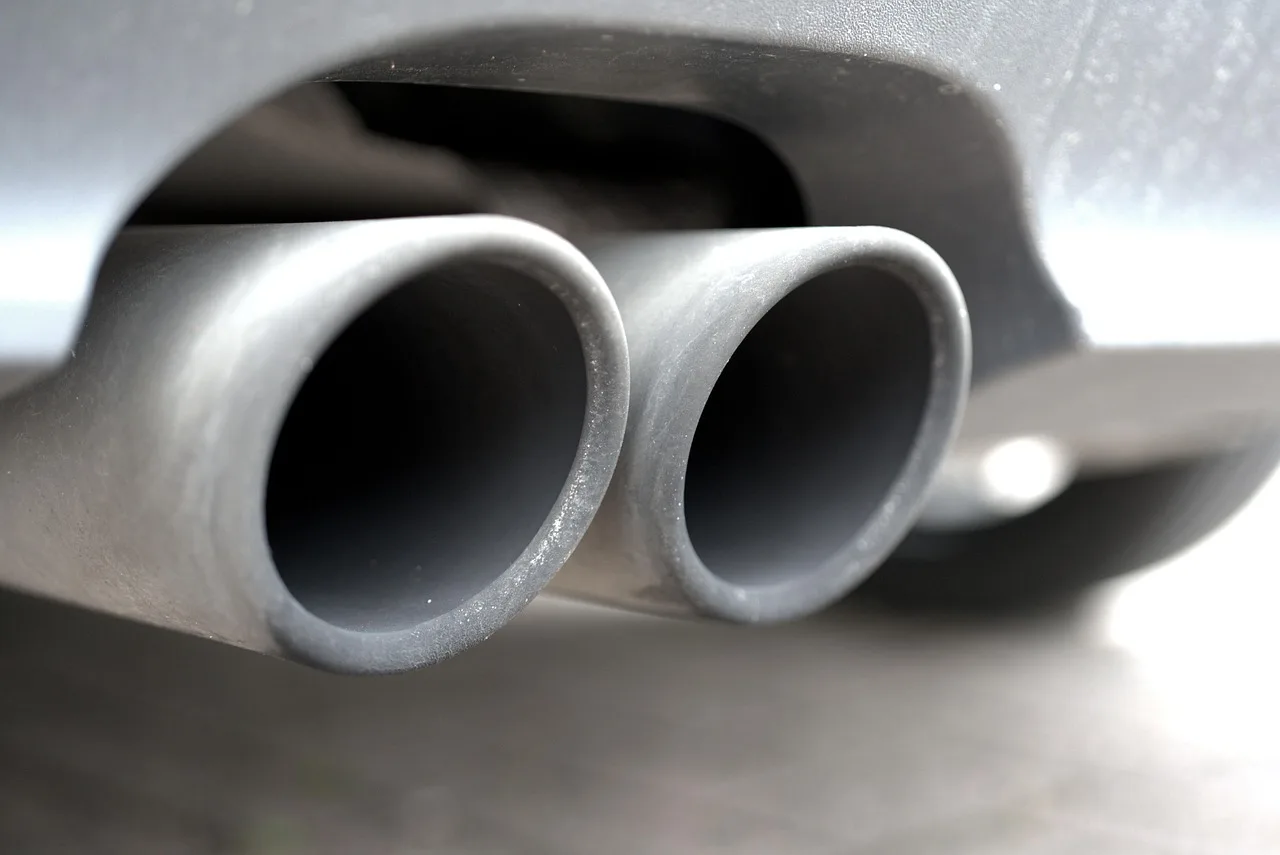


Thin-wall exhaust tubing is often around 1.2–2.5 mm, or roughly 16–18 gauge, so the parent metal has very little thermal mass. Once the puddle gets away from you, it can open a hole before the joint even looks fully molten.
Rust, scale, oil, seam sealer, paint, and factory coating all change how fast the edge heats. Contamination also drives porosity, so a puddle that looks wet can still trap gas and leak after it cools.
Heat cycling and vibration matter as much as the first weld. A small crack near a hanger or flex section can keep opening and closing until the metal around it thins out further. Hidden condensate inside the pipe can also make the first arc unpredictable.
Thin wall and heat loss
Exhaust tubing does not give you much time to react. On thin wall, the puddle can jump from dull to open in one short pause, especially if the joint has an edge gap or a rust pit that acts like a heat sink on one side and a weak spot on the other.
Material differences you need to separate
Mild steel exhaust pipe typically welds more easily than stainless and is common on budget street repairs. Aluminized steel often behaves like mild steel until you get past the coated layer, then the heat changes quickly at the cleaned edge. Stainless exhaust tubing, often 304 or 409 grades, needs tighter heat control and compatible filler, because overheated stainless can crack or sensitize.
Which exhaust repairs should you weld?
Weld a repair only when the metal around the fault still has enough sound material to hold a fusion joint. Pinhole leaks and some clean cracks can be welded. Rotten edges, failed flex sections, and badly thinned tube usually call for sleeve, clamp, or replacement instead of trying to build metal back with heat.
When a pinhole is still a weldable repair
A pinhole is best treated as a small local defect in otherwise sound pipe. If the wall around it is still solid, clean, and not paper thin, you can grind to bright metal, close the hole with very short tacks, and stop as soon as the puddle bridges the opening.
When a split seam or cracked joint needs a sleeve or replacement
A split seam or cracked joint often means the failure has moved past a single spot. If the crack runs along a seam, around a hanger, or into a bellows area, welding alone may chase the crack instead of stopping it. A sleeve or full replacement is safer when the crack keeps extending after cleanup.
When rotten edges and flex-pipe damage should push you to replace, not weld
Rotten edges are too thin to trust. If the lip flakes apart when you clean it, the repair is no longer about joining two edges; it is about missing parent metal. Flex-pipe failure usually means replacement, because the woven section and inner liner are not meant for a patch weld.
If the pipe is too thin, too rusty, or too close to a flex section, a no-weld repair is often the safer move. Clamp-on couplers, sleeve repairs, and replacement sections are better than trying to weld rotten metal back together. Use them when you need to keep heat away from nearby components or when the damaged edge is no longer sound.
Match the joint to the failure, clean it well, and keep the weld short. A butt joint is best for smooth internal flow, but it demands an almost perfect gap. A sleeve or lap joint is easier on thin or uneven pipe because it supports the edge and absorbs heat, which lowers the chance of blow-through.
For MIG, start with 0.023-inch ER70S-6 wire and 75% argon / 25% CO2 on mild steel. For stick, use E6013 on clean thin exhaust, and remember that E6011 is a dirt-tolerant backup with more digging action and more burn-through risk. For stainless, TIG is often the cleaner answer on thin tube.
Use tighter heat control than you would on mild steel, and plan for back-purging with argon inside the pipe on TIG work. Thin stainless can crack or sensitize if overheated, so short welds and careful fit-up matter. For many thin stainless repairs, TIG gives better control than MIG.
Start with the failure mode, then choose the process. Clean the pipe, choose a joint that matches the damage, and use short stitch welds with cooling pauses. Keep sparks and heat away from fuel lines, the fuel tank, brake lines, and other underbody hazards, and never work under a vehicle held only by a jack.
Exhaust repair decision matrix
This matrix separates the common failure modes so you can choose the least risky fix before you strike an arc. Use it as a go/no-go check, not a substitute for the vehicle manual or for safe vehicle support on stands.
| Failure | Best fix method | Joint prep | Weld, sleeve, clamp, or replace |
|---|---|---|---|
| Pinhole | Local spot repair with a small tack or tiny stitch | Grind to bright metal at least around the defect; remove coating and soot | Weld if the surrounding wall is sound |
| Split seam | Short stitch repair if the seam is still solid; sleeve if the split is longer | Open the crack enough to clean it; remove rust from both sides | Weld or sleeve, depending on length and metal thickness |
| Cracked joint | Stop-drill only if appropriate, then repair or replace the joint section | Clean around the crack and inspect for thinning at the weld toe | Weld if the crack is short and the wall is sound; replace if it returns |
| Rotten edge | Cut back to sound metal and fit a replacement section | Trim to clean, solid tubing; do not try to bridge flaky edges | Replace |
| Flex-pipe failure | Replace the flex section | Check adjacent pipe for heat damage and crack migration | Replace |
How do you prep thin exhaust tube?
Prep starts with bare metal, tight fit-up, and a joint that matches the damage. Strip rust, scale, oil, paint, and coating before any heat goes in. Keep sparks and heat away from fuel lines, the fuel tank, brake lines, and other underbody fire hazards, and follow the vehicle manual. Never work under a vehicle held only by a jack; support it safely on stands.
For a butt joint, you want near-zero gap. A lap joint or sleeve joint is more forgiving on thin or deteriorated tube and usually gives more heat sink and support. Around 1/2 inch overlap is a common starting point for sleeve work, but check the fit on the vehicle and with the replacement parts on hand.
How much gap is too much?
On thin exhaust tube, a visible open gap is usually too much. If you can see daylight through the fit-up, the arc will tend to fall into the opening instead of tying the edges together. Fit the tube so the edges touch cleanly, then use tacks to hold alignment before final welding.
- Remove the section if access is poor or heat risk is high.
- Clean both sides of the joint to bright metal.
- Deburr the cut edge so it does not hang up the puddle.
- Fit the joint with minimal gap.
- Tack in several places before any full weld.
What setup stops blow-through?
Choose the process that matches the pipe condition. Clean thin exhaust can work with E6013, MIG, or TIG. Dirty or rusty pipe pushes you toward E6011, but that digging arc also raises burn-through risk. Wall thickness below 1.5 mm is especially difficult for stick, so stick is often the wrong choice for very thin tube.
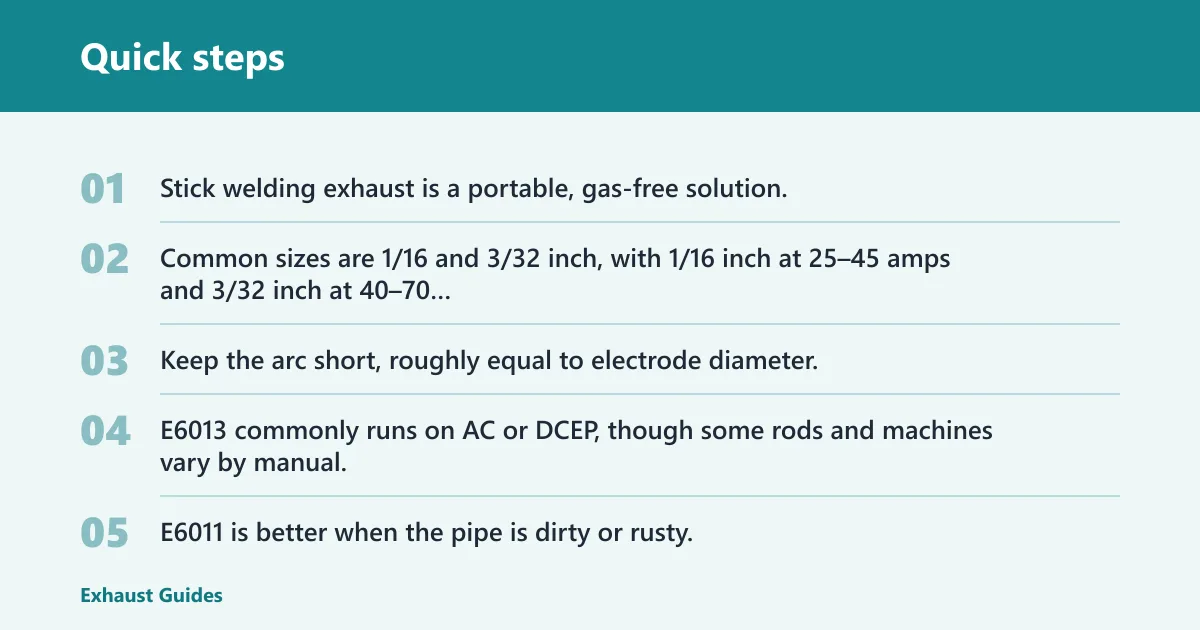
Stick welding on exhaust pipe
Stick welding exhaust is a portable, gas-free solution, but it is less forgiving on thin wall. E6013 is recommended for thin exhaust work. Common sizes are 1/16 and 3/32 inch, with 1/16 inch at 25–45 amps and 3/32 inch at 40–70 amps. Keep the arc short, roughly equal to electrode diameter. E6013 commonly runs on AC or DCEP, though some rods and machines vary by manual.
E6011 is better when the pipe is dirty or rusty, but its more aggressive arc increases burn-through risk. Use it only when cleaning alone will not get the joint bright enough for a softer rod. If the tubing is very thin or the fit-up is poor, stick may be a poor choice altogether.
MIG setup for mild steel exhaust
For mild steel exhaust, 0.023-inch ER70S-6 wire is the common starting point. Use 75% argon / 25% CO2 with a flow rate around 20–25 CFH at the gun. For 16-gauge mild steel, a starting range of 40–70 amps and 15–18 V is the useful reference point, then adjust to the puddle and the machine’s behavior.
A fast, narrow travel helps keep the bead small. If the puddle keeps falling through, lower heat, shorten the bead, or move to a sleeve joint. If it sits high and cold, the settings are too low or the travel speed is too fast.
Stainless exhaust setup
Stainless exhaust needs tighter control than mild steel. For thin stainless, TIG is often the better fit because it gives finer heat control. If you use MIG, use a filler and shielding plan suited to stainless, and many setups use tri-mix gas rather than the mild-steel 75/25 blend. Back-purging with argon inside the pipe is recommended on stainless TIG work.
A common first-timer mistake is to copy mild-steel heat on stainless. Suppose a 409 stainless repair starts to glow wider than the joint line and the bead turns dull and rough before it closes. That is too much heat; back off and shorten the weld segments.
How to make the weld without overheating it
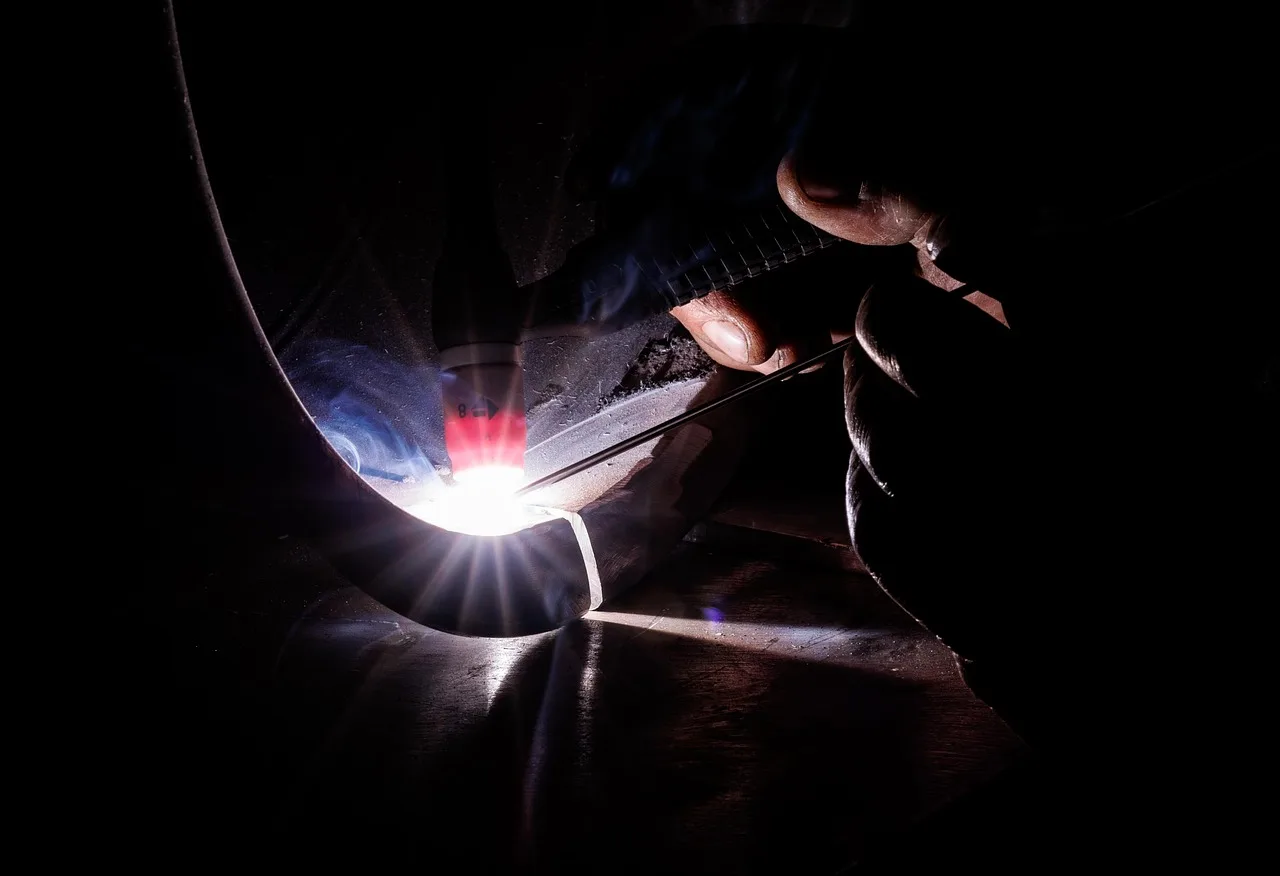
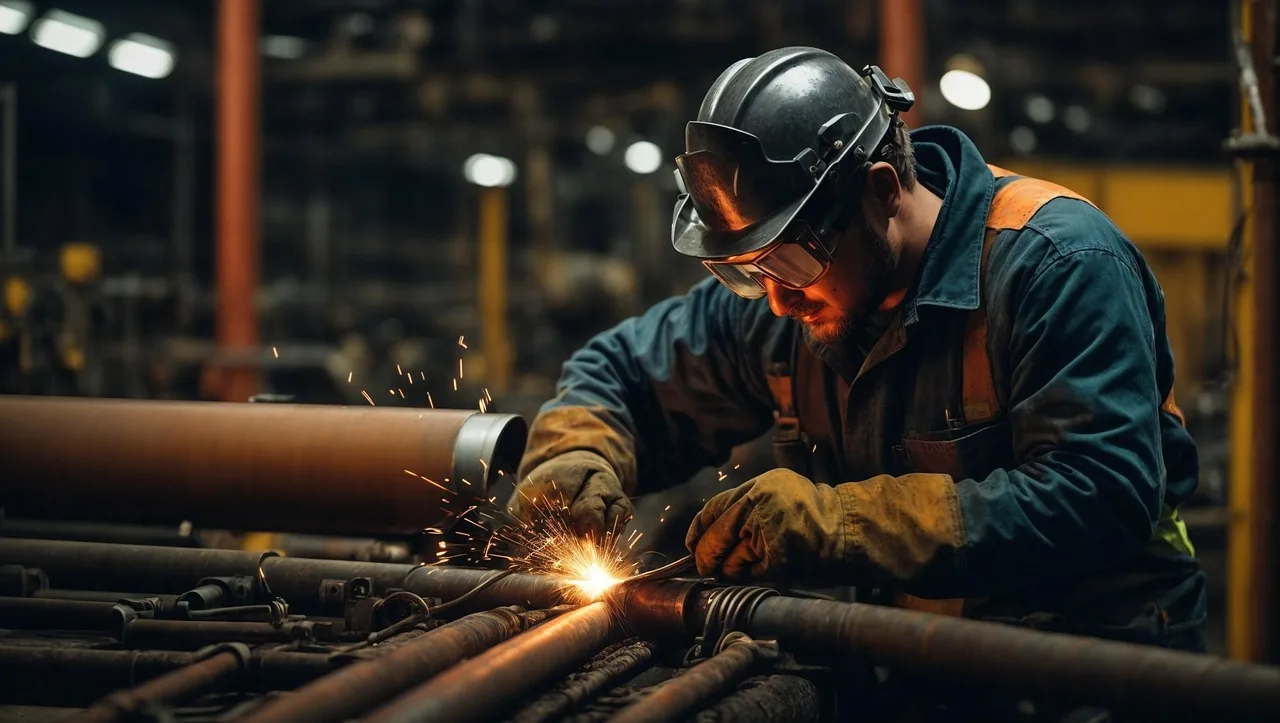
Tack the joint first, then weld in short segments. Short stitch welding cuts heat buildup and helps keep the tube round. A practical starting pattern is 1/2 to 1 inch of weld, then a cooling pause, then another short segment. Do not run one long bead on thin exhaust unless the material is much thicker than normal tubing.
Watch the puddle, not just the arc. A puddle that is too hot will enlarge quickly, sag at the edge, and want to fall through. A puddle that is too cold sits on top, leaves a ropey edge, and does not tie into the parent metal. Travel speed should stay steady enough that the bead fills the joint without building a tall ridge.
Tack sequence and alignment
Place tacks around the circumference so the joint cannot walk as it heats. If the pipe is round and the fit-up is good, four tacks at roughly equal spacing are a useful start. Recheck alignment after each tack, because a thin tube can pull quickly when one side heats first.
Cooling pauses and visual cues
Let the area cool before the next segment if the metal starts to change color far beyond the weld. A dull, tight puddle with crisp edges usually means the heat is under control. A puddle that spreads wide or drops into the gap means you need less amperage, more travel speed, or a different joint style.
Picture a 16-gauge mild steel repair on a straight section that has a pinhole and a clean fit-up. If the first tack leaves a bright edge and the hole closes without enlarging, the settings are close. If the hole opens wider after the tack, stop and switch to a sleeve or lower the heat before proceeding.
Exhaust repair checklist
This checklist gives you a scrap-test sequence before you weld on the vehicle, plus leak-check steps after the repair cools. Keep the vehicle safely supported on stands, keep heat away from fuel lines, the fuel tank, brake lines, and other underbody hazards, and follow the vehicle manual throughout.
| Step | What to do | Pass cue | Change first if it fails |
|---|---|---|---|
| 1. Scrap prep | Use a similar thickness offcut or old section cleaned to bright metal | Clean metal with no coating or oil | Clean more aggressively without thinning the wall |
| 2. Fit-up test | Try the same joint style you plan to use on the vehicle | Near-zero gap on butt joints; secure overlap on sleeves | Improve fit or change to sleeve/lap joint |
| 3. Start settings | Begin with the process ranges that match the material | Puddle forms without collapsing the edge | Lower heat or shorten the arc |
| 4. Short weld test | Run 1/2 to 1 inch and pause | Bead ties in without burn-through | Increase travel speed or reduce amperage |
| 5. Visual check | Inspect the bead after cooling | Uniform bead, no pinholes, no new distortion | Adjust settings or joint choice |
| 6. Leak check | After cooling, check for seepage at the weld and adjacent seam | No visible leak and no hiss under light test pressure | Rework small leaks or replace the section if the crack returns |
Suppose a MIG test on thin mild steel starts at the low end of the 16-gauge range and the bead still sits proud without fusing at the toe. Increase heat slightly or slow the travel a little. If the edge collapses before the bead ties in, back the settings down and shorten each stitch.
How to connect exhaust pipes without welding
Use a sleeve, lap joint, clamp-on coupler, or replacement section when welding is too risky. This is the right answer for flex-pipe failure, rotten edges, or repairs near heat-sensitive areas where added arc heat is a bad trade. The goal is a sealed joint without adding more thinning or distortion.
How to weld stainless steel exhaust pipe
Start with clean, bright metal and a joint that fits without forcing. Use stainless-compatible filler and shielding gas appropriate to the process, and keep the arc tight. If the pipe is thin and the repair is near a formed seam or bellows, consider whether replacement is the safer choice before you begin.
How to join exhaust pipes without welding
Non-weld joints are the better option when the existing pipe is too thin, too corroded, or too awkward to weld safely in place. Use a clamp or sleeve on sound parent metal, not on rotten edges. If the joint is near the converter, a flex section, or a badly thinned hanger area, replacement is often the cleaner fix.
Can you stick weld exhaust pipe?
Yes, but only when the pipe is clean enough and thick enough to tolerate it. E6013 is the better stick choice for thin exhaust, while E6011 is for dirtier pipe and raises burn-through risk. Below 1.5 mm wall thickness, stick becomes especially difficult, so MIG or TIG is often the better path.
Frequently asked questions
How to connect exhaust pipes without welding: use a sleeve or clamp-on
Use a sleeve or clamp-on coupler on sound metal when heat would do more harm than good. This method is often safer on rust-thinned pipe, flex-pipe damage, and joints near other underbody hazards. The key is solid overlap and a clean sealing surface, not extra torque on rotten material.
How to join exhaust pipes without welding: a sleeve joint
A sleeve joint is the usual answer when the pipe is still sound but welding would be risky or unnecessary. Use a tight fit and enough overlap to support the joint, then clamp according to the connector design. If the pipe edge is flaking apart, replace the damaged section first.
Can you stick weld exhaust pipe: yes, but stick is less?
Yes, but stick is less forgiving on exhaust tubing than MIG or TIG. E6013 is the preferred rod for thin, clean exhaust, and E6011 is better for dirty or rusty pipe. If the wall is below 1.5 mm or the fit-up is poor, another process or a sleeve repair is usually safer.