Is DIY Exhaust Fabrication Worth It? Break-Even Math
DIY exhaust fabrication tends to pay off mainly for simple cat-backs or one-off layouts when the needed tools are already on hand; if a shop quote is under about $800 to $1,000, buying usually costs less once materials, tools, and mistakes are counted. Bad fitment can cause leaks, rattles, heat damage, and a bill that climbs fast. This guide breaks down the break-even math, the builds that make sense at home, and the cases where DIY becomes a false economy.
When DIY exhausts stop making sense
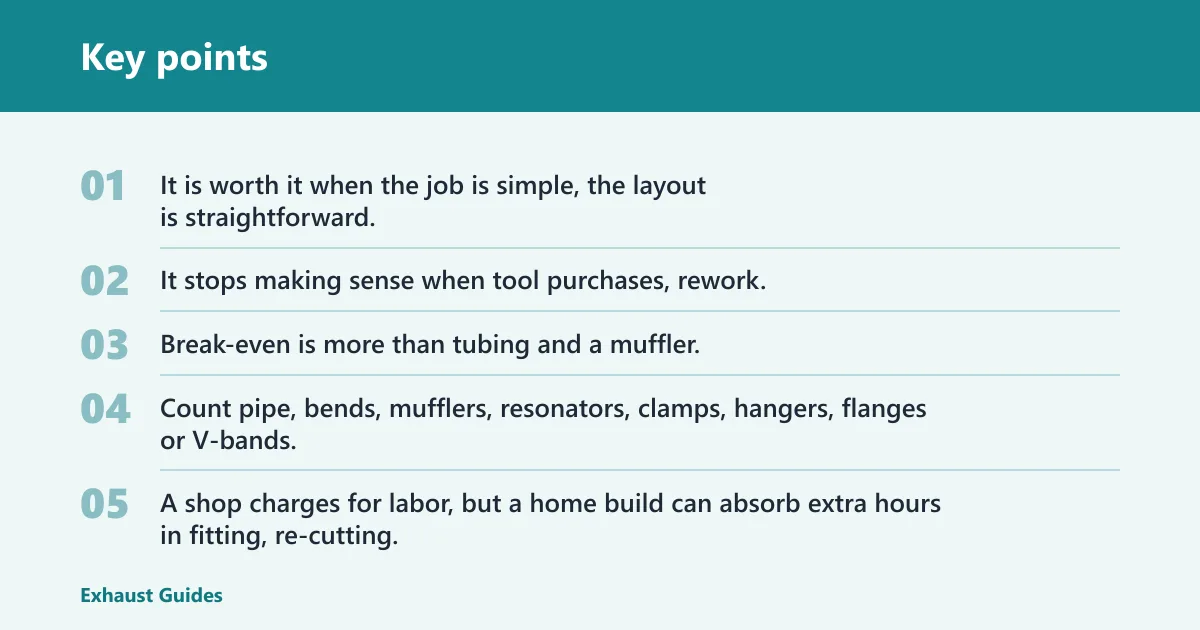
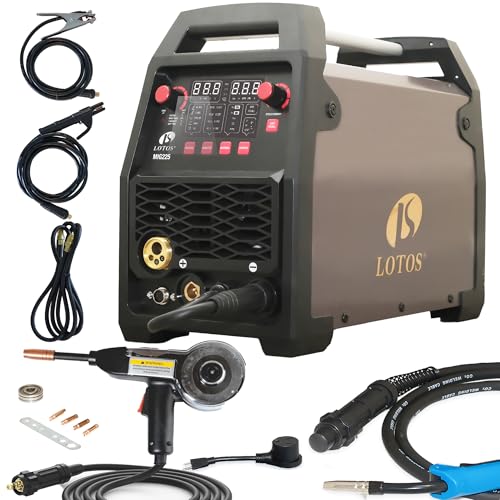


It is worth it when the job is simple, the layout is straightforward, and you already own the cutting and welding gear. It stops making sense when tool purchases, rework, and finish work push the total near a shop quote, especially on stainless systems or vehicles with tight packaging.
What “worth it” should include
Break-even is more than tubing and a muffler. Count pipe, bends, mufflers, resonators, clamps, hangers, flanges or V-bands, welding wire or filler rod, shielding gas, cutoff wheels, flap discs, and coating or paint where mild steel needs protection.
Then add time and risk. A shop charges for labor, but a home build can absorb extra hours in fitting, re-cutting, fixing leaks, correcting drone, or redoing a hangar position that hits the body at full suspension travel.
When a shop quote is the better deal
If a local exhaust shop can build and install the system for under about $800 to $1,000, that quote often wins for a street car with no special packaging issues. The shop also brings repeatable bends, fast turnaround, and a warranty or comeback policy if a weld leaks or a hanger rattles.
DIY makes less sense when the car is your daily driver and you need it back in service fast. It also becomes a poor bargain when you need stainless TIG work, a back purge setup, or a final fit that must clear a turbo, subframe, and drivetrain access point all at once.
DIY exhaust break-Even checklist
| Project type | Tools already owned | Estimated parts cost | Estimated consumables | Estimated rework risk | Likely shop price | Recommendation |
|---|---|---|---|---|---|---|
| Muffler repair | Basic hand tools, saw, jack stands | $60 to $180 | $20 to $40 | Low | $150 to $300 | DIY if the pipe is accessible and rust is local |
| Cat-back build | Cutting tools, measuring tools, MIG welder | $250 to $650 | $50 to $120 | Medium | $600 to $1,000 | DIY only if you can fit, tack, and remove sections cleanly |
| Full custom system | Welder, saw, clamps, stands, fabrication table | $500 to $1,200 | $80 to $180 | Medium to high | $900 to $1,800 | DIY if you need a unique route and accept rework |
| Stainless turbo downpipe | TIG welder, purge setup, tight-access tools | $400 to $1,000 | $100 to $220 | High | $700 to $1,500 | Usually hire out unless you already do stainless work |
Rule-based verdict: muffler repair is usually a DIY win if the pipe is sound; cat-back builds are a DIY win only when you already own the basic tools; full custom systems are break-even at best unless packaging is unusual; stainless turbo downpipes usually favor a shop because the weld quality and access needs raise the rework cost fast.
How much does a custom exhaust cost to build at home?
A home-built exhaust can cost less than a shop job, but only when the parts list stays short and the first fit is close. Once you add bends, hangers, clamps, welding gas, discs, and a second round of material for mistakes, the total can move close to professional pricing.
Parts cost by build type
For a simple repair or short cat-back section, the bill may stay around the low hundreds. A full system with a muffler, resonator, multiple bends, and hardware moves higher. Materials matter too: mild steel is the lowest cost option, aluminized steel sits in the middle, and stainless costs more up front.
Say your car needs a single rear muffler replacement with one hanger and a short straight section. If the pipe is already the right size, the job may stay cheap. Say the system needs a new route around a rear subframe, and now every extra bend, flange, and clamp adds both cost and time.
Consumables and hidden costs
Consumables are easy to miss because each item seems small. Cutoff wheels, flap discs, sanding rolls, shielding gas, MIG wire, TIG filler, rust coating, and anti-seize on removable joints can add enough cost to change the answer.
Tool ownership matters too. If you need to buy a welder, tubing notcher, pipe bender, or hole saw set for one project, that one-time spend is part of the project cost, not a free bonus.
How rework changes the total
Rework is where DIY often stops being cheap. A leak at a flange, a hanger in the wrong place, or a bend that points a tip into the bumper can turn a one-day build into a second round of cutting and welding.
A common first-timer mistake is choosing a 3-inch pipe for a mild street engine that does not need it. The exhaust may fit, but the low-end response can suffer, and then the owner pays again to shrink the system or add resonators to fix the tone.
What tools do you need to fabricate an exhaust system?
You need a cutting tool, a way to measure and hold the pieces in place, and a joining method that matches the material. For mild steel, a basic MIG setup is often enough. For stainless, better control and cleaner weld prep matter more, especially if the system will see heat cycling and road salt.
Cutting, fitting, and measuring tools
At minimum, plan on a tape measure, marker, angle finder, jack stands, saw or cut-off tool, clamps, and a way to support the pipe while you check alignment. A tubing notcher, bender, and bench vise make fit-up easier, but they are not mandatory for every repair.
Hangers and clamps are not afterthoughts. They support the system, isolate vibration, and make the exhaust easier to service later. Flanges and V-bands belong at service points where you may want drivetrain or transmission access in the future.
MIG vs TIG for exhaust welding
MIG is the practical choice for mild steel exhaust tubing because mild steel is relatively easy to weld and work with. It also suits quick tacks and general repair work. TIG gives finer control and a cleaner finish, which matters more when the parts are stainless and the welds sit in a visible area.
Lowbrow Customs lists a DIY 1-3/4 inch builder exhaust kit for chopper, bobber, or cafe builds, and says the tubing is 16-gauge, .063-inch 1008 mild carbon steel. It also notes the parts are ready for MIG or TIG welding, which is a good reminder that material choice shapes the tool choice.
When back purge matters
Back purge matters on stainless when you want better internal weld quality and less sugar on the inside of the tube. That is especially relevant for turbo parts and hot sections where exhaust flow, heat, and corrosion resistance all matter. Without purge, stainless welds can still hold, but finish and longevity can suffer.
For a simple clamp-on repair, welding may not be needed at all. Bolt-together sections, band clamps, and slip-fit joints can work if the fit is right, but they can also leak or loosen when vibration and heat cycling are high.
What exhaust pipe size should you use?
Pipe size should match engine output and the car’s purpose, not the biggest diameter that will fit. Common exhaust tubing diameters are 2, 2.25, 2.5, and 3 inches. Too small restricts flow; too large can hurt low-end torque and weaken drivability on a mild setup.
2, 2.25, 2.5, and 3 inch tubing
For smaller engines and quiet daily setups, 2-inch or 2.25-inch tubing can be the right size. A 2.5-inch system is common for many street cars that need more flow without giving up too much response. A 3-inch system usually belongs on stronger street builds, turbo cars, or cars that need more exhaust capacity.
For very high-output builds, larger tubing can make sense. A 4-inch stainless steel exhaust pipe suits an engine of about 400 horsepower. That does not mean every 400-horsepower car needs 4-inch tubing, but it shows how power level should guide the choice.
How power level and use case affect diameter
Daily drivers usually do better with a size that supports the engine without adding unnecessary volume. Track cars and turbo builds often need more flow, but a street car can pay for oversized tubing with slower response and extra noise.
Match the pipe to the goal. If the aim is quiet cruising, avoid sizing up just because the pipe will fit. If the aim is top-end flow for a boosted car, a smaller diameter can become a restriction.
Which material should you buy?
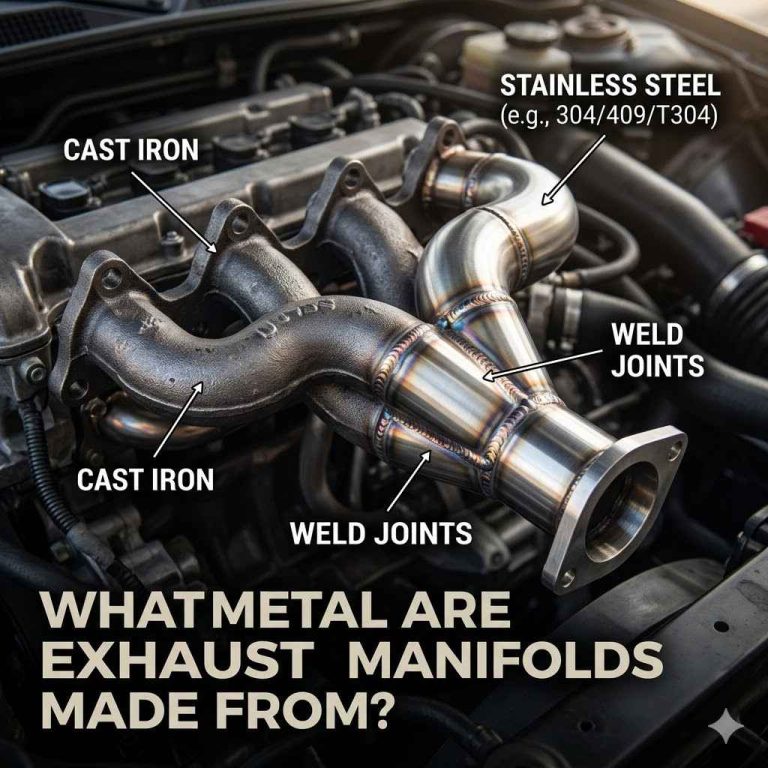
The best material depends on budget, climate, and how much welding you want to do. Mild steel is cheapest and easiest to work with. Aluminized steel is a middle ground. Stainless steel lasts longer in corrosion-prone conditions, but it costs more and asks for cleaner welding technique.
Mild steel
Mild steel is the lowest cost option and is relatively easy to weld and work with. It is a sensible choice for budget repairs, mockups, and cars that do not see harsh weather. The tradeoff is rust, so it usually needs coating or paint if you want it to last.
Aluminized steel
Aluminized steel gives moderate corrosion resistance at a lower cost than stainless. It is a common middle path for street cars because it holds up better than plain mild steel without pushing the budget as hard as stainless.
Stainless steel
304 stainless steel is a common and durable exhaust choice. Stainless costs more, but it offers superior corrosion resistance and longer lifespan. The catch is welding difficulty: stainless needs more care, especially with TIG and back purge, if you want clean and durable joints.
Is stainless steel worth the extra cost? Often yes in winter climate, on a long-term keeper, or on a turbo build where heat and corrosion punish mild steel. Often no for a budget daily driver that may be sold before rust becomes a real issue.
How do you plan routing and clearance?
Plan the path before you cut the first tube. Check suspension travel at full droop, steering and drivetrain movement, fuel and brake line heat exposure, and the space needed for hangers, clamps, and service access. Good routing reduces rattles, leaks, and future removal headaches.
Suspension travel and full droop clearance
Lift the car safely, then imagine the axle or independent suspension at full droop. The pipe must clear the body, differential, shocks, and subframe in that position, not just while the car sits still on stands.
Heat exposure near fuel and brake lines
Keep heat away from fuel and brake lines. Exhaust tubes and mufflers can raise nearby temperatures enough to damage hoses, wiring, or coatings if the route is too tight. Heat shields help, but they should support a good layout rather than hide a bad one.
Bends, hanger placement, and service access
Minimize sharp bends because they add restriction and often make fitment harder. Place hangers where the system can move a little without striking the body. Use flanges or V-bands at points you may need to remove later, such as near the transmission, mid-pipe, or turbo outlet.
Suppose a turbo downpipe clears the firewall by a thin margin but touches the subframe when the engine rocks. That tiny mistake can become a cracked weld, a rattling pipe, or a melted heat shield after a few heat cycles.
Frequently asked questions
Is DIY exhaust fabrication worth it for a street car?
It can be, but only when the layout is simple and you already own the tools. For a street car, DIY makes the most sense on short cat-back systems, minor repairs, or custom fitment that a local shop would price high because of time or vehicle packaging.
Do I need welding to build a custom exhaust?
No. Clamp-on and bolt-together exhausts can work for repairs and some street builds, especially when serviceability matters. Welding becomes the better choice when you need long-term leak control, custom routing, or a stainless system that will see high heat and vibration.
What exhaust pipe size should I use for my engine?
Use the smallest diameter that supports the power and use case. Common sizes are 2, 2.25, 2.5, and 3 inches. Bigger is not always better; too much diameter can soften low-end torque and make a mild street car feel lazier.
When should I hire a shop instead of building my own exhaust?
Hire a shop when the quote is close to your real DIY total, when the car must be back on the road quickly, or when the job needs stainless TIG work and tight packaging. A good shop also lowers comeback risk with repeatable bends and warranty support.