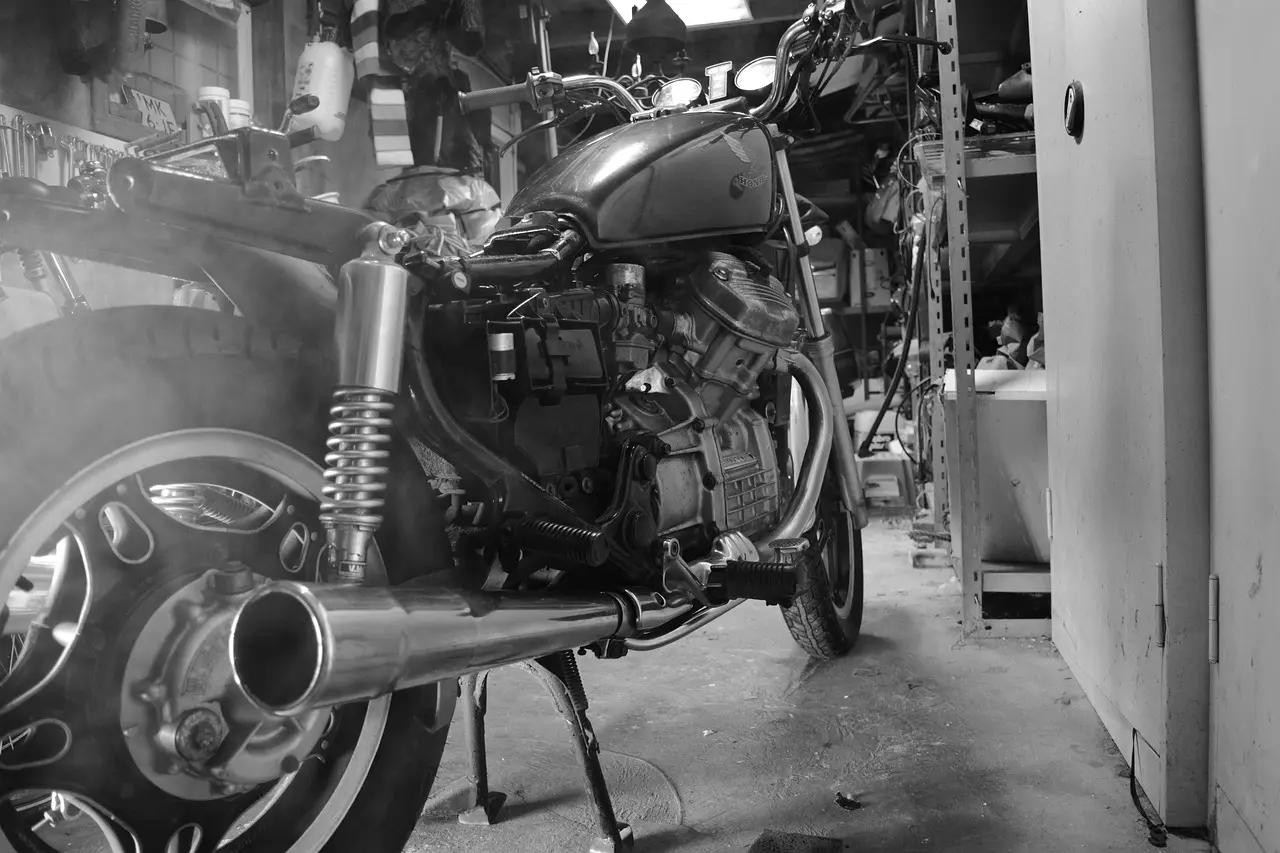
How to Replace a Motorcycle Exhaust Gasket
Find the leak before you replace the exhaust port gasket. Remove the header, clean both sealing faces, fit a new gasket, and tighten the flange evenly to the service-manual torque. If you skip diagnosis, you can miss a cracked pipe, a loose bolt, or a warped flange and still hear the same leak. This guide shows you how to confirm the source, swap the gasket, and recheck the joint so you do not create a leak at the header, flange, or fasteners.
How do you tell the leak source?


A ticking sound near the cylinder head often points to an exhaust leak, but it is not proof of a bad port gasket. Check the header, slip-joint, flange, and pipe alignment first. Let the exhaust and cylinder head cool fully before touching anything; heat at this joint can burn you fast.
Look for soot at the port, a dark ring around the flange, or a puffing sound that changes with throttle. If the noise fades as the engine warms, that still fits a failed gasket, but a loose clamp or donut mismatch can sound similar.
Port gasket, flange, or slip joint
The exhaust port gasket seals the cylinder head to the header or pipe connection. It is usually the first suspect when you find soot right at the head, but repeated blowouts should also make you inspect the flange, port face, and pipe fit.
Suppose the tick is loud at idle and changes when you press the header by hand. That usually points to movement at the port or flange, not a crack farther back. A leak at a slip joint often leaves soot lower on the pipe, away from the head.
Two-stroke and four-stroke access
Two-stroke pipes usually come off with different mounts and springs than four-stroke headers, so access and hardware vary by model. On some bikes the job is virtually impossible without a lift, pit, or equivalent access, so plan support before you loosen anything.
On a four-stroke, the header pipe often slides out after the flange fasteners come free. On a two-stroke, you may need to release springs, mounting brackets, and pipe support points before the pipe will move cleanly without fighting the frame.
What you’ll need
- Correct exhaust port gasket for your port and pipe shape
- New exhaust flange hardware kit if the old pieces are corroded or stretched
- Socket set and the correct spanner sizes for your model
- Penetrating fluid and corrosion-removal tools for seized fasteners
- Torque wrench that covers the service-manual range
- Wire brush, gasket scraper, and shop rags
- Support stand or other safe way to hold the bike upright
- New nuts, washers, clips, or springs if the old hardware is damaged
- Gloves and eye protection
A 14mm spanner on certain bolts is a recipe for disaster if the fit is poor, so confirm the correct size before leaning on a fastener. Start manifold bolts by hand to avoid cross-threading in aluminum heads, especially where access is awkward.
Exhaust gasket checklist
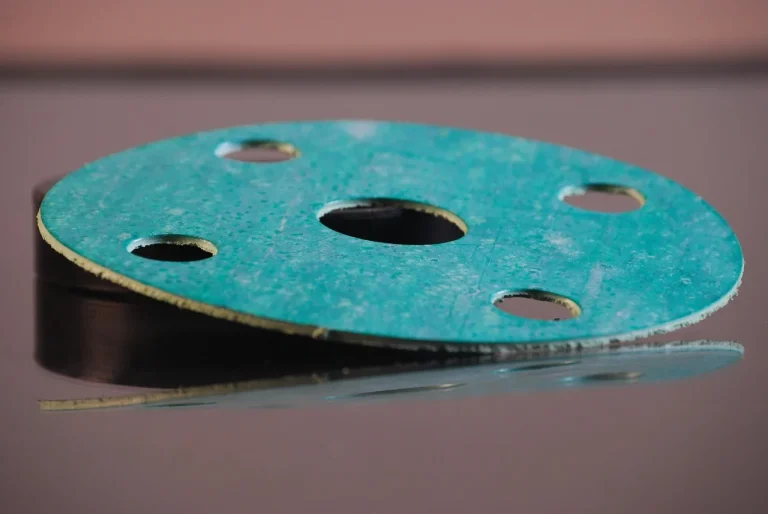
This checklist gives you a reusable order for diagnosis, removal, and reassembly. Use the right gasket shape first; cone, flat, and tapered styles do not all fit every port or header. Many Harley-style exhaust gaskets are reported to use graphite-and-metal construction, often with stainless steel or wire mesh for heat resistance and blowout resistance.
| Section | Check | Pass looks like | Fail means stop and inspect |
|---|---|---|---|
| Pre-removal diagnosis | Soot, ticking, or loose movement at the port | Leak seems centered at the header joint | Soot is lower on the pipe, or the pipe moves at a slip joint |
| Pre-removal diagnosis | Fastener access and support plan | Header is supported before bolts come out | Pipe is hanging on the head or under tension |
| Removal and inspection | Old gasket removal | Gasket comes out fully | Part of the old gasket stays in the port |
| Removal and inspection | Flange and port face condition | Faces are flat, clean, and not gouged | Warp, pitting, or damage is visible |
| Reassembly checks | Hardware condition | Nuts and washers thread smoothly | Threads are stretched, rusted, or rough |
| Reassembly checks | Leak retest | No tick, soot, or puffing after heat cycle | Noise returns or soot reappears |
| Fastener condition | What to look for | What to do |
|---|---|---|
| Reusable | Clean threads, square washer face, no stretch | Clean, chase lightly if needed, reuse only if the manual allows |
| Replace | Rust, galling, stretched threads, rounded nut flats | Install fresh nuts, washers, clips, or a full flange hardware kit |
| Repair first | Damaged head or manifold thread | Chase with the correct tap only if the service manual allows it |
| Gasket type selector | Best fit | Notes |
|---|---|---|
| Cone | Ports or headers with a matching conical seat | Do not force it into a flat seat |
| Flat | Flat sealing faces with even clamp load | Needs correct alignment to avoid a side leak |
| Tapered or beveled | Matched port and pipe geometry | Useful where the buying guide calls for a beveled design |
| Crush-style graphite-and-metal | Many Harley-style exhaust joints and similar heat-heavy setups | Replace if crushed, burnt, or distorted; check model compatibility, including exclusions such as V-ROD models |
How do you remove a motorcycle exhaust gasket?
Support the header before you loosen fasteners, then remove the flange hardware and slide the pipe out carefully. If the fasteners are seized, use penetrating and corrosion-removal tools first rather than forcing them. The goal is to free the joint without stripping an aluminum head or bending the header.
-
Support the header.
Hold the pipe or header so it does not hang on the cylinder head when the nuts come off. Tight clearance can make the pipe awkward, so keep one hand on the exhaust or use a support stand.
-
Soak corroded fasteners.
Apply penetrating fluid to seized bolts, studs, and nuts, then give it time to work before turning them. Heat-cycled exhaust systems often need repeated soaking and careful working to avoid stripping threads.
-
Remove flange hardware.
Back off the nuts evenly and keep track of washers, clips, and any spacer pieces. If the hardware is stretched or rusted, plan on replacing it instead of reusing it.
-
Withdraw the header.
Slide the header pipe out once the joint is free. On some bikes the pipe will move only a short distance before it clears, so keep the system supported and avoid twisting the flange.
-
Pull the old gasket.
Remove the old gasket from the port and confirm that all of it came out. A leftover ring can cause double-gasketing and repeat leaks.
How do you install a motorcycle exhaust gasket?
Install the correct gasket dry unless the manufacturer says otherwise, seat the header squarely, and tighten the flange evenly. Many exhaust port gaskets go in dry because sealant can stop the gasket from seating as intended, especially on crush-style parts. Use sealant only when the service manual explicitly calls for it.
-
Clean both faces.
Remove carbon, old gasket material, and corrosion from the port and header face. A clean sealing surface matters more than extra force at the nuts.
-
Fit the right gasket.
Match cone, flat, or tapered shape to the port and pipe. A crushed or burnt gasket should not go back in, and graphite-and-metal parts should match the model family listed by the maker.
-
Start hardware by hand.
Thread all fasteners by hand before using a wrench. This helps avoid cross-threading in aluminum heads and keeps the flange square while the joint centers itself.
-
Tighten in sequence.
Bring the flange down evenly with a torque pattern from side to side. Use the service-manual torque for your model; if the exact figure is not listed here, check the manual rather than guessing.
-
Recheck after heat.
Run the engine, let it heat-cycle, then recheck the hardware once it cools. A joint that seats after the first run may need a final torque check from the manual.
Two-stroke exhaust port access
On a two-stroke, access often depends on pipe springs, brackets, and belly-pan clearance rather than a traditional manifold flange. Support the pipe, release spring tension in a controlled way, and make sure the replacement gasket matches the port and pipe profile before reassembly.
Four-stroke header and flange fit
On a four-stroke, the header usually slides out after loosening the flange and any mid-pipe support. If the old gasket has blown out more than once, inspect the flange for warp and the port for damage before fitting another gasket.
What should you inspect before reassembly?
Check the port, flange, and fasteners for anything that can cause the next leak. If the gasket failed repeatedly, look for flange warp, damaged threads, a mismatched pipe seat, or a header that is pulling sideways. Those faults can make a new gasket fail even when the part itself is correct.
- Port face: no deep scratches, pitting, or missing material
- Flange: sits square and does not rock on the pipe
- Threads: clean and not stretched or cross-threaded
- Hardware: replace nuts, washers, clips, or springs if corroded
- Pipe support: no side load once the bolts are snug
An exhaust flange hardware kit can help when the old parts are corroded or stretched. It may include flanges, gaskets, C-clips, nuts, and washers, which is useful when the old hardware has lost clamp load or no longer sits square.
Common mistakes
Most repeat leaks come from fit errors, not from the gasket brand. A dry, correct gasket can still fail if the pipe is held crooked, the old ring stays in the port, or the flange hardware is too tired to clamp evenly.
- Leaving part of the old gasket in the port
- Using the wrong gasket shape for the seat
- Reusing rusted or stretched nuts and washers
- Tightening one side fully before the other
- Applying sealant when the manual calls for a dry fit
- Forcing a header that is still under tension
A common first-timer mistake is blaming the gasket when the real problem is a slip-joint leak or flange mismatch. Picture a bike that ticks at idle, then goes quieter with rpm; if soot sits lower on the pipe and not at the port, the leak may not be at the exhaust port gasket at all.
How do you stop an exhaust gasket from leaking again? Clean both faces, use the correct gasket shape, replace weak hardware, and tighten the flange evenly with the service-manual torque. If a gasket blew out repeatedly, inspect for warped flanges, damaged ports, or a pipe that is loading the joint sideways before fitting another gasket.
Use sealant only if the motorcycle service manual or gasket maker specifically calls for it on that joint.
If the exhaust flange no longer sits square or the fasteners feel rough while threading in by hand, a hardware kit is the safer choice.
If the pipe is trapped by the frame, heat shields, or nearby brackets, partial removal may be safer than forcing the joint apart.
Frequently asked questions
What tools do I need to replace an exhaust gasket?
You need the correct socket or spanner sizes, penetrating fluid, a torque wrench, cleaning tools, and a way to support the pipe. Add replacement nuts, washers, clips, or a flange hardware kit if the old pieces are corroded or stretched.
Do I need sealant on a motorcycle exhaust gasket?
Not by default. Many port gaskets are meant to go in dry, and sealant can prevent proper crush or seating. Only use sealant when the service manual or gasket instructions explicitly say to do so on that joint.
How do I stop an exhaust gasket from leaking again?
Use the right gasket shape, replace damaged hardware, clean the faces fully, and tighten the joint evenly with hand-started fasteners. If the leak returns, inspect for flange warp, port damage, or a slip-joint or mismatch leak that was mistaken for the gasket.