How to Install 5.3 Chevy Exhaust Manifolds
Swapping out exhaust manifolds on your Chevy truck can seem like a big job, especially if you’re new to working on cars. Things like tight spaces and stubborn bolts often make beginners feel a bit unsure. But don’t worry, it’s totally doable with the right steps!

A-Premium
A-Premium Left Side Exhaust Manifold Kit W/Gaskets…
- [Vehicle Fitment-1]: Compatible with Chevrolet Avalanche 2007-2013, Avalanche 1500 2002-2006, Express 1500 2003-2014, Express 2500…
- [Vehicle Fitment-2]: Compatible with Cadillac Escalade 2002-2014, Escalade ESV 2003-2014, Escalade EXT 2002-2013; Compatible with…
- [Vehicle Fitment-3]: Compatible with Hummer H2 2003-2009; Compatible with Workhorse FasTrack FT1061 2004-2005, FasTrack FT1261 200…
As an Amazon Associate I earn from qualifying purchases.
We’ll walk you through exactly how to do it, making the how to install 5.3 exhaust manifolds on Chevy trucks process easy to follow.
How to Install 5.3 Exhaust Manifolds on Chevy Trucks
This section is your starting point for tackling the job of replacing the exhaust manifolds on your 5.3L Chevy truck engine. We’ll cover what you need and the first steps to get the old parts off. It’s all about preparing your workspace and making sure you have the right tools before you even touch a bolt.
Getting this part right saves a lot of headaches later on.
Gathering Your Tools and Parts
Before you start, make sure you have all the necessary tools and replacement parts ready. Having everything in one place means you won’t have to stop mid-job to find something. This saves time and keeps your momentum going.
It’s like packing a picnic; you want all your food and drinks before you head out.
- Wrenches and Sockets You’ll need a good set of metric wrenches and sockets. Most of the bolts on your Chevy truck will be 13mm, 15mm, or 18mm. A ratchet with a few different extension lengths is also very helpful. Having a breaker bar can help loosen stubborn bolts.
- Gasket Scraper Old gaskets can stick tightly to the engine block and the manifold. A gasket scraper or a putty knife is essential for cleaning these surfaces perfectly. You want a clean mating surface for the new manifold to seal properly.
- Penetrating Oil Rust can make bolts incredibly hard to remove. Spraying a good penetrating oil on all the exhaust manifold bolts and nuts a day or two before you plan to work on it can make a huge difference.
- New Exhaust Manifolds Make sure you buy the correct exhaust manifolds for your specific 5.3L engine. Some trucks might have different styles depending on the year and model. It’s good to check part numbers carefully.
- New Gaskets and Hardware Always
Safety First: Preparing Your Truck
Safety is always the top priority when working on your vehicle. Before you begin any work, make sure your truck is in a safe and stable position. This prevents accidents and keeps you safe while you’re under the truck or working on the engine.
- Park on a Level Surface Always park your truck on a flat, level surface. This is crucial for stability. Never work on a vehicle parked on a slope.
- Engage the Parking Brake Firmly apply the parking brake. This adds another layer of security to prevent the truck from rolling.
- Chock the Wheels Place wheel chocks behind the rear wheels if you are working on the front, or in front of the front wheels if you are working on the back. This provides extra resistance against rolling.
- Disconnect the Battery To prevent any electrical shorts or accidental starting, disconnect the negative battery terminal. Use a wrench to loosen the clamp and remove it from the post.

Removing Old 5.3 Exhaust Manifolds
Taking off the old exhaust manifolds requires patience. You’ll be dealing with heat-shielding, tight spaces, and potentially rusted bolts. This part of the job is often the most challenging, but by following these steps, you can manage it effectively and prepare for the new parts.
Accessing the Exhaust Manifolds
Getting to the exhaust manifolds involves removing anything that’s in the way. For most 5.3L Chevy trucks, this means dealing with heat shields and possibly some surrounding components.
- Remove Engine Covers and Components Depending on your truck model, you might need to remove plastic engine covers or air intake components to get clear access to the exhaust manifolds. Take photos as you go to help with reassembly.
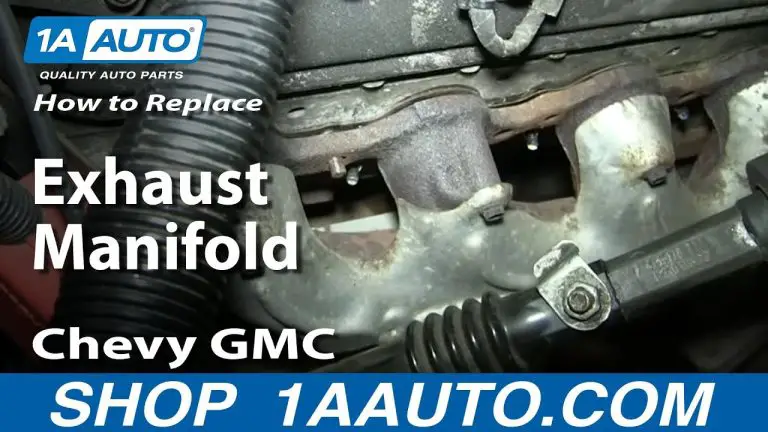
- Locate and Remove Heat Shields Exhaust manifolds get very hot, so there are usually metal heat shields around them. These are often held on with a few bolts or nuts. Remove these shields to get better access to the manifold itself.
- Inspect Exhaust Manifold Bolts Look closely at all the bolts attaching the manifold to the cylinder head. If they look heavily rusted or damaged, you might want to apply penetrating oil now and let it soak.
The heat shields are designed to protect other engine components from the extreme heat produced by the exhaust gases. Removing them is straightforward, usually involving a few common socket sizes. Don’t force them if they feel stuck; there might be hidden bolts or clips.
Detaching the Exhaust Manifold
This is where you’ll encounter the bolts holding the manifold to the engine. It’s important to work systematically and have a plan for any stubborn fasteners.
- Loosen Manifold Nuts Start by loosening the nuts that hold the exhaust manifold to the cylinder head studs. Work from the outside in or in a criss-cross pattern, similar to tightening lug nuts on a wheel. This helps prevent warping.
- Deal with Stubborn Bolts If a bolt or nut won’t budge, more penetrating oil is your friend. You can also try heating the area with a torch for a short time, but be very careful not to damage nearby components. Sometimes, a sharp tap with a hammer on the wrench can help break it free.
- Remove the Manifold Bolts/Studs Once the nuts are off, you might need to remove the studs from the cylinder head. Some studs will thread out with a wrench, while others might require a stud extractor tool. If the manifold bolts are accessible from the front, they may just need to be unbolted.
It’s common for one or more bolts or studs to break during this process. If a stud breaks off flush with the head, you might need to drill it out and use a bolt extractor or retap the hole. This is where having a good set of drill bits and extractors comes in handy.
Removing the Old Manifold
Once all the fasteners are out, the old manifold should be free. Sometimes, it might be stuck due to carbon buildup or corrosion.
- Gently Pry the Manifold Free If the manifold is stuck, use a pry bar between the manifold and the cylinder head to gently work it loose. Avoid applying too much force in one spot, as this could damage the cylinder head.
- Clean the Cylinder Head Surface After the old manifold is off, you’ll need to thoroughly clean the mating surface on the cylinder head. Use your gasket scraper to remove all traces of the old gasket material. A clean surface is vital for a good seal with the new manifold.
A perfectly clean surface ensures that your new gasket has a smooth area to compress against, preventing exhaust leaks. Any leftover gasket material or carbon can create gaps that allow hot exhaust gases to escape. This can lead to performance issues and annoying noise.
Installing New 5.3 Exhaust Manifolds
Now comes the satisfying part: putting on the new exhaust manifolds. This is where you’ll ensure a leak-free seal and improved performance. Taking your time here will pay off with a quiet and efficient exhaust system.
Preparing the New Manifolds and Surfaces
Before you bolt on the new parts, a little preparation goes a long way. This ensures a clean installation and prevents future problems.
- Inspect New Manifolds Check your new exhaust manifolds for any manufacturing defects or damage from shipping. Make sure the mating surfaces are smooth and flat.
- Clean Cylinder Head Mating Surface If you haven’t already, make sure the cylinder head surface is spotlessly clean. You want to see bare metal with no old gasket residue.
- Install New Studs or Bolts If your new manifolds use studs, thread them into the cylinder head. Apply a little anti-seize compound to the threads to make future removal easier. If using bolts, ensure the bolt holes in the head are clean and clear.
The mating surfaces of the cylinder head and the new manifold must be absolutely flat and free of any debris. Even a tiny piece of old gasket can prevent the new gasket from sealing properly. Imagine trying to seal a picture frame with dirt on it; it won’t look right or protect what’s inside.
Mounting the New Exhaust Manifold
This is the crucial step where you attach the new manifold. Proper tightening is key to a good seal.
- Position the New Gasket Place the new exhaust manifold gasket onto the cylinder head studs or against the manifold surface. Make sure it aligns perfectly with the bolt holes or studs.
- Install the New Manifold Carefully guide the new exhaust manifold into place. It should fit snugly over the studs or align with the bolt holes.
- Install New Nuts or Bolts Thread on the new nuts or bolts. Start them all by hand to ensure they aren’t cross-threaded.
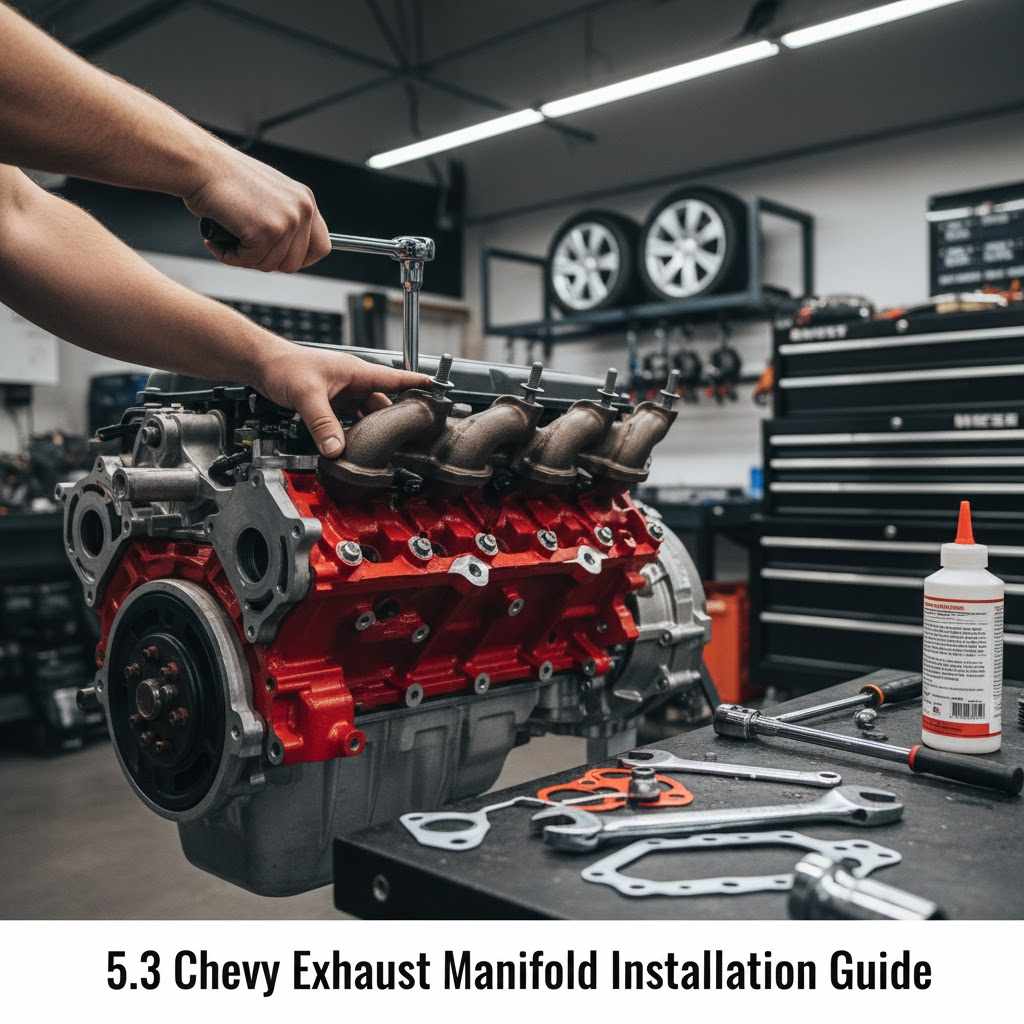
- Tighten in Stages (Crucial!) This is the most important part for a good seal. Tighten the nuts or bolts in a specific pattern, usually a criss-cross or spiral pattern, and in multiple stages.
Tightening the exhaust manifold nuts or bolts in stages is vital. This process ensures even pressure is applied across the gasket, creating a uniform seal. If you tighten one side fully before the other, you can warp the manifold or damage the gasket, leading to leaks.
Example Tightening Sequence and Stages
- Start by snugging up all the nuts or bolts just enough so the manifold is held in place.
- Go around and tighten them a bit more, still in a criss-cross pattern.
- Then, tighten them to about half of the final torque specification.
- Finally, tighten them to the manufacturer’s recommended torque specification in the same pattern.
Always refer to your truck’s service manual for the exact torque specifications. Over-tightening can warp the manifold or strip the threads in the cylinder head, while under-tightening will cause leaks. Typical torque specs for 5.3L exhaust manifolds are often in the range of 18-25 ft-lbs, but always verify.
Connecting the Exhaust System
Once the manifolds are securely attached to the engine, you’ll need to reconnect the exhaust pipes. This part can also present challenges.
- Align Exhaust Pipes You may need to loosen the clamps connecting the exhaust pipes to the manifold flanges to allow for proper alignment.
- Install New Gaskets and Hardware Use new gaskets and hardware where the exhaust pipe connects to the manifold.
- Tighten Clamps and Bolts Once everything is aligned, tighten the exhaust pipe clamps and any bolts connecting the pipe to the manifold flange.
Sometimes, the exhaust pipes might not line up perfectly after the new manifolds are installed. This can be due to slight variations in the manifold position or corrosion on the exhaust pipes themselves. Gentle adjustments and sometimes new exhaust hangers can help get everything aligned.
Troubleshooting Common Issues
Even with careful work, you might run into a few snags. Knowing how to handle common problems will save you time and frustration when performing how to install 5.3 exhaust manifolds on Chevy trucks.
Dealing with Broken Bolts and Studs
This is arguably the most frequent problem. When a bolt or stud snaps off, it requires a specific approach.
- Drilling Out Broken Studs If a stud breaks flush or below the surface, you’ll need to drill it out. Start with a small, sharp drill bit and drill a pilot hole right in the center of the broken stud. Gradually increase the drill bit size until you’re close to the diameter of the original stud.
- Using a Bolt Extractor Once you have a clean hole, you can use a bolt extractor (also known as an “easy out”). These tools have a reverse thread and bite into the drilled hole. Turn the extractor counter-clockwise to remove the broken stud.
- Retapping the Hole After removing the broken stud, the threaded hole in the cylinder head might be damaged. You may need to use a tap of the correct size to clean up or re-cut the threads.
Broken bolts are a common issue, especially on older vehicles. The heat cycles and corrosive environment under the hood take their toll. Patience and the right tools are key here.
A good quality bolt extractor set is a worthwhile investment for any DIY mechanic.
Statistic: Reports suggest that up to 20% of exhaust manifold bolts on older trucks may break during removal, highlighting the need for preparedness.
Preventing Exhaust Leaks
A properly sealed exhaust system is crucial for performance and noise reduction. Leaks can be a common annoyance.
- Ensure Clean Mating Surfaces As mentioned, the surfaces where the gasket seals must be perfectly clean and flat. Any dirt or old gasket material will create a pathway for exhaust gases.
- Torque Specifications are Key Always follow the manufacturer’s recommended torque specifications. Tightening in stages ensures even pressure, which is essential for the gasket to do its job.
- Use Quality Gaskets and Hardware Investing in good quality gaskets, studs, and nuts can prevent future issues. Cheap parts are more likely to fail prematurely.
Exhaust leaks can manifest as a ticking noise, especially when the engine is cold, or a noticeable loss of power and increased exhaust smell in the cabin. Catching them early is important.
Dealing with Warped Surfaces
Sometimes, the cylinder head or even the new manifold might have a slight warp. This can make sealing difficult.
- Inspect Surfaces for Flatness After cleaning, lay a straightedge across the cylinder head and manifold mating surfaces. If you can see light or feel a gap, the surface may be warped.
- Machine or Replace Components If a surface is significantly warped, it might need to be machined flat by a machine shop, or the affected component might need to be replaced. For the cylinder head, this is a more involved repair.
Warped surfaces are more common on engines that have experienced severe overheating. It’s good practice to check for flatness, especially if the old manifold showed signs of extreme heat damage.

Frequently Asked Questions
Question: How long does it typically take to install 5.3 exhaust manifolds on a Chevy truck?
Answer: For a beginner, it can take anywhere from 3 to 6 hours, depending on the truck’s condition and whether any bolts break. Experienced mechanics might do it in 1-2 hours.
Question: What torque spec should I use for the exhaust manifold bolts on a 5.3L Chevy?
Answer: Always check your specific truck’s service manual, but a common range is 18-25 ft-lbs. Tighten them in stages and in a criss-cross pattern.
Question: Can I reuse my old exhaust manifold studs and nuts?
Answer: It is highly recommended to replace them. Old hardware can be corroded, weak, and prone to breaking, leading to leaks.
Question: My exhaust sounds like it’s ticking. Is it the exhaust manifold?
Answer: A ticking sound, especially when the engine is cold, is often a sign of an exhaust leak at the manifold. The heat can sometimes temporarily seal it as the engine warms up.
Question: Do I need to disconnect the battery before starting this job?
Answer: Yes, absolutely. Disconnecting the negative battery terminal is a critical safety step to prevent electrical shorts and ensure the engine cannot accidentally start.
Final Thoughts
Learning how to install 5.3 exhaust manifolds on Chevy trucks is a skill that empowers you. You’ve seen the steps from gathering tools to the final tightening. Taking your time, using the right hardware, and following torque specs ensures a leak-free fit.
You can tackle this job and improve your truck’s performance and quietness.
Related pick: Check today's price on Amazon