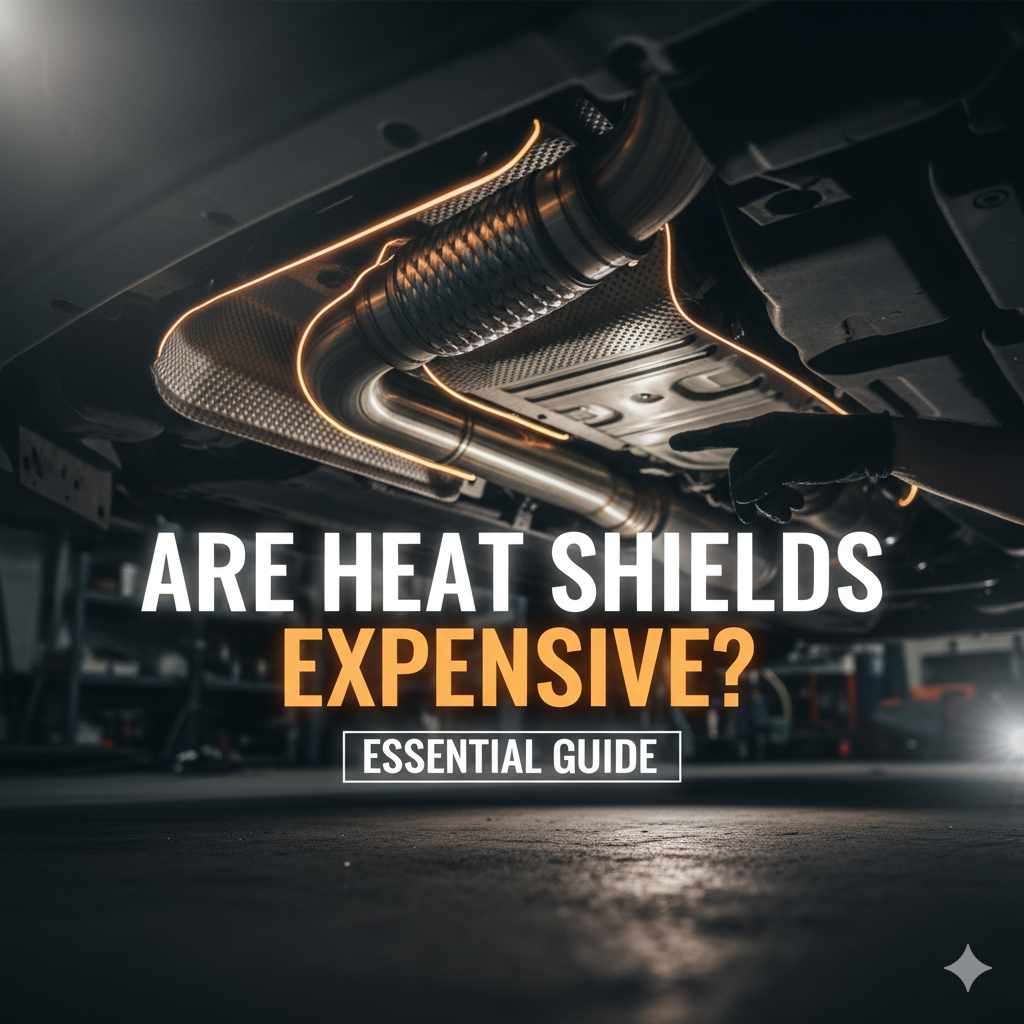
Are Heat Shields Expensive? Essential Guide
Generally, heat shields are not excessively expensive. Their cost varies depending on the material, vehicle model, and whether you opt for OEM or aftermarket parts. Most replacements cost between $50 and $200, making them a manageable repair to keep your car safe and efficient.
Is a rattling noise coming from under your car? Or maybe you’re worried about excessive heat near your exhaust system? Chances are, a heat shield might be the culprit. These often-overlooked metal panels are crucial for protecting your vehicle’s underbody from extreme exhaust temperatures. When they get damaged or loosen up, it can lead to annoying noises, potential damage, and even safety concerns. But here’s the good news: fixing this issue doesn’t have to break the bank. We’re here to demystify the cost of heat shields and walk you through everything you need to know to keep your car running safely and smoothly. Let’s dive in!
Understanding Your Car’s Heat Shields
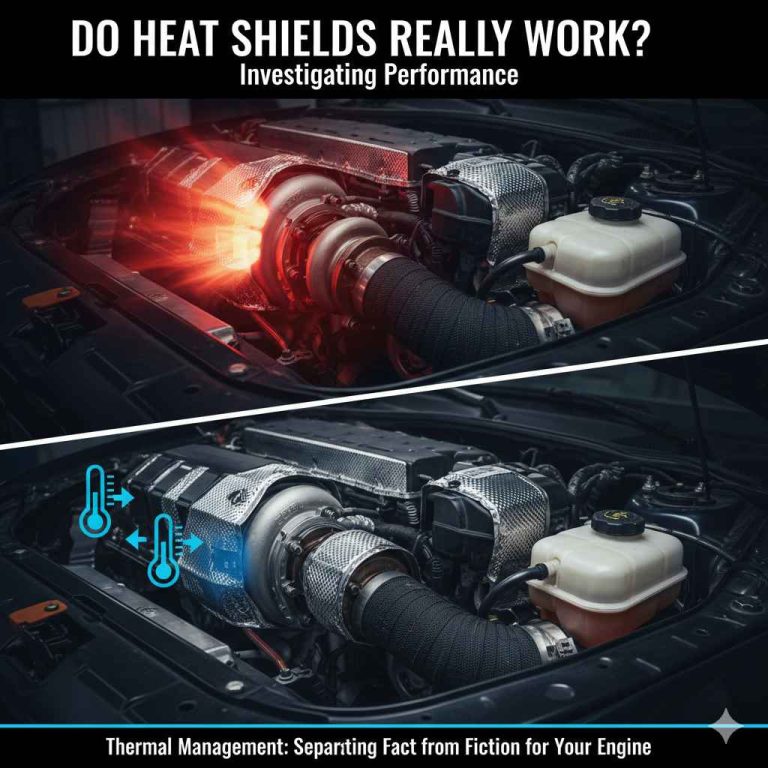
Heat shields are like the silent guardians of your car’s undercarriage. They are typically made of thin metal, like aluminum or stainless steel, and are strategically placed between hot components of your exhaust system (like the muffler or catalytic converter) and other parts of your vehicle. These parts could include the fuel tank, brake lines, body panels, or even the cabin floor.
Their main job is to reflect and dissipate the intense heat generated by the exhaust gases. Without them, this heat could damage sensitive components, melt nearby materials, or even pose a fire risk in extreme cases. You might hear them referred to by a few names, such as exhaust heat shields, catalytic converter heat shields, or simply underbody shields. All of them serve a similar, vital purpose.
Why Do Heat Shields Get Damaged?
Several things can lead to a heat shield needing attention:
- Rust and Corrosion: Over time, exposure to moisture, salt (especially in areas with road de-icers), and general wear and tear can cause the metal to rust and weaken. Perforations or holes can form, making the shield less effective and more prone to breaking.
- Impacts: Driving over road debris, hitting potholes, or scraping against speed bumps can bend, crack, or dislodge a heat shield. If it’s only partially attached, it can start to vibrate and make that tell-tale rattling sound.
- Age and Vibrations: Constant vibrations from the engine and exhaust system, coupled with the natural aging of materials, can lead to fatigue and eventual failure of the mounting points or the shield itself.
- Improper Installation: If a heat shield wasn’t installed correctly during a previous repair, it might be more susceptible to damage or premature failure.
Recognizing these common causes can help you anticipate potential issues and understand why your heat shield might need attention.

Are Heat Shields Expensive? The Cost Breakdown
This is the big question, and the simple answer is: usually, no, they are not excessively expensive. The price of a heat shield can vary significantly, but for most common vehicles, it’s a relatively affordable repair. Here’s what influences the cost:
Factors Affecting Heat Shield Cost
- Vehicle Make and Model: Parts for luxury cars or those with specialized exhaust systems can sometimes be more expensive than those for common sedans or trucks.
- Material: While most are made of steel or aluminum, some high-performance vehicles might use more exotic materials, though this is rare for standard heat shields.
- Location: Different heat shields protect different areas. A shield for the catalytic converter might have a different price point than one for the muffler or the underbody.
- OEM vs. Aftermarket:
- OEM (Original Equipment Manufacturer): These are parts made by or for your car’s manufacturer. They are guaranteed to fit and perform to the manufacturer’s standards but are often the most expensive option.
- Aftermarket: These parts are made by other companies and are designed to fit your car. They can often be significantly cheaper than OEM parts and are usually of good quality, though you should stick to reputable brands.
- Labor Costs: If you’re having a professional mechanic replace the heat shield, labor will be a significant part of the total cost. The complexity of accessing the shield can also influence how much time they bill you for.
Typical Price Ranges
To give you a clearer picture, here are some general price ranges:
| Component | Part Cost (Aftermarket) | Part Cost (OEM) | Estimated Total Cost (Parts + Labor) |
|---|---|---|---|
| Catalytic Converter Heat Shield | $30 – $80 | $70 – $150 | $100 – $300 |
| Muffler Heat Shield | $25 – $60 | $50 – $100 | $80 – $200 |
| Exhaust Manifold Heat Shield | $40 – $90 | $80 – $160 | $120 – $250 |
| General Underbody Heat Shield Panel | $50 – $120 | $100 – $200 | $150 – $350 |
Please note: These are estimates. Prices can fluctuate based on location, the specific vehicle, and current market conditions. For the most accurate pricing, it’s best to get a quote from your local auto parts store or mechanic.
As you can see, in many cases, the part itself is quite affordable. The total cost often includes labor if you’re not doing the work yourself. For a simple shield replacement, a mechanic might only charge an hour or less in labor, making the overall expense quite manageable.
DIY vs. Professional Installation: What’s Cheaper?
This is a crucial decision that directly impacts the final cost. Whether you can save money by doing it yourself (DIY) or if it’s better to leave it to the professionals often comes down to a few factors:
DIY Installation
Pros:
- Significant Cost Savings: You pay only for the part and any tools you might need. This can save you hundreds of dollars in labor.
- Learning Experience: It’s a great way to learn more about your car and gain hands-on mechanical skills.
- Convenience: You can do it on your own schedule.
Cons:
- Requires Tools: You’ll need basic tools like socket wrenches, possibly a pry bar, and safety equipment. Special tools for rusted bolts might also be required.
- Safety Risks: Working under a vehicle can be dangerous if not done with proper safety precautions. Always use jack stands, never rely solely on a jack, and ensure the area is level and clear.
- Potential for Mistakes: If you’re inexperienced, you might overtighten bolts, strip threads, or damage other components.
- Access Issues: Some heat shields are in very tight, awkward spots, making them difficult to reach and remove/install.
Professional Installation
Pros:
- Expertise and Efficiency: Mechanics have the experience and tools to do the job quickly and correctly.
- Safety Assurance: Professionals work in a controlled environment with proper safety equipment.
- Warranty: Most reputable shops offer warranties on both parts and labor, giving you peace of mind.
Cons:
- Higher Cost: Labor charges will increase the overall expense significantly compared to a DIY job.
- Scheduling: You need to book an appointment and take your car to the shop.
When to Consider DIY
If the heat shield is easily accessible (e.g., a loose muffler shield you can reach without lifting the car very high) and only requires a few bolts or clips to be removed and reinstalled, a DIY approach can be very cost-effective. Many online tutorials can guide you through specific models.
For instance, replacing a simple muffler heat shield might just involve unbolting a few rusted nuts and sliding the new one into place. This is often a straightforward task for someone with basic mechanical inclination.
When to Call a Professional
If the heat shield is located in a hard-to-reach area, is severely rusted and difficult to remove, or is attached to a critical component like the catalytic converter, it’s often wise to seek professional help. Mechanics have the specialized knowledge and tools (like exhaust spring compressors or specialized rust penetrants) to handle these more complex situations safely and effectively. Dealing with catalytic converter components, for example, often requires specialized knowledge to avoid damaging the converter itself.
How to Identify a Damaged Heat Shield
Recognizing the signs of a failing heat shield is key to addressing the problem before it becomes more serious. Here are the most common indicators:
Auditory Clues (The Rattling):
This is by far the most common symptom. A loose heat shield will vibrate against other exhaust components or the vehicle’s underbody as you drive. This can sound like:
- A tinny rattling noise
- A metallic buzzing
- A light knocking sound
These noises often change with engine RPM or when you go over bumps, and they might disappear when the exhaust system is hot and expanded, or vice versa. The International Organization for Standardization (ISO) has standards related to exhaust system noise, highlighting the importance of minimizing unwanted sounds, including those caused by loose components like heat shields. ISO 362-1:2015 specifies test methods for noise emitted by motor vehicles.
Visual Inspection:
If you can safely get under your car (always use jack stands for safety!), look for:
- Rust and Holes: Check for signs of corrosion, especially on the edges and mounting points. Large holes or perforations mean the shield is compromised.
- Damage: Look for dents, bends, or cracks in the metal.
- Loose Mountings: See if the bolts, nuts, or clips holding the shield are intact and tight. A shield hanging down or visibly loose is a major red flag.
- Discoloration: Extreme heat can cause surrounding components (like the undercoating or frame) to show signs of scorching or discoloration, indicating that the heat shield isn’t doing its job effectively.
Other Potential Signs:
- Smell of Burning: In severe cases, if the heat shield has fallen off completely or is severely damaged, you might smell burning plastic or undercoating as it comes into contact with the hot exhaust.
- Reduced Performance (Rare): While not a direct symptom of a faulty heat shield itself, a damaged catalytic converter heat shield might indicate a failing catalytic converter, which does affect performance.
Safety First: If you suspect a problem with your heat shield, it’s always best to have it inspected by a mechanic or conduct a thorough visual check yourself when the exhaust system is cold.
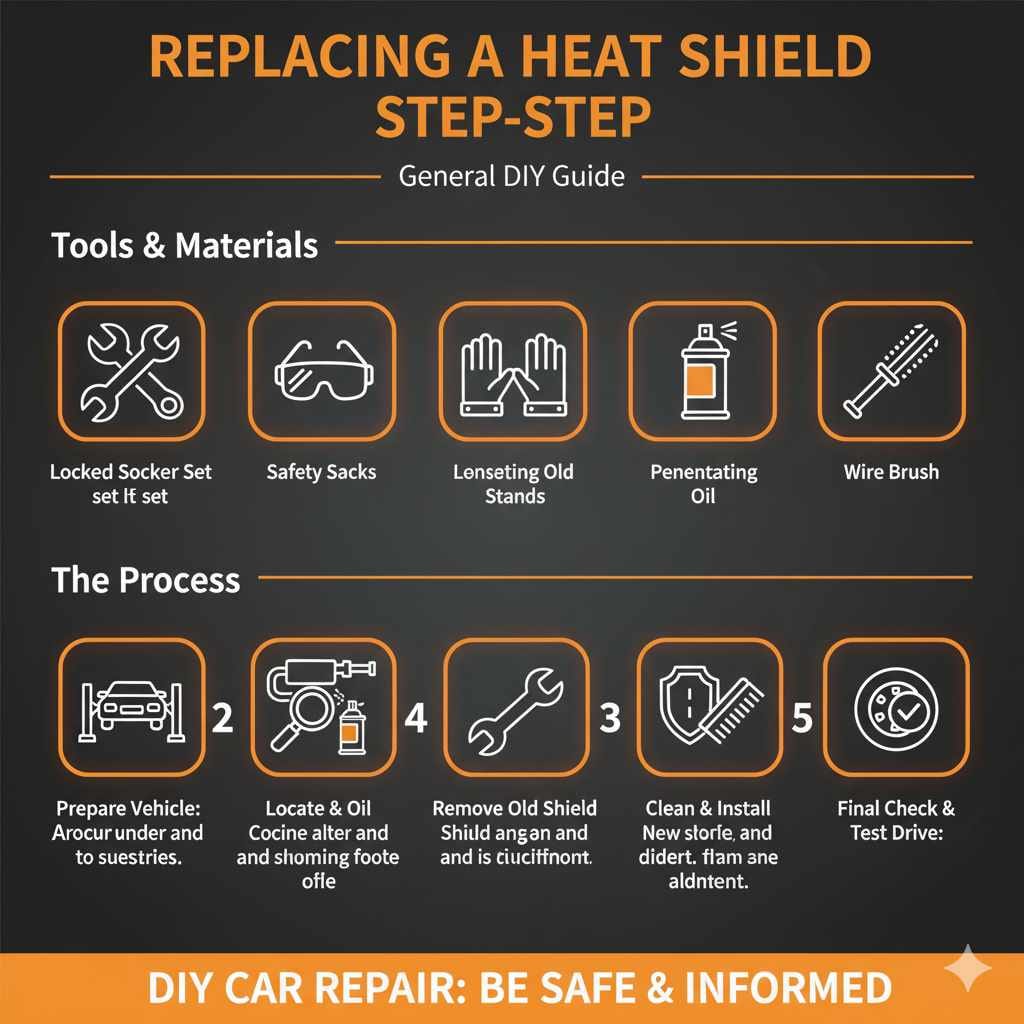
Replacing a Heat Shield Step-by-Step (General Guide)
If you’ve decided to tackle this repair yourself, here’s a general step-by-step guide. Remember, the exact process will vary depending on your vehicle and the specific heat shield you’re replacing.
Tools and Materials You Might Need:
- Replacement Heat Shield (ensure it’s the correct part for your vehicle)
- Safety Glasses and Gloves
- Jack and Jack Stands (essential for safety!)
- Socket Wrench Set (metric and/or SAE depending on your car)
- Breaker Bar (for stubborn bolts)
- Penetrating Oil (like PB Blaster or WD-40)
- Wire Brush
- Pry Bar (optional, for leverage)
- Torque Wrench (if specific torque values are required)
The Process:
- Prepare the Vehicle: Park your car on a level surface. Engage the parking brake. For safety, never work under a car supported only by a jack. Use sturdy jack stands placed on strong points of the frame.
- Locate the Heat Shield: Get under the car (when it’s cool!) and identify the heat shield that is damaged or loose. It will typically be a flat, thin sheet of metal attached to or near the exhaust pipe, muffler, or catalytic converter.
- Apply Penetrating Oil: If the bolts or nuts holding the shield are rusted (which is common!), spray them generously with penetrating oil. Let it soak for at least 15-30 minutes, or even longer, to help break down the rust. You might need to reapply.
- Remove the Old Heat Shield:
- If the shield is secured by bolts and nuts, use your socket wrench to loosen and remove them. If they are very tight or rusted, a breaker bar can provide extra leverage.
- If the shield uses U-clips or spring clips, you might need a pry bar or pliers to carefully remove them.
- Be prepared for the old shield to be brittle. It might break apart as you remove it, especially if it’s heavily rusted.
- Clean Mounting Points: Once the old shield is removed, use a wire brush to clean any rust or debris from the areas where the bolts or clips attached. This ensures a good fit for the new shield.
- Install the New Heat Shield:
- Position the new heat shield correctly, aligning it with the mounting holes.
- Secure it using the original hardware if it’s in good condition, or use new nuts, bolts, and washers. If your vehicle came with specific U-clips or spring fasteners, ensure you use the correct types.
- Tighten the fasteners snugly. If you have a torque wrench and know the factory specification, use it to avoid overtightening or undertightening. Otherwise, tighten them firmly but avoid excessive force that could strip threads or damage the shield.
- Final Check: Gently tug on the new heat shield to ensure it’s securely attached and doesn’t wobble. Lower the vehicle carefully off the jack stands.
- Test Drive: Take your car for a short test drive. Listen for any unusual noises. Drive over some bumps to see if the rattling or buzzing is gone.
Important Note on Catalytic Converter Shields: The catalytic converter operates at extremely high temperatures. If its heat shield is damaged, it’s crucial to address it promptly. The U.S. Environmental Protection Agency (EPA) outlines the importance of catalytic converters in reducing harmful emissions, and their proper functioning is vital for vehicle compliance with environmental regulations.
Common Issues During DIY Replacement
- Rusted Fasteners: This is the most common hurdle. If bolts are seized, you might need to cut them off (if they can’t be salvaged) and replace them entirely.
- Incorrect Part: Double-checking part numbers before purchase is essential.
- Access: Some shields are incredibly difficult to get to, requiring removal of other components or extensive lifting of the vehicle.
When to Call a Professional Mechanic
While DIY can save money, there are times when calling a professional is the smarter and safer choice. Consider professional help if:
- You’re uncomfortable working under your car or lack the necessary safety equipment.
- The heat shield is heavily rusted and nearly impossible to remove without significant force or cutting.
- The heat shield is integrated into or very close to a sensitive component like the catalytic converter, and you’re unsure about the proper procedure.
- You don’t have the right tools, and purchasing them would be more expensive than paying for labor.
- The bolts holding the heat shield are completely seized, and you risk damaging the exhaust pipe itself trying to remove them.
- You’ve attempted the repair and run into unexpected difficulties.
Mechanics have specialized tools and knowledge to deal with these situations efficiently. They can also identify if the heat shield damage is a symptom of a larger exhaust system problem that you might have otherwise missed.
FAQs: Your Heat Shield Questions Answered
Q1: How do I know if my heat shield is broken?
The most common sign is a rattling, buzzing, or tinny noise coming from under your car, especially when you accelerate or go over bumps. You might also notice visible damage like rust, holes, or the shield hanging loosely when looking underneath the vehicle.