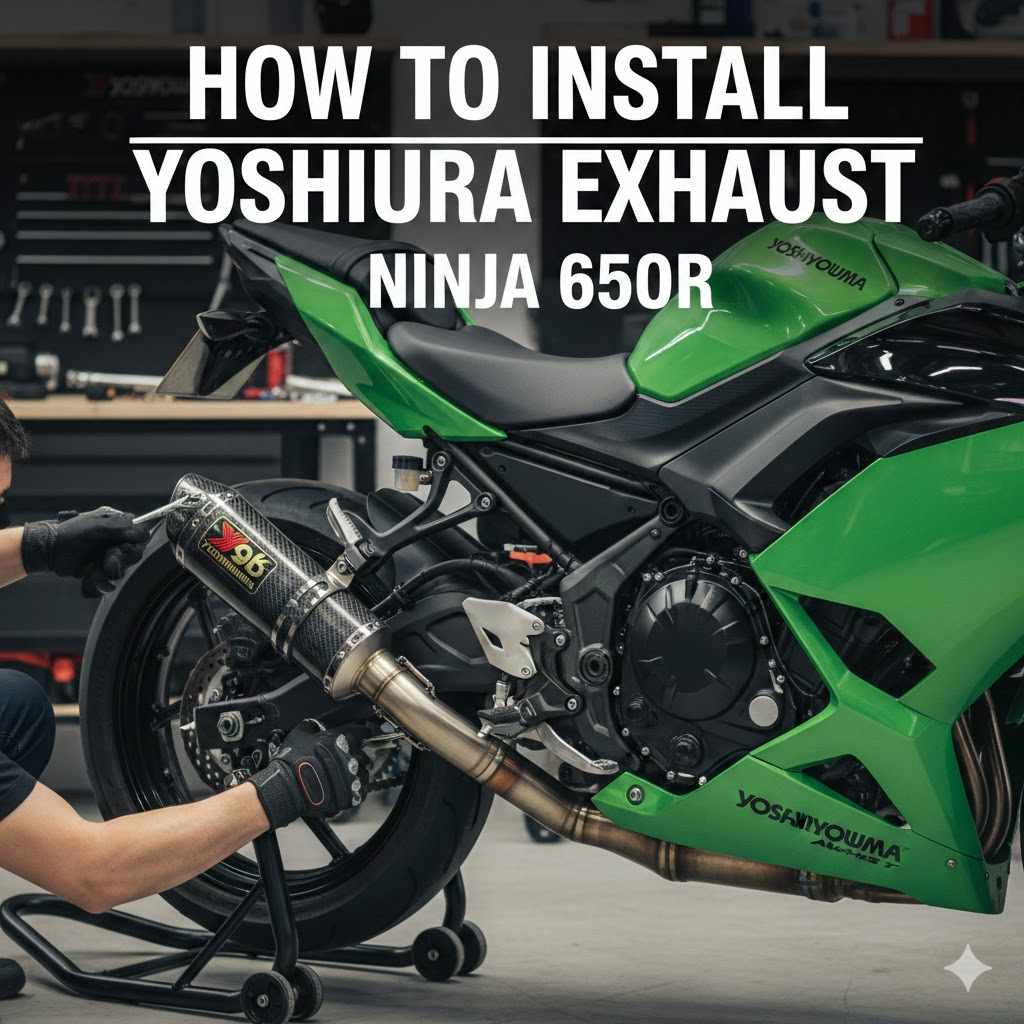
How to Install Yoshimura Exhaust Ninja 650R
Getting that awesome Yoshimura exhaust sound on your Kawasaki Ninja 650R can feel like a big project, especially if you’re new to motorcycle work. You might wonder if it’s too tricky to do yourself. But don’t worry!
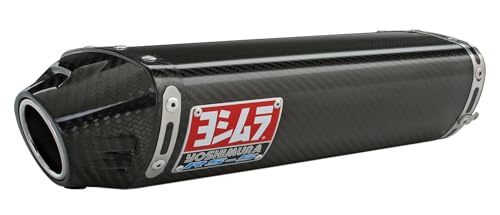
Yoshimura
Yoshimura 960-1243 Exhaust Street Rs-5 Slip-On Ss-Cf-Cf
- The RS-5 Slip On Exhaust is one of Yoshimura's most popular pipes, and for good reason. The trapezoidal shape appeals to the eye a…
As an Amazon Associate I earn from qualifying purchases.
It’s totally doable with the right guidance. This guide will walk you through exactly How to Install Yoshimura Exhaust on Ninja 650R, step by step. We’ll make it super simple so you can get back to riding with a fantastic new sound.
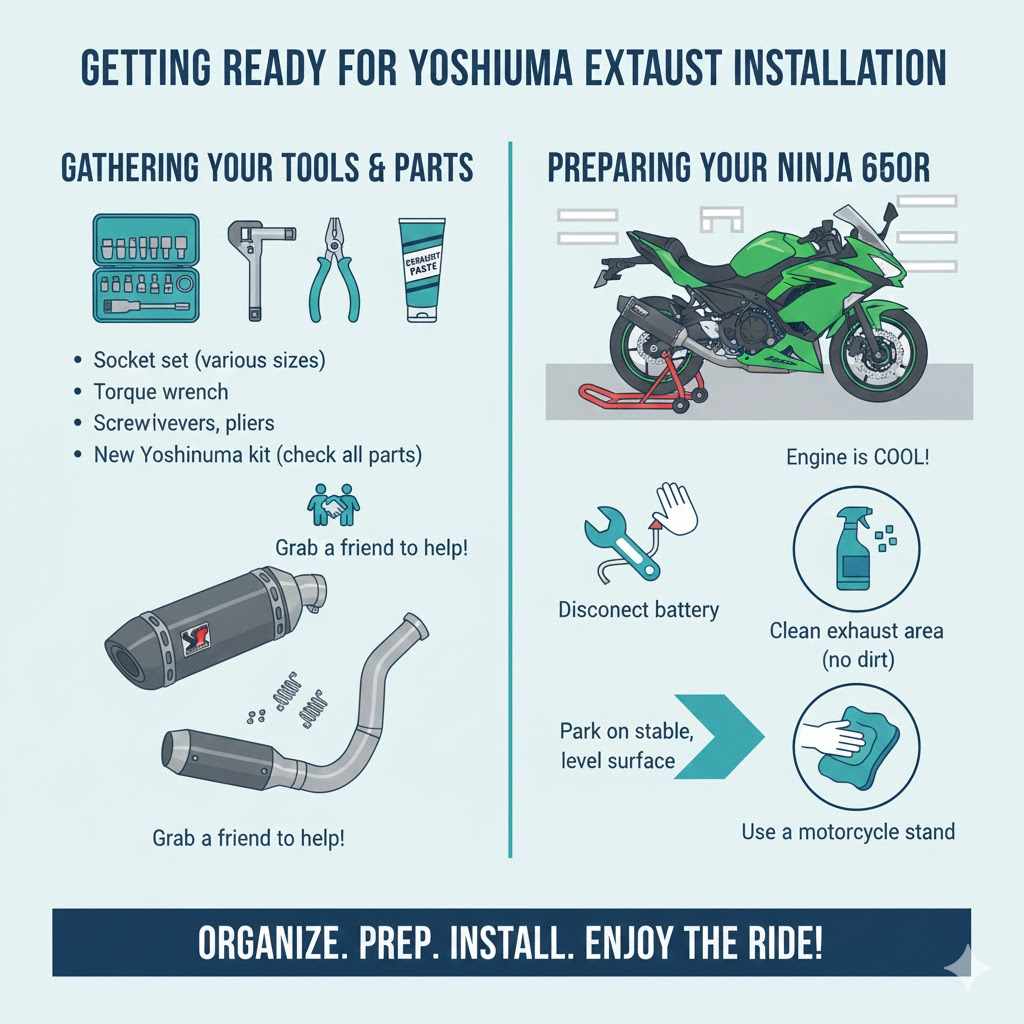
Getting Ready for Yoshimura Exhaust Installation
Before you even think about touching your Ninja 650R, getting all your tools and parts organized is super important. Having everything ready means the job will go much smoother and faster. It also helps you avoid those frustrating moments when you realize you’re missing a wrench or a specific bolt.
Let’s talk about what you’ll need and how to prepare your bike so the installation is a breeze.
Gathering Your Tools and Parts
Having the right tools makes all the difference. For installing a Yoshimura exhaust on your Ninja 650R, you’ll typically need a socket set with various sizes, a torque wrench, screwdrivers, pliers, and maybe some exhaust paste or sealant. Make sure your new Yoshimura exhaust kit is complete, checking for all pipes, mufflers, clamps, springs, and mounting hardware.
Sometimes, you might need a special adapter, so always check the Yoshimura instructions that come with your specific exhaust model.
It’s also a good idea to have a friend help. Having an extra set of hands can make holding parts, tightening bolts, and generally managing the process much easier and safer. You wouldn’t want to drop anything or make a mistake because you were struggling alone.
Preparing Your Ninja 650R
Your motorcycle needs to be prepped before you start removing the old exhaust. First, make sure the bike is cool. A hot exhaust system can cause burns.
It’s best to let it sit for a few hours after riding. Then, park your Ninja 650R on a stable, level surface. Using a motorcycle stand or a rear stand will lift the back of the bike, giving you much better access to the exhaust system and making the whole process easier to manage.
Disconnecting the battery is also a good safety step, especially if any wiring is near the exhaust area, although this is less common for exhaust swaps. It just adds an extra layer of caution for any electrical components. Clean the area around the exhaust so that no dirt or debris falls into the engine when the old exhaust is removed.
Removing the Stock Exhaust System
Taking off the original exhaust is the first major step in the installation process. This involves carefully unbolting and detaching the existing parts from your Ninja 650R. It might seem straightforward, but there are a few key things to watch out for to ensure you don’t damage anything or run into unexpected problems.
Locating Exhaust Components
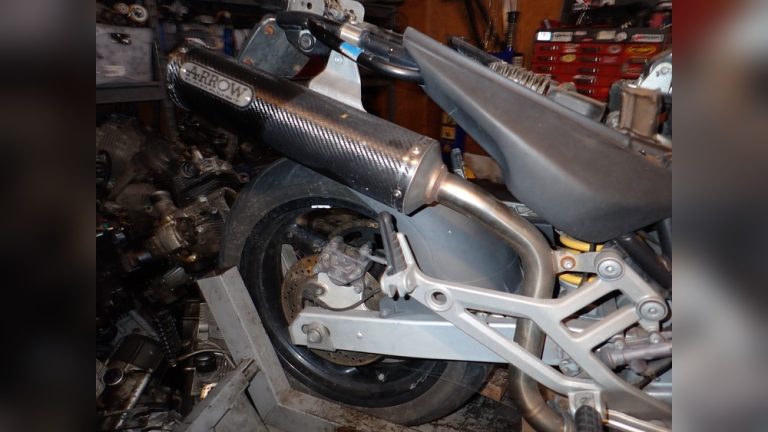
The stock exhaust on your Ninja 650R usually consists of a header pipe that connects to the engine, a mid-pipe that connects the header to the muffler, and the muffler itself. You’ll find bolts where the header connects to the engine cylinders. The mid-pipe is often secured with clamps and bolts, and the muffler will have its own mounting bracket attaching it to the bike’s frame.
Take a moment to visually inspect how everything is connected. This will give you a clear picture of what needs to be undone. Often, there are heat shields covering parts of the exhaust.
You’ll need to remove these first to access the bolts and clamps underneath. Some bikes might have O2 sensors screwed into the exhaust pipes; you’ll need to carefully disconnect these or unscrew them from the old pipes.
Unbolting and Detaching
Start by gently loosening the bolts that attach the header pipes to the engine. It’s often recommended to loosen these bolts a little bit at a time, in a crisscross pattern, rather than all at once. This helps prevent warping the exhaust flange.
Once the header bolts are loose, you can move on to the mid-pipe. This part is usually held in place by a clamp and sometimes a bolt or two. Loosen the clamp until the mid-pipe can be separated.
Finally, the muffler is attached by a mounting bracket. Unbolt this bracket, and the muffler should be free. You might need to carefully twist or wiggle it to remove it completely.
If there are any springs holding the exhaust sections together, you’ll need a spring puller tool or a sturdy set of pliers to carefully detach them. Always work gently and avoid forcing parts, as this can lead to damage.
A common issue during removal is dealing with rusted bolts. If you encounter stubborn bolts, a penetrating lubricant like WD-40 can help loosen them. Let it soak for a while before trying to unscrew them.
Sometimes, a bit of heat from a torch can also help, but be very careful with this, especially on a motorcycle.
Installing the Yoshimura Exhaust System
Now for the exciting part: putting on your new Yoshimura exhaust! This is where your Ninja 650R will start to get that distinctive, aggressive sound. Follow these steps carefully to ensure a secure and proper fit.
It’s all about aligning the pieces correctly and tightening them down just right.
Connecting the Header Pipes
Begin by attaching the new Yoshimura header pipes to the engine. Align the header pipes with the exhaust ports on the engine. You might need to reuse some of the stock gaskets or use new ones that came with your Yoshimura kit.
Hand-tighten the bolts that secure the header pipes first. Once they are all in place and hand-tight, go back and tighten them using your socket set. Follow the torque specifications provided by Yoshimura, or use a general guideline of snug but not overtightened.
It’s important to ensure the header pipes are seated properly against the engine. Any gaps here can lead to exhaust leaks, which can affect performance and sound. If your kit uses springs to connect sections, you’ll need your spring puller tool here as well.
Attaching the Mid-Pipe and Muffler
Next, connect the Yoshimura mid-pipe to the header pipes. This connection is usually secured with a slip-fit joint and a clamp. Slide the mid-pipe onto the header outlet, and then tighten the clamp around the joint.
Ensure it’s snug but don’t overtighten, as this can crush the pipe. If you are using exhaust paste or sealant, apply it to the slip-fit connection before sliding the pipes together.
Finally, attach the Yoshimura muffler. This will mount using a bracket, similar to the stock muffler. Align the muffler bracket with the designated mounting point on your Ninja 650R’s frame.
Secure it with the bolts provided in your kit. Again, hand-tighten everything first before final tightening to ensure proper alignment.
The trickiest part can sometimes be getting the muffler to line up perfectly without hitting any other parts of the bike. Take your time and adjust as needed. Make sure the exhaust system isn’t touching any bodywork, brake lines, or electrical wiring.
Proper clearance is essential for safety and to prevent damage.
Final Tightening and Checks
Once all the components are in place, go back and tighten all the bolts and clamps. Use your torque wrench to ensure they are tightened to the manufacturer’s specifications. Overtightening can strip threads or damage parts, while undertightening can lead to leaks or the exhaust coming loose.
A common torque value for exhaust clamps is around 10-15 Nm, but always check your Yoshimura manual.
After everything is tight, give the exhaust system a good wiggle to make sure it’s secure. Double-check that all springs are attached, all clamps are snug, and all bolts are tightened. If you disconnected an O2 sensor, reconnect it now.
Also, remember to reattach the battery if you disconnected it earlier.
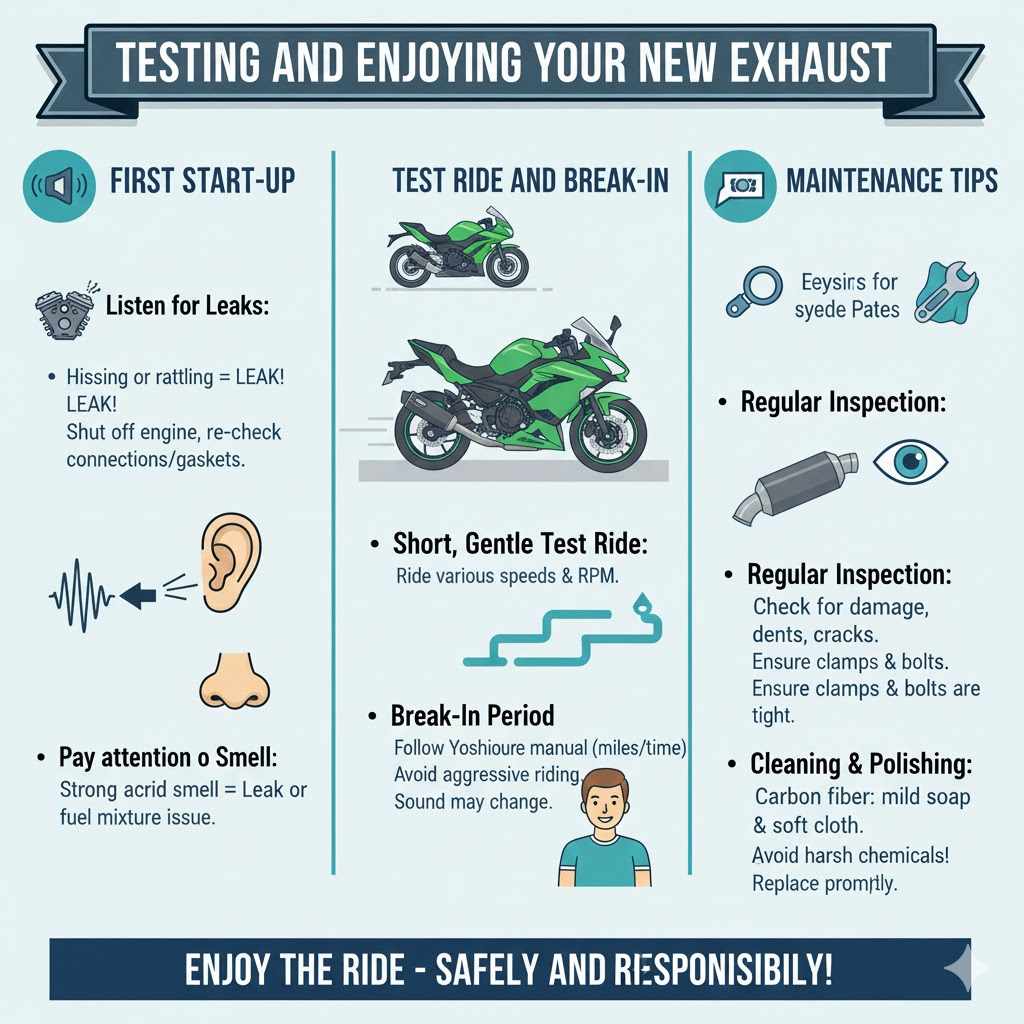
Testing and Enjoying Your New Exhaust
With the installation complete, it’s time to fire up your Ninja 650R and hear the difference. This is the moment you’ve been waiting for! However, it’s crucial to do this carefully to catch any potential issues and ensure everything is working as it should.
First Start-Up
Start your motorcycle and let it idle for a few minutes. Listen for any unusual noises like hissing or rattling, which could indicate an exhaust leak. If you hear any, shut off the engine immediately and re-check your connections, especially where the header pipes meet the engine and the mid-pipe connects to the header.
Small leaks can often be fixed by tightening the clamp or bolt a little more, or by ensuring gaskets are seated properly.
Pay attention to the smell as well. A slight exhaust smell is normal, but a strong, acrid smell could point to a leak or a problem with the fuel mixture. Modern bikes often have sensors that adjust the fuel mixture, but significant exhaust leaks can sometimes confuse these systems.
Test Ride and Break-In
Once you’re confident there are no leaks, take your Ninja 650R for a short, gentle test ride. Ride at various speeds and RPMs to see how the exhaust performs. Listen to the sound.
Does it meet your expectations? Does it feel like it’s breathing better?
Many new exhaust systems, especially those with carbon fiber or titanium components, require a break-in period. This usually involves riding the bike for a certain amount of miles or time at moderate speeds. During this break-in, the materials in the exhaust expand and settle.
It’s common for the exhaust note to change slightly as it breaks in. Avoid aggressive riding or prolonged high-RPM use during the initial break-in period. Your Yoshimura manual will provide specific break-in instructions.
Maintenance Tips
To keep your Yoshimura exhaust looking and sounding its best, some basic maintenance is needed. Regularly inspect the exhaust for any signs of damage, dents, or cracks. Check that all clamps and bolts remain tight, as vibrations from riding can sometimes loosen them over time.
Clean the exhaust pipes and muffler periodically to remove road grime, oil, and tar.
For stainless steel exhausts, use a metal polish designed for automotive use to keep them shiny. If you have a carbon fiber muffler, clean it with mild soap and water and a soft cloth. Avoid harsh chemicals or abrasive cleaners that can damage the carbon fiber finish.
Periodically inspect exhaust springs and hangers for signs of wear or corrosion. If you notice any issues, replace them promptly to prevent further damage.
Frequently Asked Questions
Question: How long does it typically take to install a Yoshimura exhaust on a Ninja 650R
Answer: For most riders, including those with some basic mechanical experience, installing a Yoshimura exhaust on a Ninja 650R can take anywhere from 1 to 3 hours. If you are completely new to motorcycle maintenance, it might take a bit longer, perhaps up to 4 hours. The time depends on your familiarity with tools and the specific exhaust model.
Question: Do I need to rejet my Ninja 650R after installing a Yoshimura exhaust
Answer: For most slip-on Yoshimura exhausts on the Ninja 650R, rejetting is typically not required. Modern bikes have fuel injection systems that can adjust to minor changes. However, if you are installing a full Yoshimura exhaust system or a very high-flow slip-on, it’s a good idea to check the Yoshimura instructions or consult with a dealer to see if an ECU flash or tuner is recommended for optimal performance and engine health.
Question: Can I install a Yoshimura exhaust myself
Answer: Absolutely. The process of installing a Yoshimura exhaust on a Ninja 650R is designed to be done by the owner. With basic tools, clear instructions, and a little patience, most motorcycle enthusiasts can successfully perform this upgrade themselves.
Question: What tools are essential for installing a Yoshimura exhaust
Answer: You’ll generally need a good set of metric sockets and wrenches, screwdrivers, pliers, a torque wrench, and possibly a spring puller tool. Having a motorcycle stand to lift the rear of the bike is also highly recommended for easier access.
Question: Will a Yoshimura exhaust void my Ninja 650R’s warranty
Answer: Installing an aftermarket exhaust may affect your warranty coverage for the exhaust system itself and potentially related components if an issue arises that can be directly attributed to the aftermarket part. However, in many regions, modifying the exhaust for performance is legal and does not void the entire motorcycle’s warranty if the modification does not cause the problem. Always check your specific warranty terms and Yoshimura’s recommendations.
Summary
You’ve learned how to install a Yoshimura exhaust on your Ninja 650R. From gathering tools to removing the old parts and fitting the new one, you’re ready to go. Make sure every bolt is tight and check for leaks.
Then, enjoy the amazing sound and performance upgrade. Ride safe and have fun!
Related pick: Check today's price on Amazon