How to Install Gibson Exhaust: Step-by-Step Guide for Beginners
Looking to upgrade your ride with a Gibson exhaust? You’re in the right place.
Installing a Gibson exhaust can boost your vehicle’s performance, improve sound, and give your truck or car a sleek new edge. But if you’re worried it might be complicated or time-consuming, don’t be. This guide breaks down every step clearly, so you can do it yourself with confidence.
Stick with me, and by the end, you’ll know exactly how to install your Gibson exhaust quickly and safely. Let’s get started!
Tools And Materials Needed
Installing a Gibson exhaust requires specific tools and materials. Having everything ready makes the job easier and safer. This section lists the key items needed for a smooth installation.
Essential Tools
Start with basic tools like a socket wrench set and screwdrivers. You will need a jack and jack stands to lift your vehicle safely. A torque wrench is important for tightening bolts correctly. Also, keep a pair of pliers and a rubber mallet nearby. These tools help remove old parts and fit new ones properly.
Safety Gear
Safety is important during any car work. Wear gloves to protect your hands from sharp edges. Use safety glasses to shield your eyes from debris. Long sleeves and pants help protect your skin. A face mask can prevent breathing in dust or fumes. Always work in a well-ventilated area.
Gibson Exhaust Components
Your Gibson exhaust kit includes pipes, clamps, and mufflers. Check that all parts match your vehicle model. Inspect the gasket and mounting hardware for damage. Having all components ready avoids delays. Follow the instructions included with your kit closely for best results.
Preparing Your Vehicle
Preparing your vehicle is the first step to install a Gibson exhaust. This stage ensures your safety and makes the job easier. Taking time to prepare helps avoid problems later. Follow these steps carefully before you start the installation.
Parking And Safety Precautions
Park your car on a flat and stable surface. Avoid hills or uneven ground. Apply the parking brake firmly to stop the vehicle from moving. Use wheel chocks behind the tires for extra safety. Wear safety gloves and eye protection before working under the car. Make sure the engine is cool to avoid burns.
Lifting The Vehicle
Use a reliable jack to lift the car. Place the jack under the recommended lifting points found in your car manual. Raise the vehicle just enough to get good access to the exhaust system. Support the car with sturdy jack stands. Never rely on the jack alone to hold the car up. Check stability before crawling underneath.
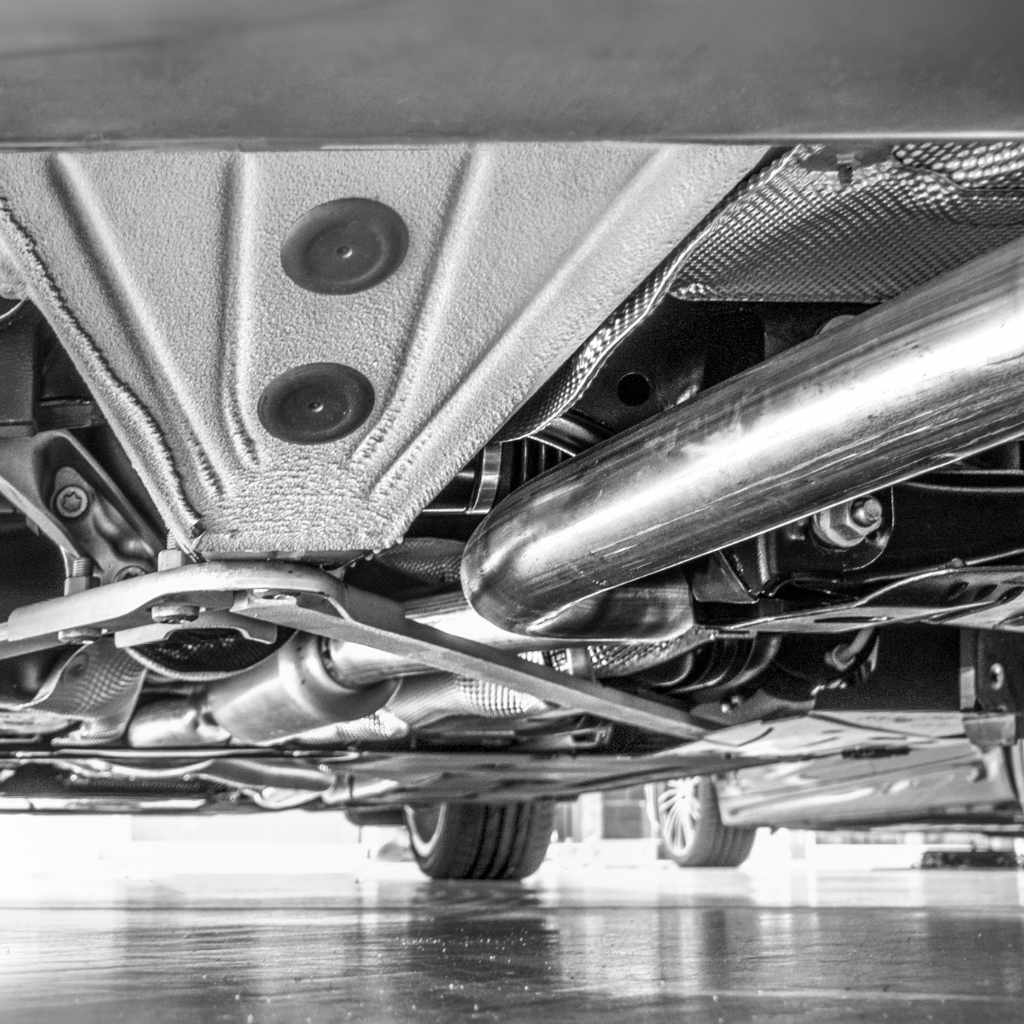
Removing The Old Exhaust
Locate the old exhaust system parts that need removal. Spray penetrating oil on rusted bolts and nuts to loosen them. Use the right tools like wrenches and sockets for removal. Take your time to avoid breaking any parts. Carefully detach hangers and clamps holding the exhaust. Remove the old exhaust in sections if needed.
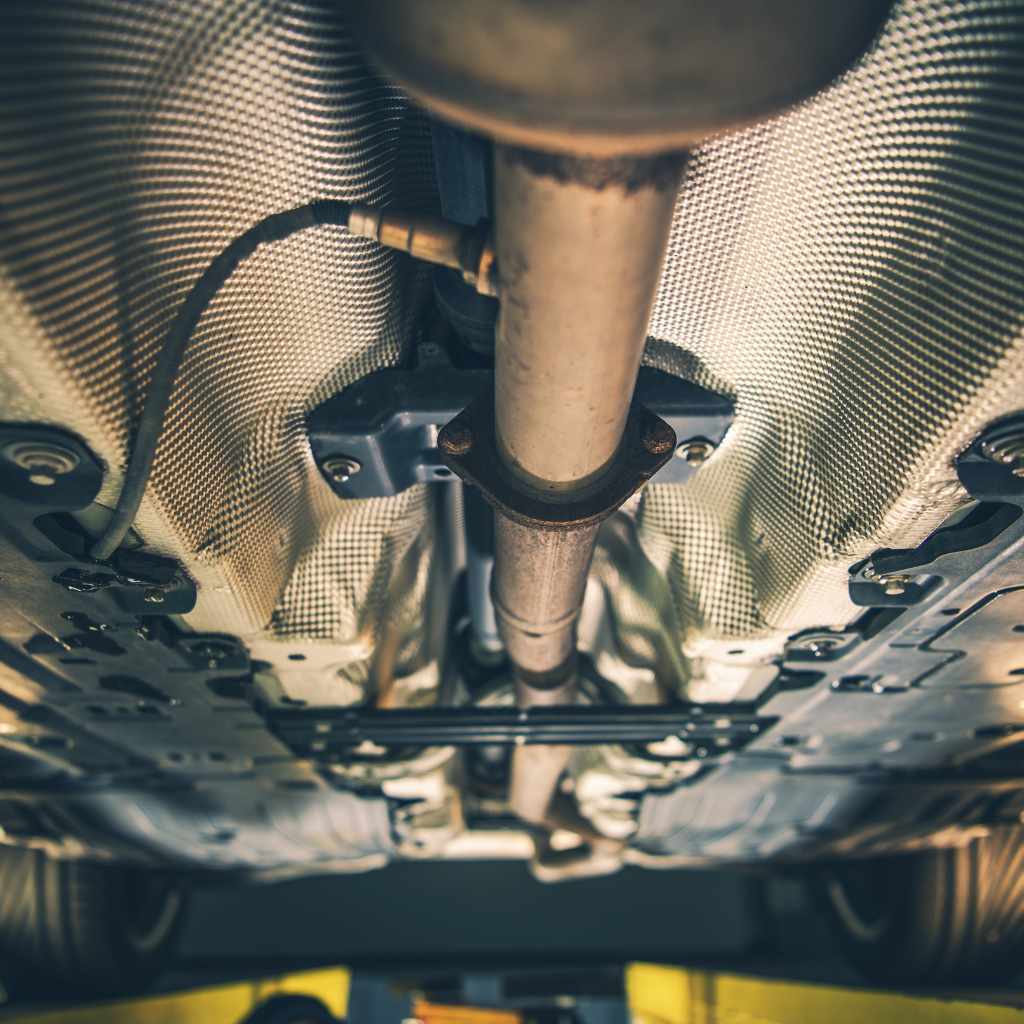
Installing The Gibson Exhaust
Installing the Gibson exhaust is a key step to improve your vehicle’s sound and performance. This process needs care and attention. Follow each step to ensure the exhaust fits well and works correctly.
Aligning The Exhaust Parts
Start by placing all parts of the Gibson exhaust together. Make sure the pipes line up with the vehicle’s exhaust system. Check that the muffler and tips sit in the right position. Proper alignment prevents leaks and noise issues. Take time to adjust parts before tightening anything.
Securing Clamps And Hangers
Use the clamps provided to join the exhaust pipes tightly. Tighten each clamp evenly to avoid gaps. Attach the hangers to the vehicle’s frame. Hangers hold the exhaust in place and stop it from moving. Double-check that all clamps and hangers are secure but not over-tightened.
Checking For Proper Fit
Look over the entire exhaust system once installed. Make sure pipes do not touch other parts of the car. Check the exhaust tips for even spacing and clearance. Start the engine and listen for any unusual sounds. A good fit means no rattling or leaks. Adjust if needed before finishing the job.
Final Steps And Testing
After installing your Gibson exhaust, the final steps are crucial to ensure everything fits and works perfectly. These steps focus on securing all parts and checking for any issues before you finish. Proper testing helps avoid leaks and noises later.
Tightening Bolts And Clamps
Start by tightening all bolts and clamps firmly. Use a wrench or ratchet to secure each connection. Tight bolts prevent exhaust leaks and rattling sounds. Do not overtighten to avoid damaging parts. Check each clamp and bolt twice to ensure they are snug.
Lowering The Vehicle
Once all bolts are tight, carefully lower the vehicle. Use a jack or lift slowly to avoid sudden movements. Make sure the exhaust hangs freely without touching any parts. Clear space around the exhaust system allows for safe expansion when hot.
Starting The Engine And Inspecting
Start the engine and listen closely for any strange sounds. Look under the vehicle for exhaust leaks or smoke. Feel around the joints for escaping air. If you find leaks, tighten bolts or clamps again. Check the exhaust’s position to confirm it is stable and secure.
Troubleshooting Common Issues
Troubleshooting is key when installing a Gibson exhaust. Problems can occur even with careful work. Fixing issues early helps keep your exhaust working well and sounding great. Here are some common problems and simple ways to solve them.
Exhaust Leaks
Exhaust leaks cause noise and reduce engine performance. Check all joints and clamps for tightness. Use a spray bottle with soapy water to find leaks. Bubbles will show escaping air. Replace any damaged gaskets or seals. Tighten bolts carefully but avoid over-tightening. Small leaks can be fixed with exhaust sealant for quick repair.
Rattling Noises
Rattling can come from loose parts or poor fit. Inspect hangers and brackets for damage or looseness. Tighten or replace any worn parts. Add rubber isolators to reduce vibration. Ensure all bolts are secure and no metal parts touch each other. Rattling often stops once everything is firmly in place.
Fitment Problems
Fitment issues happen if parts do not line up well. Compare the new exhaust with the old one before installation. Adjust hangers or brackets slightly to improve alignment. Use clamps that allow small adjustments. Avoid forcing parts together, as this may cause damage. Proper fit ensures better performance and longer exhaust life.
Maintenance Tips For Gibson Exhaust
Maintaining your Gibson exhaust extends its life and keeps performance high. Regular care prevents rust, damage, and loud noises. Simple steps help your exhaust stay in top shape.
Cleaning And Care
Clean the exhaust with a soft cloth and mild soap. Avoid harsh chemicals that can damage the finish. Dry it well to stop rust from forming. Check for dirt or debris inside the pipes. Remove buildup gently to keep air flowing freely.
Regular Inspections
Look over the exhaust often for cracks or holes. Listen for unusual sounds during driving. Loose or broken parts need quick attention. Check the clamps and hangers to ensure they are tight. Early fixes save money and prevent bigger issues.
When To Seek Professional Help
Strange noises or smoke signal a problem beyond cleaning. If you see major rust or holes, get an expert to inspect. Professionals have tools to fix or replace parts safely. Don’t wait too long to call a mechanic.
Frequently Asked Questions
How Long Does It Take To Install A Gibson Exhaust?
Installing a Gibson exhaust usually takes 1 to 2 hours. Time varies based on vehicle model and installer experience. Proper tools and clear instructions speed up the process.
What Tools Are Needed To Install Gibson Exhaust?
You need basic hand tools like wrenches, sockets, and a jack. Safety gear such as gloves and eye protection is also recommended. Check the manual for any specific tools.
Can I Install A Gibson Exhaust Myself?
Yes, with basic mechanical skills and proper tools, you can install it yourself. Follow step-by-step instructions carefully. If unsure, consult a professional to avoid damage.
Will A Gibson Exhaust Improve My Vehicle’s Performance?
Yes, Gibson exhausts enhance exhaust flow, increasing horsepower and torque. They also provide a deeper sound and better fuel efficiency in many cases.
Conclusion
Installing a Gibson exhaust can improve your vehicle’s sound and performance. Follow each step carefully for the best results. Take your time and use the right tools. Double-check all connections to avoid leaks or issues. Enjoy the new look and sound of your car.
With patience, you can complete this project yourself. Remember, safety always comes first during installation. Keep this guide handy for future reference. Now, you are ready to hit the road with confidence.