How to Build a Custom Exhaust Without Welding
Build a custom exhaust without welding by using mandrel-bent sections, V-band or flange connections, slip joints, quality clamps, and proper hangers; if the layout needs tight compound bends, merge collectors, or permanent leak-free joints at high heat, welding is the better call. A poor bolt-together exhaust leaks, rattles, and can melt nearby parts. This guide shows how to choose parts, size tubing, seal joints, support the system, and know where a no-weld build stops being reliable.
What you’ll need


- Exhaust builder kit with straight sections and mandrel bends
- Slip-fit exhaust tubing sized to your planned diameter
- Band clamps for slip joints
- V-band clamps for service points and repeated disassembly
- Exhaust flex joint for the area with the most movement
- Hangers, rubber isolators, and brackets
- Measuring tape, marker, angle finder, and straightedge
- Cutoff wheel, saw, or tubing cutter
- File, deburring tool, and Scotch-Brite or emery cloth
- Jack stands, wheel chocks, and eye and hand protection
- Sealant rated for exhaust use, if the clamp maker allows it
How do you plan the layout?
Measure the full route before you cut. Map the exhaust around ground clearance, suspension travel, driveline movement, and service access, then place joints where you can reach them with a tool. A no-weld system lives or dies on fit-up, alignment, and where you put the service points.
What the route needs to clear
Keep exhaust pipes at least 2 inches from fuel and brake lines where possible. Check the floor, wiring, and body mounts too. Exhaust header primary joints can see 1,200 to 1,600F at the primaries, so heat shielding belongs near hot zones and around nearby components that cannot move away from the pipe.
Picture a 2.5-inch single exhaust running past a rear subframe. If the pipe clears at ride height but kisses the chassis at full droop, the first hard bump can turn a clean build into a rattle source. Check the system with the suspension loaded and unloaded before final tightening.
What to place before cutting
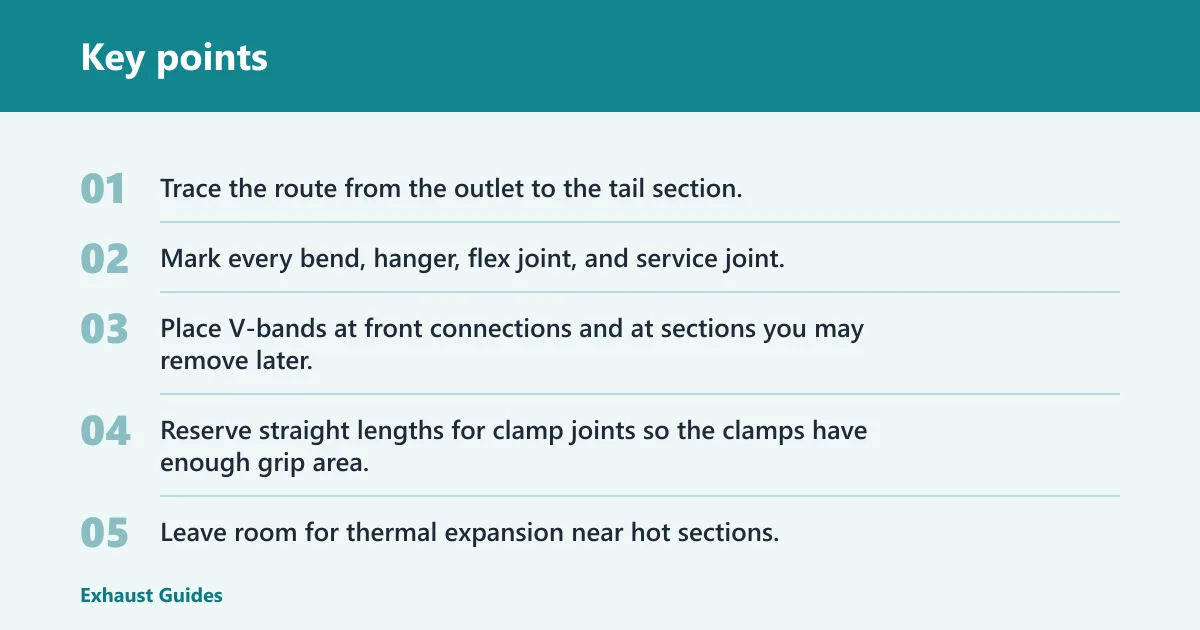
- Trace the route from the outlet to the tail section.
- Mark every bend, hanger, flex joint, and service joint.
- Place V-bands at front connections and at sections you may remove later.
- Reserve straight lengths for clamp joints so the clamps have enough grip area.
- Leave room for thermal expansion near hot sections.
How do you choose pipe size?
Choose diameter for the power level first, then fit the tubing around the chassis. Oversizing can soften low-end torque because gas velocity drops, while undersizing chokes higher power. For a single-pipe system, the common size ranges below give a practical starting point.
| Pipe diameter | Typical power range | Fitment note |
|---|---|---|
| 2.00 to 2.25 inches | Under 200 HP | Best for small-displacement engines and tight packaging |
| 2.50 inches | 200 to 350 HP | Common choice for balanced street builds |
| 3.00 inches | 350 to 500 HP | Better for higher flow without going oversized too early |
| 3.50 inches | 500 to 700 HP | Use when the engine needs more volume and the chassis can fit it |
| 4.00 inches or larger | 700 HP and above | Usually for high-output combinations with enough undercar space |
A common first-timer mistake is choosing 3.5-inch tubing for a modest street engine because “bigger is better.” If the engine is under 200 HP, that size can slow exhaust velocity and soften response. Start with the smallest diameter that supports the power target and leave room for future changes only if the chassis can still package it cleanly.
How do you join sections without welding?
Use slip-fit tubing as the base method, then lock each joint with the clamp that matches the job. Slip-fit builder kits let you assemble a full system without welding every joint. Band clamps are commonly used on straight, aligned slip joints; V-bands are often preferred where repeated disassembly is needed; U-bolt clamps are generally the least desirable for sealing because they can deform tubing.
Best clamp choices by joint
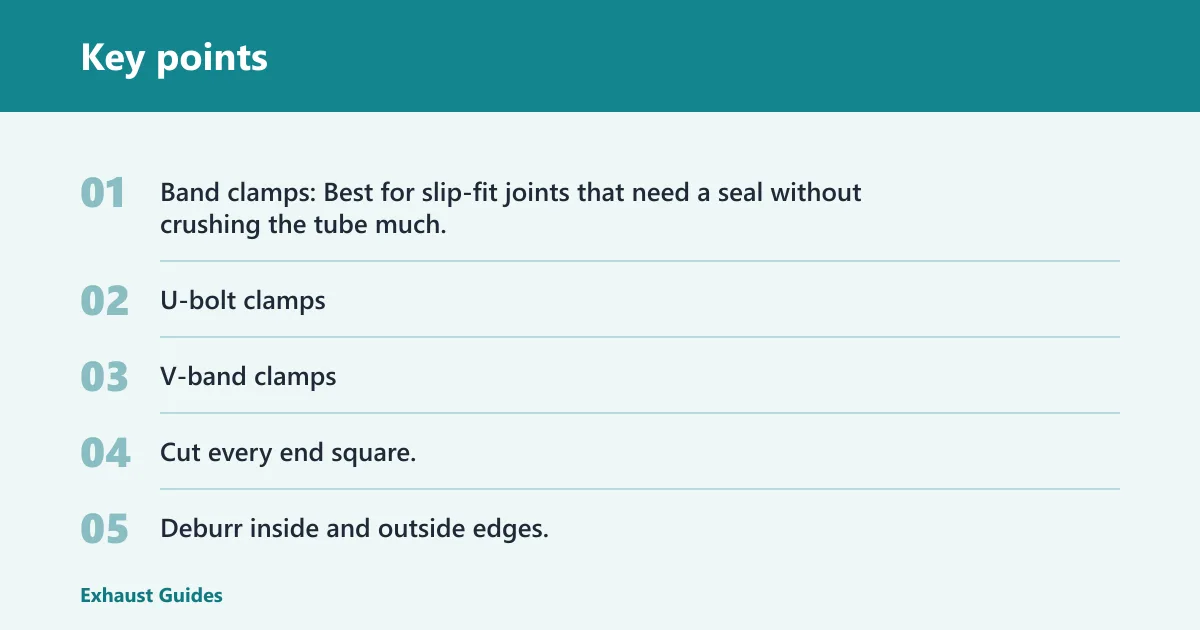
- Band clamps: Best for slip-fit joints that need a seal without crushing the tube much.
- U-bolt clamps: Fast and cheap, but they distort tubing more easily and usually seal worse.
- V-band clamps: Best for service points, front connections, and sections you will remove often.
Suppose a rear muffler section has to come off for axle service. A V-band at the front of that section gives a cleaner, repeatable seal than a U-bolt clamp, and it is easier to realign after removal. Use band clamps on the straight slip joint behind it if the system layout allows both.
Where flex and hangers belong
Do you need a flex pipe in a custom exhaust? Usually yes, if the engine or front section moves relative to the rest of the system. A common rule of thumb is to place the flex joint near the downpipe or another high-movement area, then support the rest of the system with hangers and mounts so the exhaust weight does not hang from the clamps.
Hangers and mounts keep the system from rattling against the floor, drivetrain, or rear axle. They also let the exhaust move with suspension travel instead of tearing the joints apart. A no-weld build can fail early when the pipe is supported by clamps alone.
How to seal the joints
- Cut every end square.
- Deburr inside and outside edges.
- Clean the slip surfaces so rust and oil are gone.
- Assemble the joint fully before tightening the clamp.
- Align the pipes so the clamp loads the joint evenly.
- Tighten in stages, then recheck after a short heat cycle.
No-weld exhaust build planner
| Pipe diameter | Joint type | Clamp type | Serviceability | Leak risk | Best use case |
|---|---|---|---|---|---|
| 2.00 to 2.25 inches | Slip-fit straight sections | Band clamp | Good | Low to moderate | Small-engine street build or temporary repair |
| 2.50 inches | Slip-fit with one or two V-bands | Band clamp and V-band | Very good | Low | Most bolt-together custom exhaust builds |
| 3.00 inches | Mandrel bends with service section | V-band at front, band clamp at rear | Very good | Low to moderate | Higher-flow street or track-use system |
| 3.50 inches | Long straight runs with fewer joints | V-band preferred | Moderate | Moderate | High-output build with limited access for welding |
| 4.00 inches or larger | Large-diameter service sections | V-band only at key joints | Moderate | Moderate to high | Short-term fitment testing or specialized high-power packaging |
When does welding become the safer option?
Use no-weld assembly for removable sections, budget builds, swap testing, and temporary repairs. Welding is often recommended when the layout needs tight compound bends, merge collectors, repeated heat cycling near the engine, or joints that need to stay sealed under high load for the long term. Clamp-only systems are serviceable, not equal to welded joints in every duty cycle.
- Weld if the exhaust passes very close to sensitive parts and cannot be shielded adequately.
- Weld if the joint count keeps growing because the route is too complex for clean slip-fit assembly.
- Weld if the system moves enough that clamps keep loosening after heat cycles.
- Weld if the build must survive long-term high-heat use with minimal maintenance.
Check local emissions and inspection rules before changing exhaust components. A no-weld system can be perfectly sensible for a swap test or a temporary repair, then become the wrong choice once the car needs a long service life, a very hot front section, or an unusually cramped route.
Common mistakes
- Poor fit-up: Uneven cuts and burrs create gaps. Recut and deburr before clamping.
- Wrong clamp choice: U-bolts can crush tubing and leak. Use band clamps or V-bands where sealing matters.
- No flex section: The engine and exhaust move differently. Add a flex joint near the downpipe when needed.
- Weak hanger placement: Hanging the system from the front joint loads the clamp. Support long runs with proper mounts.
- Clearance missed at travel: A pipe that clears at rest may hit under load. Check full droop and suspension movement.
- Oversized tubing: Too much diameter can hurt low-speed response. Match diameter to the power target.
Frequently asked questions
Can I make a custom exhaust without welding?
Yes, if the route is straightforward and you can place serviceable joints where the clamps can seal well. It works best for bolt-together systems, temporary repairs, and swap testing. It is less reliable when the exhaust must fit around dense chassis packaging or survive repeated high-heat cycles.
How do I join exhaust pipe sections without welding?
Use slip-fit tubing as the base connection, then secure it with a clamp that matches the joint. Band clamps are the usual choice for straight sections. V-bands are better where you want repeatable removal. Make the cuts square, deburr them, and align the joint before tightening.
What clamps work best for a no-weld exhaust
V-band clamps are best for repeated disassembly and service points. Band clamps are the better general choice for sealing straight slip joints without deforming tubing much. U-bolt clamps are the least desirable for a sealed custom exhaust because they can distort the tube and leak more easily.
What pipe size should I use for my exhaust?
For a single-pipe exhaust, use 2.00 to 2.25 inches under 200 HP, 2.50 inches for 200 to 350 HP, 3.00 inches for 350 to 500 HP, 3.50 inches for 500 to 700 HP, and 4.00 inches or larger at 700 HP and above. Bigger is not always better.
Can I weld my own exhaust?
Yes, if you have the right equipment and the material allows it, but welding is not required for every build. Mild steel is the easiest material to fabricate, aluminized steel has moderate durability with moderate corrosion resistance, and stainless steel needs back purge on TIG. If the system must be permanent and leak-free near hot sections, welding is often the safer choice.