
Do Exhaust Tips Need Hangers or Clamps?
Most exhaust tips do not need hangers when the tip is short and light, and a clamp can hold it. Long, heavy, or far-out tips need a hanger plus a clamp, or the mounting method the vehicle maker specifies. Skip support, and the tip can slip, rattle, scrape, or crack the pipe. This guide covers the hanger-or-clamp decision, fitment checks, and the simplest DIY install rules for decorative tips, heavy extensions, and vibration-prone setups.
Exhaust tips and support basics


An exhaust tip changes the outlet shape, finish, or exit angle at the end of the tailpipe or muffler outlet. Most are cosmetic and add little load, but longer double-wall pieces, oversized outlets, and extensions add weight and force that the pipe must carry. That extra load is where support matters. Thermal growth also matters: exhaust tubing expands and moves as it heats and cools, which is why fixed joints need room to move and why support hardware must not bind the pipe (Engineering ToolBox linear expansion reference).
Slip-on vs welded tips
Slip-on tips slide over a tailpipe or outlet and are held by a clamp or set screw. Welded tips are fixed in place after alignment, so they resist rotation and movement better, but they are permanent and less forgiving if the angle is off. A clamp-on tip is the normal DIY choice when you want removability. If the joint must resist twisting, a weld generally controls rotation better than a clamp alone because the metal is mechanically fused rather than only compressed at the overlap (Vibrant Performance exhaust clamp selection).
Cosmetic tip vs structural extension
A cosmetic tip mostly changes appearance and may alter sound slightly. A structural extension is longer, heavier, or more exposed, so it acts like a lever at the end of the exhaust. That difference decides whether a clamp is enough or whether the pipe also needs a hanger or welded support. The farther the mass sits from the pipe, the more rotation and bounce the joint sees.
For example, a hatchback may use a stainless tip with a 2.5-inch inlet and a short overlap on a 2.5-inch tailpipe. If the tip is light and sits close to the bumper, a clamp can be enough. If the same tip extends about 5 inches past the bumper, support needs change because vibration and force rise fast.
Do exhaust tips need hangers or clamps?
Light decorative tips usually need only a clamp, as long as the fit is tight and the insertion depth is enough for retention. Heavier extensions, taller dual-wall tips, diesel-style outlets, and tips that sit farther from the tailpipe centerline often need a hanger plus a clamp, or a welded mount, because movement and weight can work a clamp loose. Exhaust systems also move with engine torque, road shock, and heat growth, so the support method has to allow motion without letting the tip rotate out of position (MagnaFlow exhaust clamp guide).
Light tip: clamp only
If the tip is short, thin-wall, and close to the pipe, a quality clamp normally holds it. This works best when the inlet matches the tailpipe outside diameter closely and the tip has enough slip-fit depth. A clamp does the holding; the hanger is not mandatory for a light cosmetic piece.
Heavy extension: hanger plus clamp
If the tip is long, oversized, or angled away from the pipe, the joint sees more torque. A rubber-isolated hanger helps carry weight and reduce vibration, while the clamp keeps the slip-fit from walking out. This is common on aftermarket exits, diesel applications, and oversized rolled-edge tips. Rubber isolation also helps because exhaust systems expand and shift during heat cycles, so the hanger needs to support load without acting like a rigid brace.
When welding is the cleaner fix
Welding is the cleaner option when the tip must stay fixed, the fit is awkward, the vehicle vibrates heavily, or theft and rotation are concerns. It also helps when clamp space is poor or the pipe wall is too thin for a clamp to bite without distortion. Alignment must be right before the weld goes in, and welded joints resist rotation better because the joint is locked as one piece rather than squeezed at a single band of contact.
Do exhaust tips need a hanger for support?
A hanger is needed when the tip adds weight, sticks out far enough to act like a lever, or sits in a vibration-prone spot. A rubber-isolated support point carries load and cuts movement, so it matters more on daily-driven cars, diesel setups, and long aftermarket extensions than on short decorative tips. Safe clearance matters too: if the tip can touch the bumper, body, fuel lines, or underbody on engine rock or road movement, support needs to change before the system is driven hard.
Weight and force checks
Start with the tip length and construction. A single-wall stainless tip with a short inlet is much easier to support than a long double-wall chrome tip. If the outlet hangs several inches beyond the tailpipe or muffler outlet, the hanger starts doing real work because the tip can flex with road shock and engine movement. Heavier pieces also put more bending load into the overlap, which is where clamp slip usually begins.
Vibration and movement checks
Even a light tip can move if the exhaust already sits near its travel limit. Engine motion under load, road shock, and thermal expansion can shift the pipe enough to rotate or rattle a loose tip. If the vehicle has a history of exhaust buzz or bumper contact, a hanger is a smart addition. If the exhaust is already tight against bodywork, a clamp alone is usually not enough to keep the tip stable.
Suppose a sedan has a 3-inch inlet tip clamped to a thin-wall tailpipe, and the outlet sits 1 inch from the bumper cover. The clamp may hold at first, but heat cycles can let the tip creep and touch the bumper. A hanger or a different tip length removes that risk.
How do you size the clamp and tip?
Size starts with the pipe, not the tip shape. Measure the tailpipe outside diameter or the muffler outlet diameter, then choose a tip inlet that matches that size or allows the stated insertion depth. Clamp style matters too, because band clamps seal and hold better than U-bolt clamps on many slip-fit joints. A practical clamp choice starts with the tailpipe OD, not the advertised tip style.
Measure pipe outside diameter
Use a caliper or a tape around the outside of the tailpipe, then convert if needed. The key number is the outside diameter, not the inside diameter. Also note whether the exit is straight, angled, or turned down, because the tip angle has to clear the body and point where you want it. If the pipe is ovalized, rusty, or dented, measure the most consistent round section instead of the damaged end.
Match inlet diameter and insertion depth
The inlet diameter should match the tailpipe or muffler outlet closely enough to leave a snug slip-fit. You also need enough overlap for clamp engagement; too little insertion depth invites slip, tip creep, and rotation. As a rough DIY check, an overlap around 1.5 to 2 times the pipe diameter is often more practical than a very short bite, though the exact requirement depends on the clamp design, pipe wall thickness, and the tip’s weight.
Band clamp vs U-bolt clamp
Band clamps spread load evenly around the joint and usually seal better, which helps reduce leaks and pipe crush on thin-wall tubing. U-bolt clamps can work, but they can deform the pipe and make future removal harder. If the tip has to stay aligned and quiet, band clamps are the better first choice. For thin-wall tubing, a band clamp is usually the safer selection because it is less likely to pinch the pipe into an oval.
Clamp-size example: if the tailpipe measures 2.50 inches outside diameter, start with a 2.50-inch clamp or the manufacturer’s stated 2.5-inch range, then confirm the tip inlet accepts that same slip-fit size. If the pipe is actually closer to 2.38 inches or 2.63 inches because of coating, rust, or a different metric size, choose the clamp by the measured OD, not the stamped guess on the box.
Thin-wall warning signs include a tube that dents easily with hand pressure, visible crimping when tightened, a flattened band contact line, or a pipe that changes shape before the tip stops moving. If the wall looks very thin or already distorted, switch to a band clamp or weld instead of tightening harder.
| Tip style | Typical support need | Best fastener | Key fit check |
|---|---|---|---|
| Short cosmetic slip-on | Clamp only | Band clamp | Enough overlap for retention |
| Long double-wall extension | Hanger plus clamp | Band clamp or weld | Weight, clearance, and rotation control |
| Oversized diesel tip | Hanger plus clamp | Band clamp | Tailpipe OD and exit angle |
| Permanent custom exit | Welded support | Weld | Alignment before welding |
Do you need a hanger, a clamp, or both?
Use this yes/no tree to match the support to the tip. Start with size and location, then move to weight and movement. If the answer to the first two questions is “no,” the setup usually stays simple; if the answer to the later questions turns “yes,” add support or weld the joint before it starts moving.
Question 1: Is the tip short, light, and mostly cosmetic?
If yes, go to Question 2. If no, go to Question 3.
Question 2: Does the tip have enough insertion depth and clear the bumper and nearby parts?
If yes, the usual outcome is clamp only. If no, go to Question 3.
Question 3: Does the tip carry noticeable weight, sit far from the pipe, or move with engine vibration?
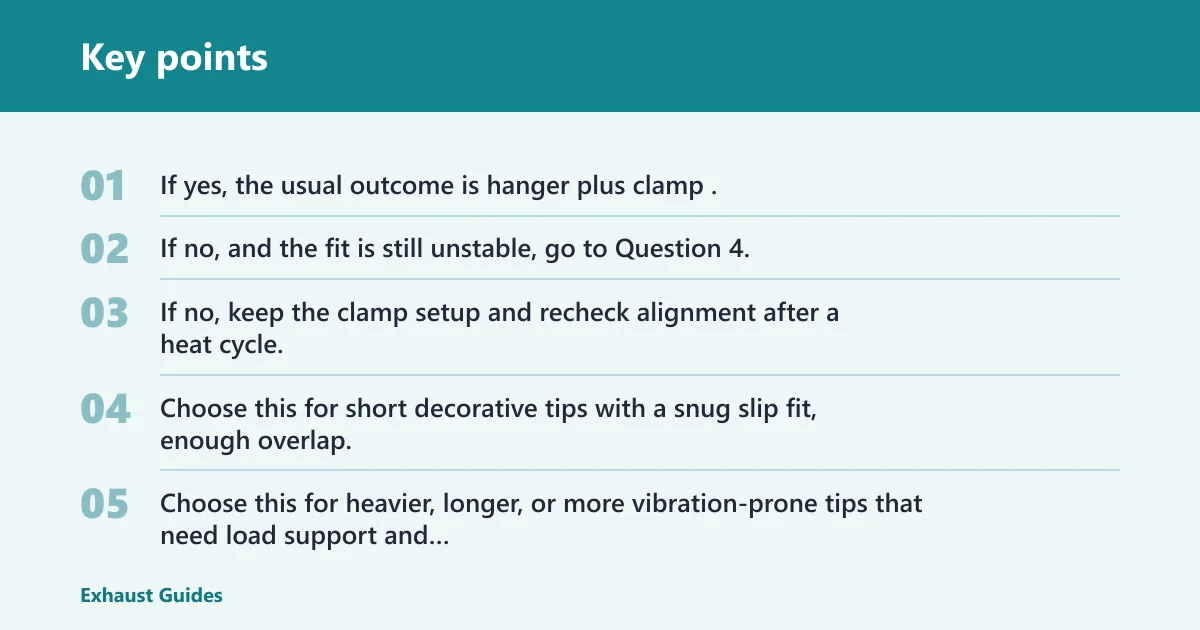
If yes, the usual outcome is hanger plus clamp. If no, and the fit is still unstable, go to Question 4.
Question 4: Is the pipe wall thin, the joint awkward, or rotation a concern?
If yes, the usual outcome is weld. If no, keep the clamp setup and recheck alignment after a heat cycle.
Outcome 1: clamp only. Choose this for short decorative tips with a snug slip fit, enough overlap, and safe clearance.
Outcome 2: hanger plus clamp. Choose this for heavier, longer, or more vibration-prone tips that need load support and anti-rotation help.
Outcome 3: weld. Choose this when the joint must not move, the pipe is too thin for clamp pressure, or the installation must stay fixed through heat and vibration.
Recommended fastening method: If you answered mostly “yes” to the cosmetic, short, well-clearanced checks, use a band clamp. If you answered yes to weight, vibration, thin-wall pipe, or structural load, use a hanger plus a clamp. If alignment is difficult or movement must be locked out, weld it.
Red flags: short insertion depth, pipe wall distortion, tip rotation after a heat cycle, clamp slip, rattle under throttle, bumper contact, and any sign that the tip is carrying more load than the joint was meant to hold.
How do I install exhaust tips without welding?
Clamp-on installation works when the tip inlet matches the pipe, the overlap is long enough, and the final position leaves safe clearance. The basic process is dry-fit, align, clamp, then recheck after heat cycling. If the tip needs force to stay put before clamping, the fit is wrong.
Dry-fit and alignment
Slide the tip onto the tailpipe or muffler outlet without tightening anything. Set the angle first, then center the outlet in the bumper opening with enough space around panels and nearby lines. A common first-timer mistake is choosing a nice-looking angle that leaves the outer shell too close to the bumper cover. If the angle forces the tip to lean on the bumper or droop under its own weight, the joint needs a different support plan.
Clamp placement and tightening
Place the clamp over the overlap zone, not at the very edge of the inlet. Tighten gradually and keep checking rotation as you go. A band clamp should compress evenly; a U-bolt can pinch the pipe if overtightened, so use only the torque needed to stop movement and seal the joint. If the tip still rotates after the clamp is snug, the overlap or pipe size is wrong.
Final clearance check
After tightening, move the tip by hand and look for contact points. Check the bumper cover, underbody, spare tire well area, and any nearby heat-sensitive components. If the tip shifts after a short drive, the clamp is either too loose, the overlap is too short, or the pipe needs a hanger. Recheck after one full heat cycle, because exhaust growth can change the fit.
Frequently asked questions
How do I use exhaust clamps correctly?
Use the clamp on the overlap zone, not on the edge of the pipe. Tighten it in small steps so the tip stays aligned while the clamp compresses evenly. Band clamps usually seal better and deform the pipe less than U-bolt clamps on thin-wall tubing.
What size exhaust clamp do I need?
Match the clamp size to the outside diameter of the tailpipe or outlet where the tip slips on. Check the tip inlet diameter and the stated fit range, then confirm there is enough insertion depth for the clamp to grab. A wrong size can leak, slip, or distort the pipe.
How do I know if an exhaust tip will fit my muffler?
Measure the muffler outlet diameter, the tailpipe wall thickness, and the space to the bumper. The tip inlet must match the outlet closely enough for a slip fit, and the outlet angle must clear bodywork. If the muffler shell is the mounting point, check that the shell is meant to carry that load.
Can exhaust tips be clamped on securely?
Yes, many can be clamped on securely if the overlap is long enough and the clamp is the right type. Band clamps hold slip-fit tips well when the pipe size matches and the wall is not too thin. Short overlap, heat cycling, and vibration are the main reasons a clamped tip loosens.
When do exhaust tips need a hanger?
Use a hanger when the tip is heavy, extends far beyond the pipe, or keeps moving after clamp tightening. A rubber-isolated hanger also helps when vibration causes rattle or rotation. Decorative short tips usually do not need one unless the vehicle’s exhaust movement is already high.
Do exhaust tips do anything?
Mostly they change appearance, and they can slightly change the sound at the exit. They do not usually add meaningful power. Their real job is fitment, finish, and exit shape, so the main concerns are diameter, clearance, retention, and whether the mounting method can handle the load.