How Much Should an Exhaust Tip Extend Past the Bumper?
Aim for the exhaust tip to extend 1/2 to 1 inch past the bumper face, with at least 1 inch of clearance from plastic and bodywork. Shorter can leave soot on the bumper. Longer can rattle, scrape, or melt trim. That range covers how to measure tip protrusion, check bumper clearance, and spot fitment problems before you tighten clamps.
What you’ll need

- Heavy-duty straight edge designed for carpenters and metalworkers
- Sturdy and durable aluminum construction with anodized finish
- Easy-to-read black bold screened and thermal-bonded graphics
- Tape measure, marked in inches and centimeters
- Straight edge or ruler for the bumper face
- Marker or masking tape for reference marks
- Angle finder for a tipped or angled exit
- Gloves
- Clamp-on or weld-on mounting hardware, if the tip is not a slip fit
- Ratchet, wrench, or weld equipment for the chosen retention method
How much should it stick out?
For many street cars, about 1/2 to 1 inch of visible protrusion is a common default. That usually leaves enough clearance to keep soot off the bumper while avoiding a hanging, track-style look. Deep valances and diffuser cutouts often need the higher end of that range. Rolled edges usually need less.
Practical protrusion targets
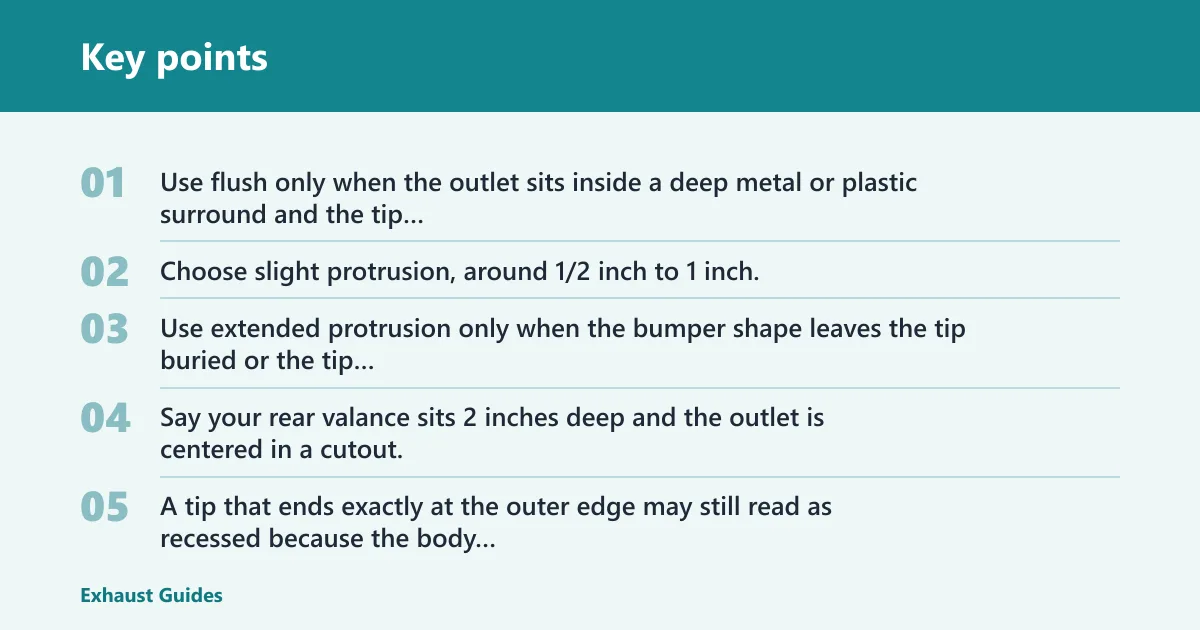
Use flush only when the outlet sits inside a deep metal or plastic surround and the tip cannot contact painted trim. Choose slight protrusion, around 1/2 inch to 1 inch, when you want the end visible but still tucked close to the rear line. Use extended protrusion only when the bumper shape leaves the tip buried or the tip would otherwise point into a recess.
Say your rear valance sits 2 inches deep and the outlet is centered in a cutout. A tip that ends exactly at the outer edge may still read as recessed because the body opening hides it. Moving the visible end out 3/4 inch usually looks cleaner without pushing the hot pipe far beyond the body line.
How do I measure exhaust tip length before buying one?
Measure three different numbers: overall tip length, inlet insertion depth, and the visible extension you actually want past the bumper. Those are not the same thing. A 6-inch tip can show only 1/2 inch if the inlet slides far onto the tailpipe, or it can stick out 2 inches if the insertion depth is shallow.
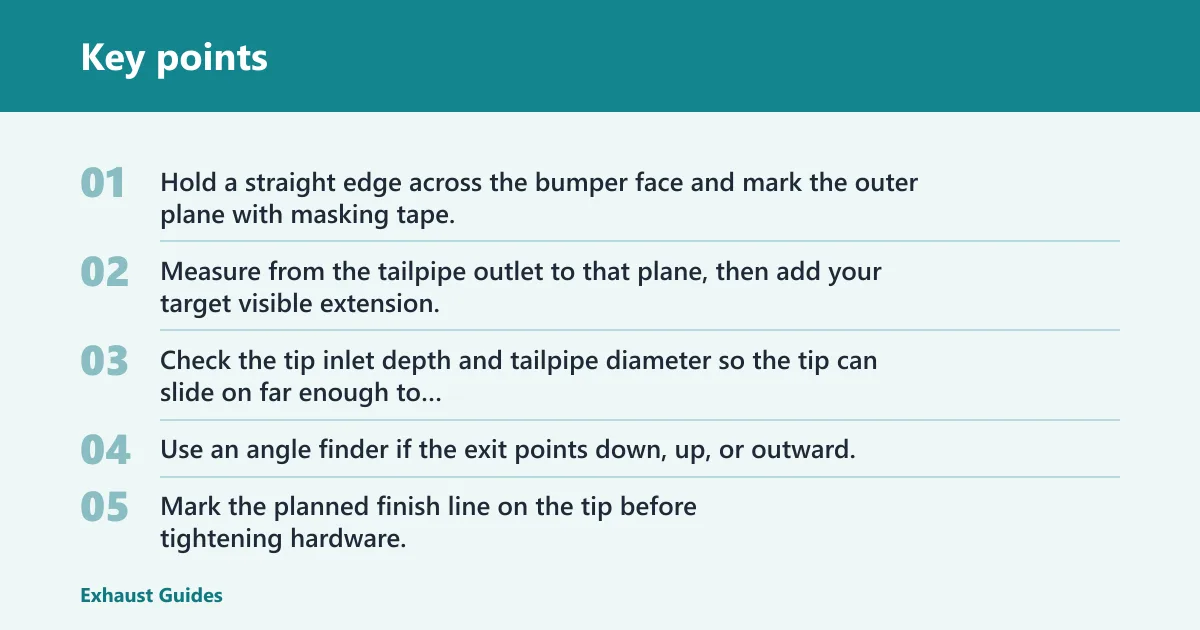
- Hold a straight edge across the bumper face and mark the outer plane with masking tape.
- Measure from the tailpipe outlet to that plane, then add your target visible extension.
- Check the tip inlet depth and tailpipe diameter so the tip can slide on far enough to clamp or weld securely.
- Use an angle finder if the exit points down, up, or outward, because angled exits change the final visible line.
- Mark the planned finish line on the tip before tightening hardware, then recheck with the straight edge.
Measurement rule to use
Visible protrusion is what the eye sees past the bumper. Insertion depth is how far the inlet sits over the tailpipe. Overall length is the full tip from inlet lip to outlet edge. Size the fit from the tailpipe outlet and bumper line, not from catalog length alone.
Should an exhaust tip be flush with the bumper or extend past it?
Flush can work on cars with a deep recess, a heavy painted valance, or a hidden outlet that would otherwise collect soot. Slight protrusion is the cleaner default for most street cars because it keeps heat away from trim and avoids a sunken look. Extended fits exposed, track-style setups with metal rear sections and more visual room.
Choose flush
- The bumper opening is shallow and the tip already sits near the outer edge.
- The rear trim is painted plastic and the exit gas stream runs close to it.
- You want the outlet low-key, not prominent.
Choose slight protrusion
- The bumper has a rolled edge or moderate valance depth.
- You want the tip visible without drawing attention away from the body line.
- The pipe exit is centered and level, so a small visible overhang looks deliberate.
Choose extended protrusion
- The outlet sits deep in a diffuser or cutout.
- The tip needs extra reach to clear a thick bumper cover.
- The design is intentionally exposed and the rear opening can frame it.
Exhaust tip fitment table
| Bumper or valance style | Recommended visible protrusion | Minimum heat clearance | Fitment notes | Common install mistake | When to choose it |
|---|---|---|---|---|---|
| Rolled-edge bumper | 0 to 1/2 inch | 1 inch from plastic or paint | Usually looks best nearly flush; the rounded edge already frames the tip. | Leaving the tip too long and making the rear end look heavy. | Choose flush or slight protrusion. |
| Shallow painted valance | 1/2 to 1 inch | 1 to 1 1/2 inches | The outlet should clear the edge without aiming heat into the trim. | Measuring from the bumper cover instead of the actual exit line. | Choose slight protrusion. |
| Deep valance or diffuser cutout | 1 to 2 inches | 1 1/2 inches | Deep recesses hide the tip unless it projects farther out. | Stopping at the cutout face and leaving the tip visually buried. | Choose extended protrusion. |
| Metal rear valance | 1/2 to 1 1/2 inches | 1 inch | Metal tolerates heat better than plastic, but finish and vibration still matter. | Assuming metal means unlimited clearance. | Choose slight or extended protrusion. |
Can an exhaust tip extend too far past the bumper?
Yes. Too much extension can create contact vibration, visible soot streaks, and a rear profile that looks busy rather than intentional. It can also leave the tip more exposed to curb taps, driveway scrapes, and heat transfer to nearby trim if the outlet aims toward plastic.
Signs of overextension
- The tip moves when the exhaust rocks at idle.
- Soot appears on the bumper edge after short drives.
- The outlet sits far beyond the body line and looks separate from the rear design.
- The tip sits low enough to catch on ramps or steep driveways.
Suppose a sedan has a 2-inch-deep diffuser cutout and the tip extends 2 1/2 inches past the bumper. The outlet may look aggressive, but the extra half-inch can make the pipe sit where road motion and heat are more likely to show up on the trim. Pulling it back to about 1 inch often solves that without making it recessed.
Installation and alignment steps
Clamp-on tips give you more adjustment after mock-up. Weld-on tips need the final position set before welding because adjustment later is limited. In both cases, the goal is the same: keep the outlet straight, centered, and far enough from plastic or painted surfaces.
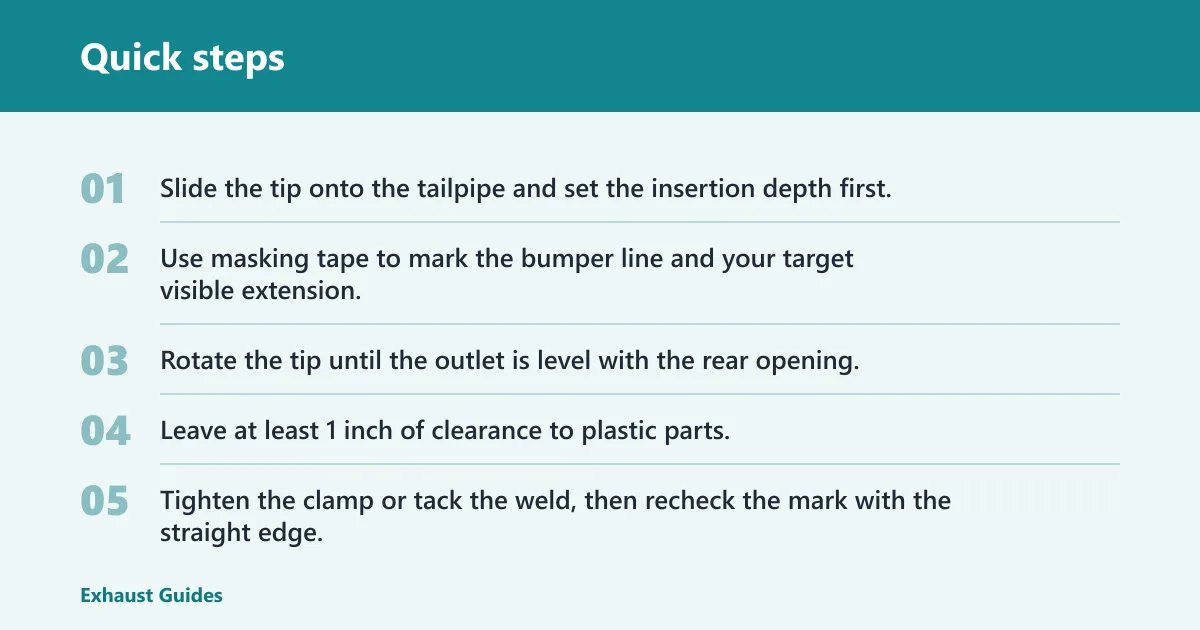
- Slide the tip onto the tailpipe and set the insertion depth first.
- Use masking tape to mark the bumper line and your target visible extension.
- Rotate the tip until the outlet is level with the rear opening.
- Leave at least 1 inch of clearance to plastic parts, then 1/4 inch more if the exit points slightly downward or toward the valance.
- Tighten the clamp or tack the weld, then recheck the mark with the straight edge.
- If the tip is still too tucked in, move it outward by 1/4 inch at a time and recheck after each change.
Hardware and adjustability
Clamp-on fitment is easiest for dialing in protrusion because the tip can slide and rotate before final tightening. Weld-on fitment is cleaner and less likely to shift, but the measurement has to be right the first time. A cut-to-fit tip can help on odd bumper depths because it lets you trim the visible length instead of accepting a fixed catalog dimension.
Common mistakes
- Mixing up length and protrusion: overall tip length does not tell you how far it will stick out past the bumper.
- Ignoring tailpipe angle: an angled exit changes the visible line and can make a straight-looking tip sit crooked.
- Using the bumper cover as the only reference: the actual outlet line and insertion depth matter more than the outer plastic edge.
- Leaving too little clearance: plastic valances and painted edges need room for heat and movement.
- Letting the tip sit too far out: this can cause rattles, soot staining, and a rear profile that looks unfinished.
A common first-timer mistake is buying a 5-inch tip because the tailpipe diameter matches, then finding the outlet ends up 1 3/4 inches past the bumper. The fix is not a different diameter; it is a shorter or deeper-mounted tip that matches the bumper depth and the look you want.
Frequently asked questions
How far should an exhaust tip stick out past the bumper?
A practical street-car target is about 1/2 to 1 inch past the bumper face, with about 1 inch of clearance from plastic or painted trim. Deep valances can need closer to 1 inch, while shallow rolled edges often look best near flush. Measure from the actual exit line, not just the bumper cover.
Will a longer exhaust tip affect heat on the bumper?
It can. Longer protrusion does not create more exhaust heat, but it can move the hot outlet closer to plastic corners or painted surfaces if the tip angle points toward them. Keep at least 1 inch of space from plastic, and more if the outlet is angled downward or inward.
What size exhaust tip looks best under a rear valance?
The best-looking size usually scales with the opening, not just the tailpipe diameter. A tip that fills the cutout without crowding the edges tends to look right. Under a deep valance, that often means a slightly longer visible section; under a rolled edge, a short, nearly flush tip usually looks cleaner.