How to Install Bassani Exhaust: Easy Step-by-Step Guide
Are you ready to boost your car’s performance and sound with a Bassani exhaust? Installing one yourself might seem tricky, but with the right steps, you can do it smoothly and confidently.
This guide will walk you through every part of the process, making it simple to follow—even if you’re new to car upgrades. By the end, you’ll not only save money but also enjoy the powerful roar of your new exhaust.
Let’s get started and transform your ride together!
Preparing For Installation
Preparing for the installation of a Bassani exhaust is key to a smooth process. Taking time to get ready helps avoid mistakes and saves time. It also ensures safety and proper fit. Follow these simple steps before starting the installation.
Gathering Necessary Tools
Start by collecting all tools needed for the job. Common tools include wrenches, sockets, screwdrivers, and a jack. Having these ready avoids delays. Check the Bassani exhaust manual for any special tools. Keep everything within reach to work efficiently.
Ensuring Safety Measures
Safety is important when working under your vehicle. Use jack stands to secure the car after lifting. Wear gloves and safety glasses to protect your hands and eyes. Work in a well-ventilated area. Never rely on just a jack to hold the car up.
Reviewing Vehicle Compatibility
Confirm that the Bassani exhaust fits your vehicle model. Check the product specifications and your car’s make and year. Using the wrong exhaust can cause damage or poor performance. Double-check before starting the installation to avoid problems later.

Removing The Old Exhaust
Removing the old exhaust is the first step to install your new Bassani exhaust. This process requires care and the right tools to avoid damage. Taking safety seriously helps make the job easier and faster.
Lifting The Vehicle Securely
Start by parking the car on a flat surface. Use wheel chocks to keep it from moving. Next, use a jack to lift the car. Place jack stands under the frame for support. Never rely on the jack alone. Make sure the vehicle is stable before working underneath.
Disconnecting Exhaust Components
Locate the bolts and clamps holding the exhaust system. Spray them with a rust penetrant to loosen tight parts. Use a wrench or socket set to remove bolts carefully. Take off hangers and rubber mounts holding the exhaust. Keep track of all hardware for reassembly.
Handling Rusted Or Stuck Parts
Rust can make removal tricky. Use a wire brush to clean bolts and joints. Apply more rust remover and wait a few minutes. Tap stuck parts gently with a rubber mallet to loosen them. Avoid forcing parts to prevent damage. Patience helps in removing stubborn pieces safely.
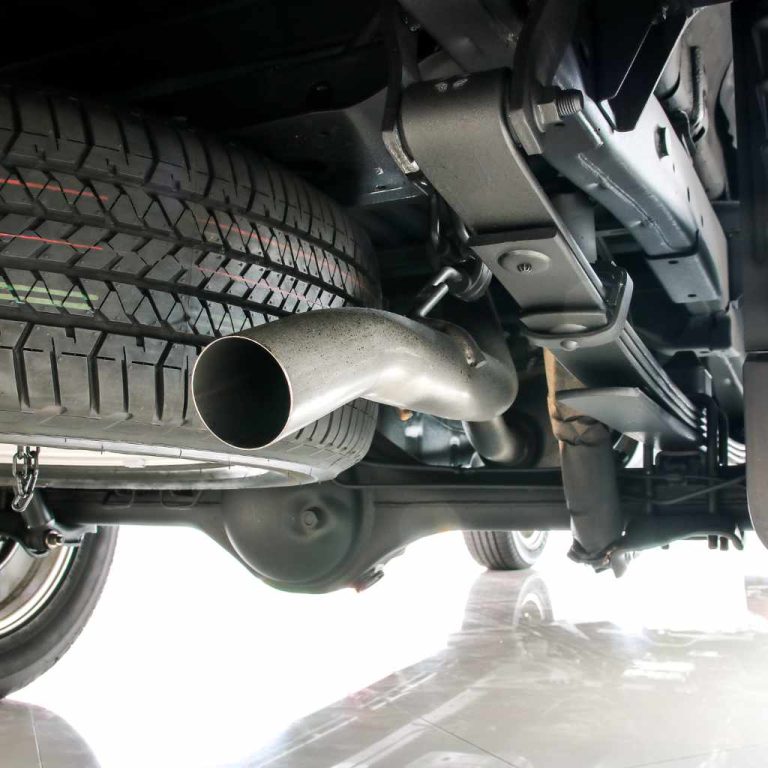
Installing The Bassani Exhaust
Installing the Bassani exhaust is a straightforward process that improves your vehicle’s sound and performance. Follow each step carefully to ensure a smooth fit and secure attachment. Proper installation helps avoid leaks and keeps your exhaust system running well.
Aligning Exhaust Components
Start by positioning the Bassani exhaust parts in place. Check that all sections line up with the vehicle’s existing pipes. Adjust the components to avoid gaps or misalignment. Proper alignment prevents stress on the exhaust and ensures good flow.
Securing Clamps And Bolts
Use the provided clamps and bolts to hold the exhaust in place. Tighten each clamp evenly to avoid leaks. Make sure bolts are snug but not too tight to prevent damage. Secure attachments keep the exhaust stable during driving.
Checking For Proper Fitment
Inspect the entire exhaust system once installed. Look for any loose parts or unusual gaps. Confirm the exhaust does not touch the car body or suspension parts. Proper fitment avoids rattles and extends the system’s life.
Testing And Final Adjustments
After installing the Bassani exhaust, testing and final adjustments are crucial. This step ensures the exhaust works well and has no problems. Proper testing helps avoid future issues and keeps your car running smoothly.
Starting The Engine
Start the engine to check how the new exhaust sounds. Listen carefully for unusual noises or rattles. Let the engine run for a few minutes. This warms up the system and reveals any issues.
Inspecting For Leaks
Look under the car for any exhaust leaks. Check all joints and connections. Use your hand to feel for escaping gases. Leaks can cause poor performance and loud noise. Fix any leaks before moving on.
Tightening And Readjusting
After checking leaks, tighten all bolts and clamps. Use the correct tools to avoid damage. If the exhaust shifts or vibrates, readjust its position. Secure it firmly to prevent future movement. Double-check all parts before finishing.
Maintenance Tips

Maintaining your Bassani exhaust is key to keeping it in top shape. Proper care helps your exhaust last longer and perform better. Follow simple steps to ensure your system stays clean and runs smoothly.
Cleaning The Exhaust
Clean the exhaust regularly to remove dirt and grime. Use a soft cloth and mild soap with water. Avoid harsh chemicals that can damage the finish. Dry the exhaust well to prevent rust. Regular cleaning keeps the exhaust looking new.
Regular Inspection
Check your Bassani exhaust often for signs of damage. Look for cracks, rust, or loose parts. Tighten bolts and clamps as needed. Early detection stops small issues from getting worse. Inspections keep your exhaust safe and efficient.
Addressing Common Issues
Listen for unusual noises that may mean a problem. Check for leaks or smoke near the joints. Replace worn-out gaskets and seals quickly. Fixing issues early prevents costly repairs later. Keep your exhaust working at its best.

Frequently Asked Questions
What Tools Are Needed To Install Bassani Exhaust?
You need a socket set, wrenches, a jack, and safety gloves. These tools help safely remove and install the exhaust system. Always check the Bassani kit instructions for any specific tools required.
How Long Does Bassani Exhaust Installation Take?
Installation typically takes 1 to 2 hours for a skilled DIYer. Time varies based on vehicle model and your mechanical experience. Professional installation may be faster and ensures proper fitment.
Can I Install Bassani Exhaust Myself Safely?
Yes, with basic mechanical skills and proper tools, you can install it safely. Follow all safety guidelines, work on a flat surface, and use jack stands. If unsure, consult a professional to avoid damage or injury.
Will Bassani Exhaust Improve My Car’s Performance?
Yes, Bassani exhausts enhance exhaust flow, boosting horsepower and torque. They also improve engine sound and efficiency. Proper installation is key to maximizing these performance benefits.
Conclusion
Installing a Bassani exhaust is a clear way to improve your car’s sound and performance. Follow each step carefully for the best results. Take your time and use the right tools to avoid mistakes. Check your work often to ensure a secure fit.
Enjoy the new sound and feel of your vehicle. This upgrade can make driving more fun and satisfying. Keep your car well maintained to protect your investment. Simple steps lead to great results.