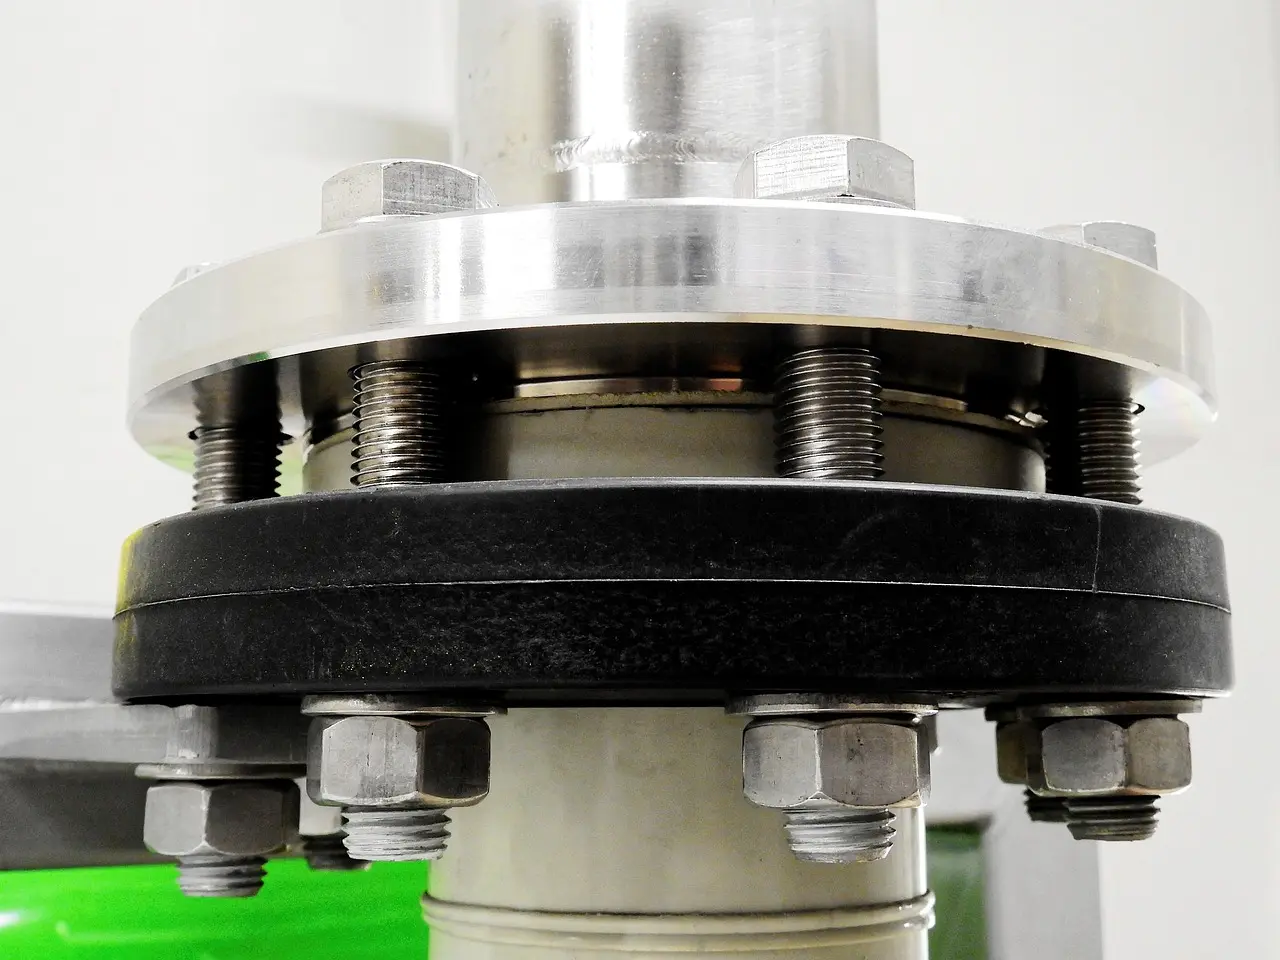
How to Choose Exhaust Flange Sizes and Styles
Match flange size to the pipe’s true outside diameter and the joint style, not the nominal pipe label; for slip-fit flanges, pick the bore about 1/16 to 1/8 inch larger than the pipe OD, then verify bolt pattern and thickness. Get it wrong and you invite leaks, warped mating faces, broken studs, and a repair that does not seal. This guide covers how to choose exhaust flange sizes and styles by pipe OD, bolt pattern, sealing method, service access, and material.
What is an exhaust flange?
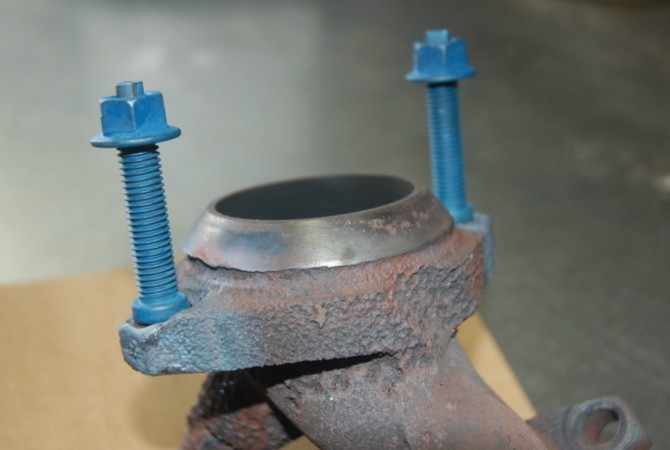
An exhaust flange is the joint connector that joins exhaust sections, if you are repairing a corroded break, building a custom system, or making a removable connection. The right flange has the right bore, face, and bolt pattern for the pipe ends and the service job.
Use it where you need a weld-on joint, a bolt-on repair, a split repair connection, or a removable flange between sections. The mating face and bolt pattern must match the other side exactly, or the joint loads the fasteners instead of sealing the pipe.
How do you choose the right flange size?
Measure the finished pipe outer diameter, not the nominal label or the inside diameter. Then choose a flange bore that fits that true OD, with enough clearance for the wall thickness and any slip-over or overlap joint. The wrong bore size causes misalignment, pinch points, or a leak path.
Common universal stainless flange sizes are offered in 45mm / 1.75 inch, 48mm / 1.875 inch, 51mm / 2 inch, 54mm / 2.125 inch, 57mm / 2.25 inch, and 60mm / 2.375 inch sizes. Larger common exhaust work also includes 2.5 inch and 3.0 inch joints, so do not stop at the smaller catalog sizes.
How to measure exhaust pipe diameter for a flange
- Clean the pipe end. Remove rust, soot, and crushed edges so you measure the finished OD, not the damage. If the tube is ovalized, repair the pipe first or the flange may fit one axis and bind on the other.
- Measure the true outside diameter. Use calipers or a tape around the pipe and convert to OD. For a slip-fit style, the bore is usually about 1/16 to 1/8 inch larger than the pipe OD so the pipe seats without forcing the face out of plane.
- Check wall thickness and overlap. Pipe wall thickness changes the inside diameter, which matters for clamp and flange overlap. A thicker wall can reduce insertion depth and may require a different flange or a longer slip section.
Suppose the pipe measures about 2.25 inches OD after cleanup. A 2.125 inch bore is too small, while a flange that fits a 2.25 inch joint with light clearance is the better starting point, then you confirm the bolt pattern and gasket size.
Which flange style fits your job?
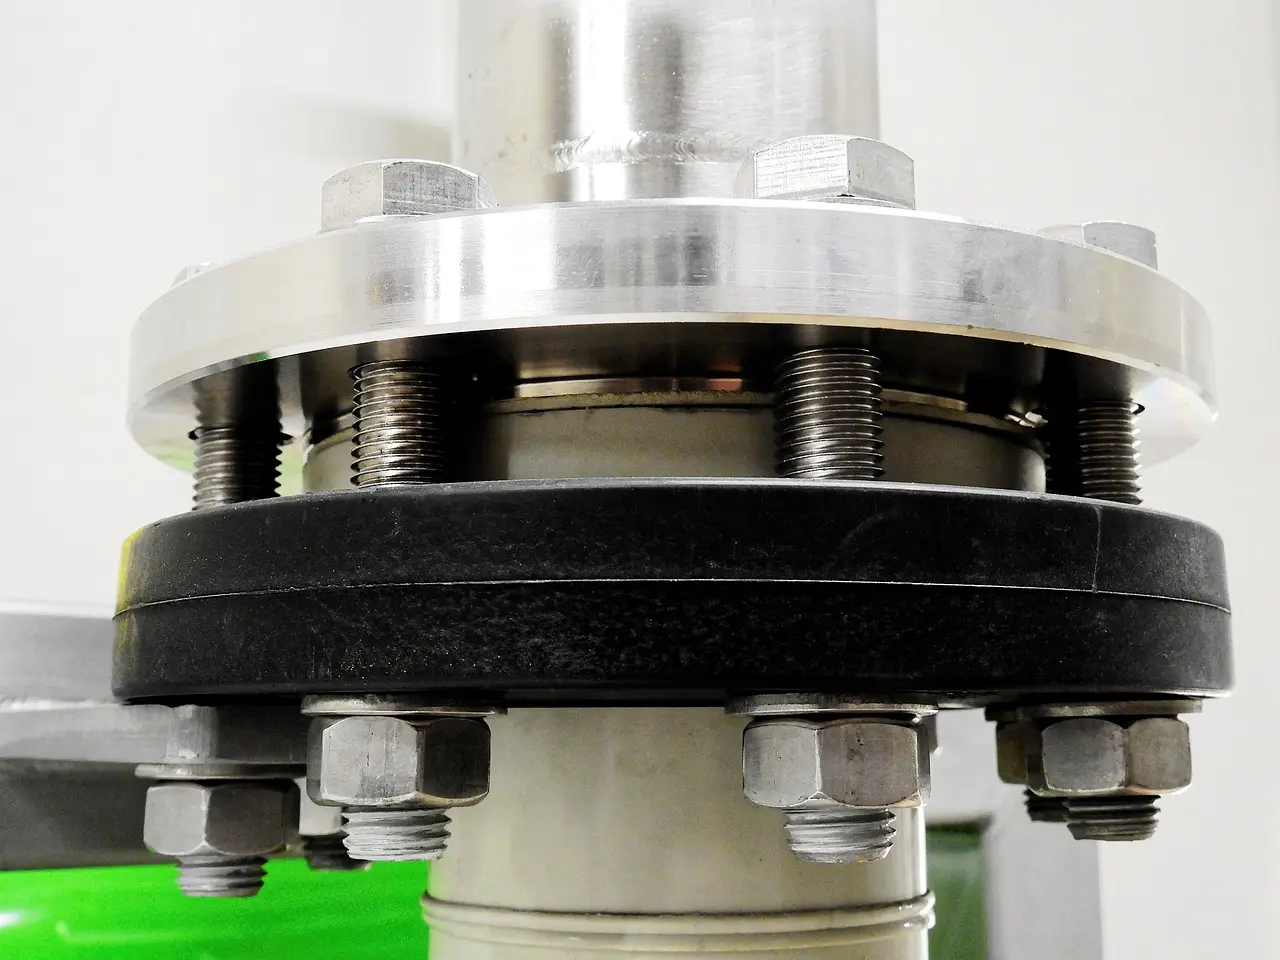
Pick the style by service need, not by pipe size alone. Split flanges suit quick repairs and cramped access, two-bolt flanges are common for standard exhaust joints, repair-bracket styles help damaged or awkward joints, and gasket-and-bolt kits suit sealed serviceable joints where you want all the small parts matched together.
If the joint will be opened often, favor a removable style. If the pipe end is damaged or the existing flange has broken away, a repair bracket or weld-on replacement often fits better than a generic bolt-on piece.
Split flange for quick service access
Choose a split flange when you need to assemble around an existing pipe or recover a joint with limited room for a full weld-on ring. It is useful when the vehicle or equipment design does not let you slide a one-piece flange over the tube.
The drawback is alignment sensitivity. If the halves do not clamp squarely, the gasket can pinch on one side and leak on the other, especially when the pipe is already slightly offset.
Two-bolt flange for standard joints
Choose a two-bolt flange for common exhaust connections where the bolt pattern is simple and the face is flat enough to seal with the correct gasket. This is the usual choice for many repair jobs and straightforward custom sections.
The drawback is mismatch risk. If the hole spacing, hole diameter, or face shape is off, the bolts may pull the flange crooked and distort the gasket.
Repair-bracket style for damaged joints
Choose a repair-bracket style when the original flange area is corroded, thin, or broken at the edge. These parts are made to restore a usable connection without having to recreate every original detail from scratch.
The drawback is that it depends on enough sound pipe left to anchor the repair. If the remaining tube is too thin, the bracket can clamp poorly or tear at the weld edge.
Gasket-and-bolt kit for repeat sealing
Choose a gasket-and-bolt kit when you want the flange, gasket, and hardware to be matched as a set. The catalog described one exhaust flange set with padded gaskets and bolts, which is useful when seal quality matters and you want fewer guesswork parts.
The drawback is that kit fit still depends on the actual joint geometry. A complete kit cannot fix the wrong bore or the wrong bolt pattern.
Which material and thickness should you pick?
Mild steel is the lower-cost choice for short-term repair work and dry climates, while stainless steel T304 suits corrosion resistance where road salt, water, or thermal cycling are common. Premium steel options can be a middle ground where heat and rust matter, but the face and bolt pattern still have to fit first.
Thickness is a fit choice as much as a durability choice. The everyexhaustpart range includes flange thickness and bore-size variation, and thicker flanges can resist warp better on hotter joints, but extra thickness can also change bolt length needs, gasket compression, and alignment at the pipe end.
Material tradeoffs by use case
- Mild steel. Best for low-cost repair where rust exposure is limited. The drawback is shorter corrosion life in wet or salty service.
- Stainless steel T304. Best where corrosion resistance matters, such as underbody repair and frequent wetting. The drawback is higher cost and the need to still match the joint face and hardware.
- Premium steel. Best when heat and rust are both concerns and the part is meant to last longer than a basic repair piece. The drawback is that premium material does not fix a poor fit.
Exhaust flange selection matrix
This matrix turns pipe OD, bolt pattern, service access, corrosion exposure, and install method into a direct pick. If more than one row fits, choose the row that matches the hardest constraint first: pattern, then OD, then service access, then corrosion environment.
| Pipe OD | Bolt pattern type | Serviceability need | Corrosion environment | Install method | Best flange style | Failure mode to avoid |
|---|---|---|---|---|---|---|
| 1.75 inch | Two-bolt, matched hole spacing | Occasional removal | Dry or mild exposure | Weld-on or bolt-on | Two-bolt flange with gasket | Using a bore smaller than the finished OD; face rocks and leaks |
| 2.0 inch | Two-bolt or split flange | Frequent service access | Wet or salty | Split or bolt-on | Stainless split flange or gasket kit | Wrong pattern spacing; fasteners pull sideways and warp the face |
| 2.125 inch | Two-bolt, exact gasket match needed | Moderate service | Corrosion present | Weld-on replacement | Stainless or premium steel repair flange | Ignoring wall thickness; overlap is too short and the clamp cannot seat |
| 2.25 inch | Two-bolt or repair-bracket style | Limited access | High heat and rust | Repair or bolt-on | Repair-bracket flange with matched gasket | Wrong gasket size; the seal edge hangs into the gas stream and leaks |
| 2.375 inch | Two-bolt, carefully aligned | Repeat removal | Wet, salty, or turbo heat | Flanged removable connection | T304 stainless flange and gasket-and-bolt kit | Thin flange on a hot joint; face warps and bolts loosen |
| 2.5 inch | Two-bolt or V-band at the system level | Frequent removal | Mixed road exposure | Kit or clamp style | 2.5 inch kit with gasket and bolts | Matching by nominal label instead of measured OD; the parts seem close but do not seal |
| 3.0 inch | Two-bolt or V-band at the system level | Fast access and strong retention | High heat, vibration, or corrosion | Removable service connection | 3 inch stainless kit or V-band flange set | Undersized bore or off-center holes; the joint binds and the clamp load is uneven |
What should you check before you install it?
Check the gasket size, face finish, and fastener fit before you bolt anything together. Then confirm the bolt hole spacing and hardware type, including washers and spring bolts where the design calls for them. Finish by using the vehicle or service-manual torque spec; do not guess, because exhaust hardware can loosen or distort if overtightened.
On a turbo/downpipe joint, a header collector, or a small-engine flange, the joint geometry can be tighter than a straight pipe repair. For those cases, verify clearance, angle, and bolt access on the bench before final installation. Follow the product or vehicle manual, never work under a vehicle held only by a jack, and check local laws where the job affects emissions or road equipment.
- Dry-fit the joint. Align the pipe, flange, gasket, and hardware without tightening fully. This shows whether the face sits square before heat cycles lock in a misalignment.
- Check bolt pattern alignment. Make sure the holes line up without forcing the flange sideways. If you need force to start the bolts, the pattern or face is wrong.
- Tighten to manual spec. Use the vehicle or service-manual torque value for the exact fastener size and joint type. Do not substitute a generic value, since overtightening can crush the gasket or distort the flange.
Say your downpipe is 3.0 inches OD and the old flange holes do not center with the new part. The right move is not to force the bolts through. You match the true OD, choose the correct pattern or a V-band-style service joint, and only then tighten to spec.
Our picks by need
2.5-inch repair job: Aokdom 2-Bolt 2.5 inch exhaust flange repair kit

- Stainless steel kit resists heat and corrosion
- Includes gasket and bolts for a complete repair
- Designed for a 2.5-inch exhaust flange fit
This kit fits a 2.5-inch repair job where you want a stainless flange, gasket, and bolts in one package. Based on the published product details, the main advantage is completeness; the drawback is that it is still a fixed 2-bolt kit, so it will not solve an odd bolt pattern or a badly distorted pipe end.
3-inch serviceable joint: EVIL ENERGY 3 Inch 2 bolt Exhaust flange Connection kit

- 304 stainless steel for strength and durability
- Includes flanges, gaskets, bolts, and nuts
- CNC-machined holes help the parts align precisely
Choose this for a 3-inch joint where you want the flange, gasket, bolts, and nuts matched together. The published details also note CNC-machined holes, which should help alignment. The drawback is that it is still a two-bolt layout, so a different collector pattern or tight turbo geometry may need another style.
Frequent access at 2.5 inches: eLifecenter 2.5 Inch V band Clamp

- Quick to install and remove for frequent access
- 304 stainless band clamp resists rust
- Designed to create a tight seal with matching flanges
This is the better fit when you want fast removal and repeated access rather than a traditional two-bolt exhaust flange. The drawback is obvious from the listing: it includes no flanges, so you must already have matching V-band flanges or plan the system around them.
Turbo/downpipe connection: JDMSPEED 3″ V-Band flange & clamp kit

- Includes clamp and two flanges in one kit
- Stainless steel construction for exhaust use
- Easy removal makes access to components simpler
Use this where a removable turbo exhaust downpipe connection is the real goal. The kit includes the clamp and two flanges, which simplifies a matched installation. The drawback is that V-band geometry is less forgiving than a simple repair flange, so the pipe ends and alignment must be right before tightening.
Mistakes to avoid
The biggest error is buying by nominal pipe label instead of measured OD. A 2.5-inch or 3.0-inch label can still be wrong if the pipe has a different finished OD, damaged end, or wall thickness that changes the fit at the joint.
Another common mistake is mismatching the bolt pattern or gasket size. If the face seals on the wrong edge, the flange loads the bolts unevenly, the gasket pinches, and the leak returns quickly. Ignoring wall thickness creates the same problem in a different form because the overlap fit changes.
Do not skip torque guidance. Follow the vehicle or service-manual spec for the exact hardware, since too much clamp load can warp the face and too little can let the joint move. Also avoid choosing a flange just because it fits the vehicle name; the actual joint geometry decides the correct part.
Frequently asked questions
What is an exhaust flange: an exhaust flange?
An exhaust flange is a joint connector used to join exhaust sections at a flat or matched sealing face. It can be welded on, bolted on, split around an existing pipe, or used in a removable connection. The important checks are bore size, bolt pattern, and gasket fit.
How do I choose the right exhaust flange size for my pipe?
Measure the pipe’s true outside diameter, then choose a flange bore that matches that finished OD with light clearance for the joint style. Do not size from the nominal pipe label or the inside diameter. Then confirm the bolt pattern and gasket size before ordering.
What flange style should I use for a custom exhaust?
For a custom exhaust, choose the style by service need and space, not only by pipe size. Use a split or repair style when access is limited, a two-bolt flange for standard joints, and a removable V-band style when frequent disassembly matters. Match the face and pattern first.
Should I use a split flange or a welded flange?
Use a split flange when you need to install around an existing pipe or when removal access is tight. Use a welded flange when you can prepare the pipe end properly and want a cleaner, more rigid joint. The wrong choice usually shows up as misalignment or a poor seal.
How do I match exhaust flange bolt pattern and gasket size?
Lay the flange, gasket, and mating part together before installation and confirm that every hole and sealing edge lines up without force. The gasket must cover the gas path fully, and the bolts must start by hand. If the pattern is off, the bolts will pull the face crooked.
What material is best for a custom exhaust flange
T304 stainless is the safest all-around choice where rust and heat are both concerns. Mild steel works for lower-cost repairs in less corrosive settings. Premium steel can be a practical middle ground, but it still has to match the joint geometry and hardware before material matters.