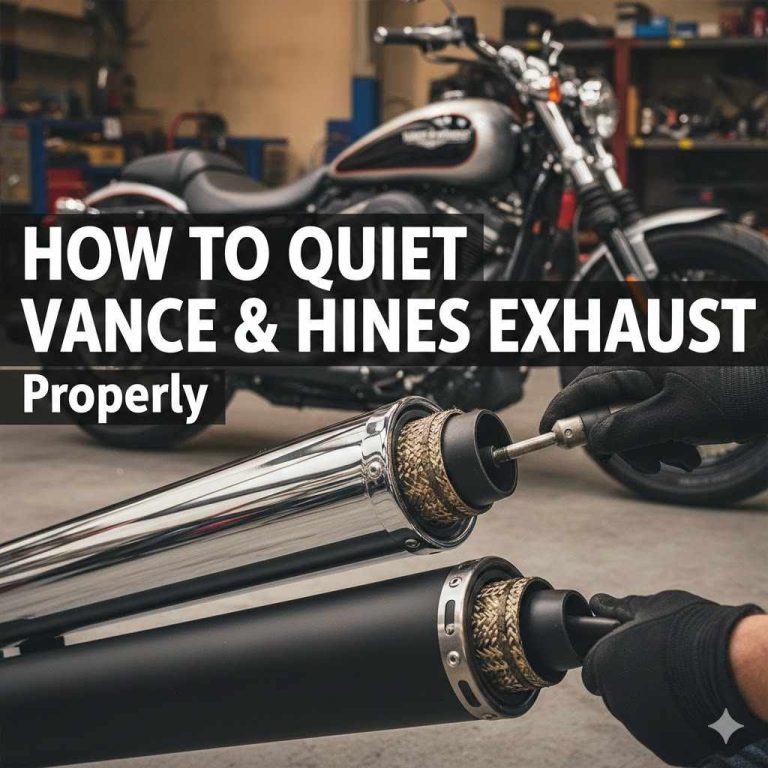
How to Remove Baffles from Vance & Hines Exhaust
Getting your Vance & Hines exhaust to sound just right can sometimes be a puzzle, especially for folks just starting out. Many wonder about How to Remove Baffles from Vance & Hines Exhaust. It might seem tricky, but it’s actually a pretty straightforward job with the right steps.
We’ll walk you through it easily.
What Are Exhaust Baffles and Why Remove Them
Exhaust baffles are components inside your motorcycle’s muffler designed to reduce the noise produced by the engine. They work by creating obstacles and chambers that absorb and redirect sound waves. Many riders choose to remove them to achieve a louder, more aggressive exhaust note that they feel better suits their bike and personal preference.
This modification can also slightly alter the engine’s performance characteristics.
The Sound Difference
The primary reason people look into removing baffles is to change the sound of their exhaust. Stock mufflers are often tuned for a quieter ride to meet regulations and appeal to a broader audience. Baffles achieve this by muffling the raw exhaust gases and their vibrations.
When you remove them, the sound waves travel more freely, resulting in a louder, deeper, and often more resonant tone. This can make a motorcycle sound more powerful and exciting, which is a big draw for many enthusiasts.
- A louder exhaust can improve the perceived performance of a motorcycle. The deeper rumble and more aggressive tone often give the impression of more power, even if the actual horsepower gain is minimal. This psychological effect can enhance the riding experience for many owners.
- Removing baffles can make your motorcycle more noticeable. While this is a safety benefit, allowing cars and other vehicles to hear you coming, it’s also a matter of style. A distinctive exhaust note is often part of a rider’s desired aesthetic and sonic signature for their bike.
- The process itself is usually quite simple. It doesn’t typically require specialized tools or advanced mechanical knowledge. This accessibility means more riders can achieve their desired sound without needing to take their bike to a professional mechanic, saving time and money.
Performance Considerations
While most riders focus on the sound, there can be some minor performance implications when removing baffles. Some exhaust systems are designed with baffles that contribute to the backpressure within the exhaust system. Backpressure is the resistance the exhaust gases face as they exit the engine.
In certain engine designs, a specific amount of backpressure is necessary for optimal performance. Removing baffles can reduce this backpressure.
This reduction in backpressure can, in some cases, lead to a slight change in the engine’s torque curve. It might result in a bit less low-end torque but potentially a small increase in horsepower at higher RPMs. However, for most street-use motorcycles, the difference is often negligible and not substantial enough to warrant a re-tune of the engine unless other performance modifications have been made.
It’s important to consider that significant changes in exhaust flow might sometimes require adjustments to the fuel mixture to prevent running too lean, which can cause engine damage.
Preparing for Baffle Removal
Before you start removing baffles from your Vance & Hines exhaust, proper preparation is key to a smooth process. This involves gathering the necessary tools and understanding what you’re working with. Having everything ready beforehand will prevent interruptions and make the job much easier.
You’ll want to ensure you have a clear workspace and know the specific design of your exhaust system.
Tools and Materials You’ll Need
Most Vance & Hines exhaust systems have baffles secured by a bolt, screw, or sometimes a clip. The specific tool needed will depend on this fastening method. Typically, you’ll require a basic set of tools.
This usually includes a socket set with various sizes, screwdrivers (both Phillips head and flathead, depending on the fastener), and possibly a wrench.
It’s also a good idea to have some penetrating oil on hand. If the fasteners have been in place for a long time, they can become seized due to heat and corrosion. A little spray of penetrating oil can help loosen them up.
You might also need a rag to clean up any grease or grime. Safety gear like gloves and eye protection are always recommended when working on your vehicle.
- Socket Set: Essential for removing bolts that hold the baffle in place or secure the end cap. Common sizes include 8mm, 10mm, and 1/4 inch, but it can vary. Having a good range ensures you’re prepared.
- Screwdrivers: Needed if your baffle is held by screws instead of bolts. Having both Phillips and flathead types covers most common fasteners found on exhaust systems.
- Wrench: Sometimes a nut is used instead of a bolt, requiring a wrench. A small adjustable wrench can be handy if you don’t have the exact size needed.
- Penetrating Oil: Crucial for loosening stubborn or rusted fasteners. It seeps into the threads and helps break down corrosion, making removal much easier.
- Safety Glasses and Gloves: Protect your eyes from debris and your hands from grease and sharp edges. Working on exhaust systems can sometimes involve sharp metal.
Identifying Your Vance & Hines Exhaust Model
Vance & Hines offers a wide variety of exhaust systems, and each model might have a slightly different baffle design and removal procedure. Before you begin, it’s highly recommended to identify the exact model of your Vance & Hines exhaust. You can usually find this information on the exhaust itself, often stamped on a metal plate or etched into the muffler.
If you can’t find it on the exhaust, check your motorcycle’s owner’s manual or any documentation that came with the exhaust when you purchased it. Knowing your model will allow you to search for specific instructions or diagrams online. Vance & Hines’ official website is an excellent resource; they often provide downloadable manuals or technical support information for their products.
This will confirm the exact location of the baffle and the type of fastener used.
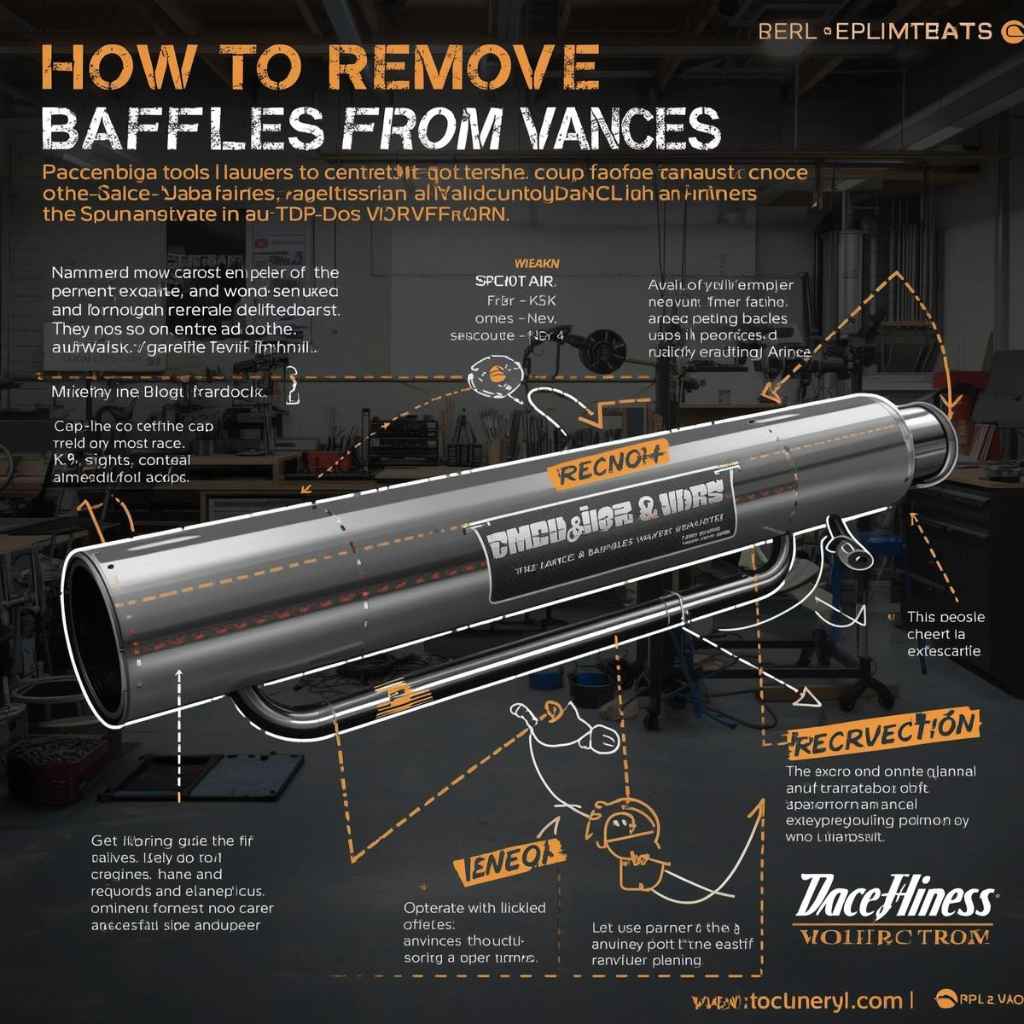
How to Remove Baffles from Vance & Hines Exhaust Step-by-Step
Now that you’re prepared, let’s get to the actual process of removing the baffles. This is the core of learning How to Remove Baffles from Vance & Hines Exhaust. We’ll break it down into simple, manageable steps.
The key is to work carefully and deliberately.
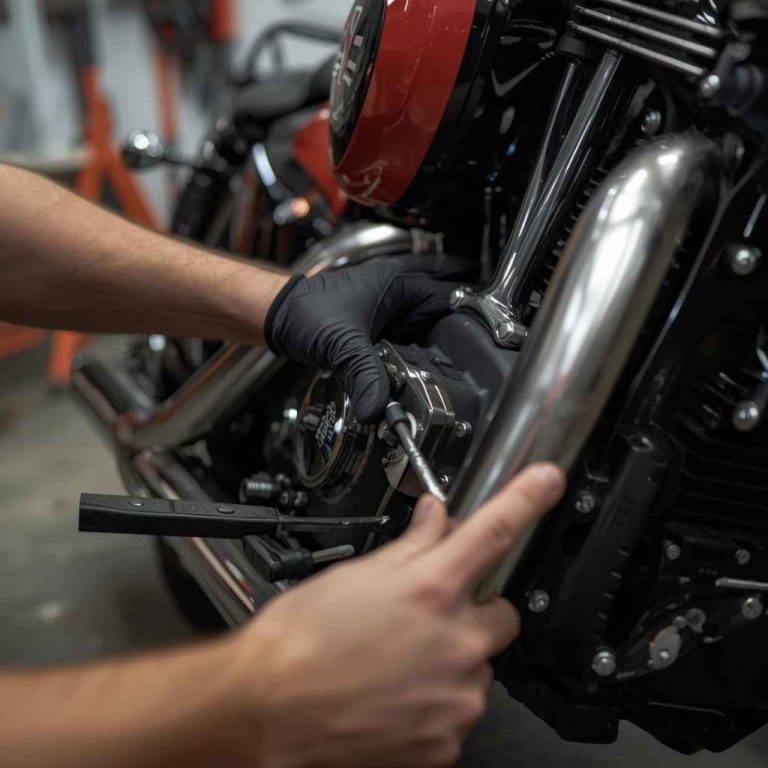
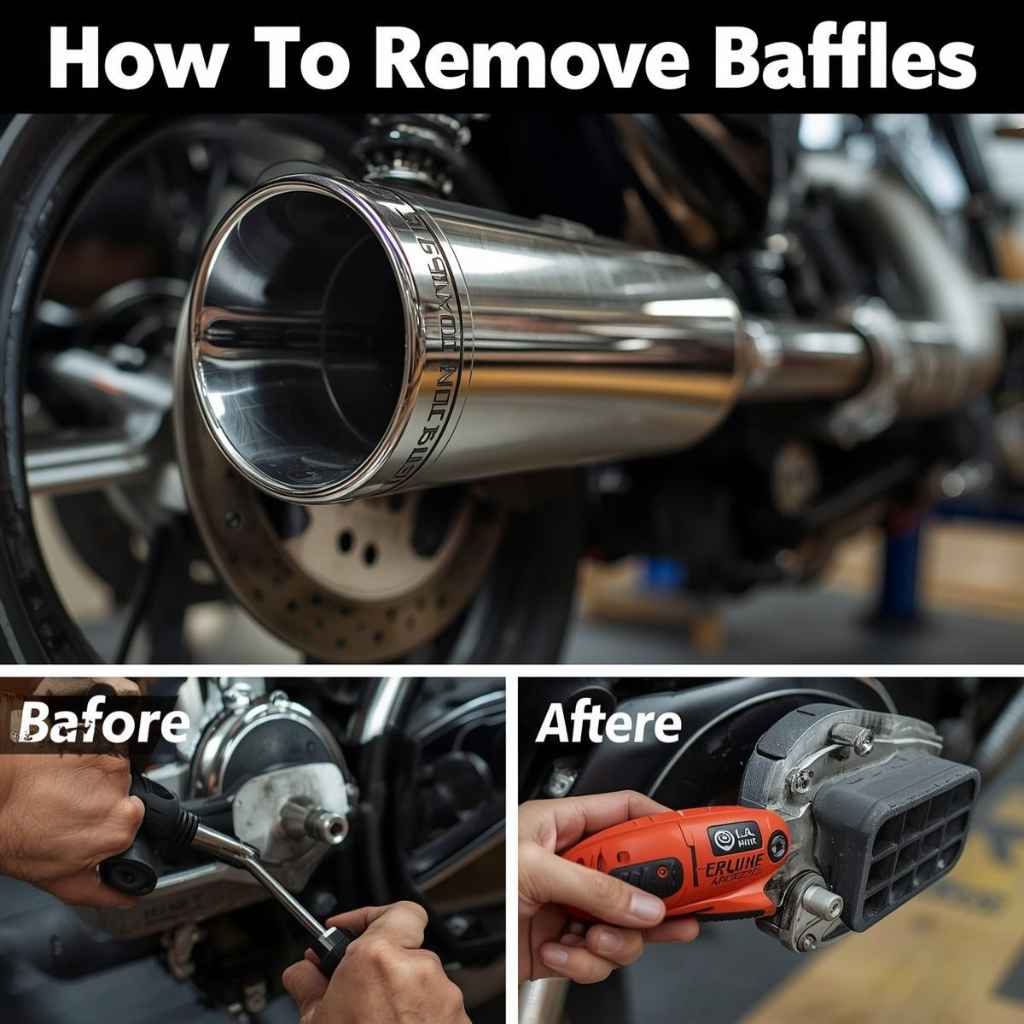
Step 1 Accessing the Baffle
The first step usually involves removing the end cap of the muffler. This is the part that faces the rear of the motorcycle. On many Vance & Hines models, the end cap is held in place by one or more bolts or screws.
Locate these fasteners. They are often on the outer edge of the end cap or on the underside of the muffler.
Use the appropriate tool from your socket set or screwdriver to loosen and remove these fasteners. Be sure to keep them in a safe place, like a small container or magnetic tray, so you don’t lose them. Once all fasteners are removed, you should be able to carefully slide or pry off the end cap.
Sometimes, a gentle tap with a rubber mallet can help loosen a stuck end cap.
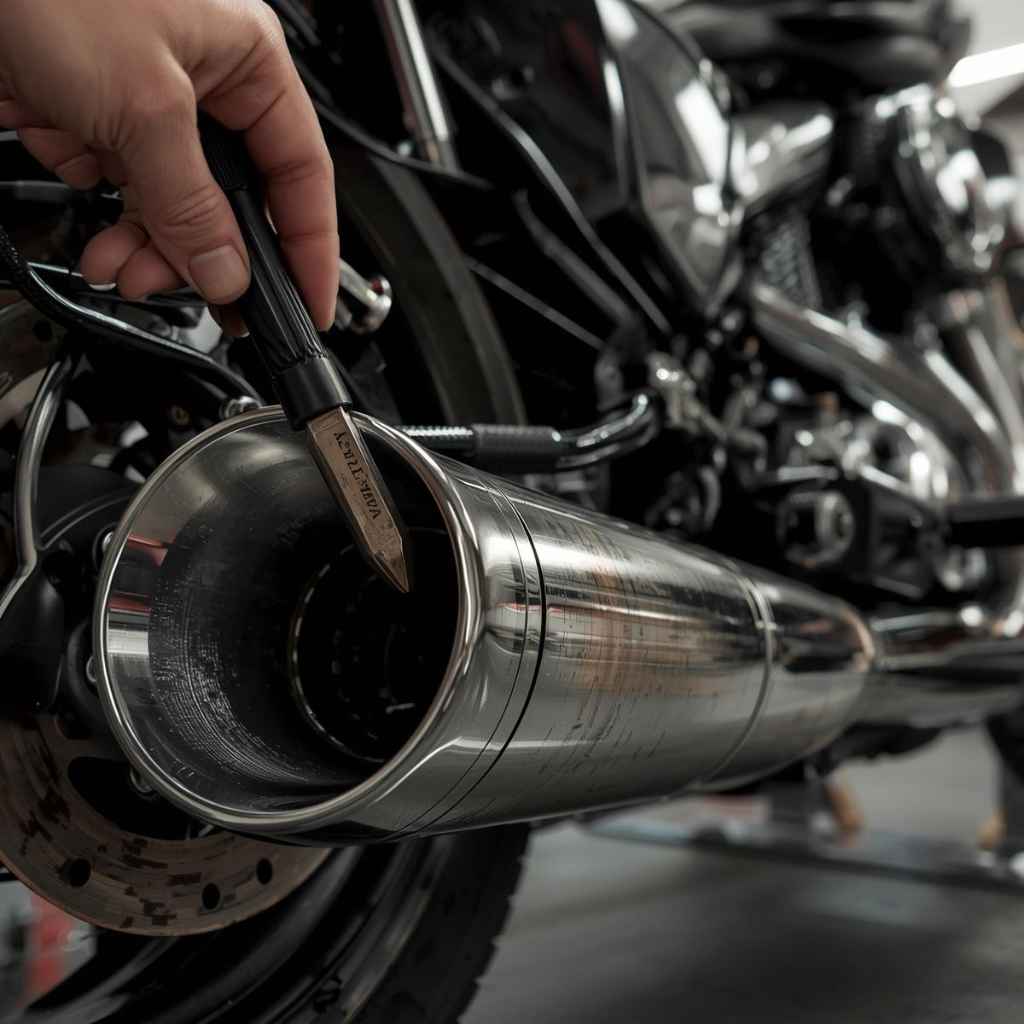
Step 2 Locating and Removing the Baffle Fastener
With the end cap removed, you should now be able to see the baffle inside the muffler. The baffle is typically a perforated tube or a more complex structure that runs through the length of the muffler. It is usually secured at one end, often near where the end cap was.
Look for a bolt, screw, or any other type of retainer holding the baffle in place. This fastener might be visible from the end where you removed the cap, or it might be located deeper inside the muffler. Again, use the correct tool to loosen and remove this fastener.
If it’s a bolt, a socket wrench is usually best. For screws, a screwdriver will do.
Step 3 Extracting the Baffle
Once the fastener is removed, the baffle should be free to come out. In many cases, the baffle can be pulled straight out by hand. However, some baffles might be a bit snug or might have become slightly corroded over time.
If it doesn’t slide out easily, you might need to gently twist it back and forth while pulling.
A pair of pliers might be helpful for gripping the baffle if it’s difficult to pull. Be careful not to damage the baffle itself if you plan to reinstall it later. If the baffle is particularly stubborn, you can try applying a small amount of penetrating oil around the opening where it enters the muffler body.
Allow it a few minutes to work before trying to pull again.
Step 4 Reassembly
After successfully removing the baffle, you can reassemble your exhaust system. This involves putting the end cap back on. Slide the end cap back into its original position.
Make sure it aligns correctly with the bolt holes.
Reinstall the screws or bolts that hold the end cap in place. Tighten them securely but avoid over-tightening, as this can strip the threads or damage the end cap. Once the end cap is reattached, your Vance & Hines exhaust will now be baffle-free, producing a louder sound.
It’s a good idea to start your motorcycle briefly to hear the difference and ensure everything is secure.
Understanding Baffle Types and Their Impact
Vance & Hines offers various baffle designs across their extensive product lines. The type of baffle in your exhaust system can significantly influence the sound profile and, to a lesser extent, the performance. Knowing these differences helps in deciding whether removal is the right choice for you and what to expect.
Different baffles are engineered to achieve specific sound qualities, from a deep growl to a sharper, more aggressive bark.
Quieter Baffles vs. Louder Baffles
Some Vance & Hines exhausts come with “quiet baffles” or “performance baffles.” Quiet baffles are designed to reduce sound levels, often by incorporating more sound-absorbing material or a more restrictive design. These are for riders who want a more subdued tone, perhaps to comply with local noise ordinances or for longer rides where excessive loudness can be fatiguing.
Louder baffles, on the other hand, are engineered for maximum sound output. They typically feature larger perforations, fewer restrictive elements, and less sound-dampening material. Removing a quieter baffle might yield a moderate increase in volume, while removing a louder baffle will result in a much more significant change.
The impact of removing a baffle is therefore directly related to the original design of that baffle.
- Stage 1 Baffles: Often designed for a moderate sound increase and potentially slight performance gains. They are usually easier to remove and are a good starting point for many riders.
- Stage 2 Baffles: Typically offer a more substantial increase in volume and can lead to more noticeable performance changes, especially when paired with other engine modifications. They might be more securely fastened.
- Full Systems Baffles: If you have a full exhaust system rather than just slip-on mufflers, the baffle design is integrated into the overall system for optimized flow and sound. Removal can have a more pronounced effect on both.
Impact on Exhaust Backpressure
The concept of backpressure is fundamental to understanding exhaust system modifications. A baffle’s design directly influences the amount of backpressure generated. A baffle with many small holes or a very restrictive internal structure creates higher backpressure.
This resistance can help the engine scavenge exhaust gases more efficiently at lower RPMs, contributing to better low-end torque.
Conversely, removing a baffle, especially a more restrictive one, significantly reduces backpressure. This can lead to a decrease in low-end torque but potentially an increase in horsepower at higher RPMs. For example, a motorcycle tuned for low-end grunt might feel less responsive off the line after baffle removal.
If performance is a significant concern, it’s wise to consult with a professional tuner or research how baffle removal affects your specific motorcycle’s engine characteristics. Many modern bikes have sophisticated engine management systems that can adapt to minor exhaust changes, but significant modifications might benefit from ECU remapping.
A study by a motorcycle performance magazine found that removing baffles from a popular V-twin cruiser resulted in a 3% increase in peak horsepower and a 2% decrease in peak torque. This highlights that the effects are often more pronounced at the extremes of the RPM range.
Troubleshooting Common Issues During Removal
While learning How to Remove Baffles from Vance & Hines Exhaust, you might encounter a few hiccups. Don’t worry; most problems are fixable with a bit of patience and the right approach. Understanding common issues can save you time and frustration.
Stubborn or Stuck Baffles
The most frequent issue is a baffle that refuses to budge. This can happen due to heat cycles causing the metal to expand and contract, or due to rust and corrosion binding the baffle to the muffler interior. If a baffle is stuck, avoid excessive force, which can damage the muffler or the baffle itself.
First, try applying penetrating oil generously to the opening where the baffle meets the muffler. Let it soak for at least 30 minutes, or even overnight if possible. Tapping gently around the end cap area with a rubber mallet can also help vibrate the baffle loose.
If it still won’t move, carefully using a pair of pliers to grip the baffle and gently twist while pulling can be effective. Sometimes, a long screwdriver or pry bar can be used to lever it out, but be very careful not to mar the inside of the muffler.
- Penetrating Oil: This is your best friend for seized parts. Brands like WD-40 Specialist Penetrant or PB Blaster are highly effective. Apply it where the baffle meets the muffler body and let it work its magic.
- Gentle Tapping: Use a rubber mallet to tap around the end of the muffler where the baffle is. This vibration can help break the bond of rust or carbon buildup.
- Twisting Motion: Once you have a grip with pliers, try twisting the baffle back and forth while pulling. This can help break any sticking points.
- Leverage Carefully: If all else fails, a long, sturdy flathead screwdriver can be inserted between the baffle and the muffler wall to carefully pry it out. Work your way around the baffle, applying pressure in small increments.
Damaged Fasteners or Threads
Sometimes, the screws or bolts holding the baffle or end cap can be rusted or worn, making them difficult to remove without stripping. If you encounter a stripped screw head, you might need a screw extractor kit. These kits contain specialized bits that grip the damaged screw and allow you to turn it out.
If the threads inside the muffler are damaged, this is a more serious issue. It might require re-tapping the threads with a tap and die set to create new threads. However, for most DIYers, this can be challenging.
In such cases, it might be best to consult a professional mechanic or consider if a clamp-style end cap can be used as an alternative if the original mounting is compromised. Always ensure you’re using the correct size and type of tool to minimize the risk of damaging fasteners.
Reinstalling Baffles with Different Screws
If you lose a fastener or the original ones are too damaged to reuse, you’ll need to replace them. It’s important to use fasteners of the exact same size, thread pitch, and material. Stainless steel is often preferred for exhaust components as it resists corrosion.
You can take the remaining original fastener to a hardware store or a reputable auto parts supplier to find an exact match.
If you’re unsure about the exact specifications, it’s always best to consult your Vance & Hines manual or contact their customer support. Using incorrect fasteners can lead to loose components, leaks, or damage to the exhaust system. Some riders opt for safety wire or thread-locking compounds on reassembly, especially if they anticipate rough riding conditions, but this is generally not necessary for standard street use if proper fasteners are used.
The Sound and Performance After Baffle Removal
Once you’ve successfully removed the baffles, the most immediate and noticeable change will be the sound of your motorcycle. The exhaust note will be significantly louder and deeper. This transformation is what most riders are looking for when they decide to undertake this modification.
The sound quality will vary depending on your specific Vance & Hines model and the engine of your motorcycle. Generally, you can expect a more aggressive, rumbling sound that is often described as more “muscular” or “performance-oriented.” This can make the riding experience feel more engaging and exciting, as the motorcycle communicates its power more audibly.
- Louder Exhaust Note: The most obvious change is an increase in volume. This makes the motorcycle more audible to other vehicles, which can be a safety benefit. It also gives the bike a more commanding presence on the road.
- Deeper Tone: Beyond just loudness, the quality of the sound often becomes deeper and richer. This is due to less sound dampening and more direct flow of exhaust gases.
- Potential Performance Gains: While not guaranteed for all bikes, some riders report a slight improvement in throttle response and power, particularly at higher RPMs. This is due to reduced backpressure.
Real-World Sound Examples
Imagine two riders with similar motorcycles but different exhaust setups. Rider A has Vance & Hines pipes with baffles intact, producing a pleasant but relatively quiet rumble. Rider B has the same Vance & Hines pipes but has removed the baffles.
When both riders accelerate, Rider A’s bike might sound like a strong purr, whereas Rider B’s bike will unleash a deep, resonant roar that announces its presence. This dramatic difference in sonic output is the primary appeal.
Another scenario involves a rider who previously had a full aftermarket exhaust system. They found it too loud for daily commuting. By reinstalling the baffles they had removed, they found a much more manageable sound level, proving that baffles offer control over the exhaust volume.
This ability to adjust sound is a key feature.
One Vance & Hines customer reported, “After removing the baffles on my 2018 Softail, the exhaust note went from a mild purr to a deep, throaty bark that really makes the bike feel alive. It’s night and day.”
Impact on Motorcycle Performance
As mentioned, baffle removal can impact performance by reducing exhaust backpressure. For many motorcycles, particularly those designed for lower-end torque, this might result in a slight reduction in power delivery at lower engine speeds. However, it can sometimes lead to a small increase in horsepower at higher RPMs.
Consider a motorcycle like a Harley-Davidson Sportster. These bikes often benefit from a certain level of backpressure for their characteristic low-end torque. Removing baffles might shift the power band higher, making the bike feel less punchy from a standstill but perhaps more willing to rev.
For riders focused on drag racing or high-RPM performance, this could be a desired outcome. For cruisers prioritizing smooth, low-speed riding, the change might be less desirable.
A common modification for many riders is a slip-on exhaust system with the option to remove baffles. This offers flexibility. If you remove them and find the performance characteristics are not to your liking, you can usually reinstall them.
It’s also important to note that if you have other performance modifications, such as an aftermarket air intake, removing baffles without remapping the engine’s fuel and ignition timing could lead to a lean condition. This means there’s too much air and not enough fuel, which can cause the engine to run hotter and potentially suffer damage over time.
For optimal performance after significant exhaust changes, many recommend a professional ECU reflash or a fuel tuner. This ensures the air-fuel ratio is correct across the entire RPM range, maximizing both power and engine longevity. Without proper tuning, any performance gains can be offset by potential risks to the engine.
Frequently Asked Questions
Question: How long does it typically take to remove baffles from Vance & Hines exhaust
Answer: For most Vance & Hines exhaust systems, removing baffles can take anywhere from 15 minutes to an hour. This depends on your experience level, the specific model, and how easily the fasteners come loose.
Question: Do I need to rejet my carb or remap my ECU after removing baffles
Answer: It depends on your motorcycle and other modifications. For many slip-on exhausts with baffle removal, especially on newer fuel-injected bikes, no remapping is necessary. However, if you have other performance upgrades or experience issues like popping or backfiring, a remapping might be beneficial.
Question: Can I reinstall the baffles if I don’t like the sound
Answer: Yes, in most cases, Vance & Hines baffles are designed to be reinstalled. Just follow the removal steps in reverse order.
Question: Will removing baffles void my Vance & Hines warranty
Answer: It’s always best to check Vance & Hines’ specific warranty policy. However, modifications like baffle removal are often considered user modifications and might not be covered under warranty if they lead to damage.
Question: Are Vance & Hines baffles universal
Answer: No, Vance & Hines baffles are typically model-specific. They are designed to fit particular exhaust systems. You should always use baffles meant for your exact Vance & Hines exhaust model.
Summary
Learning How to Remove Baffles from Vance & Hines Exhaust is a straightforward process for most riders. You’ll need basic tools to access and remove the end cap, then the fastener holding the baffle. Once out, enjoy the louder, deeper sound.
If you prefer the original tone, reinstallation is just as simple.