How to Install Fishtail End Caps on Vance &Hines Exhaust: Easy Guide
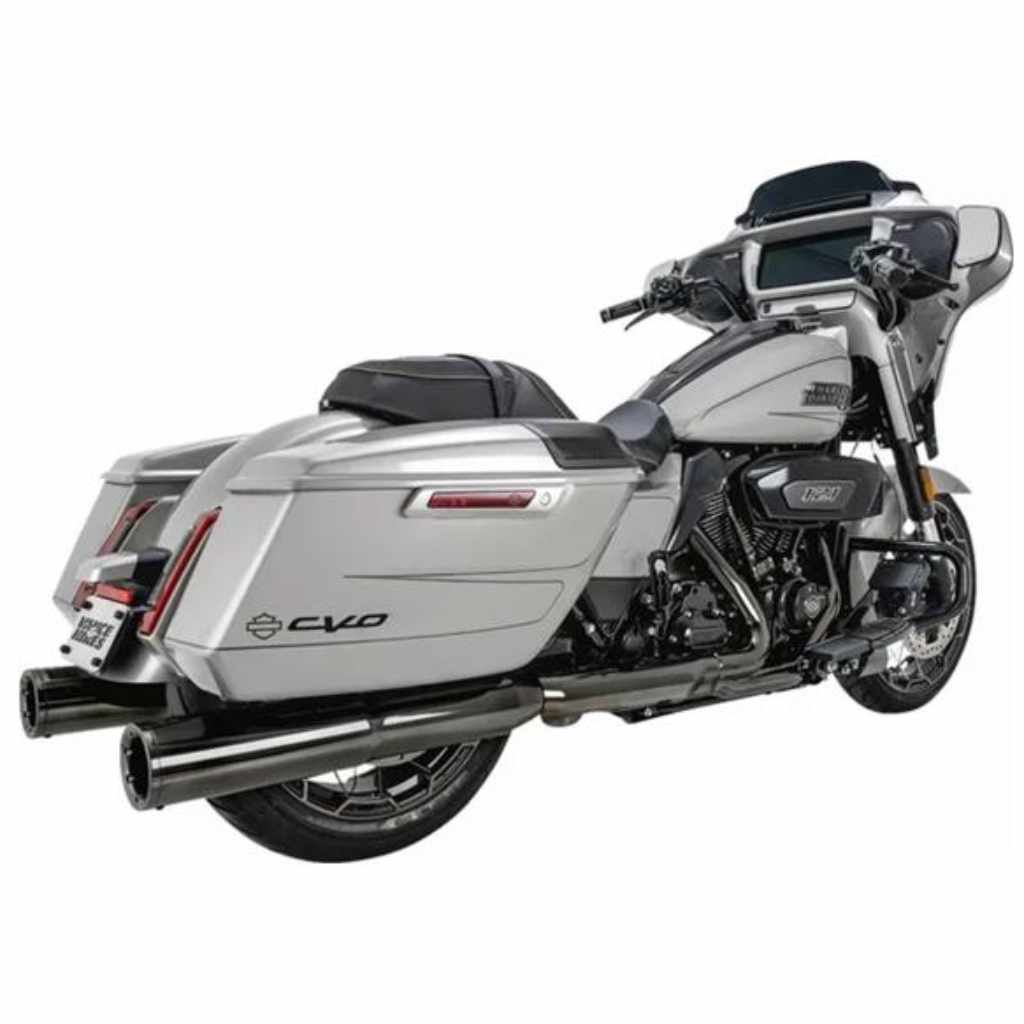
Are you ready to give your Vance & Hines exhaust a sleek new look? Installing fishtail end caps is a simple upgrade that can transform both the style and sound of your bike.
But if you’ve never done it before, the process might seem tricky. Don’t worry—you’re in the right place. This guide will walk you through every step, making the installation easy and stress-free. By the end, you’ll have a custom finish that turns heads wherever you ride.
Keep reading to discover how to install fishtail end caps on your Vance & Hines exhaust like a pro.
Tools And Materials Needed
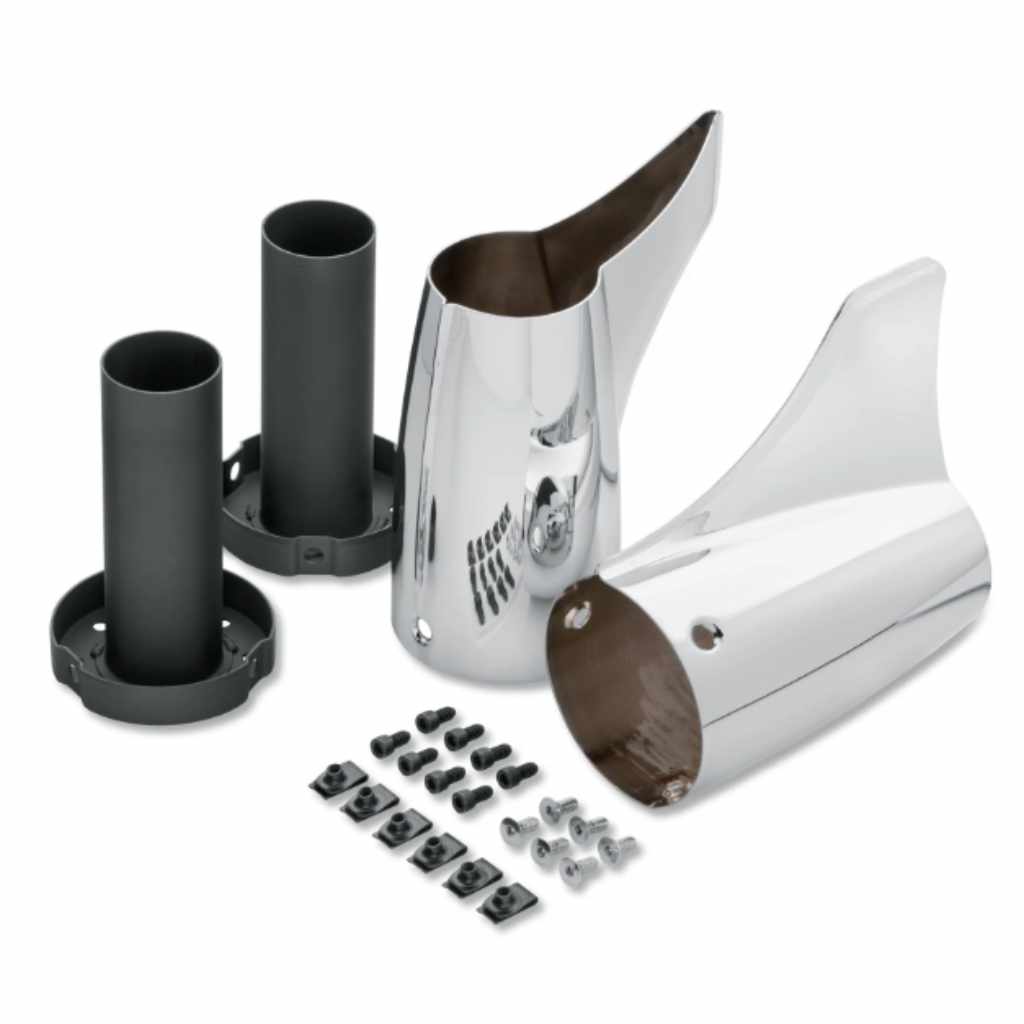
Installing fishtail end caps on Vance & Hines exhaust pipes needs the right tools and materials. Preparing everything before starting saves time and avoids frustration. This guide lists the tools and helps you pick the correct end caps for your exhaust.
List Of Required Tools
- Socket wrench set
- Allen wrench set
- Screwdriver (flathead and Phillips)
- Rubber mallet
- Measuring tape
- Protective gloves
- Cleaning cloth
- Anti-seize lubricant
Choosing The Right End Caps
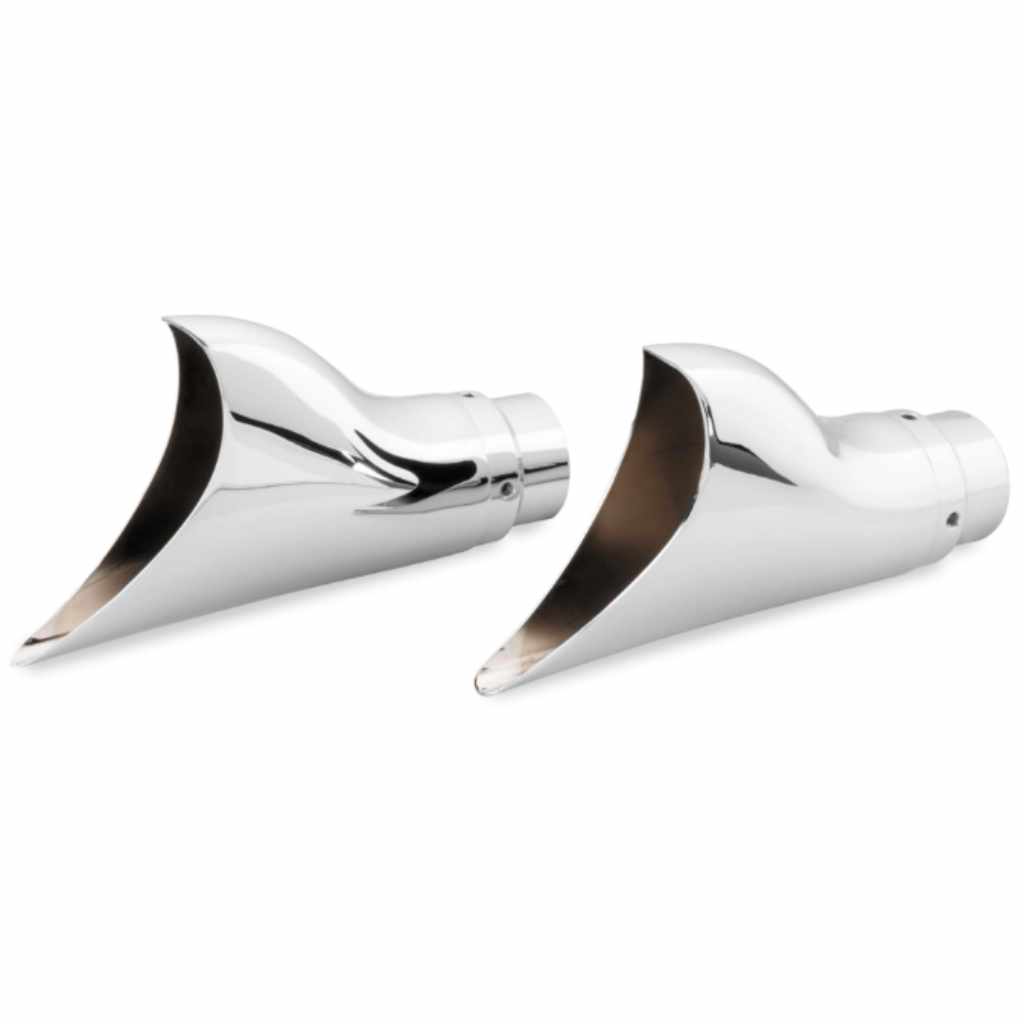
Select fishtail end caps that match your Vance & Hines exhaust model. Check the size and shape for a perfect fit. Material matters too; stainless steel end caps resist rust and last longer.
Consider the style that fits your bike’s look. Matte or polished finishes change the appearance. Some end caps improve exhaust sound slightly.
Buy end caps from trusted suppliers to ensure quality and compatibility. Avoid cheap copies that may cause fitting issues.
Preparing The Exhaust
Preparing the exhaust is a key step before installing fishtail end caps on Vance & Hines exhausts. This process helps ensure the new caps fit well and last longer. Proper preparation also keeps the exhaust looking clean and prevents damage during installation.
Start by focusing on the exhaust tip area. Dirt, rust, or old residue can stop the end caps from attaching properly. Taking time to clean and remove old parts sets a strong base for the new installation.
Cleaning The Exhaust Tip
Begin by wiping the exhaust tip with a dry cloth. This removes loose dirt and dust. Next, use a mild cleaner or soapy water to scrub the tip. A soft brush helps reach inside the pipe. Rinse with clean water and dry the area completely. Clean metal surfaces improve the grip of the new end caps.
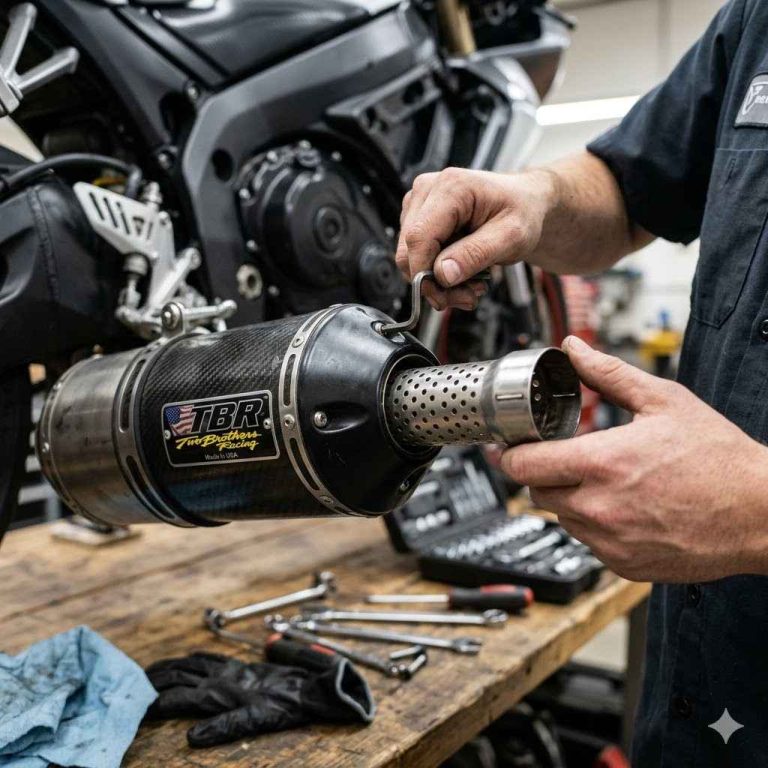
Removing Old End Caps
Check the old end caps for screws or clamps holding them in place. Use the correct tools to remove these fasteners carefully. If the caps are stuck, gently tap them with a rubber mallet. Avoid using metal tools that can scratch the exhaust. Remove all old parts and clean any leftover glue or sealant. This clears the way for a smooth installation of the fishtail end caps.
Aligning The Fishtail End Caps
Aligning the fishtail end caps on your Vance & Hines exhaust is a key step. It ensures a clean look and optimal performance. Taking time to align them right prevents leaks and rattles. Careful alignment helps the exhaust flow smoothly and sounds better. Follow these tips to get the perfect fit.
Positioning For Proper Fit
Start by loosely fitting the fishtail end caps onto the exhaust pipes. Check if the caps sit evenly around the pipe edges. The end caps should cover the pipe ends without gaps. Adjust their position so they match the pipe’s shape. The fit must be snug but not forced. This step sets the base for solid alignment.
Checking Clearance And Angle
Look at the angle of the fishtail caps from different sides. Make sure they point straight back or slightly downward. The caps should not touch any part of the bike frame or tire. Check for enough space around the caps to avoid heat damage. Small shifts in angle can improve clearance and style. Tighten the mounting bolts once satisfied with the position.
Securing The End Caps
Securing the fishtail end caps on your Vance & Hines exhaust is a vital step. It ensures the caps stay firmly attached during rides. Proper attachment prevents rattling and keeps the exhaust looking neat. This section explains how to secure the end caps effectively for a lasting fit.
Using Clamps Or Screws
Most fishtail end caps attach using clamps or screws. Clamps wrap around the exhaust pipe and tighten to hold the cap. Screws fasten the cap directly onto the pipe or bracket. Choose clamps for easy adjustments. Screws provide a very secure hold. Check your end cap model to know which method fits best.
Tightening Techniques
Use a wrench or screwdriver to tighten clamps or screws. Tighten gradually to avoid over-tightening. Over-tightening can damage the pipe or cap. Secure the clamps evenly to prevent leaks. Make sure screws are snug but not forced. Test the cap by gently moving it. It should not shift or wiggle.
Final Adjustments
Final adjustments are crucial to complete the installation of fishtail end caps on Vance & Hines exhausts. They ensure the parts fit well and work safely. Taking time for these steps improves the look and function of your exhaust.
Inspecting The Installation
Check all bolts and clamps. Make sure they are tight and secure. Look for gaps or misalignment between the end caps and exhaust pipes. The caps should sit flush without wobbling. Adjust the position if needed before tightening.
Testing For Secure Fit
Gently shake the exhaust to test firmness. The end caps should not move or make noise. Start the engine and listen for unusual sounds near the caps. No rattling or loose vibrations means a good fit. If you hear issues, stop and re-check the clamps and bolts.
Maintenance Tips
Maintaining your Vance & Hines exhaust with fishtail end caps keeps it looking great and working well. Proper care extends the life of your exhaust and prevents damage. Simple steps help protect the finish and performance of the fishtail end caps.
Cleaning And Care
Clean the fishtail end caps regularly to remove dirt and grime. Use a soft cloth with mild soap and water. Avoid harsh chemicals that can damage the finish. Dry the caps completely after cleaning to prevent rust. For extra shine, apply a metal polish designed for chrome parts. This keeps the fishtail end caps bright and smooth.
Periodic Checks
Check the fishtail end caps often for loose bolts or damage. Tighten any loose screws to keep the caps secure. Look for scratches or dents that might need repair. Inspect the exhaust mounting points to ensure stability. Early checks help avoid bigger problems and costly repairs later.
Frequently Asked Questions
How Do I Install Fishtail End Caps On Vance & Hines?
To install fishtail end caps, first remove the stock end caps. Slide the fishtail caps onto the exhaust pipes. Secure them with provided screws or clamps. Ensure a tight fit to avoid rattling or leaks.
What Tools Are Needed For Fishtail End Cap Installation?
You typically need a screwdriver, Allen wrench, and possibly pliers. These tools help remove old caps and tighten new ones securely. Always check the installation kit for specific tool requirements.
Can I Install Fishtail End Caps Myself?
Yes, with basic mechanical skills, you can install them yourself. Follow step-by-step instructions carefully. Make sure the motorcycle is cool and stable before starting.
How Long Does It Take To Install Fishtail End Caps?
Installation usually takes about 15 to 30 minutes. Time depends on your experience and tool availability. Take your time to ensure proper fit and safety.
Conclusion
Installing fishtail end caps on Vance & Hines exhaust is simple and rewarding. Follow each step carefully for a secure fit. Use the right tools and take your time. The new look and sound will improve your bike’s style. Enjoy the fresh, custom feel every time you ride.
Keep your exhaust clean and check bolts regularly. Small care keeps your setup working well longer. This upgrade brings a neat finish with easy steps. Ready to enhance your bike’s exhaust? Start your installation today.