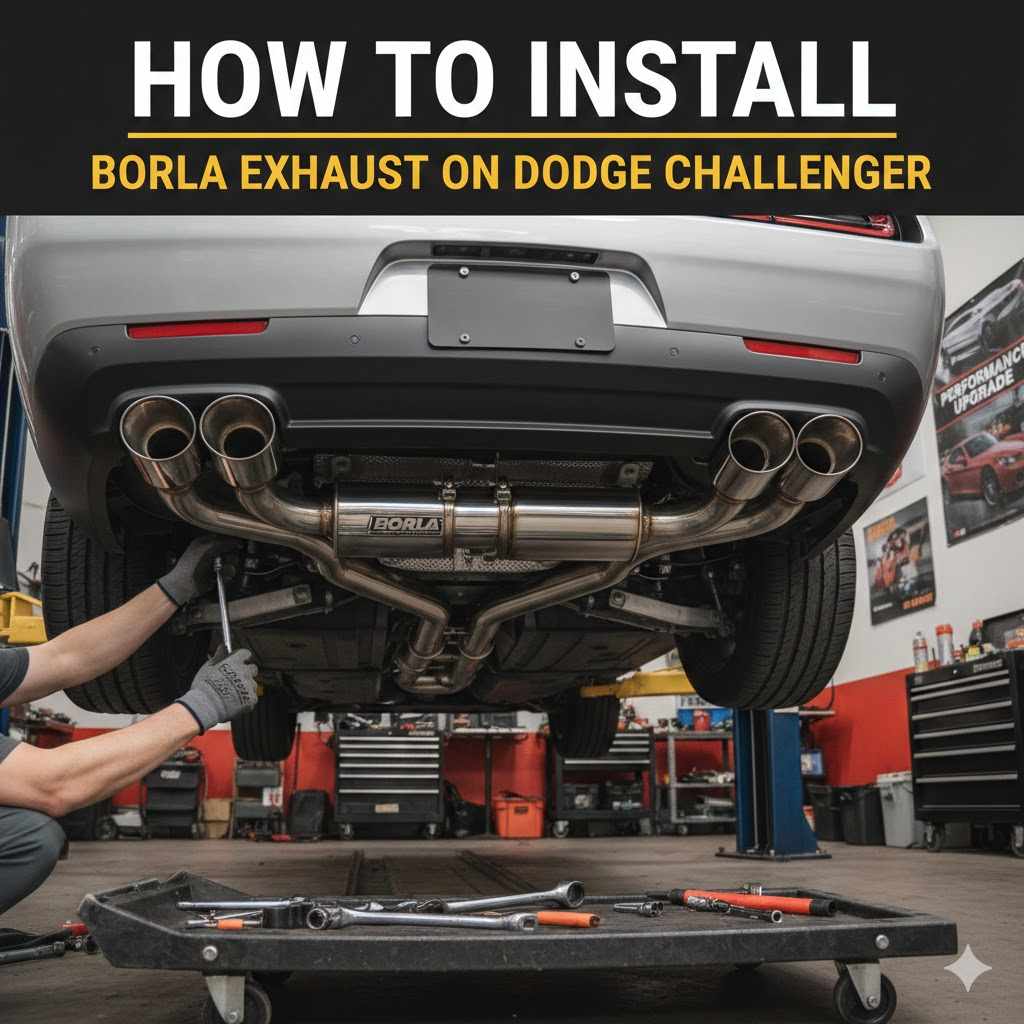
How to Install Borla Exhaust on Dodge Challenger
Lots of Dodge Challenger owners want to upgrade their car’s sound and performance. Many look to Borla exhaust systems for that sweet, sporty sound and extra power. However, the idea of installing it yourself can seem tough, especially if you’re new to car projects.
Don’t worry! This guide makes How to Install Borla Exhaust on Dodge Challenger super easy. We’ll walk through each step clearly so you can get your Challenger sounding amazing.
Getting Your Dodge Challenger Ready for Borla Exhaust
Before you even think about wrenching on your Dodge Challenger, it’s important to get everything ready. This means having the right tools, making sure your car is safely positioned, and knowing what the Borla exhaust kit includes. Proper preparation is key to a smooth installation.
It saves time and prevents mistakes that could cost you money or even damage your car. We’ll cover the essential checks and what you’ll need to start the process.
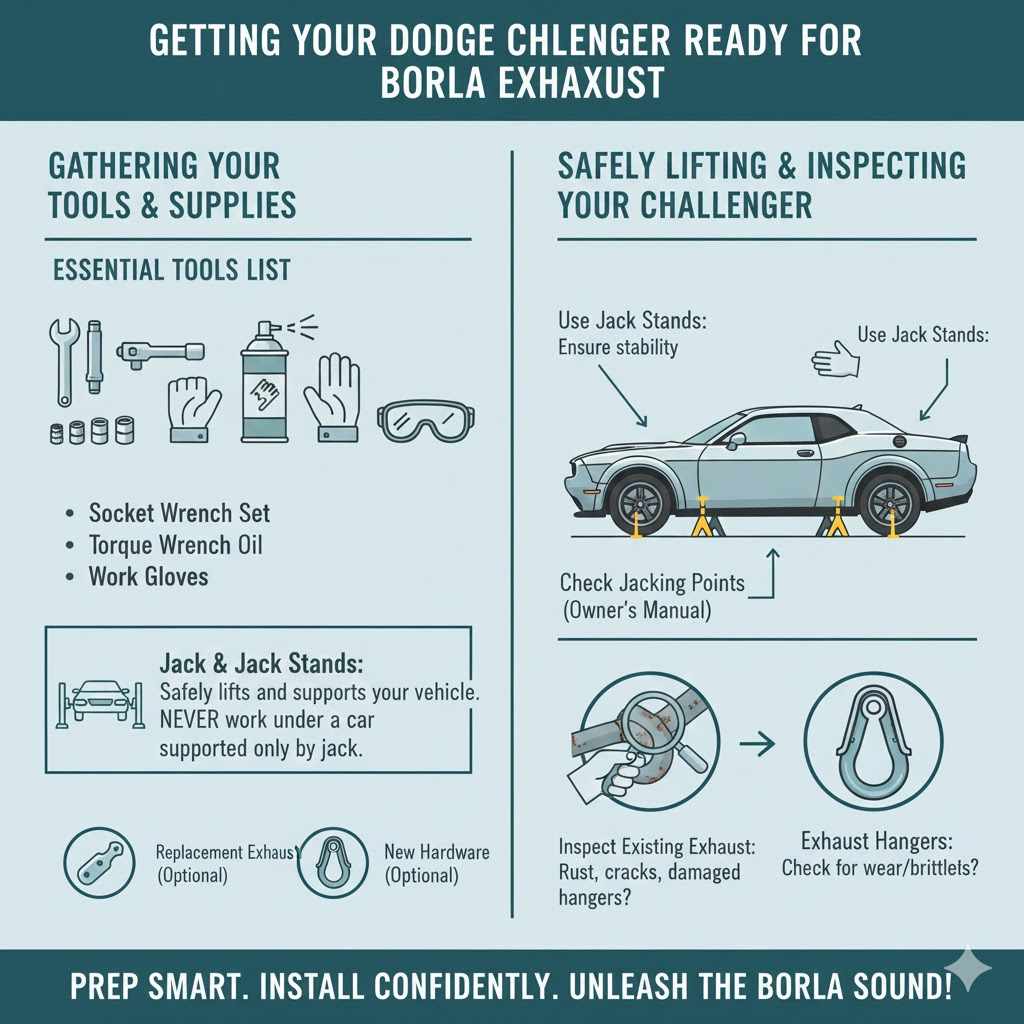
Gathering Your Tools and Supplies
Having the right tools makes a big difference. You’ll need basic hand tools like socket wrenches with various sizes, a torque wrench, and screwdrivers. It’s also good to have penetrating oil to help loosen old bolts, as they can sometimes be stubborn.
Safety gear is a must too. Always wear safety glasses to protect your eyes from debris and gloves to keep your hands clean and safe. Make sure you have jack stands to support your car securely.
- Socket Wrench Set: Essential for various bolt sizes. Look for a set with both deep and standard sockets.
- Torque Wrench: Crucial for tightening bolts to the correct specifications, preventing over-tightening or under-tightening.
- Penetrating Oil: Helps to loosen rusted or seized bolts, making removal much easier.
- Safety Glasses: Protects your eyes from falling debris and fluids.
- Work Gloves: Keeps your hands clean and provides a better grip.
- Jack and Jack Stands: Safely lifts and supports your vehicle. Never work under a car supported only by a jack.
- Replacement Exhaust Hangers (Optional but Recommended): Sometimes the old rubber hangers can be brittle and break during removal.
- New Hardware (Optional but Recommended): It’s wise to have some new bolts and nuts on hand, just in case some original ones are too corroded to reuse.
These tools are standard for many car projects. If you’re missing any, now is the time to borrow them or make a quick trip to the auto parts store. Having everything ready means you won’t have to stop mid-project.
Safely Lifting and Supporting Your Challenger
Safety is the most important part of any automotive work. Your Dodge Challenger needs to be lifted high enough to comfortably work underneath it. Use a good quality jack to raise the car, and immediately place sturdy jack stands under the frame or designated support points.
Give the car a gentle shake to ensure it’s stable on the stands before you get underneath. Never rely solely on a jack. When you’re done, reverse the process carefully, making sure no one is under the car.
For a typical exhaust installation, lifting the rear of the car is usually sufficient. However, depending on the specific Borla system and your Challenger model, you might need to lift the front as well. Always consult your car’s owner’s manual for the correct jacking points.
These points are designed to safely support the weight of your vehicle without causing damage.
Inspecting Your Existing Exhaust System
Before removing the old exhaust, take a good look at it. Check for any rust, cracks, or damage. This gives you an idea of what you’re dealing with.
Note how the current system is attached and the order of its components. This visual inspection helps you anticipate any problems, like rusted bolts or damaged hangers, that might make removal more difficult.
Pay close attention to the muffler, resonators, and tailpipes. Sometimes, an existing exhaust problem might mask the need for a full upgrade. If you find significant rust or damage, it’s even more reason to get that new Borla system installed.
Also, check the condition of the exhaust hangers; they are usually made of rubber and can become brittle over time.
Removing the Stock Dodge Challenger Exhaust
Taking off the factory exhaust is often the most time-consuming part. Old bolts can be rusty and hard to remove. The process involves unbolting sections of the exhaust from the engine and working your way back.
Patience is key here. If bolts are stuck, use penetrating oil and give them time to work. Some exhaust sections might be one large piece or several smaller ones.
Locating and Unfastening Exhaust Clamps and Hangers
Your stock exhaust is held together by clamps and hangers. Clamps are metal bands that secure pipes together, while hangers are rubber loops that attach the exhaust to the car’s frame, allowing for slight movement. You’ll need to loosen or remove these clamps first.
Then, carefully detach the exhaust pipes from the rubber hangers. Sometimes, you can use a pry bar to help ease the pipe out of the hanger, but be gentle.
- Exhaust Clamps: These are usually located where pipes connect. Use a socket wrench to loosen the bolts holding them.
- Exhaust Hangers: These rubber pieces are attached to the car’s underbody and the exhaust pipes. They can be pulled off the exhaust pipe studs.
- Catalytic Converters: Unbolt the exhaust from the catalytic converters if your Borla system replaces this section.
- Muffler and Tailpipes: These are typically the last sections to be removed.
It’s common for these clamps to be rusted. If a bolt won’t budge, apply penetrating oil generously and let it soak for at least 15-30 minutes. You might need to repeat this process.
Sometimes, if a bolt is completely seized, you might have to cut it off.
Dealing with Stubborn Bolts and Hangers
Rust is the arch-nemesis of DIY exhaust work. If bolts are too stubborn, a breaker bar can give you extra leverage. Heat can also help, but be cautious.
A propane torch can be used to gently heat the rusted area around a bolt. This expansion and contraction can break the rust bond. However, be mindful of fuel lines, brake lines, and other sensitive components nearby.
Never apply excessive force that could strip a bolt head or break the exhaust pipe.
For hangers, if they are difficult to remove, a bit of silicone spray or soapy water can help them slide off the exhaust hangers. In some cases, especially with older vehicles, the rubber hangers themselves might be so degraded that they break. Having a set of replacement exhaust hangers on hand is a good idea.
Removing the Old Exhaust in Sections
Depending on the Borla kit and your Challenger’s configuration, you might remove the exhaust in one large piece or several smaller ones. Start by unbolting the section closest to the engine, often the mid-pipe or muffler delete section. Once that’s free, work your way towards the rear of the car, unhooking hangers and unbolting any remaining connections.
Make sure to have a helper if the exhaust sections are heavy or awkward to maneuver.
It’s often easiest to remove the muffler and tailpipe sections first. These are usually the longest and heaviest parts. Once those are off, you can tackle the mid-pipes or any other sections that need to be replaced.
Keep track of which bolts and clamps came from where; this can be helpful if you need to reinstall the old exhaust for any reason.
Installing Your New Borla Exhaust System
Now for the exciting part: putting on the new Borla exhaust! This is where your Challenger starts to get that signature sound. You’ll typically install the new system in reverse order of removal.
Align the pipes carefully before tightening any clamps or bolts. This ensures a good fit and prevents leaks. Start loosely fitting everything first before you tighten it all down.
Comparing New Borla Components to Stock Parts
Before you start attaching the new Borla exhaust, lay out all the new parts and compare them to the stock components you removed. Borla systems are designed as direct bolt-on
| Feature | Stock Exhaust | Borla Exhaust |
|---|---|---|
| Material | Often mild steel or aluminized steel | High-grade T-304 stainless steel |
| Design | Designed for quiet operation and emissions | Engineered for performance and sound |
| Sound | Muffled and quiet | Aggressive or deep tone (depending on model) |
| Durability | Can be prone to rust over time | Highly resistant to corrosion |
This comparison highlights the upgrade you’re making. The Borla exhaust isn’t just about sound; it’s also about a higher quality component that will last longer.
Connecting the Mid-Pipes and Muffler Sections
Start by attaching the mid-pipe section of the Borla exhaust to your Challenger’s catalytic converters or existing front pipes. Ensure the clamps are loose enough to allow for adjustment but tight enough to hold the pipe in place. Next, connect the muffler section to the mid-pipe.
Align the pipes so they fit snugly together. Double-check that the pipes aren’t rubbing against the underbody of the car.
Borla systems are engineered for a precise fit. If you encounter significant resistance or misalignment, don’t force it. Re-check your previous steps and the alignment of the pipes.
It’s better to adjust now than to have issues later.
Attaching the Tailpipes and Tips
The tailpipes are usually the last major sections to be attached. They connect to the muffler and run to the rear of the car. Guide them into place, ensuring they are properly positioned and not interfering with any suspension components or the fuel tank.
Once the tailpipes are in place, attach the exhaust tips. Many Borla systems come with attractive, polished tips that enhance the rear appearance of your Challenger.
Adjust the tailpipes and tips until they are perfectly aligned and spaced evenly. This makes a big visual difference. Some systems might require you to adjust the hangers to achieve the desired positioning.
Once everything looks good, you can begin to tighten the clamps.
Finalizing the Borla Exhaust Installation
With all the sections in place, it’s time for the final tightening and checks. This is where you ensure everything is secure and leak-free. Proper tightening prevents rattles and ensures the system lasts.
After the installation, you’ll want to start the car and listen for any issues.
Tightening All Clamps and Bolts to Specification
Now, go back and tighten all the clamps and bolts you previously installed. Use your torque wrench to tighten them to the specifications provided by Borla. This is crucial for a secure installation and to prevent leaks.
Over-tightening can damage the pipes or clamps, while under-tightening can lead to leaks and rattles. Ensure each connection is snug and secure.
- Torque Wrench Usage: Set your torque wrench to the recommended setting.
- Gradual Tightening: Tighten bolts evenly on each clamp.
- Double-Check: After torquing, visually inspect each connection again.
A properly torqued exhaust system will prevent vibrations from loosening connections and ensure the integrity of the exhaust flow. This step is vital for both performance and longevity.
Checking for Exhaust Leaks and Fitment Issues
Once everything is tightened, give the entire exhaust system a final inspection. Look for any gaps in the connections where leaks could occur. Gently push on the exhaust pipes to ensure they are firmly mounted and not loose.
If you have a helper, have them start the car briefly while you listen for any unusual noises or hissing sounds, which indicate leaks. You can also use a bit of soapy water on the connections; if bubbles form, there’s a leak.
It’s also a good idea to check clearance again. Ensure the exhaust pipes are not touching any part of the car’s chassis, suspension, or fuel tank. Minor contact can lead to annoying rattles or even damage over time.
If any part is too close, you might need to adjust the hangers or loosen and re-align a section.
Starting Your Challenger and Listening for the Sound
With everything tightened and checked, it’s time for the moment of truth. Start your Dodge Challenger. Listen carefully to the sound.
It should be noticeably deeper and more aggressive than the stock exhaust. Take a short drive to experience the new sound under acceleration and deceleration. Pay attention to any rattling, droning, or unusual vibrations.
A properly installed Borla exhaust should sound amazing without any annoying side effects.
The first start is a great way to confirm that there are no exhaust leaks and that the sound is what you expected. Borla offers different sound levels, so make sure the sound matches the specific system you purchased. If you notice any issues, don’t hesitate to re-check your work.
Addressing small problems now can save a lot of trouble later.

Frequently Asked Questions
Question: Is installing a Borla exhaust on a Dodge Challenger difficult for a beginner?
Answer: While it requires some basic tools and mechanical aptitude, following a step-by-step guide like this makes it achievable for beginners. The main challenges are usually stubborn bolts and ensuring proper alignment.
Question: Do I need to modify my Dodge Challenger to install a Borla exhaust?
Answer: Most Borla exhaust systems are designed as direct bolt-on replacements, meaning they use the factory mounting points and don’t require any permanent modifications to your Challenger.
Question: How long does it typically take to install a Borla exhaust on a Dodge Challenger?
Answer: For someone with basic mechanical experience, it can take anywhere from 2 to 4 hours. If you encounter very rusty bolts or it’s your first time, it might take longer.
Question: Will installing a Borla exhaust affect my Dodge Challenger’s warranty?
Answer: In most cases, installing an aftermarket exhaust system should not void your vehicle’s warranty, especially if it’s a direct bolt-on. However, it’s always wise to check your warranty documentation or consult your dealer.
Question: What tools are absolutely essential for this installation?
Answer: You’ll need a socket wrench set, a torque wrench, penetrating oil, safety glasses, gloves, and a jack with jack stands for safe lifting.
Wrap Up
You’ve learned how to install a Borla exhaust on your Dodge Challenger. This guide covered preparation, removal of the old system, and the proper installation of your new Borla exhaust. By following these steps, you can achieve that amazing sound and performance upgrade yourself.
Enjoy the rumble!


